

Kuppersbusch café profi EKVW6600.1M-UL, café profi, EKVW6600.1M-UL Operating Instructions Manual
Page 1

café profi
Operating Instructions
For Household Use Only
Page 2
2
Dear Küppersbusch Customer,
Thank you for deciding to buy one of our products. Your appliance meets high standards,
and operation is simple. Even so, take your time when reading these operating instructions. By
doing so, you will become familiar with your appliance for optimum and trouble-free utilization.
To avoid hazards and personal injury, read and follow all instructions. Read and follow the
safeguards!
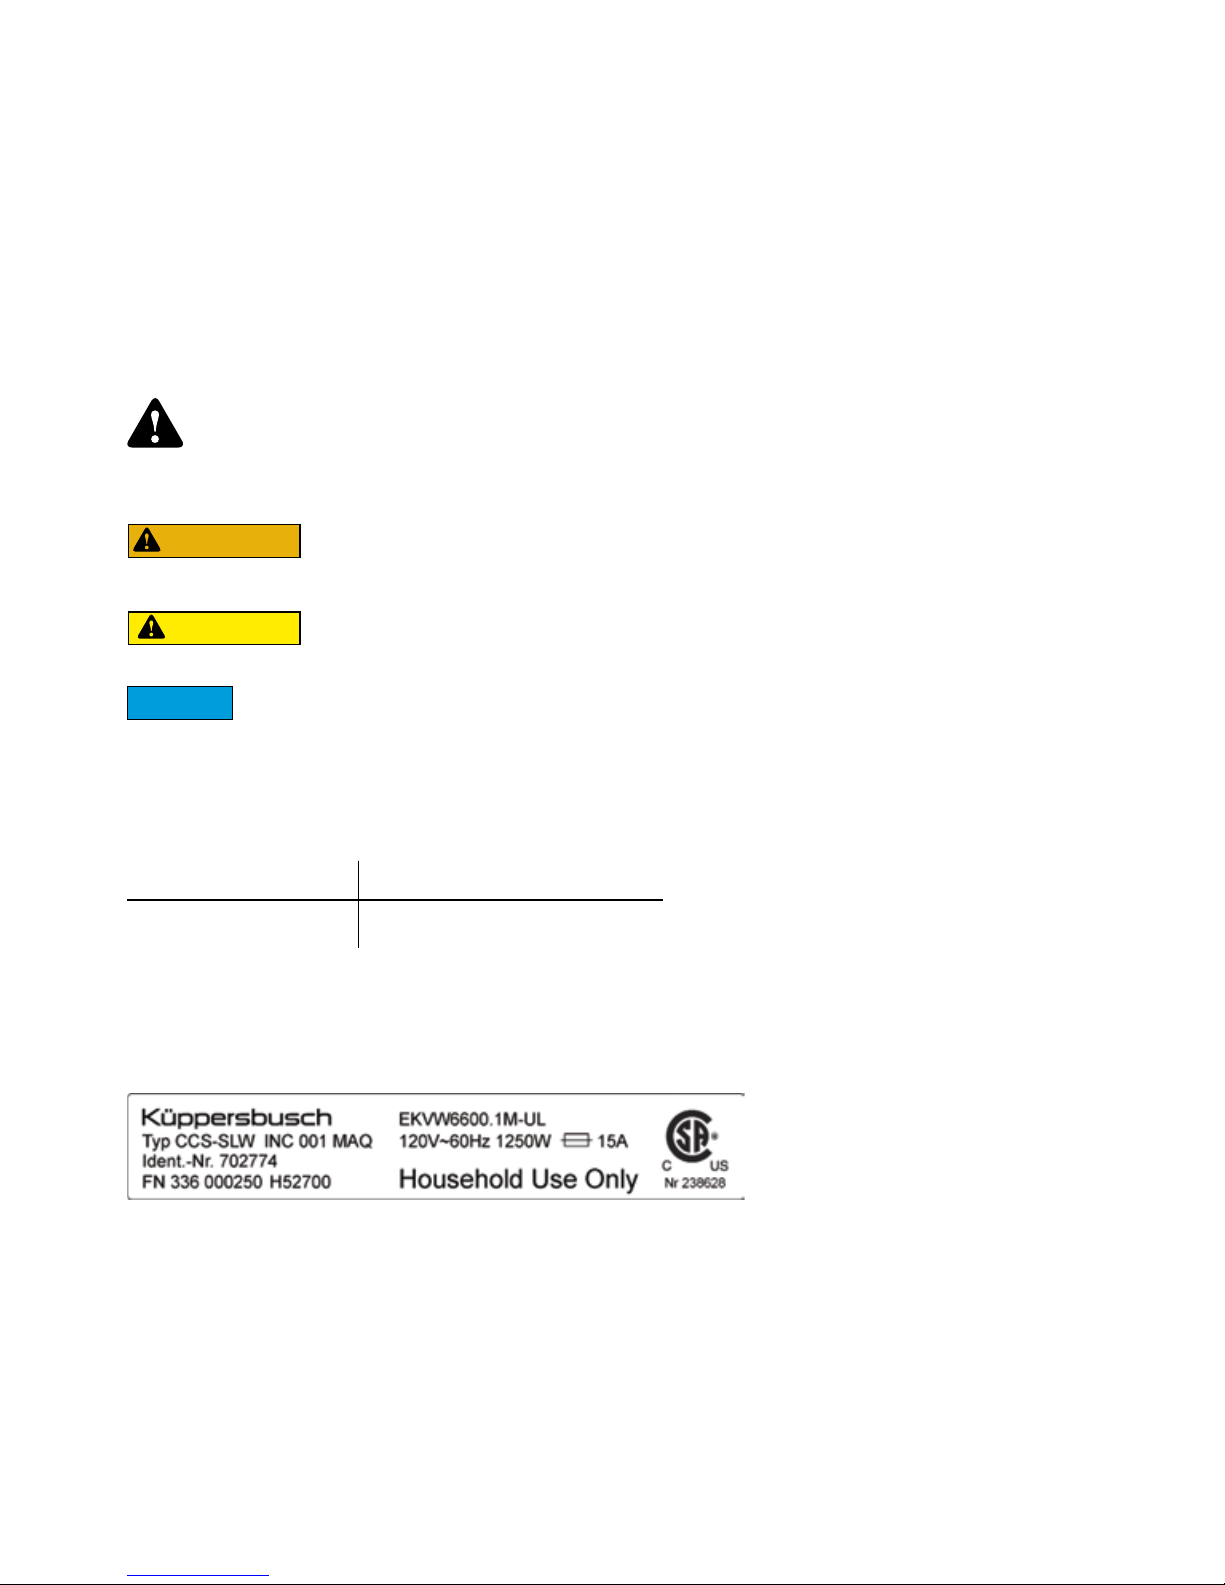
Warnings
This is the safety alert symbol. It is used to alert you to potential personal
injury hazards. Obey all safety messages that follow this symbol to avoid
possible injury or death.
WARNING
indicates a hazardous situation which, if not avoided,
could result in death or serious injury.
CAUTION
indicates a hazardous situation which, if not avoided,
could result in minor or moderate injury.
notice
is used to provide important information not related to personal injury.
Scope
These operating instructions apply to the following models:
Model ID code
EKVW6600.1M-UL 702774
Variations in the model are referred to in the text.
The model code of your appliance is located on the right side of the coffee bean slot behind
the operating panel.
Modifications
Text, illustrations, and data are consistent with the technical status of the appliance at the time
when these operating instructions went to press. The manufacturers reserve the right to make
modifications in accordance with further developments.
Page 3

3
Contents
Important Safeguards . . . . . . . . . . . . . . . . . . . . . . . . . . . . . . . . . . . . . . . . . . . . 4
Disposal 7
Küppersbusch Customer Service 7
Description of Appliance 8
Operating and Display Elements
. . . . . . . . . . . . . 8
Operating Panel
. . . . . . . . . . . . . . . . . . . . . . . . . 8
Behind the Operating Panel
. . . . . . . . . . . . . . . . . 9
Behind the Maintenance Door
. . . . . . . . . . . . . . . . 9
Accessories
. . . . . . . . . . . . . . . . . . . . . . . . . . . . 9
Initial Operation 10
Water-hardness
. . . . . . . . . . . . . . . . . . . . . . . . . 10
Connecting to a Direct Water Supply
. . . . . . . . . . . 10
Connecting to a Watertank
. . . . . . . . . . . . . . . . . 10
Adding coffee beans
. . . . . . . . . . . . . . . . . . . . . . 11
Switching on the Appliance
. . . . . . . . . . . . . . . . . 11
Ventilating the System
. . . . . . . . . . . . . . . . . . . . . 11
Settings 12
Preparing Coffee 14
AromaControl
. . . . . . . . . . . . . . . . . . . . . . . . . . 14
Drawing Hot Water/Steam 16
Care and Maintenance 17
Watertank/Bean Container
. . . . . . . . . . . . . . . . . 17
Drip tray/Dregdrawer
. . . . . . . . . . . . . . . . . . . . . 17
Coffee Spout
. . . . . . . . . . . . . . . . . . . . . . . . . . . 17
Nozzle
. . . . . . . . . . . . . . . . . . . . . . . . . . . . . . . 18
Brew Unit
. . . . . . . . . . . . . . . . . . . . . . . . . . . . . 18
Descaling 19
Cleaning Cycle 21
Troubleshooting 22
Technical Specifications 23
Page 4
4
IMPORTANT SAFEGUARDS
This appliance is designed in accordance with acknowledged rules applicable to engineering and the relevant safety regulations. To prevent accidents and damage, however, proper
handling of the appliance is necessary.
Read and follow all instructions before
operating the appliance. The instructions are part of the appliance. Keep
these instructions and pass them on to
any subsequent user.
The appliance is intended to prepare
beverages according to these instructions. It is for use in private households
and indoor use only. To avoid hazards,
do not use the appliance other than for
its intended use. Do not use outdoors.
People who are not yet familiar with the
coffee machine may only operate it under supervision.
Children are frequently unable to re-
cognize risks involved in handling appliances. Please ensure that they are
supervised accordingly and never allow
them to play with this appliance.
WARNING
Do not operate this appliance with a
damaged cord or plug. Do not continue
to operate the appliance if the appliance or the grinder malfunctions or has
been damaged in any way. Immediately unplug the appliance. Contact Costumer Service for examination, repair or
adjustment.
Only open the appliance as described
in the instructions. Contains hazardous
voltage!
To protect against fire, electric shock,
and personal injury, do not immerse
the cord, plugs, appliance, or brewunit
in water or other liquid. Never put the
appliance or any part of it into a dishwasher.
Always connect the power cord to the
appliance first, then plug the cord into
the wall outlet. To connect or disconnect,
first turn the appliance OFF, then plug
or unplug the cord.
Unplug from the electric power supply
when not in use and before cleaning.
Allow to cool before adding or removing parts and before cleaning the
appliance.
Unplug by pulling the plug rather than the
cord itself. Failure to do so can damage
the cord and cause fire and electric shock.
Never touch the cord with wet hands.
The use of accessory attachments or
spare parts not recommended by the
manufacturer may result in fire, electric
shock, or personal injury, and may void
the warranty. Only use replacement
parts distributed by Küppersbusch. Repairs must be carried out by Customer
Service.
To reduce the risk of fire, do not place
any heating or cooking appliance beneath the café profi.
Do not use steam or pressure cleaners
to clean the appliance! This may damage the appliance to the point of creating a life-threatening hazard.
Never operate the appliance before it is
installed by qualified service personnel.
Hazardous injury and electric shock due
to open electrical systems are possible.
Electric shock hazard: Do not insert any
objects into the openings of the appliance.
To reduce the risk of fire, do not store
anything directly on top of the appliance surface.
Page 5
5
SAVE THESE INSTRUCTIONS
In the event of fire, use only carbon dio-
xide (CO2) to extinguish flames.
CAUTION
Do not touch hot surfaces. Use handles
or knobs.
Scalding hazard when appliance is
producing water and steam: Hot water
and steam can eject forcefully. Nozzle
gets hot. Be careful and follow the instructions. Do not point the nozzle at
yourself or others.
Keep children away when handling hot
beverages.
Never leave the appliance unattended
during operation. Keep the appliance
and accessories out of the reach of
children. Children and persons with
limited experience or capability may
only operate the appliance under the
close supervision and guidance of a
person responsible for their safety.
To avoid damage to health, always use
fresh water. Rinse and clean the appliance and the brewunit properly according to the instructions. Change the
waterfilter regularly.
Before prolonged periods of non-use,
unplug the appliance and empty the
watertank, bean container, drip tray,
and dregdrawer. Close the water connecting valve.
Installation
Only qualified service personnel is al-
lowed to install the appliance and connect it to the power and water supply
in accordance with the instructions for
installation (see Installation section).
The manufacturer cannot be held re-
sponsible for damage to property or
injury to persons caused by failure to
comply with the important safeguards
or installation and maintenance instructions contained in this manual.
Statutory regulations and the connection
specifications issued by the local power
company must be strictly observed.
To avoid hazardous damage, never install
the appliance on or beside hot surfaces
such as radiators, cooking rings, burners,
open flames, heated ovens, or similar
surfaces. The under-cabinet area must be
made of heat-resistant material. Do not
mount appliance over or near a sink.
Only connect the appliance to suitable,
grounded power supplies. Make sure
that the voltage of the power source is
the same as that specified on the rating
plate. The use of an incorrect connection voids the warranty.
If an extension cord is required, use
only a grounding-type 3-wire cable
with a conductor cross-section of at
least 1.5 mm². To reduce the risk of injury, do not drape cord over the counter
top or table top where it can be pulled
on by children or become an obstacle.
Do not let cord hang over edge or table.
Do not pull the cord over sharp edges
or compress it. Clamp it to avoid coiling. Keep the cord away from heat and
humidity.
Make sure plugs are accessible in emer-
gency situations.
Page 6

6
Safety Labels on the Appliance
Safety labels are an important part of the safety concept of the appliance. Make sure that
all safety labels on the appliance remain legible. Replace all safety labels that become
damaged.
Avoid Property Damage
• Never use warm or hot water to fill the
watertank. Use cold water only.
•
Never clean with scouring powders or
hard cleaning utensils. Use a damp cloth.
• To avoid damage from spilled water, only
connect the appliance to the water supply
via a valve. Close the valve when the appliance is not in use for an extended period (such as when you are on vacation).
Warranty and Liability
Küppersbusch guarantees this appliance against defects in materials and workmanship for
a period of two years from the date of purchase. During this period, we will either repair
or replace, at our discretion, any defective appliance at no charge to the owner. Replacement products or repaired parts will only be guaranteed for the remainder of the original
warranty period or six months, whichever is greater.
This limited warranty does not apply to any defect resulting from accident, misuse, improper
maintenance, or normal wear and tear.
Except to the extent allowed by applicable law, the terms of this limited warranty do not
exclude, restrict, or modify the mandatory statutory rights applicable to the sale of the
appliance to you and are intended as a supplement to said rights.
No liability is accepted for any damage resulting from uses of this appliance other than
those indicated, or from faulty operation or repairs by anyone other than qualified service
personnel.
Environmental Protection
Your appliance contains valuable materials that can be recovered or recycled. Separation
of the remaining waste materials according to type facilitates the recycling of valuable raw
materials. Leave the appliance at a collection point or customer service. You can obtain
information on disposal from your local authorities.
Packaging and appliance are made of recycled materials. Keep packaging away from
children due to suffocation hazard.
Page 7

7
Disposal
Isolate appliance from mains. Where the appliance is immovably fixed, this must be under
taken by a professional fitter!
The used appliance is not waste material without value. Proper disposal will allow reutilization of the raw materials.
You must dispose of this appliance in accordance with local waste disposal regulations.
Please contact your local authorities, the local recycling center for household waste, or the
dealer from whom you purchased this appliance. They can provide you with additional
information about the handling, utilization and re-utilization of this product.
To prevent accidents through improper use, especially where children are playing, the
appliance should be taken out of commission.
Remove plug from socket or have the connection disabled by an electrician. The power
cord must then be severed at the appliance.
Küppersbusch Customer Service
Please note:
In order for Customer Service department to adequately prepare for repairs and provide
the necessary spare parts, we require the following information from you in the event of a
Customer Service request:
1. Your full address
2. Your telephone number and, if applicable, your fax number
3. Your availability for a house call from Customer Service personnel
4. Exact designation of appliance: model and serial no. (refer to the type plate and/or
purchase receipt)
5. Date of purchase
6. Exact description of the problem or your service request
Also, please keep your purchase receipt handy.
This will help us save a lot of time and expense and also provide more efficient service for
you.
Page 8

8
Description of Appliance
Operating and Display Elements
Operating Panel (Flip-down Opening)
Rod handle
Operating panel (can be opened)
AromaControl
Nozzle
Coffee spout
Maintenance door
Drip tray
Dregdrawer (collects coffee grounds)
Drip mesh
Indicator
«Drip tray»
Descale
Settings
Large coffee
Coffee
Espresso
Hot water
Steam
To open operating panel, press rod handle
Plain text display
Select product
Ready for use
Select product
Ready for use
Page 9

9
Behind the Operating Panel
Behind the Maintenance Door
Accessories
Watertank
Bean container
Brewunit
Grinder setting
Key Brush Drip guard
Waterfilter Water-hardness
test strip
Coffee-oil
solvent
Main switch
Additional accessories can be obtained from Customer Service.
Connection to
direct water
supply
Connection
to watertank
WARNING
Scalding and electric shock hazard.
Ñ
Switch off appliance before opening maintenance door.
Page 10

2
3 4
1
2
1
10
Initial Operation
Connecting to the Watertank (When Not Using Direct Water Supply)
u
Open operating panel
by pressing rod handle.
u
Connect to direct water supply ( ).
Press on surface to detach supply pipe.
Range/Settings
Degree of Hardness 1
Degree of Hardness 2
Degree of Hardness 3 Degree of Hardness 4
Water-hardness test strip
German degree of hardness [˚dH]
0–7 7–14 14–21 above 21
French degree of hardness [˚fH] 0–12.5 12.5–25 25–37.5 above 37.5
Water Hardness
u
Water-hardness test: Hold test strip under water (1 second). Wait 1 minute.
u
Set water-hardness; see Settings section.
u
Open operating panel
by pressing rod handle.
u
Connect to watertank ( ).
Press on surface to detach supply pipe.
u
Insert waterfilter and fill
the watertank with water.
u
Program waterfilter;
see Settings section.
Waterfilter improves
quality of water and as a
result, appliance requires
less frequent descaling.
Connecting to a Direct Water Supply
CAUTION
When closing the operating panel, take care not to pinch hands.
Page 11

1 2 3
1 2
u
Switch on appliance
at main switch.
u
Close operating panel.
«Ventilate» appears on
plain text display.
1 2 3
11
Switching on the Appliance
Ventilating the System
Ñ
For language settings, see Settings section.
Ñ
To set and reset waterfi lter, see Settings section.
Adding Coffee Beans
Ñ
Remove bean container.
Ñ
Fill with coffee beans
(max. 300 g).
Ñ
Reinsert bean container.
u
Place a tall
container under
nozzle.
u
Press key until a
steady jet of water
is produced.
u
Press key again to
interrupt fl ow of hot
water.
CAUTION
Steam ejects forcefully! Scalding hazard from hot water and steam and
hot nozzle.
u Be careful. Never point nozzle at yourself or others.
Select product
Ready for use
Hot water
Dispensing...
Page 12

12
Settings
1
Start
u
2
Choose function
u
3
Set function
u
Press key to start. Select Confi rm Select Confi rm Cancel
Energy saving
The appliance switches over to energy-saving mode.
Waterfi lter
Reset this setting every time you insert a new waterfi lter.
Water hardness
The appliance should be set to the degree of water hardness (see Descaling).
Illumination
Switches illumination on or off.
Contrast
Adjustable contrast for the plain text display.
Language
Selects language for plain text display.
The following languages can be select: German, French, English, Spanish, Dutch, Italian,
Russian and Turkish.
Rinsing
Circuit is automatically cleaned when switched on.
Coffee is prepared using fresh water.
Temperature
Selects the temperature for preparing coffee.
The * symbol blinking on the plain text display denotes the setting selected.
Cancel by pressing «ESC».
or
Energy saving
Waterfilter On - Off - Reset
Water hardness Hardness 1 - … 2 - … 3 - … 4
Illumination On - Off
Contrast 10 20 30 40 50 60 70 80 90 100
Language Deutsch - Français - …
Rinsing On - Off
Temperature low - medium - high
Page 13

13
1
Start
u
2
Choose function
u
3
Set function
u
Prebrewing
The coffee is moistened prior to brewing. This is the best way to bring out the taste.
If setting is «large», coffee is prebrewed for 4 seconds.
Total coffee
Displays the total number of coffee portions served.
Timer
Selects a period after which the appliance goes to «Standby» mode (can be preset 3 hours).
Automatic switch
Cleaning cycle
The cleaning cycle is for degreasing the brewunit.
Factory settings
Resets all settings to default settings.
Espresso aroma
Selects the amount of ground coffee for espresso.
Coffee aroma
Selects the amount of ground coffee for coffee.
Large coffee aroma
Selects the amount of ground coffee for large coffee.
Press key to start Select Confi rm Select Confi rm Cancel
or
Sets whether on-off times are activated.
Sets clock time.
Sets on-off times.
Switches clock display on or off.
Exit
Exit from program mode
Prebrewing Off - On - long
Total coffees
Timer Standby after X:XX
Clock
Automatic On/Off - Clock time
On/Off time - Show clock time
Rinsing cycle
Factory settings Yes - No
Aroma espresso
Normal - Mild - Strong
Aroma coffee Normal - Mild - Strong
Aroma large coffee
Normal - Mild - Strong
Automatic On/Off Yes - No
Clock time XX:XX
On/Off time
On time XX:XX
Show clock time Off - On
Off time XX:XX
Exit
Yes - No
Page 14

A
B
C
C
14
Preparing Coffee
Ñ
Place 1 or 2 cups beneath spout.
Ñ
Preheat cups.
Ñ
For large cups:
push coffee spout up.
Ñ Press key to start brewing:
■ 1 cup = press once
■ 2 cups = press twice
AromaControl
Strength of coffee is adjustable
on a sliding scale.
espresso
Settings
espresso
Ñ
Press key to cancel
energy-saving mode.
Amount to Be Filled Grinder Setting
Ñ
Place cup below spout.
Ñ
Hold down key until the
required quantity is reached.
■
This quantity remains stored in
the memory.
CoarseFine
Mild coffee Strong coffee
1 e spres so
Dis pensi ng...
Select product
Ready for use
Page 15

A
B
C
D
15
cappuccino
cappuccino
For cappuccino, pour coffee directly
into the milk froth.
u
Pour cold milk into a suitable container.
u Fill container no more than one-third
full.
u
Hold container under the nozzle so
that the nozzle is immersed in the milk.
u
Start steam.
u
Rotate
container
when frothing
the milk.
Ñ
Stop the steam by pressing
key
.
Ñ
Remove
container.
As soon as there is enough froth:
CAUTION
Steam ejects forcefully! Scalding
hazard from hot water and steam and hot nozzle.
u Be careful. Never point nozzle at yourself or others.
Steam
Dispensing...
Page 16

16
Drawing Hot Water/Steam
Hot water
Steam
Ñ
Place cup under nozzle.
Drawing Hot Water
Ñ
Press key .
Ñ
Press key .
Starting the Steam
Once steam has started, condensed
water is produced at fi rst.
Ñ
Press key .
Ñ
Warm the drink by rotating the
container.
Ñ
Hold cup under the nozzle so that the
nozzle is immersed in the beverage.
As soon as the required temperature is
reached:
Ñ
Press key .
As soon as the required quantity has been
reached:
a
b
c
a
b
c
CAUTION
Steam ejects forcefully! Scalding hazard from hot water and steam and hot nozzle.
Ñ
Be careful. Never point nozzle at yourself or others.
Hot water
Dispensing...
Page 17

4 5
6
1 2 3
u
Switch off appliance.
u
Remove watertank/
bean container.
u
Clean watertank
(including strainers).
u
Clean the bean
container.
7 8 9
17
Care and Maintenance
Always follow the instructions. Any other servicing shall be performed by the Customer Service.
WARNING
Fire and electric shock hazard
Ñ
Switch off appliance before cleaning. Never immerse the cord, plugs, appliance, or brewunit in
water or other liquid. Never wash appliance parts in dishwasher or dry them in oven or microwave.
CAUTION
Possible health hazard due to bacteria.
Ñ
Always use fresh water. Rinse and clean the appliance and the brewunit properly according to
the instructions. Change the waterfi lter regularly.
Watertank/Bean Container
Drip Tray/Dregdrawer
u
Remove drip tray.
u
Remove dregdrawer.
u
Clean dredge
drawer.
u
Push top button and pull
coffee spout toward you.
Clean without detergent
under running water.
u Press coffee spout onto
holder until it locks into
place.
Coffee Spout
u
Remove drip tray.
u
Push back coffee spout,
fasten drip guard.
u
Open maintenance
door (push button is
behind cover).
Page 18

10
11
2 3
1
5 6
4
8
7
18
Brew Unit
Ñ
Pull lower part of
nozzle downward.
Ñ
Clean under running
water without detergent.
Nozzle
u
Open maintenance
door (push button
is behind cover).
u
Slide PUSH to the
right and remove
brewunit.
u
Remove drip tray.
u
Push back coffee spout,
fasten drip guard.
u
Reinsert top strainer;
turn key clockwise.
Remove key.
u
Reinsert the brewunit
into the machine.
u
Insert key and turn
counter-clockwise; remove
top strainer. Clean and
dry top strainer.
WARNING
Scalding and electric shock hazard.
Ñ
Switch off appliance before opening maintenance door.
u
Insert drip tray;
replace coffee
spout.
u
Close maintenance
door; reset drip guard
to previous position.
CAUTION
Scalding hazard from hot
nozzle.
Ñ
Use handles or knobs or
allow to cool down.
Page 19

i
2
4
3
6 5
19
Descaling
Perform whenever plain text display shows
Depending on water quality, descale appliance every 3 – 4 months.
u
Open operating panel.
u
Connect to watertank
( ). Press on surface
to detach supply pipe.
u
Take out waterfi lter. Add
descaling agent in accordance
with manufacturer‘s instructions
and dilute with water (min. 1 liter).
Reinsert watertank.
u
Place large container
(min. 1 liter) beneath nozzle.
u
Press key
u
Press key .
u
Select
u
Press key .
This starts the descaling
process.
The appliance runs
automatically at 1-minute
intervals until the message:
is displayed. Continue
with «Rinsing».
Preparation
Starting Descaling
CAUTION
Descaling agent can be harmful to health.
u Rinse and clean the appliance and the brewunit properly according to the instructions.
notice
Risk of malfunction and damage to appliance and surfaces.
u Only use descaling agents that are suitable for this appliance. Never use vinegar.
u Place appliance on a surface resistant to descaling agents, coffee and other fl uids.
The descaling process lasts 30 minutes and cannot be interrupted.
Descaling
Yes
Machine is
descaling
Decalcify
Yes
Rinse machine
Fill watertank
Page 20

7
8
9
10
11
12 !
20
Rinsing
Finishing Descaling
Ñ
Thoroughly rinse water
tank.
Ñ
Fill with fresh water.
Ñ
Press key .
Rinsing begins.
You can interrupt and
continue rinsing by
pressing the key .
Rinsing is complete as
soon as the plain text
display indicates:
Ñ
Press key .
Ñ
Thoroughly rinse water
tank.
Ñ
Insert waterfi lter.
Ñ
Fill with fresh water.
Ñ
Reinsert watertank.
Ñ
Press key .
Venting begins.
Ñ
Draw hot water until
a steady jet of water
is produced.
Ñ
Press key to fi nish.
If the appliance is
connected to the direct
water supply...
Ñ
...press on surface
to detach supply pipe.
Then connect to direct
water supply ( ).
Rinse machine
Press water key
Rinsing finished
Press water key
Page 21

1
3
2
5
4
!
21
Cleaning Cycle
Ñ
Add coffee-oil solvent
to brewunit.
Ñ
Insert brewunit.
Ñ
Press key .
Ñ
Place container
beneath coffee spout.
notice
Risk of damage from incorrect cleaning.
Ñ
Never clean with scouring powders or hard cleaning utensils. Use coffee-oil solvent only.
Clean appliance every two weeks or after 250 cups.
Ñ
Select
by pressing key .
Ñ
Confi rm by pressing
key .
Ñ
Approx. 8.5 dl of water
is pumped out in approx.
7 minutes.
Ñ
Select
by pressing key
.
Ñ
Confi rm by pressing
key .
If the appliance is connected
to the direct water supply...
Ñ
...fi ll the watertank with
fresh water.
Energy saving
Rinsing
YesRinsing cycle
Factory settings
Rinsing cycle
Yes
Page 22

22
Troubleshooting
Always follow the instructions. Any other servicing shall be performed by the Customer Service.
■ Brewunit cannot be
removed for cleaning.
■ Appliance takes a long
time to heat up.
■ No hot water or steam
produced.
■ Coffee is not hot enough.
■ No illumination.
■
Too little coffee or none at all
is produced.
■ Appliance does
not switch on.
See
Page
Ñ
Turn on main switch. 11
Ñ
Check power connection.
Ñ
Check fuse in interior installation of building.
Ñ
Preheat cups with hot water. 16
Ñ
Set brewing temperature correctly. 12
Problem Remedy
Ñ
Switch off appliance! 18
Ñ
Clean nozzle.
Ñ
Descale appliance. 19
Ñ
Close maintenance door.
Ñ
Switch on appliance (initializes brewunit).
Ñ
Check grinder setting and AromaControl. 14
Ñ
Switch on main switch. 11
Ñ
Adjust illumination. 12
Ñ
Press key .
Ñ
Descale appliance. 21
Ñ
Fill watertank with fresh drinking water. 12
Ñ
Fill bean container. 13
Ñ
Open maintenance door, empty dregdrawer.
19
Ñ
Close the operating panel
Ñ
Insert the Brewunit in it‘s place.
■ Brewunit cannot be
reinstalled after cleaning.
Ñ
Press PUSH so that locking/unlocking
lever engages.
Adjust illumination Remedy
Energy saving
Decalcify
Fill watertank
Coffee beans empty
Dregdrawer full
Close control panel
Brewunit missing
Page 23

23
Ñ
Insert brewunit correctly. 20
If this doesn‘t help, call Customer Service.
Ñ
Insert drip tray/dregdrawer correctly. 19
Ñ
Close maintenance door. 11
Ñ
Vent system (during initial use). Press key .
Ñ
Call Customer Service.
Ñ
Call Customer Service.
Ñ
Call Customer Service.
Message Remedy
Technical Specifi cations
Voltage Rating
Shell material
Dimensions (w x h x d)
Weight
Cord length
Operating panel
Watertank
Coffee bean hopper capacity
Water connections
Pump pressure
Boiler
Safety devices
n
120V/60Hz/1250W/15A
n
Metal
n
595 x 380 x 320 (mm)
23.46 x 14.88 x 12.84 (inch)
n
23 kg /51 lbs
n
1200 mm /47¼“
n
Pushbutton
n
1.75 liters /59.17 fl uid ounces
n
300 g /10 ounces of coffee beans
n
Maximum pressure 0.8 MPa (8 bar)
Minimum pressure 0.05 MPa (0.5 bar)
n
0.15 MPa (15 bar)
n
2 – Stainless Steel – Aluminum
n
Boiler pressure safety valve
Subject to engineering and manufacturing changes due to technological developments.
The machine conforms to the Underwriters Laboratories Standard UL 1082 and the
Canadian Standard C22.2 No. 64-M91.
See
Page
Brewunit blocked
Dregdrawer missing
Close door
Ventilate
Brewunit blocked
Grinder blocked
Fault on
water system
Page 24

KÜPPERSBUSCH USA
1883 Massaro Blvd.
Tampa, Florida 33619
Telephone: 813-288-8890 Fax: 813-288-8604
Customer Care Line: 1 - 800 - 459 - 0844
www.kuppersbuschusa.com
KÜPPERSBUSCH IS A BRAND OF TEKA USA, INC .
J336.250-0
THE FUTURE OF CO OKI NG SINCE 1 875
 Loading...