

KVM-TEC PROVX2, PROVX2-F Instruction Manual
Profiline PROVX2/PROVX2-F KVM Extender
Instruction Manual
Part No. 6202
PROVX2
Part No. 6302
PROVX2-F

KVM-TEC PROVX2(-F) Ver. 1.1 Long
kvm-tec electronic gmbh – 2522 Oberwaltersdorf – Kulturstrasse 1 – Austria
Tel +43-2253 / 81912 – Fax +43 2253 819 12 99 – Email office@kvm-tec.com
- 2-
www.kvm-tec.com
1 PROVX1 Package contents
1x PROVX2(-F) / PC 1x USB/Audio cable
1x PROVX2(-F) / Monitor 1x Instruction manual
2x Power cable 2pol. 8x Rubber feet
2x DVI-cable 4x SFP Modul-Multimode (only by Fibre)
2 Specifications
Max. ambient temperatur: 45° Celsius
Dimensions: 220 x 45 x 130mm
Weight: 1547g per Set
Power input: 12W per device
Material: anodized aluminium
Power supply: internal 100-240V
Fibre model: Class 1 Laser Product 1 according to DIN 40008/EN and
VDE 0837
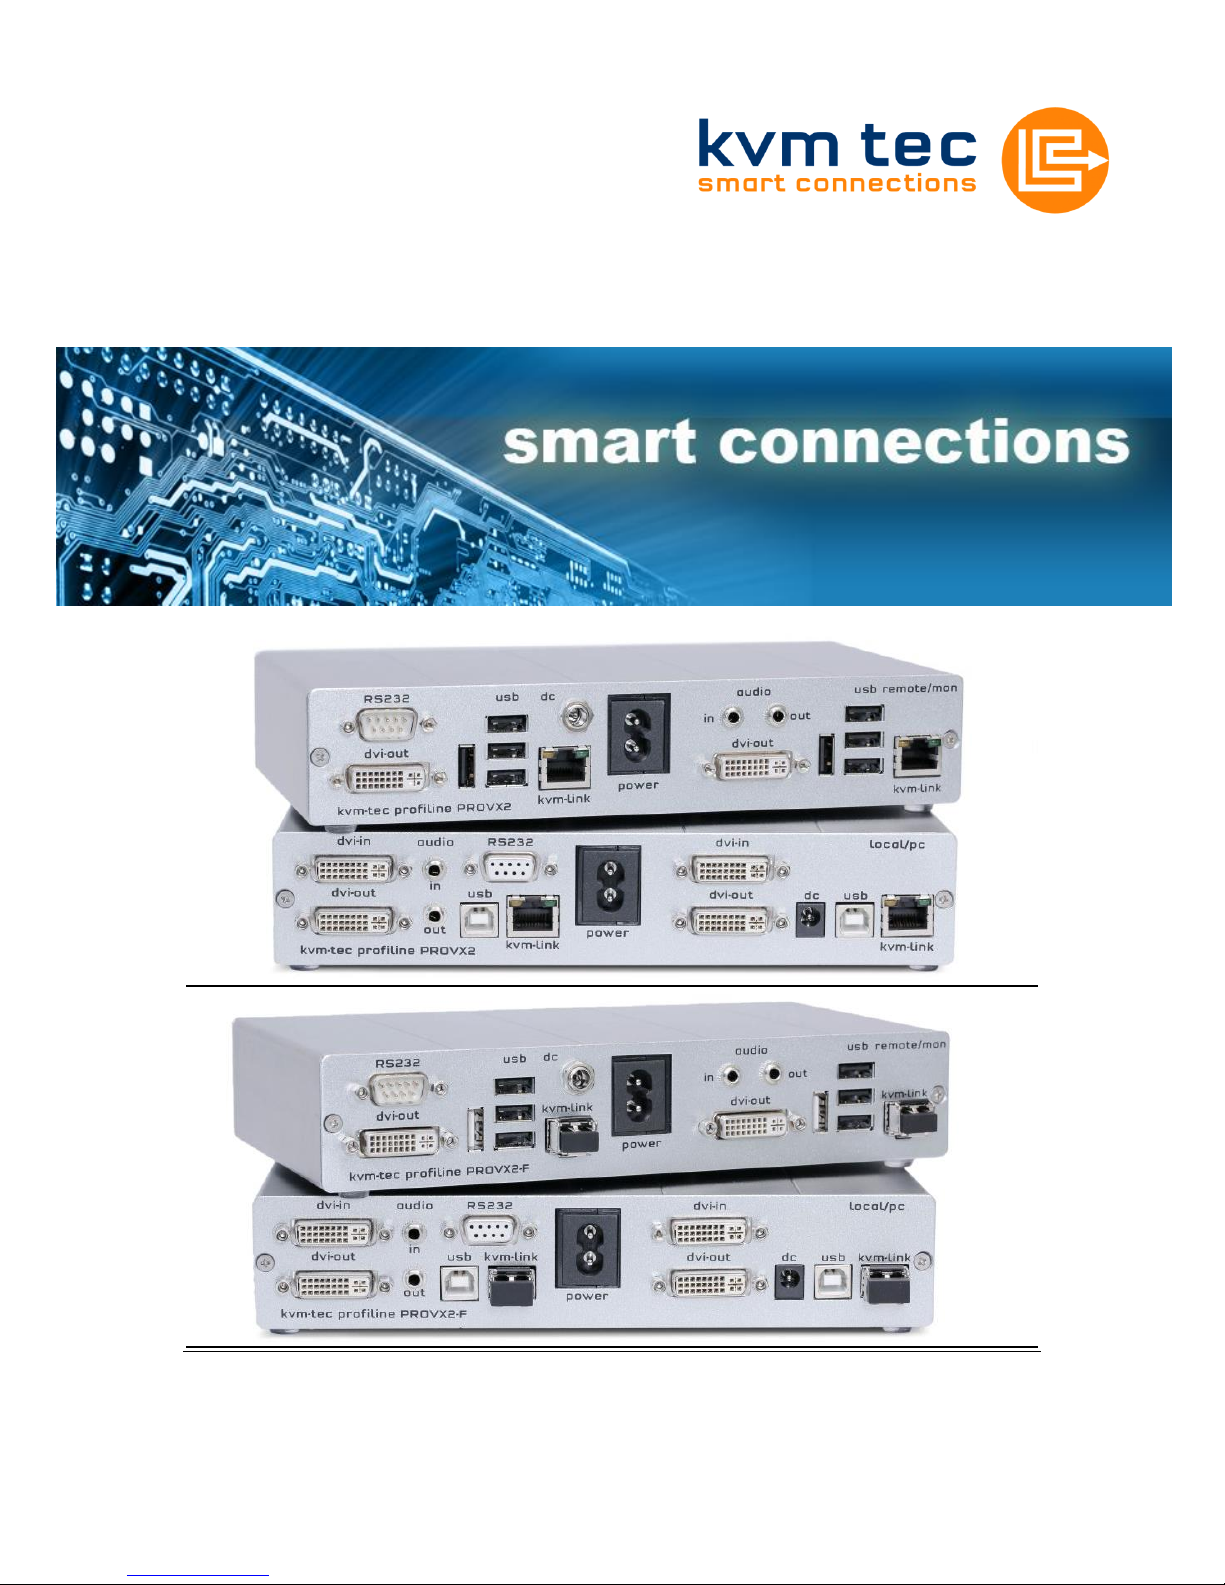
3 Installation
Connect all the cables from your PC as shown in the following diagram.
KVM-TEC PROVX2(-F) Ver. 1.1 Long
kvm-tec electronic gmbh – 2522 Oberwaltersdorf – Kulturstrasse 1 – Austria
Tel +43-2253 / 81912 – Fax +43 2253 819 12 99 – Email office@kvm-tec.com
- 3-
www.kvm-tec.com
3.1 Plug in/unplug the CATx cable
The Masterline MVX CATx Extender is delivered with an RJ45 socket.
Plug the CATx cable with the corresponding RJ45 plug (see section 7
requirements for CATx cable) into the RJ45 socket. Check that the plug is
latched in place to prevent faults.
To remove the CATx cable press the latch down and slowly pull the cable
out.
3.2 Plug in/unplug the LWL cable
Fibre model: Class 1 Laser Product 1 according to DIN 40008/EN and
VDE 0837
Attention: Avoid exposure to the beam!
The Masterline MVX Fibre Extender is delivered with a multimode SFP
module as standard. If a different SFP module is used, remove the black
dust protector from the SFP module and pull the metal latch of the module
forwards until it’s at a right angle, then the SFP module may be removed.
To plug in the new SFP module into the extender follow the same steps in
reverse.
To connect the fibre cable check that dust protector has been removed
and slot the fibre cable in until latch has clicked in to place. To remove the
fibre cable press on the latch and slowly remove the cable.
KVM-TEC PROVX2(-F) Ver. 1.1 Long
kvm-tec electronic gmbh – 2522 Oberwaltersdorf – Kulturstrasse 1 – Austria
Tel +43-2253 / 81912 – Fax +43 2253 819 12 99 – Email office@kvm-tec.com
- 4-
www.kvm-tec.com
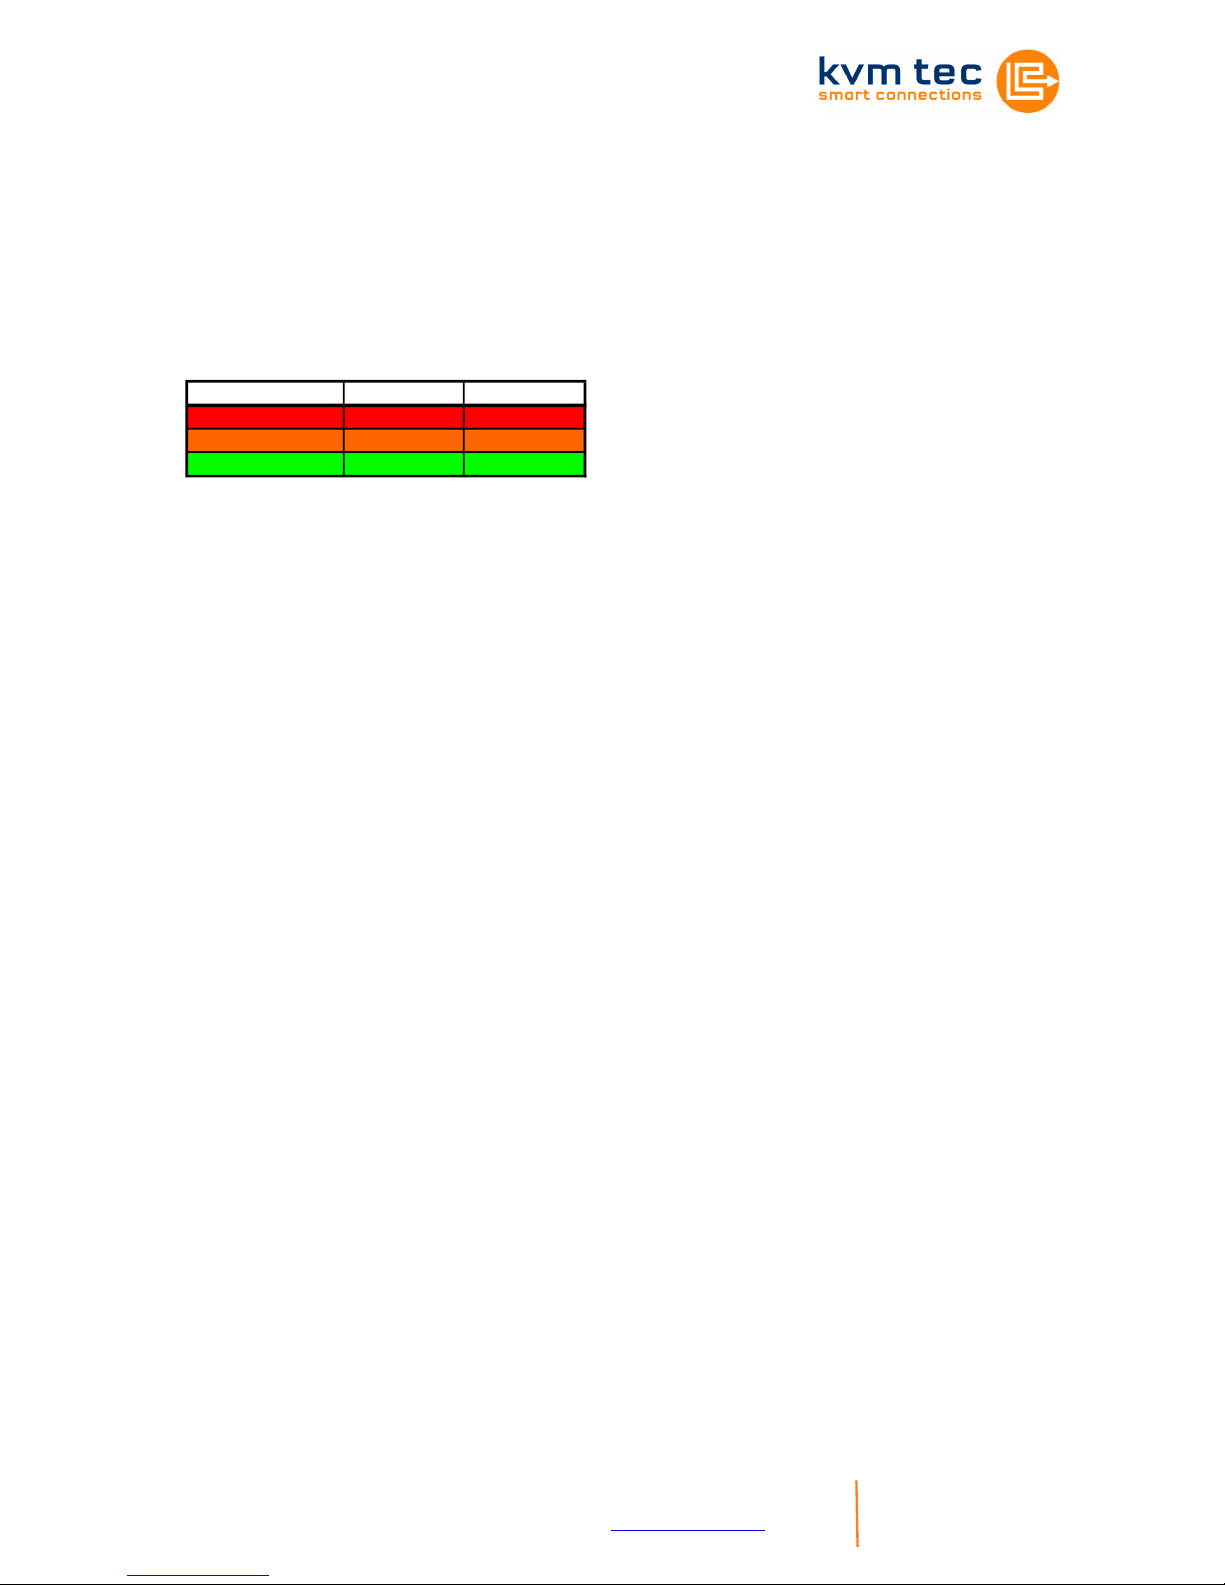
4 Start up
Switch on all devices. Both Extender units will start an automated
initialisation process, signified by a blinking red status light, this may take
a few seconds. When the status light turns green, all signals will be
transmitted.
SVX Status LED Verbindung Videosignal
rot
orange
grün
5 Mounting Options
5.1 Rackmounting Kit
Our rack mounting kits make installation convenient.
Optional (Part No. 6430)
5.2 Underdesk Mounting Kit
Optional (Part No. 6735)
 Loading...