

Kuzma XL AIR KIT, XL AIR Instruction Manual
INSTRUCTION MANUAL
KUZMA XL AIR KIT for STABI XL DC Turntable
S/N:…….......
Air pressure:..............
2019-06
1

CONTENTS: Page:
1.0. General 2
2.0. Description 3-4
3.0. Turntable modification 5- 6
4.0. Air supply set up 7-11
5.0. Platters 12-15
6.0. Maintenance 16
7.0. Troubleshooting 17
8.0. Transport 18
1.0.0.0. GENERAL:
1.1.0.0. PRODUCT REGISTRATION AND WARRANTY:
Kuzma products have a non transferable 2 year limited warranty on parts and labour.
1.2.0.0. TECHNICAL DATA:
Mass (total w/o PS and compressor) : 120 kg
Bronze platter- lower 22 kg
Air pressure 4 bars
Dimension-compressor: 180x410x430 mm
Compressor mass: 20 kg
Mains: 110V or 240 V, 50/60Hz (factory set)
1.3.0.0. SAFTEY PRECAUTIONS:
Electrical connection to the compressor from the mains comes via supplied cable. Please keep
compressor away from moisture and be careful not to damage the mains cable. Keep it dry in a ventilated
place above freezing temperatures. See page 6.
1.4.0.0. PACKING:
Be aware that the box is very heavy and that the centre of gravity might not be in the middle of the box.
Inside are cutouts in the packaging blocks of firm foam for various parts of the kit. Some parts are very
heavy, so handle with care while lifting from the boxes and placing them on the assembly surface.
BOX :
2 pcs internal boxes A+B
1 set Double PVC bottles
1 set Silver filters with stands
Box A:
Bronze platter, base with air bearing, brass tonearm tower plate, Allen key 6 mm, 2 sets of 4 mm black
tubes (21+ 4 m), 1 pvc bottle of isopropyl alcohol.
Box B:
Compressor, oil, air intake filter, compressor manual
2

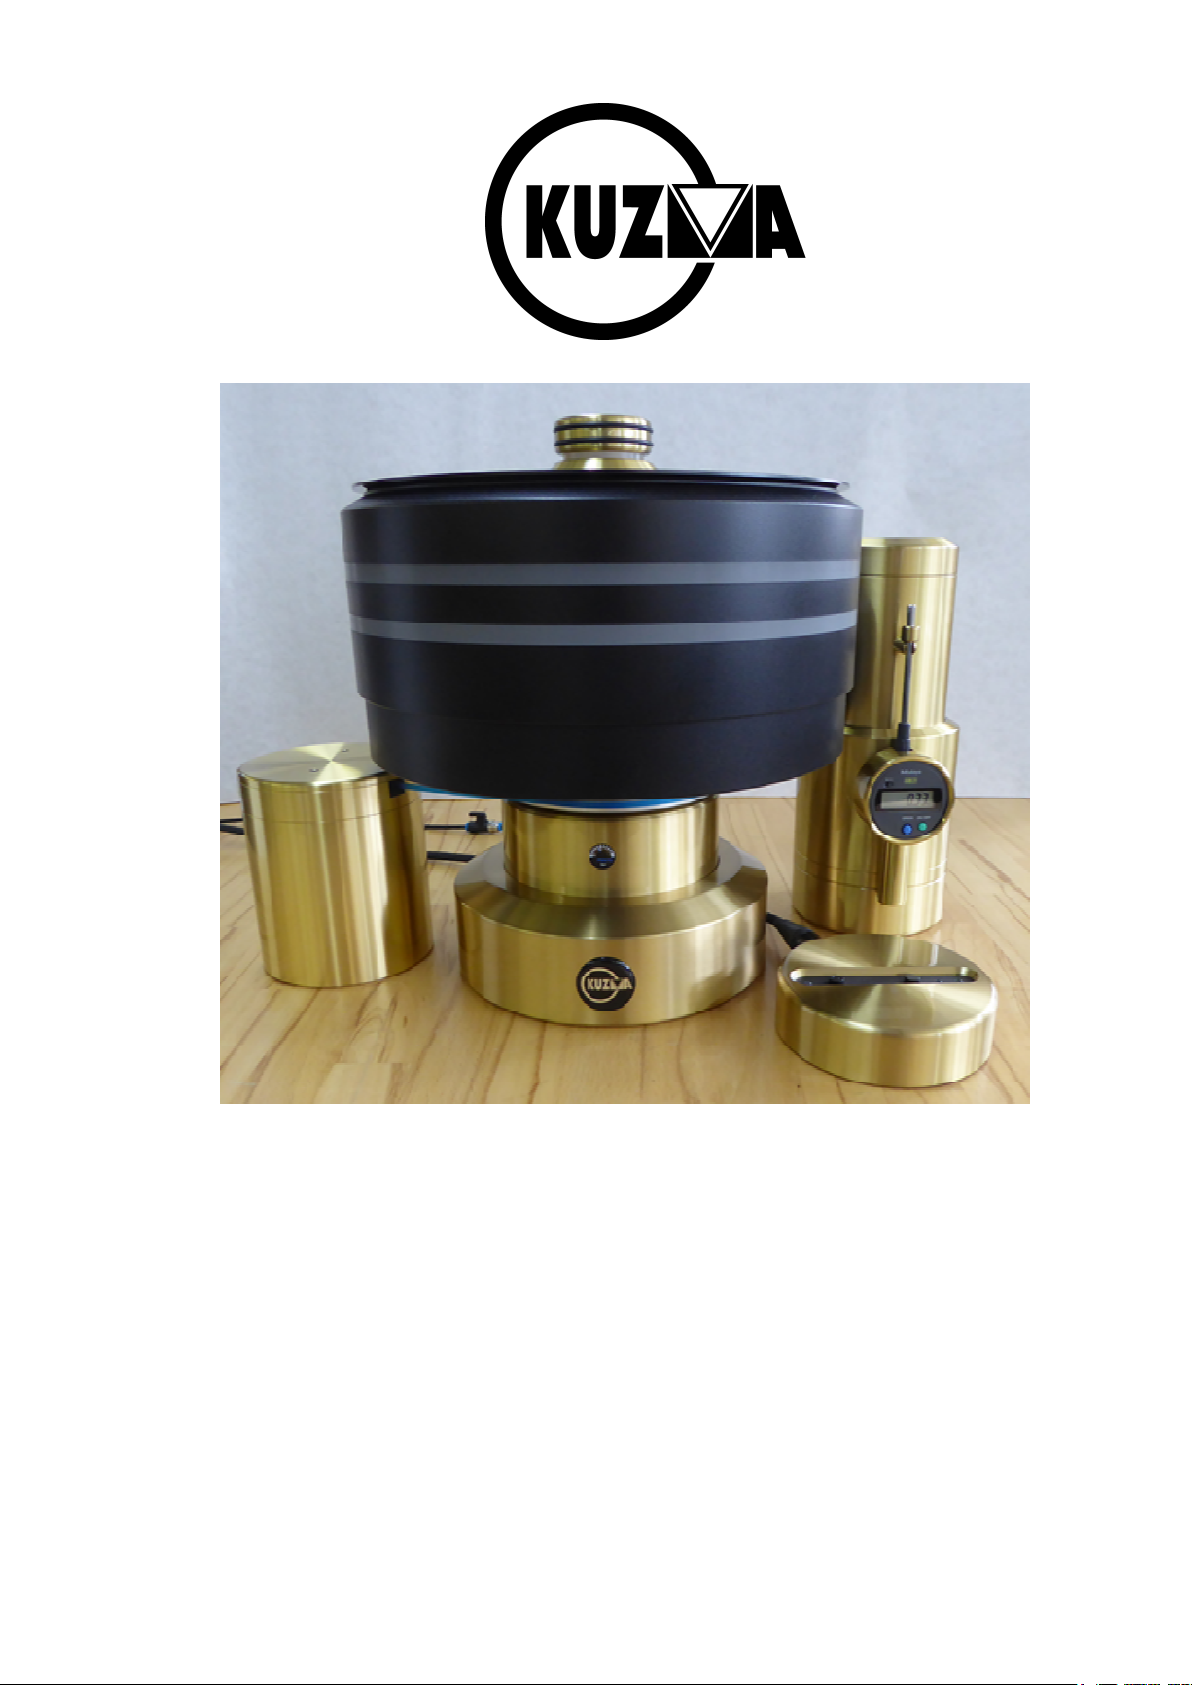
Fig. 1. XL AIR kit parts without compressor and silver filters
2.0.0.0. DESCRIPTION:
The XL Air turntable uses an air bearing instead of a coventional bearing which allows improvement of
two important parameters in turntable design. Air bearings have almost zero friction and thus no vibration
in the bearing itself, so no noise reaches the cartridge. The second advantage of a properly designed air
bearing (not simply floating on an air cushion) is a higher load. Adding an additional 22 kg bronze platter
increases the rotational mass of both platters to 44 kg, making it more immune to cartridge drag which
slows down any platter regardless of mass and drive.
Conversion into an XL AIR version is simple but requires some technical skill. Using a high pressure air
supply ( 4 bars) requires you to follow the instruction manual until you become familiar with what is
required.
The air bearing actually consists of two bearing surfaces. The top surface carries the vertical load while
the cylindrical hole carries the horiontal load. The air bearing surfaces are made from porous carbon which
has milions of small holes to let air pressure out. This creates more uniform pressure inside the bearing's
gap thus making the air bearing stiffer with zero movements.
2.1.0.0. MODIFICATION:
This can only be done on an XL DC turntable. If you have XL, XL2 or XL4 version you would need first
to covert your turntable into XL DC version( AC motors in older versions will just not be able to rotate
such a heavy mass turntable).
The upper part of the base is replaced with a new upper base which holds the air bearing. The new
subplatter with the air bearing shaft will support both platters.
The bronze platter (22 kg) fits on the new subplatter and supports the existing platter. The mat height is
now 40 mm above the supporting shelf. For this reason the tonearm tower also needs to be raised with an
additional tower support brass plate. Fig.1.
An air compressor supplies air pressure flow to the air bearing base.
3

2.2.0.0. AIR PRESSURE SUPPLY:
This consists of the compressor, silver filters and tubes.
2.2.1.0. Air pressure line
NOTE: The air supply line is under high pressure 4-8 bar so do not disassemble any parts under
pressure. Turn off the compressor and release pressure from the air supply line.
Pressurised air flow comes from the compressor via the black PVC tube to the silver filters. From the
silver filters the air flow goes via a black PVC tube to the base with the air bearing (turntable). The air
bearing requires clean air to function properly. Air contains dust particles, water and oil moisture and
these are removed using filters along the air supply line.
2.2.2.0. Compressor
This creates pressurised air flow ( up to 8 bars). Position the compressor in a suitable place with its own
mains outlet. It generates heat and requires natural ventilation to cool down.
The compressor has 3 filters built in. The first filter is an air inlet to filter dust, the second filter is below
the pressure regulator and the third filter collects condensation from the compressor’s reservoir. The
compressor’s automatic system removes all this debris via three tubes into double PVC bottles. Fig. 7.
2.2.3.0. Silver filters
These filters remove the final fine dust and moisture from the air flow just prior to the air
bearing.Fig.6&11..
4

3.0.0.0. STABI XL DC MODIFICATION:
3.1.0.0. AIR BEARING BASE FITTING:
NOTE: Some parts are very heavy, so be careful when handling!
NOTE: Choose a suitable supporting table which can hold over 120 kg kg without warping. If you
are using more than one tonearm tower be sure that the support can handle the extra mass.
NOTE: While the parts are packed in plastic bags for protection, these are not intended to be
strong enough to lift or carry the contents.
3.1.1.0. Removing parts:
Remove tonearm tower and protect your cartridge. Remove platter, belt, subplatter and motor tower.
Clean all the oil around the shaft area. Mark current base and motor tower position. Fig. 2. See XL DC
manual for details.
3.1.2.0. Replacing the upper base with the air bearing base:
Four screws underneath hold together the upper and lower base. Carefully position the base slightly over
the edge of table to expose one screw at a time. Release all 4 screws using Allen key 6 mm. Then remove
one screw at a time. Remove the upper base with ruby shaft from the lower base. Fig. 5.
Fig. 2. Base with ruby shaft Fig. 3. Base –underneath are 4 screws
Locate the new upper base with air bearing (Fig. 4.) and position it over the lower base ( Fig. 5.). See that
the air indicator is in the front position above the Kuzma label. Insert one screw at a time and fix them
gently. Only after you fit all 4 screws secure them firmly.
Fig. 4. Upper base- air bearing covered Fig. 5. Complete base over the table edge
5

3.1.3.0. Base with fitted air bearing
Position base back in the same position as was before.
Fig. 6. Base with air bearing-for now ignore silver filters
NOTE: Before you proceed further with motor tower or platters you need to set up the air supply first!
6
 Loading...