


OWNER’S MANUAL
Thank you for purchasing the Kustom Sienna65 model acoustic/electric guitar amplifier.
Kustom has listened to musicians throughout the world and stands proudly behind each
and every one we make. Flexible, feature laden, great sounding, able to adapt to all kinds
of music, this amplifier really delivers what you have been looking and waiting for.
Whatever style you choose, it’s ready!
Kustom, with a 30-year tradition of excellence, proudly delivers a rugged and dependable
amp designed and engineered in the USA. Again, thank you for your purchase. Please
take a few minutes to learn about all of the built-in professional features.
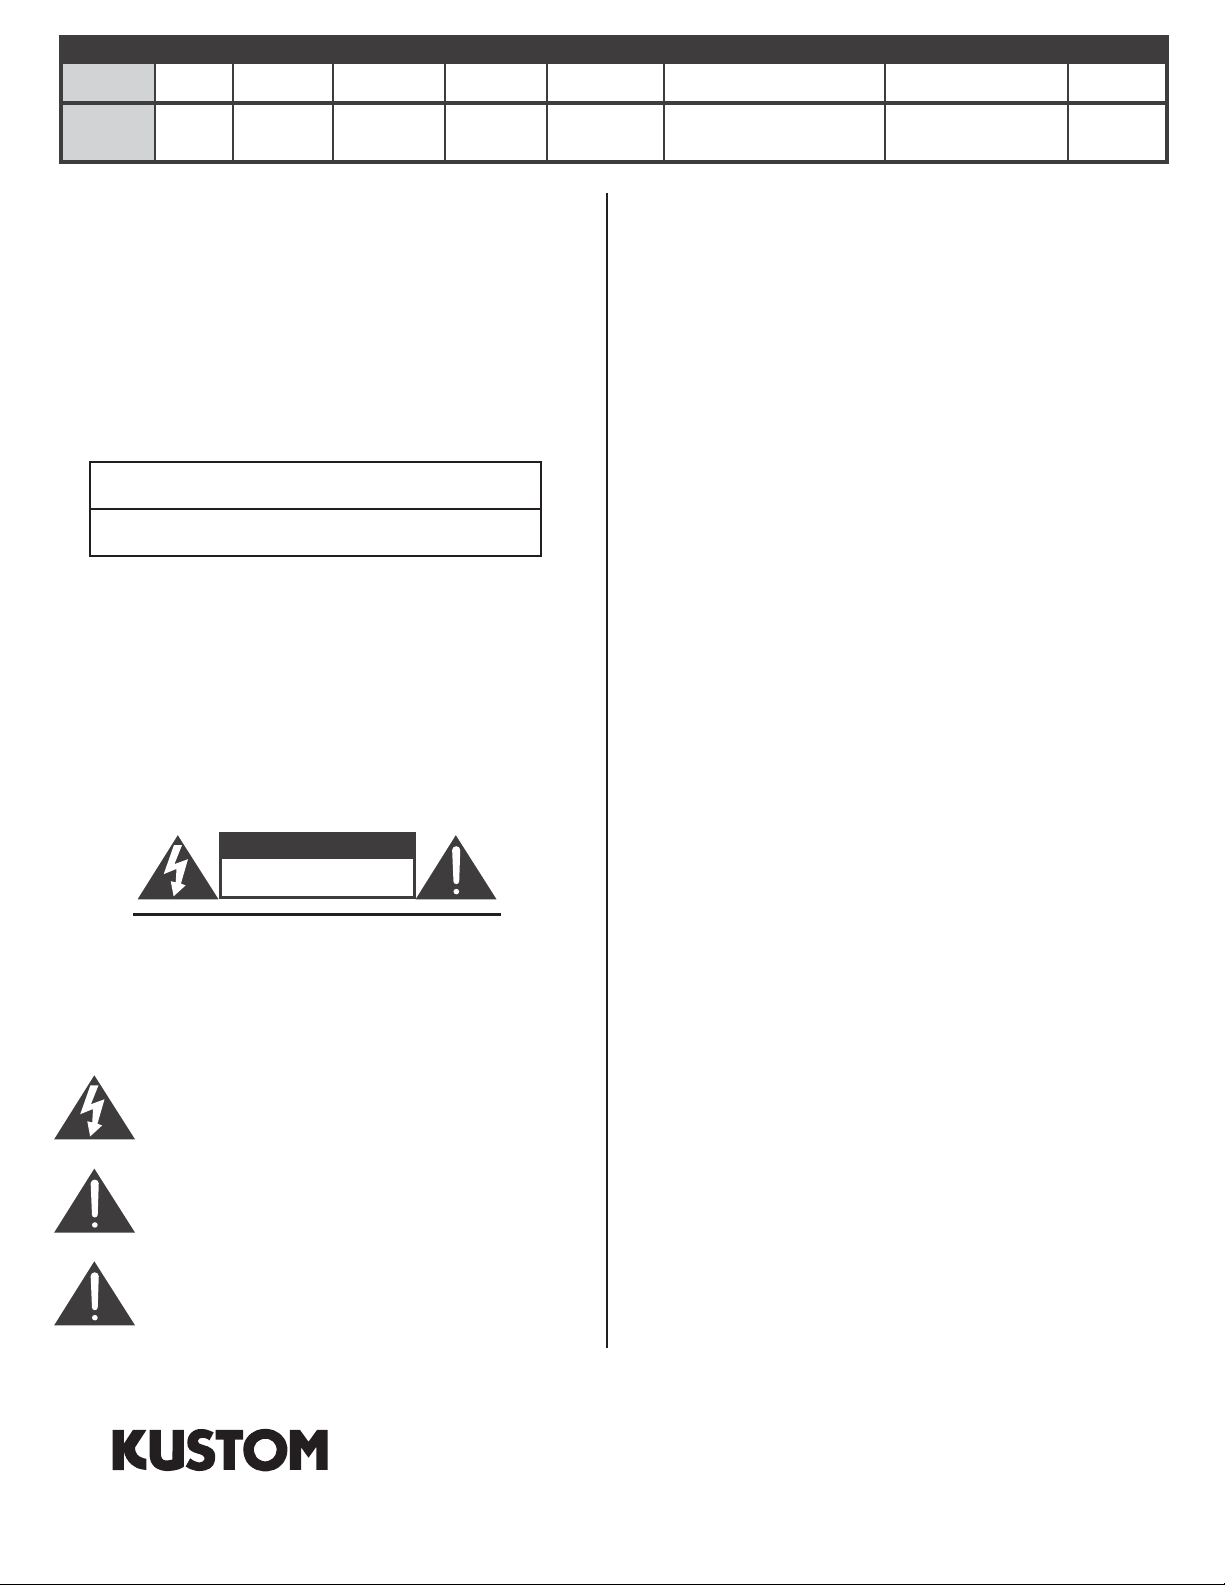
Model Power Equalizer Channels Impedance Effects Amplifier Type Dimensions Weight
Sienna65 65 W Dual Two 8 Ohms 8 Preset MOS-FET Transistor 21" x 11.5" x 17.5" 48 lbs.
ENGLISH
Danger
Exposure to extremely high noise levels may cause a permanent
hearing loss. Individuals vary considerably to noise induced hearing
loss but nearly everyone will lose some hearing if exposed to sufficiently
intense noise for a sufficient time. The U.S. Government's
Occupational Safety and Health Administration (OSHA) has specified
the following permissible noise level exposures:
DURATION PER DAY (HOURS)86432 1
SOUND LEVEL (dB) 90 93 95 97 100 103
According to OSHA, any exposure in the above permissible limits could
result in some hearing loss. Ear plugs or protectors in the ear canal or over
the ears must be worn when operating this amplification system in order to
prevent a permanent hearing loss. If exposure in excess of the limits as
put forth above, to insure against potentially harmful exposure to high
sound pressure levels, it is recommended that all persons exposed to
equipment capable of inducing high sound pressure levels, such as this
amplification system, be protected by hearing protectors while this unit is in
operation.
CAUTION
RISK OF ELECTRIC SHOCK
DO NOT OPEN
CAUTION:
AVIS: RISQUE DE CHOC ELECTRIQUE-NE PAS OUVRIR.
THIS SYMBOL IS INTENDED TO ALERT THE USER TO THE PRESENCE
OF NON-INSULATED "DANGEROUS VOLTAGE" WITHIN THE
PRODUCT'S ENCLOSURE THAT MAY BE OF SUFFICIENT MAGNITUDE
TO CONSTITUTE A RISK OF ELECTRIC SHOCK TO PERSONS.
THIS SYMBOL IS INTENDED TO ALERT THE USER TO THE PRESENCE
OF IMPORTANT OPERATING AND MAINTENANCE (SERVICING)
INSTRUCTIONS IN THE LITERATURE ACCOMPANYING THE UNIT.
APPARATUS SHALL NOT BE EXPOSED TO DRIPPING OR SPLASHING
AND THAT NO OBJECTS FILLED WITH LIQUIDS, SUCH AS VASES,
SHALL BE PLACED ON THE APPARATUS.
TO REDUCE THE RISK OF ELECTRIC SHOCK, DO
NOT REMOVE CHASSIS. NO USER-SERVICEABLE
PARTS INSIDE. REFER SERVICING TO QUALIFIED
SERVICE PERSONNEL.
IMPORTANT SAFETY INSTRUCTIONS
1. Read all safety and operating instructions before using this product.
2. All safety and operating instructions should be kept for future
reference.
3. Read and understand all warnings listed on the operating instructions.
4 . Follow all operating instructions to operate this product.
5. This product should not be used near water, i.e. Bathtub,
sink,swimming pool, wet basement, etc.
6. Only use dry cloth to clean this product.
7. Do not block any ventilation openings, It should not be placed flat
against a wall or placed in a built-in enclosure that will impede the
flow of cooling air.
8. Do not install this product near any heat sources ;such as,radiators,
heat registers, stove or other apparatus (including heat producing
amplifiers) that produce heat.
9. Do not defeat the safety purpose of the polarized or grounding-type
plug. A polarized plug has two blades with one wider than the 0ther.A
grounding-type plug has two blades and a third grounding prong. The
wide blade or the third prong are provided for your safety If the
provided plug does not fit into your outlet, consult an electrician for
replacement of the obsolete outlet.
10. Protect the power cord being walked on or pinched, particularly at
Plugs, convenience receptacles and the point where they exit from
the apparatus. Do not break the ground pin of the power supply cord.
11 . Only use attachments specified by the manufacturer.
12. Use only with the cart, stand, tripod, bracket, or table specified by the
manufacturer or sold with the apparatus. When a cart is used, use
caution when moving cart/apparatus combination to avoid injury from
tip-over.
13. Unplug this apparatus during lightning storms or when unused for
long periods of time.
14. Care should be taken so that objects do not fall and liquids are not
spilled into the unit through the ventilation ports or any other
openings.
15. Refer all servicing to qualified service personnel. Servicing is required
when the apparatus has been damaged in any way; such as, powersupply cord or plug is damaged, liquid has been spilled or objects
have fallen into the apparatus, the apparatus has been exposed to
rain or moisture, does not operate normally or has been dropped.
16. WARNING: To reduce the risk of fire or electric shock, do not expose
this apparatus to rain or moisture.
Kustom Inc., 4940 Delhi Pike, Cincinnati, OH USA
(800) 999-5558 Fax: (513) 347-2192 / www.kustom.com
•
2

INSTRUMENTMICROPHONE
PIEZO ACTIVE
GAIN 1
BASS
EFFECTS PHASE
EFFECTS
BASS
TREBLE
TREBLEMIDDLE
65 WATT MOSFET ACOUSTIC GUITAR AMPLIFIER
GAIN 2
FEEDBACK
VLUME
O
LEVEL
ONON
PROGRAM
4
3
2
5
1
1. BRIGHTROOM
2. MELLOWROOM
6
3. BRIGHTHALL
4. MELLOWHALL
7
5. CHORUS
6. CHORUS/ROOM
7. CHORUS/HALL
8
8. SLAPBACK
POWER
1.) Microphone Input - this is a 3 cond. XLR input jack for plugging in Lo-Z microphones. It is intended for microphones and
has 15V Phantom Power for condensor microphones.
2.) Piezo Input - this is a 1/4” 2 conductor input jack for plugging in your instrument. It is intended for an acoustic/electric guitar
with a piezo-electric pickup.
3.) Active Input - this is a 1/4” 2 conductor input jack for plugging in your instrument and will place a -20db pad in the circuit
which will allow use of active on-board electronics from pre-amplified guitars. This will help keep the signal extremely clean.
4.) Gain 1 - this control is the preamp input for the microphone input. Slowly increase the control to increase the volume.
5.) Effect On/Off- this switch will turn the effects for the microphone channel on and off.
6.) Bass - this control is the bass control for the microphone channel. It is passive and set to shelve frequencies at 100 Hz.
Turning it fully clockwise, the signal is unaltered. Turning it counterclockwise, the low will be rolled off -12db.
7.) Middle - this control is the midrange control for the instrument channeI. It is passive and set to shelve frequencies at
1KHz.Turning it fully clockwise, the signal is unaltered. Turning it counterclockwise, the middle will be rolled off -12db.
8.) Phase Reversal On/Off- this switch will reverse the phase on pins2&3forthemicrophone to help with feedback or overly
loud bass frequencies from the microphone channel.
9.) Treble - this is the high frequency tone control for the microphone channel. It is passive and set to shelve frequencies at
3KHz. Turning it fully clockwise, the signal is unaltered. Turning it counterclockwise, the highs will be rolled off -12db.
10.) Gain 2 - this control is the preamp input for the instrument input. Slowly increase this control to increase the volume on
the instrument inputs.
11.) Effects On/Off- this switch will turn the reverb for the instrument channel on and off.
12.) Bass - this control is the bass control. It is passive and set to shelve frequencies at 100 Hz. Turning it fully clockwise, the
signal is unaltered. Turning it counterclockwise, the low will be rolled off -12db.
13.) Treble- this is the high frequency tone control. It is passive and set to shelve frequencies at 3KHz on the instrument
channel. Turning it fully clockwise, the signal is unaltered. Turning it counterclockwise, the highs will be rolled off -12db.
14.) Feedback On/Off - this switch will engage the Feedback control.
15.) Feedback - this control is a cut filter notch with an extremely narrow width. It sweeps between 50Hz & 500Hz and “fine
tunes” the midrange of the acoustic guitar. This helps elimate unwanted “ringing” tones.
16.) Master Volume - this is the overall volume level control for the amplifier. To keep distortion at a minimum, we suggest you
turn this up between 1/2 and 2/3, then bring up the individual channels.
17.) Effects On/Off- this switch will turn the digital effects for the entire unit on and off.
18.) Effects Level - this control adds the digital effects and mixes them into the main signal.
19.) Effects Program - this control selects between the different digital effects. Effects include: 4 Reverbs, 1 Delay, 1 Chorus, 2
Chorus & Reverb.
20.) Jewel Light - this jewel light lets you know that the amplifier is on.
21.) Power - this switch turns on and off the AC power to the amp.
Back Panel - (not pictured)
Speaker Out - this is a 2 conductor 1/4” speaker output jack. This will disconnect the internal speaker and allow an external
speaker cabinet to be employed. Rating is 8 ohms.
Line Output - this is a 2 conductor 1/4” line output jack. This will allow an external amplifier or mixing board to be supplied with
the signal from this amp.
Effects Loop I/O - these are two 2-conductor 1/4” jacks. These will allow an external effects device or equalizer to be patched
back in before the power amp section in this amp. One is send and the other is return.
Footswitch Jack - this is a 2 conductor 1/4” jack. This is for hooking up a footswitch to turn on/off the onboard digital effects.
3

Suggested Settings
(These settings are general starting points. They are designed to
get you close to the sound you are looking for. If the control is not
shown, then it doesn’t apply to this particular sound. )
INSTRUMENTMICROPHONE
PIEZO ACTIVE
GAIN 1
BASS
EFFECTS PHASE
TREBLEMIDDLE
65 WATT MOSFET ACOUSTIC GUITAR AMPLIFIER
GAIN 2
BASS
EFFECTS
TREBLE
FEEDBACK
VLUME
O
PROGRAM
LEVEL
ONON
5
1. BRIGHTROOM
4
2. MELLOWROOM
6
3. BRIGHTHALL
4. MELLOWHALL
7
3
5. CHORUS
6. CHORUS/ROOM
7. CHORUS/HALL
8
2
8. SLAPBACK
1
POWER
Standard Single Input Setup - in this setup your acoustic/electric guitar is plugged into input
2. (Remember, if you are using an active guitar or pre-amplified guitar, select the active input.
We also suggest that you turn its output level to about mid-way up and this will give you a
cleaner sound as well as giving you available headroom for leads.) The tone controls follow
both inputs.
Of course, you can adjust the tone controls to any desired sound, but in this setup we suggest
these tone control settings. It will deliver a clear, clean sound that has enough top end clarity
to cut through. Add low and low mid for a beefier presence, but be careful as this can “muddy
up” the sound.
Adjust the reverb and chorus to suit the music or to your taste.
INSTRUMENTMICROPHONE
PIEZO ACTIVE
GAIN 1
BASS
EFFECTS PHASE
TREBLEMIDDLE
65 WATT MOSFET ACOUSTIC GUITAR AMPLIFIER
GAIN 2
BASS
EFFECTS
TREBLE
FEEDBACK
VLUME
O
PROGRAM
LEVEL
ONON
5
1. BRIGHTROOM
4
2. MELLOWROOM
6
3. BRIGHTHALL
4. MELLOWHALL
7
3
5. CHORUS
6. CHORUS/ROOM
7. CHORUS/HALL
8
2
8. SLAPBACK
1
POWER
Standard Dual Input Setup - in this setup two inputs are utilized. Guitar is plugged into guitar
input jack and a Hi-Z microphone is plugged into mic/line Input. Assuming you are also using
a microphone, plug it into the mic/line jack and slowly turn up the mic/line volume control.
Balancing the two types of inputs gives you a much more natural acoustic guitar sound.
You could also plug in any combination of inputs such as: keyboards, microphones or other
guitars.
This can also be a basic mini-PA system. It could be used for plugging in a CD player or
cassette deck and a microphone for singing. It can be used for playing over prerecorded tapes
with mixing capabilities.
As mentioned earlier, you can adjust the tone controls to any desired sound, but in this setup
we suggest these tone control settings. Of course it depends on the listening environment. It
will deliver a clear, clean sound that has enough top end clarity to let the acoustic sound cut
through.
Adjust the reverb to suit the music or to your taste.
4
 Loading...