

Kuppersbusch KEH 652 Instructions For Use And Installation Instructions
BEDIENUNGSANWEISUNG
mit Montageanweisungen
Instructions for use and installation instructions
Instructions d’ utilisation et avis de montage
Gebruiksaanwijzing en montagehandleiding
Istruzioni di l’uso e di montaggio
Instrucciones de Uso e Instrucciones de Montaje
KEH 652
07 21 77 FB

For your information
Please read the information in this leaflet carefully. It contains important instructions for the safety, installation, use and maintenance of your appliance.
The appliance is only intended for the preparation of food in the home.
Please keep the operating instructions in a safe place.
Category of the Combination Built-in Cooker
(Gas and Electric)
Germany (DE): cat. II2ELL3B/P 20/50 mbar
Austria (AT): cat. II2H3B/P 20/50 mbar
Belgium (BE): cat. I2E+ 20/25/ 28-30/37 mbar
cat. I3+ 28-30/37 mbar
United Kingdom (GB) cat. II2H3+ 20/ /28-30/37 mbar
Luxembourg (LU): cat. II2E 20 mbar
cat. I3+ 28-30/37 mbar
Italy (IT): cat. II2H3+ 20/ /28-30/37 mbar
Spain (ES) cat. II2H3+ 20/ /28-30/37 mbar
The appliance belongs to appliance category 3.
If any changes are made to the appliance and its connection, this will
impair the appliance’s safety and proper functioning in all other countries.
Conditions of guarantee
The conditions of guarantee applicable for this product are those published
by our representative in the relevant country.
Details regarding these terms of guarantee may be obtained from the dealer
from whom the appliance was purchased. The sales receipt must be
produced when making claims under guarantee.
Contents
Your cooker at a glance . . . . . . . . . . . . . 17
Safety instructions. . . . . . . . . . . . . . . . . 18
for connection and functions
for the gas hob
for the oven
What to do before using the appliance for the
first time. . . . . . . . . . . . . . . . . . . . . . . 18
Initial cleaning
Setting the time
Using the rings. . . . . . . . . . . . . . . . . . . 19
Setting the burners
Notes on the right types of saucepan
The oven . . . . . . . . . . . . . . . . . . . . . . 20
Selecting the heating mode and temperature
Switch symbols and heating modes
Shelf elements
Baking
Roasting
Bottling with hot air convection
Defrosting with hot air convection
Intensive roasting
Grilling
Timer . . . . . . . . . . . . . . . . . . . . . . . . 22
Setting the time
Minute minder
Switching the oven off automatically
Switching the oven off and on automatically
backmobil (special accessory) . . . . . . . . . . . . . 23
Cleaning and caring for the appliance . . . . 23
Rings
Oven
backmobil
Regenerating the ökotherm
Troubleshooting . . . . . . . . . . . . . . . . . . 24
Nameplate
Installation instructions for fitter . . . . . . . . 24
Planning the supply lines
Building in the appliance
Connecting up the appliance and putting it into operation
Checking the supply lines
Checking the ring burners
Final assembly
Factory setting / conversion possibilities . . . . . 27
Technical data
Resetting the ring burners
16 KEH 652

Your cooker at a glance
1Timer
2 High speed ring
3 Simmering ring
4 Ventilation slits
5 Standard ring
6 Oven function switch
7Heating indicator
8 Oven temperature switch
9Hob controls
10 Control panel
11 Top heat
12 Grill
13 Hot air fan
14 Side grids
15 Oven door
Accessories:
backmobil
acc. no. 595
Roasting grid acc. no. 440
Drip pan acc. no. 543
Roasting tray acc. no. 441
Baking tray, enamel acc. no. 541
Injectors:
Liquefied petroleum gas
30 millibar acc. no. 206
Natural gas
20 millibar acc. no. 208
Liquefied petroleum gas
50 millibar acc. no. 209
KEH 652 17
Safety instructions
for connection and functions
Before the appliance is installed, it must be checked whether the local
supply conditions (type of gas and gas pressure) and the settings of the
appliance correspond. All settings for the appliance are stated in this
user guide.
This appliance should not be connected to a pipe for extracting combustion
products. It must be fitted and connected in accordance with the
applicable conditions of installation. Particular attention should be paid to
suitable ventilation measures. The use of a gas cooker causes heat and
humidity to build up in the room where the cooker is installed. For this
reason it should always be ensured that the kitchen is well ventilated;
keep the ventilation slits open or provide for a mechanical ventilation
facility (e.g. a cooker hood). If the appliance is subject to particularly
intensive use or use over a long period of time, it might be necessary
to provide for additional ventilation, e.g. by opening a window or
operating a cooker hood at a high power level.
Küppersbusch cookers are made according to the applicable safety
regulations. Only Küpperbusch ovens may be connected to Küpperbusch hobs.
The appliance should only be connected to the gas mains by a qualified
gas fitter. The same applies for all adjustments and conversions. Attention
must be paid to the statutory regulations at all times. It is also
necessary to observe the instructions of the relevant gas board for
connecting up the appliance.
The cooker should only be installed in a well ventilated area.
Do not use the cooker for heating rooms.
If problems occur during operation the gas supply should be turned off
immediately.
The appliance should only be serviced and repaired by a qualified
technician in accordance with the applicable safety regulations. When
repair jobs are being carried out on any equipment running on gas, it is
always important to turn off the gas supply. Work carried out incorrectly
places your safety at risk.
If the cooker is run on liquefied petroleum gas (propane/ butane) it is vital to
ensure that all joints between the gas bottle and the cooker are secure and tight.
External flexible supply hoses should not be wedged into tight positions
or laid cross hot surfaces.
The surfaces of the oven, oven door and hob are very hot when in
operation. Always keep children away!
Connection leads of electrical appliances should not be placed on the
hot hob or be allowed to become jammed in the hot oven door.
Do not lift the appliance by the handle of the oven door.
We recommend that you have the appliance serviced at regular intervals.
WARNING! This appliance must be earthed!
for the hob
Cooker hoods above the hob must be fitted at a minimum distance of 650 mm.
The rings should not be ignited unless you are cooking something.
Always ensure that the burner covers are in the correct position.
Attention: The electronic automatic spark ignition will not work if there is
a power failure! In such cases please use matches.
Overheated fats and oils may spontaneously ignite. Food cooked in fat or
oil, e.g. chipped potatoes, should only be cooked under supervision.
Never extinguish ignited fats and oils with water! Put the lid on the pan,
switch off the ring and remove the pan from the hot hob.
Pressure cookers should be constantly supervised until the correct
pressure has been reached. First turn the burners of the rings up to
maximum flame and then (following the instructions of the manufacturer
of the pressure cooker) turn the heat down in good time.
The ventilation slits in the hob should not be covered over.
for the oven
When repairs are being carried out or oven light bulbs are being
replaced, the cooker must be disconnected from the mains (switch off
the fuse).
Never store any objects in your oven which could cause a hazard if the
oven is unintentionally switched on.
Take special care when working with a hot oven. Use a dish cloth, oven
gloves or similar.
The oven door must close well. In the event of damage to the door
sealing, hinges, sealing surfaces or to the glass pane, do not use your
cooker until it has been repaired and checked by a qualified and
authorised installer.
Caution! When opening and closing the oven door, do not reach into the
hinge. Risk of injury!
Always close the oven door completely when food is being cooked in
the oven.
Keep at least 5 cm away from the grill and top heat.
What to do before using the
appliance for the first time
Initial cleaning
Remove excess materials and packaging. The appliance must be cleaned
before it is used to cook food for the first time.
Clean the glass ceramic hob, baking trays, drip pan etc. with a damp cloth
and a little washing up liquid.
Heating the oven Close the oven door.
Heat the oven with bottom heat at maximum
temperature for 60 minutes.
Air the kitchen well at the same time.
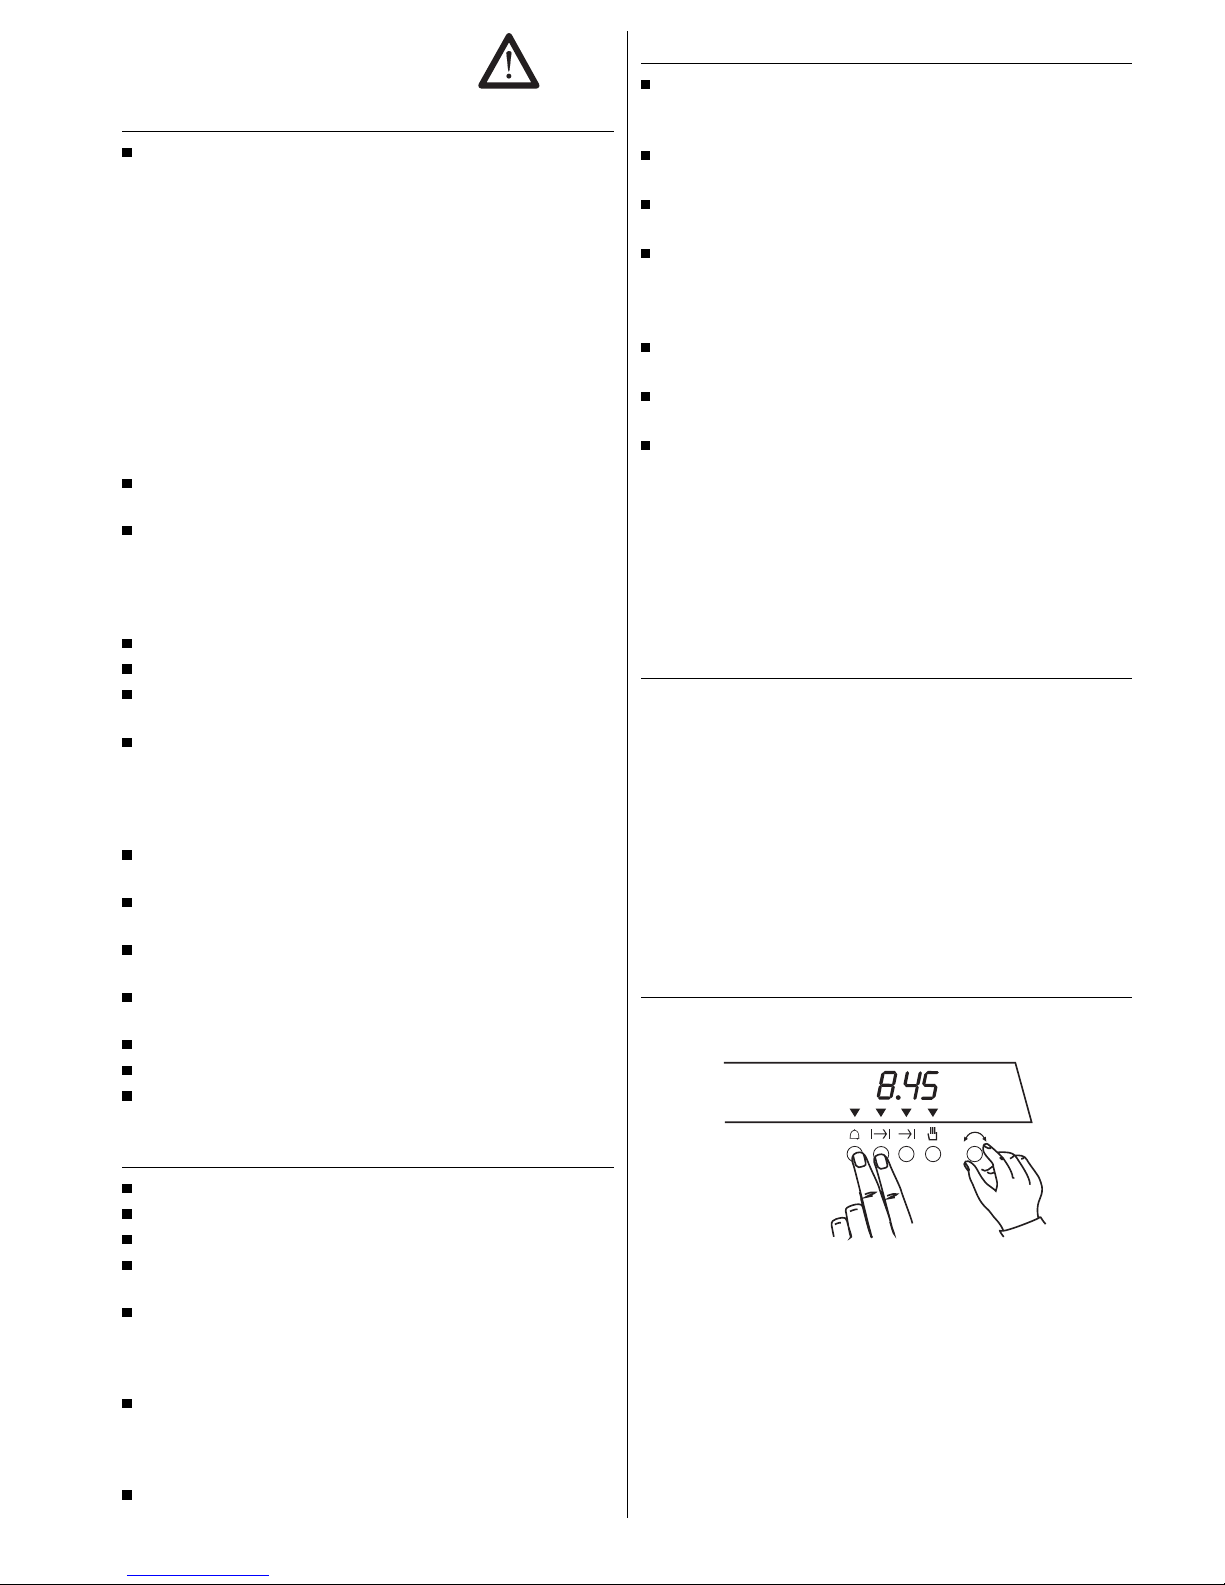
Setting the time
If the timer flashes, this means that the time has not been set. Proceed as
follows:
hold and
pressed set the time.
18 KEH 652
Using the rings
Take note of the safety instructions on page 18!
Setting the rings
Each ring has its own control knob. The symbols on the operation fascia tell
you which knob belongs to which ring. The burners are lit by electric
ignition, providing for greater convenience.
To ignite the burner, turn the control knob
towards the left, that is up to “full flame”.
Then press in the control knob: the burner
will ignite.
Continue to hold the control knob pressed
inwards for a further 4 to 5 seconds and
then press it in again firmly before you
finally release it.
The burner is now lit.
If the burner should fail to ignite, repeat the process after about 2 seconds.
Of course it is also possible to light the burners with a match (for instance
if there is a power cut).
The control knobs for the rings are marked
at the “full flame” and “low flame” settings.
The flame is finely adjustable. Start cooking
by turning the flame up as high as possible
and then continue cooking with a lower
flame.
Turn off the ring by turning the control knob
towards the right so that is reaches the
“off” position.
All ring burners have a thermoelectric safety device. If the flame should
happen to go out (when food boils over or because of a strong draught, for
example), the gas supply will be automatically switched off.
Notes on the right types of saucepan
Using the right types of saucepan will help you to save energy and cut
down on cooking times.
Make sure that the diameter of the saucepan base fits the ring.
Place the saucepan onto the
ring so that the two fit correctly.
The flame should completely
cover the area at the bottom of
the saucepan, but should not
burn round it at the sides.
Ring Diameter of saucepan base
High-speed ring (2.9 kw) 240 - 260 mm
Standard ring (1.9 kw) 200 - 220 mm
Simmering ring (1.1 kw) approx. 160 mm
Always make sure that the lid is on the saucepan.
The food will only boil over if the
flame is set too high. With a
little practice you will learn to
set the flame to just the right
heat so that the food will not
boil over, even when the lid is
on the saucepan.
KEH 652 19
 Loading...