

Kuppersbusch IGVS669 Operating Instructions Manual
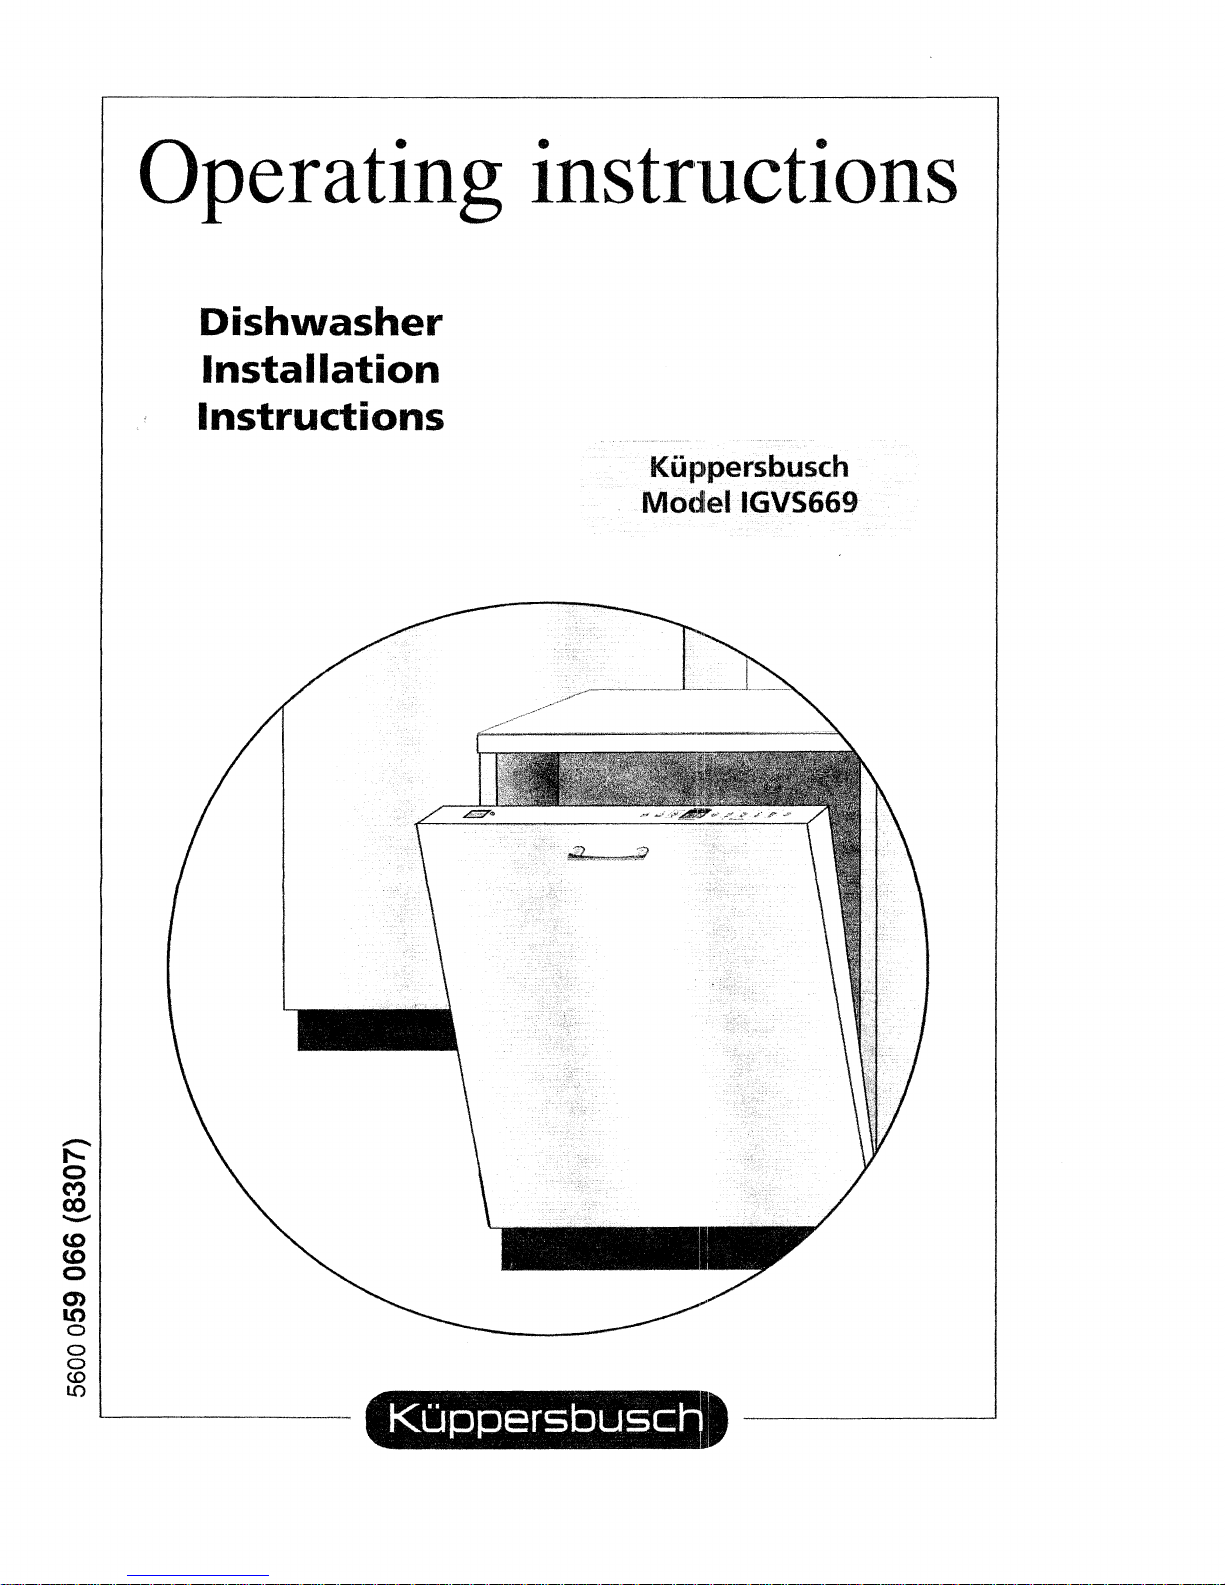
Dishwasher
installation
instructions
TABLE
OF
CONTENTS
..............................................................
INTRODUCTION
2
.....................................
TOOLS AND MATERIALS NEEDED
3
.....................................................
MATERIALS SUPPLIED
4
..................................................
CHOOSING A LOCATION
5
................................................
PLUMBING PREPARAnON
6
ELECTRICAL PREPARATION
.............................................
7
............................................
PLACING THE DISHWASHER
8
..............................................
DRAIN
HOSE CONNECTION
9
.............................................
HOT
WATER
CONNECTION
10
................................
ELECTRICAL SUPPLY CONNECTION
11
..........................................
GROUNDING INSTRUCnONS
11
DOOR PANEL INSTALtAmON
........................
....
.........
12
.............................
.......‘.........
FINAL ADJUSTMENTS
13
.........................................................
FINAL CHECKLIST
'14
INTRODUCTION
1
THESE
INSTALLATION
INSTRUCTIONS
ARE
INTENDED
FOR
USE
BY
QUALIFIED TNS1I"ALLERS.
I
a
In the United States,
in
accordance with the National Electric
CodejState and Municipal codes and/or local codes.
In
Canada,
in
accordance with the Canaclian Electric Code
C22.1 -latest edition/Provincial
and
Muniicipal codes and/or
local codes.
Pfeiase
read
these
ins&Ifation
instmcrtions
csmp~ktefyandc;arefut~lp.
They will save you time and effort and help to ensure c~ptimum dishwasher
performance.
Be
sure
to
observe
all
ltisted
warnings and cautions.
(Look for
--
the triangles
with
exclamation
marks
inside.)
*.
NEW ITNSTALLPImON
-
If
the dishwasher
is
a
new installation, most
of
the work
must
be
done
before
the
dishwasher
is:
movediktto
place,
*
REPLACEMENT
-
If the dishwasher is replacing another dishwasher; the
connections for the dishwasher being replaced
mus'rl:be
check(leafor
compatiItiIi~with the new dishwasher and replaced as necessary.
INSPECT
THE
DISHWASHIER
After unpacking the dishwasher and prior to installatioin, thoroughly inspect the
dishwasher for possible freight or cosmetic defects. Report any
defects immediately.
Cosmetic defects must be reported within
30
days of inst:;$ilation.
NOTE:
Please
do
not
discard
any
bags
or
items
that come with the
original package
until after the entire installation
has
been completed!
2
-
ENGLISH
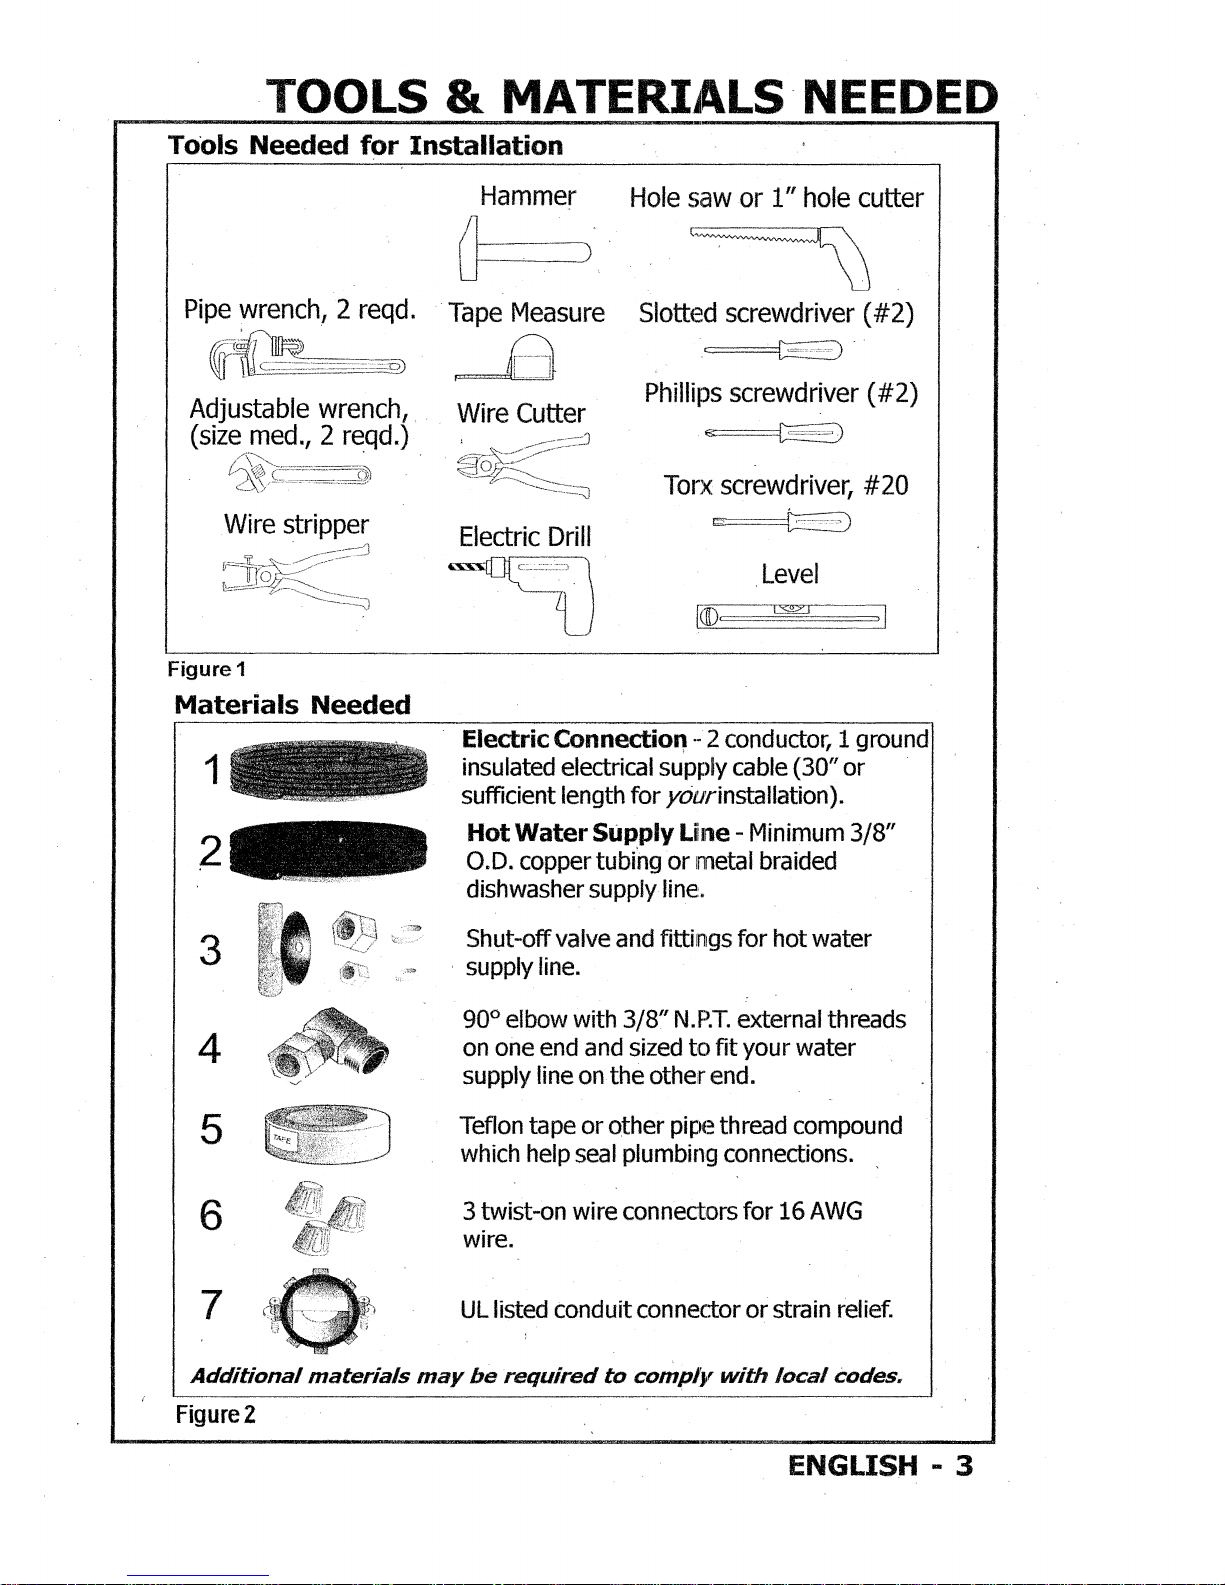
TOOLS
&
MATERIALS
NEEDED
Took
Needed
far
f
nstalfation
Pipe wrench, 2
reqd.
Adjustable wrench,
(size
med.,
2
reqd.)
Hammer
Tape Measure
Wire
Cutter
Hale
saw
or
I"
hole
cutter
Sliottcxl
screwdriver
(#2)
c=z2zz=<3
Phillips
screwdriver
(#2)
-==>
Tax
screwdriver,
#20
I
Figure
I
Materials
Needed
Electric
anne~on
a-
2
conductor, I ground
1
insulated electrical supply cable
(30"
or
sufficient length
for
ytr~rrinstaltation).
Hot
Water
Supply
Line
-
Minimum
3/8"
O.D.
copper tubing or nnetal braided
. .
dishwasher supply
tine.
I
-.
3
;@:\j
2,
_
Shut-off valve and fittiin~gs for hot water
C
supply line.
Z
,'"->*
90°
el bow with
3/8"
N.F!T, externa t threads
4
py
on one end and sized
tcr
fit
your water
.%
1
supply line on the other end.
Teflon tape or other
pipe
thread compound
which help seal
ptumbii~g connections.
6
3
twist-on wire connectl~t-s for
16
AWG
wire.
7
UL
listed conduit connector or strain
relief.
I
Additional mat&&
may
ire
required
to
cOmprf
with
local
codes*
/
Figure
2
ENGLISH
-
3
MATERIALS
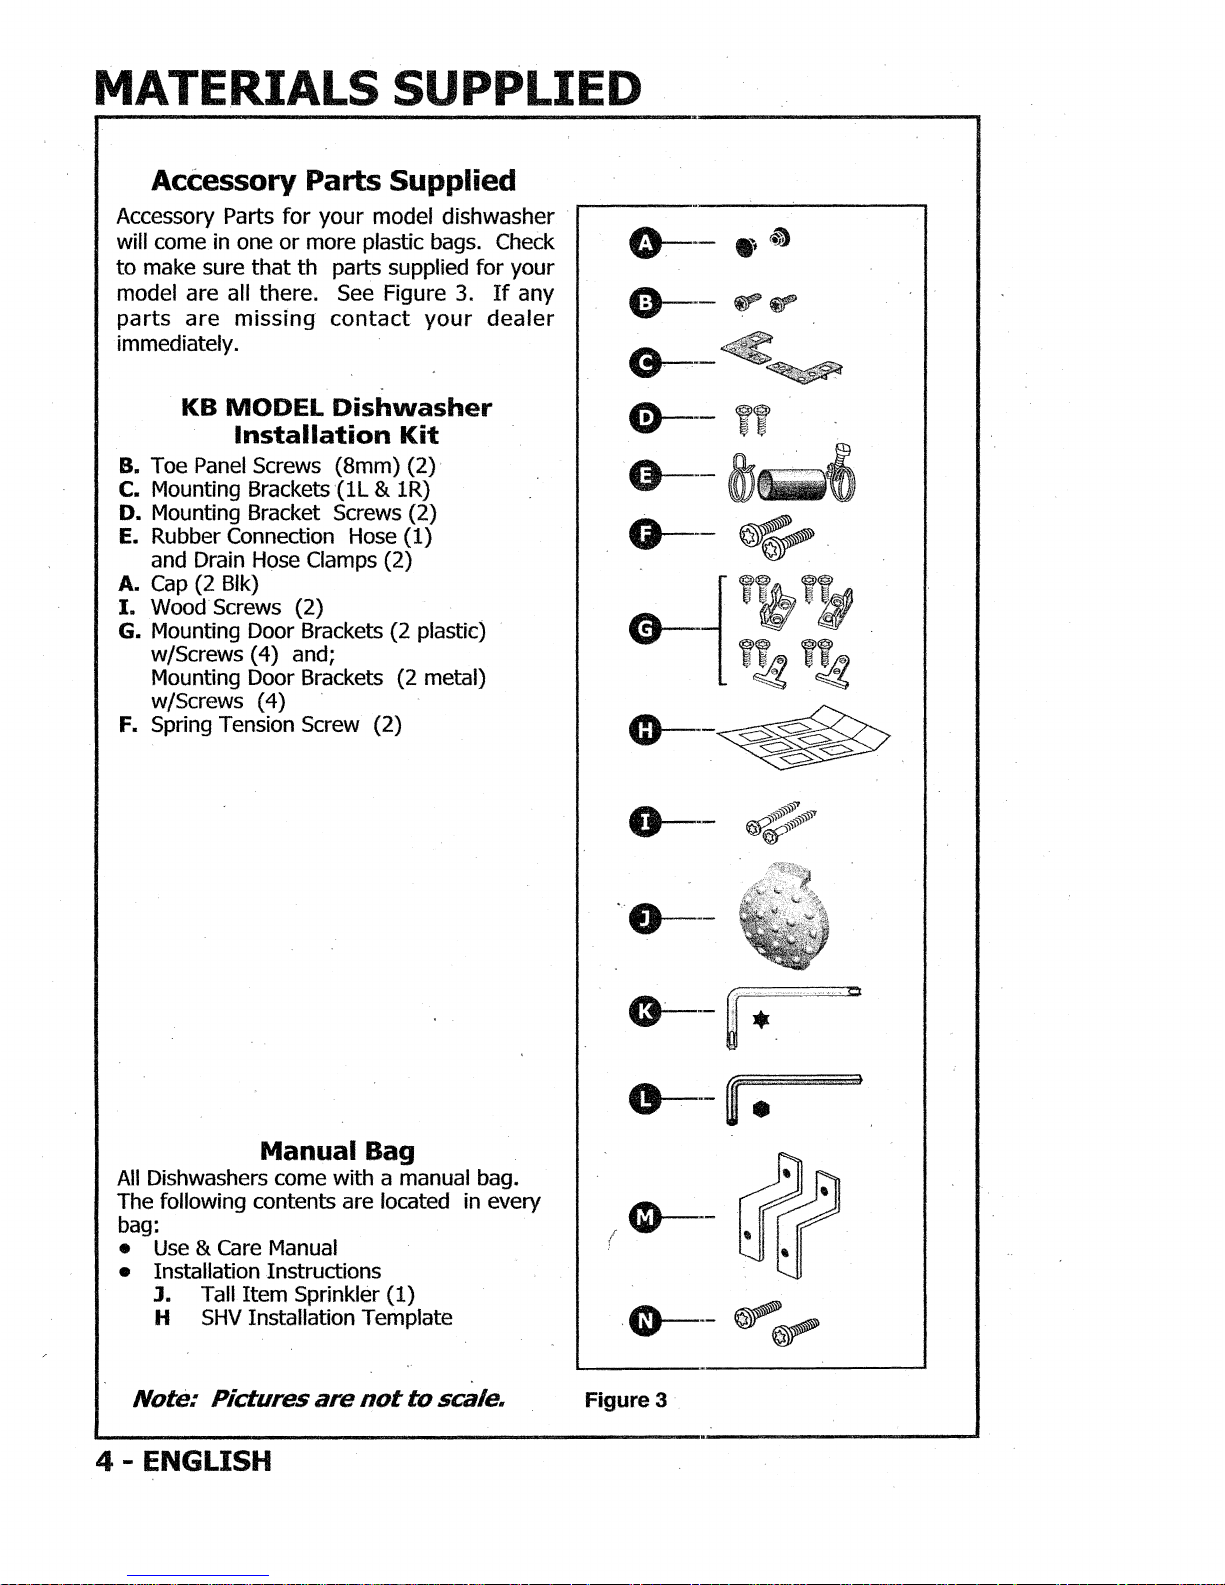
SUPPLIED
Acessory
Parts
Suppltied
Accessory Parts for your model dishwasher
will come in one or more plastic bags. Check
to make sure that th parts supplied for your
model are all there. See Figure
3.
If any
parts are missing contact your dealer
immediately.
KB
MODEL
Dishwasher
lnstallatiavl
Ki%
B.
Toe Panel Screws (8mm)
(2)
C.
Mounting
Brackets
(1L
&
1R)
D.
Mounting Bracket Screws
(2)
E.
Rubber Connection Hose
(1)
and Drain Hose Clamps
(2)
A.
Cap (2 Blk)
I.
Wood Screws
(2)
6.
Mounting Door Brackets
(2
plastic)
w/Screws (4) and;
Mounting Door Brackets
(2
metal)
w/Screws (4)
F.
Spring Tension Screw (2)
Manual
Bag
All Dishwashers come with a manual bag.
The following contents are located in every
bag:
e
Use
&
Care Manual
e
Installation Instructions
3.
Tall Item Sprinkler
(I)
M
SHV
Installation Template
I
Nofez
~i~tues
are
not
to
sc&e,
Figure
3
 Loading...