


Cooker Hoods Instruction Manual
Troubleshooting
Installation Instructions
Product Description
Instructions for use
Care and maintenance
Precautions
2
3
4
5
13
8
11
Outline figure and applicable Model
14
Electrical circuit diagram
Directory
1
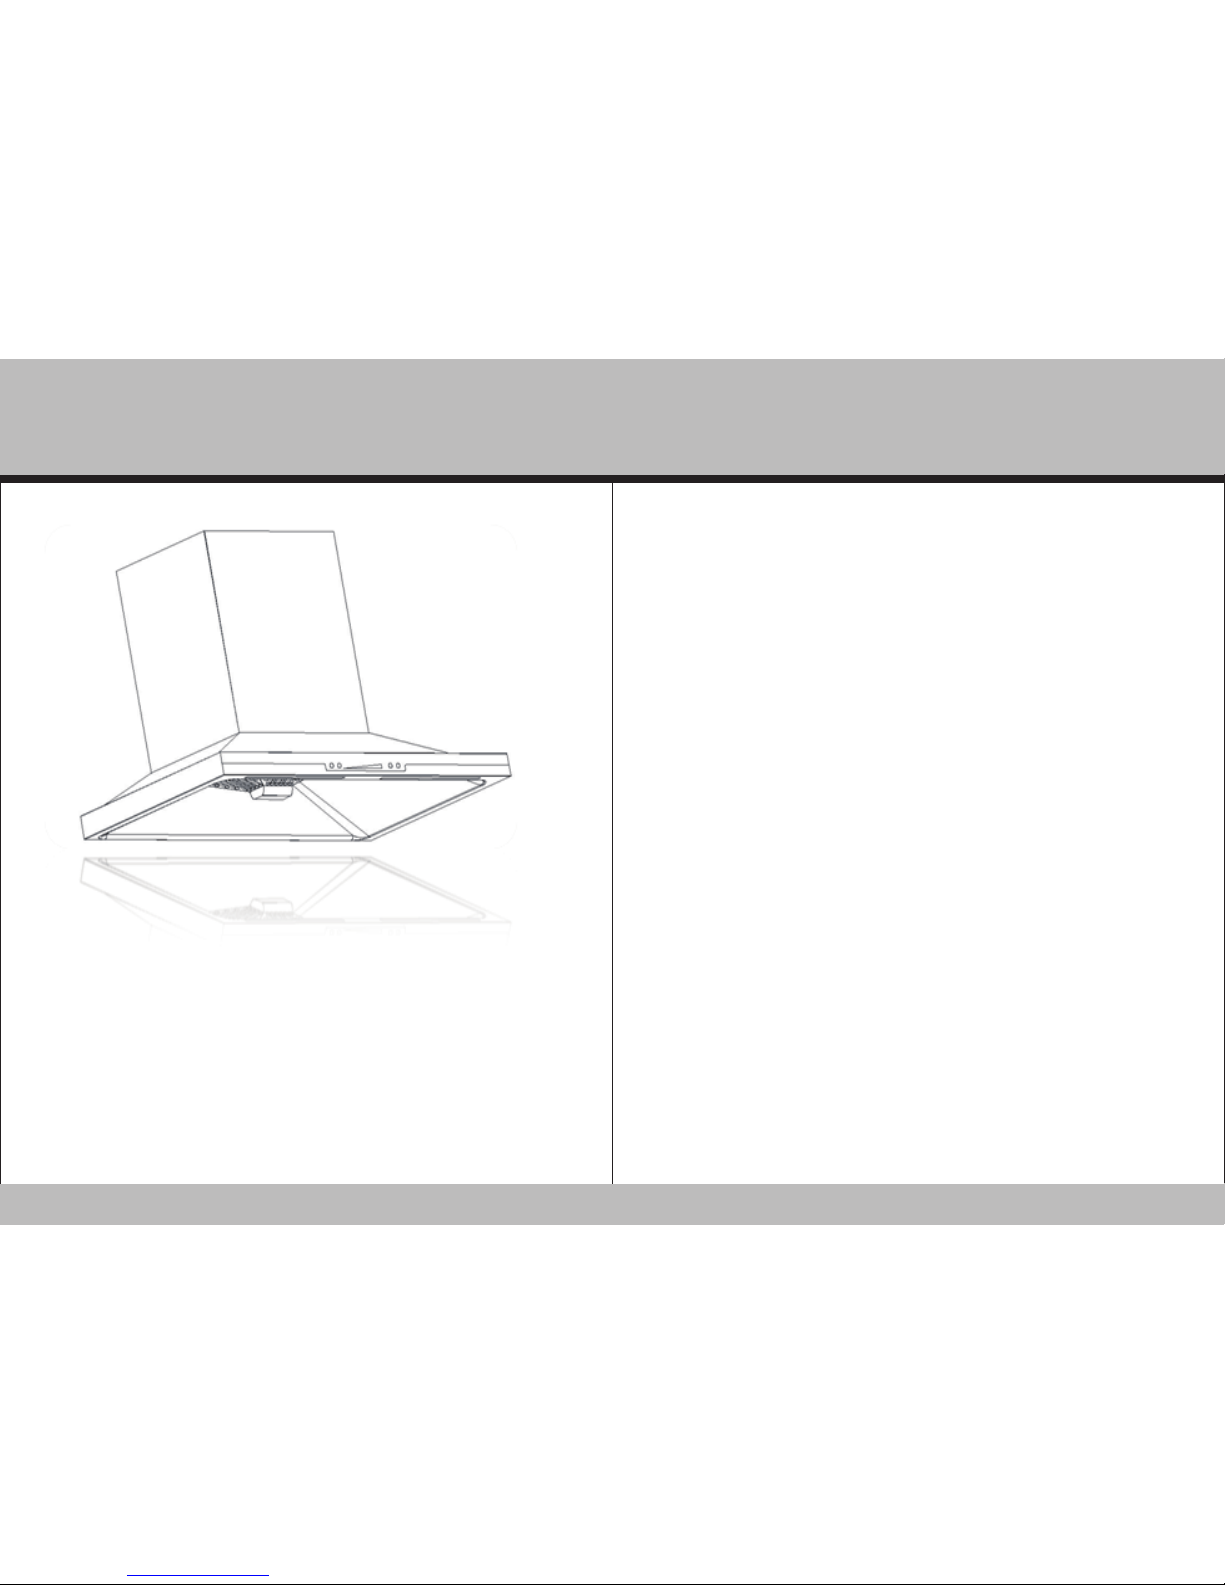
This guide is intended models:
HCF** Series
Read the instructions carefully before using this product (safekeeping manual,
to prepare information)
1, the packaging of the new range hood
Please dispose of such packaging materials in an environmentally friendly attitude, in order to maintain a good environment.
Do not allow children to play with plastic film and crates, these may produce
suffocation hazard, so please let the packaging away from children, the packaging materials are not toys.
2, the disposal of the old range hood
When the old range hood can not be reused, it is recommended to be treated
as a state can not be used again, then discarded.
Old range hood contains useful material to assist in the proper disposal or
recycling reusable, so as to contribute to environmental protection.
3, before the new range hood
If it is found that the range hood obvious damage, do not install and use,
please immediately contact your local service center of the company.
The range hood exhaust efflux style.
Do not allow unsupervised children and the infirm alone use the range hood.
If the range hood is not in use for a long time, disconnect the power plug from
the outlet
Special note:
For the protection of the safe and proper use of the product (including the air
ducts and other parts) for installation and maintenance professionals must be
assigned by the Company. As a result of consumers commissioned by
non-company personnel assigned or consumer self-installation and maintenance, and products not normally use, even during the warranty period, do not
belong to a free repair range.
Applicable models: the manual applies to the following models, please carefully check the model you purchased.
(Icon dimensioning for reference only, the maximum height of the MAX value
of the range hood can be stretched)
Precautions
Outline figure and applicable Model
32

HCF22H
HCF52H
HCF92B
HCF93B
2, the technical parameters
1, the installation before you go
1) range hood is installed as shown in Figure 1, the range hood is installed
above the gas stove, the lowest parts of the cooker hob with range hood
The distance between 65cm to 75cm. Will affect the range hood smoking
effect too high, too low may affect your cooking, specifically according to
the family.
Adjust personnel Height.
2) cooker hood exhaust gas should not be discharged for discharging
combustion smoke use the hot flue gas or other fuels. (Proposed emission
To the outdoors or the general public flue).
3) bend duct is too long, or the wind pipe too much will affect the smoking
effect, selecting an installation site prior to installation, so that the the
smoke fumes function to achieve the best effect of smoking.
2 Installation Preparation
1) install a range hood should prepare the following tools: 1, a belt of Φ10
and a Φ6 drill an impact drills; 2, crosshead screwdriver; 3, pencil a
horizontal ruler; 4, a.
2) set a power outlet next to the installation location of the range hood,
and make sure the outlet is grounded in the drilling of the wall should
be away from the wall buried wires, power can not install.
3) installing a range hood wall has sufficient strength.
4) packing list:
Model
HCF
**
Series
The machine
rated input
power
253W
Main motor
rated input
power
250W
Power supply
AC 2 20V/50Hz
2*1.5W
17m3/min
Noise 70dB(A)
Dimensions
Maximum Airflow
Installation Instructions
Product Description
54

3. fixed range hood
Good installation height is calculated according to Figure 1, the first Φ10 drill
on the wall (as shown in Figure 2) drilled distance
From 260mm two holes and maintain the level of the hole depth of 50 mm.
Then away from the ceiling 10mm at Φ6 the drill drilled distance and maintain
the level of the two holes of 250mm, the hole depth
40mm. (Please ensure that the four-hole centerline on the same line) steel ex-
pansion bolts (No. 6) stuffed into the hole, remove the above M6 nut and
washer, and range hood vertical hanging wall steel expansion tighten the nut
on the bolts, and then loaded on the M6 nuts and washers, and then adjust the
angle range hood fixed. Wind shield and rubber pad and remove the four
screws (No. 3), a wind shield and rubber pads on the range hood vent with
screws, remove the duct (No. 2) Plug one end of the hood The slot reuse alu-
minum foil tape (No. 10) circumferentially stuck, the other end is fixed on the
public flue or direct access to the outdoor.
Figure 2
250
Installation Instructions
Installation Instructions
76
(Figure 1, in mm)
No. Name Quantity
1 Range Hood 1 set
2 A duct A
3 Out of the wind cover 1 set
4
Both interior and
exterior cover
1 set
5 Fixation A
6
Steel expansion bolts
M6*50
2 sets
No. Name Quantity
7
Plastic Expanding Φ
8*35
2 sets
8 Wood scre ws ST4.2*38 2 sets
9 Oil Cup 1 set
10
Aluminum foil tape
600*50m
2 sets
11
Cross slot big flat
head screws M4*8
2 sets
12 instruction manual A

Figure 3
Instructions for use
(Figure A) with automatic function switch
(Figure B) without automatic function switch
Range hood features you purchased, see Figure A or Figure B of the
operation.
First, the operating instructions
A == power on / off
B == automatically stop the timer on / off
The C == stalls, counting time display
The D == sliding touch strips
E == motor, automatic on / off
The F == lamps on / off
Power on, press the A key, A key indicator lights, the All button to
enter standby.
4, fixed decorative cover
Fixed range hood, the first plastic tube expander plugged into the wall Φ6 hole
(No. 7), the holder (No. 5) is fixed to the wall with screws (No. 8). Then both
interior and exterior cover (No. 4) sets after put the range hood above, and the
outer decorative cover is fixed to the side of the range hood hook.
Inner trim cover is then pulled up until the inner trim cover is aligned with the
fixation side of the two holes, and with screws (No. 11) is fixed, in Figure 3.
Instructions for use
Instructions for use
98

1) If you press the B key, B key indicator, the motor is the most low start, and
the default time of 15 minutes, stop the clock display flashes can change to
stop the clock time sliding touch D and C display ( display every five minutes),
after 3 seconds, the the B key indicator flashes, most low-grade to enter the
timing the motor stops running, sliding touch D to change the motor stalls and
C display, full The grid for stir gear, when the motor running in the a stir gear,
C the last two frames on the display flashes.
2) If you press the E key, the motor is the most low start sliding touch D to
change the motor stalls, and C on the display shows the full grid stir files,
when the motor is running in the file of the stir, C the last two frames on the
display flashes.
(Note: This product is the default the stir files can only run 150 seconds, after
running automatically downshift.)
When the motor is running, press the B button, B button indicator lights and C
screen starts flashing, you can change to stop the clock time sliding touch D
and C display (display every five minutes), 3 seconds after, B indicator flashes,
the motor into the timing to stop running; To cancel this function, press the B
button again.
3) when the F key is pressed, the indicator light lighting lights; then press the F
key, lighting the lamp.
If you purchased a range hood with automatic function, please read the following instructions:
When the products enter standby or run in any one stall, 3 seconds long press
the E key, the E key indicator starts blinking fast, the motor will stop rotating
and 60 seconds environmental detection, 60 seconds later, E key indicator
flashes quickly into a slow-flashing stage, the automatic function is turned on.
When the air in the gas concentration reaches a certain level or the temperature suddenly increased, the motor automatically turns on, the motor running
stalls to the concentration and temperature of the gas in the air, to drop back
to normal as the gas concentration and temperature of the air, followed by
motor down file work until the range hood is automatically turned off.
Care and maintenance
Instructions for use
1110
In automatic mode, such as to cancel three seconds long press the E key, the
light stops blinking, or simply press the A key shutdown.
Second, the warning:
In some cases, electrical appliances may be very dangerous.
A) when the range hood is running, do not check the filter.
B) used for a long time, do not touch the bulb and its nearby area.
C) in the hood under the non-direct open flame.
D) Do not use a free flame, because he may damage the filter and may cause
a fire.
E) frequently viewed fried pot to avoid the oil temperature overheating caused
fire.
F) for repair before you unplug the power outlet.
G) This appliance prohibits children or physically weak people use
H) shall supervise the children, to ensure that it is not playing next to the appliance.
I) When the use of range hoods and burning gas or other fuel-efficient stoves,
ventilate the room well.
J) to clean the appliance, it is best to wear protective gloves, hood edge may
be sharp.
K) in hood underneath allows the use of six stove
L) baking range hood prohibited fire directly.
M) if the power cord is damaged, only replace the power cord with the company's dedicated.
N) non-removable native non-professionals.
O) there is the risk of fire if not cleaned according to the instructions prescribed
method, range hood.
The statement of the manufacturer refused to accept any responsibility for any
consequences caused by the violation of the above operating procedures.
Care and maintenance
● We recommend that you first commissioning before cooking appliances for
about 15 minutes to completely eliminate water vapor and odors.

timing the motor stops running, sliding touch D to change the motor stalls and
C display, full The grid for stir gear, when the motor running in the a stir gear,
C the last two frames on the display flashes.
2) If you press the E key, the motor is the most low start sliding touch D to
change the motor stalls, and C on the display shows the full grid stir files,
when the motor is running in the file of the stir, C the last two frames on the
display flashes.
(Note: This product is the default the stir files can only run 150 seconds, after
running automatically downshift.)
When the motor is running, press the B button, B button indicator lights and C
screen starts flashing, you can change to stop the clock time sliding touch D
and C display (display every five minutes), 3 seconds after, B indicator flashes,
the motor into the timing to stop running; To cancel this function, press the B
button again.
3) when the F key is pressed, the indicator light lighting lights; then press the F
key, lighting the lamp.
If you purchased a range hood with automatic function, please read the follow-
ing instructions:
When the products enter standby or run in any one stall, 3 seconds long press
the E key, the E key indicator starts blinking fast, the motor will stop rotating
and 60 seconds environmental detection, 60 seconds later, E key indicator
flashes quickly into a slow-flashing stage, the automatic function is turned on.
When the air in the gas concentration reaches a certain level or the tempera-
ture suddenly increased, the motor automatically turns on, the motor running
stalls to the concentration and temperature of the gas in the air, to drop back
to normal as the gas concentration and temperature of the air, followed by
motor down file work until the range hood is automatically turned off.
Troubleshooting
Care and maintenance
1312
A) when the range hood is running, do not check the filter.
B) used for a long time, do not touch the bulb and its nearby area.
C) in the hood under the non-direct open flame.
D) Do not use a free flame, because he may damage the filter and may cause
a fire.
E) frequently viewed fried pot to avoid the oil temperature overheating caused
fire.
F) for repair before you unplug the power outlet.
G) This appliance prohibits children or physically weak people use
H) shall supervise the children, to ensure that it is not playing next to the appli-
ance.
I) When the use of range hoods and burning gas or other fuel-efficient stoves,
ventilate the room well.
J) to clean the appliance, it is best to wear protective gloves, hood edge may
be sharp.
K) in hood underneath allows the use of six stove
L) baking range hood prohibited fire directly.
M) if the power cord is damaged, only replace the power cord with the compa-
ny's dedicated.
N) non-removable native non-professionals.
O) there is the risk of fire if not cleaned according to the instructions prescribed
method, range hood.
The statement of the manufacturer refused to accept any responsibility for any
consequences caused by the violation of the above operating procedures.
Care and maintenance
● We recommend that you first commissioning before cooking appliances for
about 15 minutes to completely eliminate water vapor and odors.
● regularly with a damp cloth dipped in industrial alcohol or detergent to wash
the filter and other hood surface.
Suggestion: use the range hood, wipe the surface of the range hood once.
Every three days and clean range hood air inlet filter.
Every twelve months cleaning impeller (This only professionals cleaning)
● When integrated oil in the oil cup is more than two-thirds (highest
Does not exceed the level warning lines) with both hands out level
Gently pull the oil cup, tossed away the waste oil, such as the right.
(Non-demolition process of the range hood or stove use too much force to prevent demolition, in order to avoid to plot oil spills the countertops of pollution or
accidents)
● The lamp apparatus is designed for cooking, instead designed for ambient
lighting. Over prolonged use lighting will shorten its life.
Fault Re ason for this failure ma y arise Workaround
Range hood does
not work
No power
Check that the plug is
plugged in
Check that the switch is
turned on
The motor is
running but no air
A duct or a wind shield clogging Contact technical staff
Stop work ing after
a few minutes the
motor running
The high temperature safety devic e
to start
Kitchen ventilation is
not good enough
Range hood installati
on from the
kitchen stove too close
Range hood at least
65cm distance away
from the kitc hen
surfaces
Suction is not
strong
Range hood and kitchen surfaces
are too far away or the wind pipe
is too long
The reinstall Hood
(Contact technical staff)
rease dripping on
the surface of the
stove
Range hood tilt
The reinstall Hood
(Contact technical staff)
Strange sounds
The fan blades come into contact
with an unknow
n object
Contact technical staff

The following is without electrical circuit diagram of the automatic function switch
For discard this product, you should properly handle or pay professionals
to deal should not simply be thrown away, so as not to harm the environment or cause other hazards.
Specifications in this manual is applicable to their specific products and
models described by the date of publication, please confirm with the
sales staff in a timely manner.
Electrical circuit diagram with automatic function switch
Electrical circuit diagram
Electrical circuit diagram
1514
 Loading...