

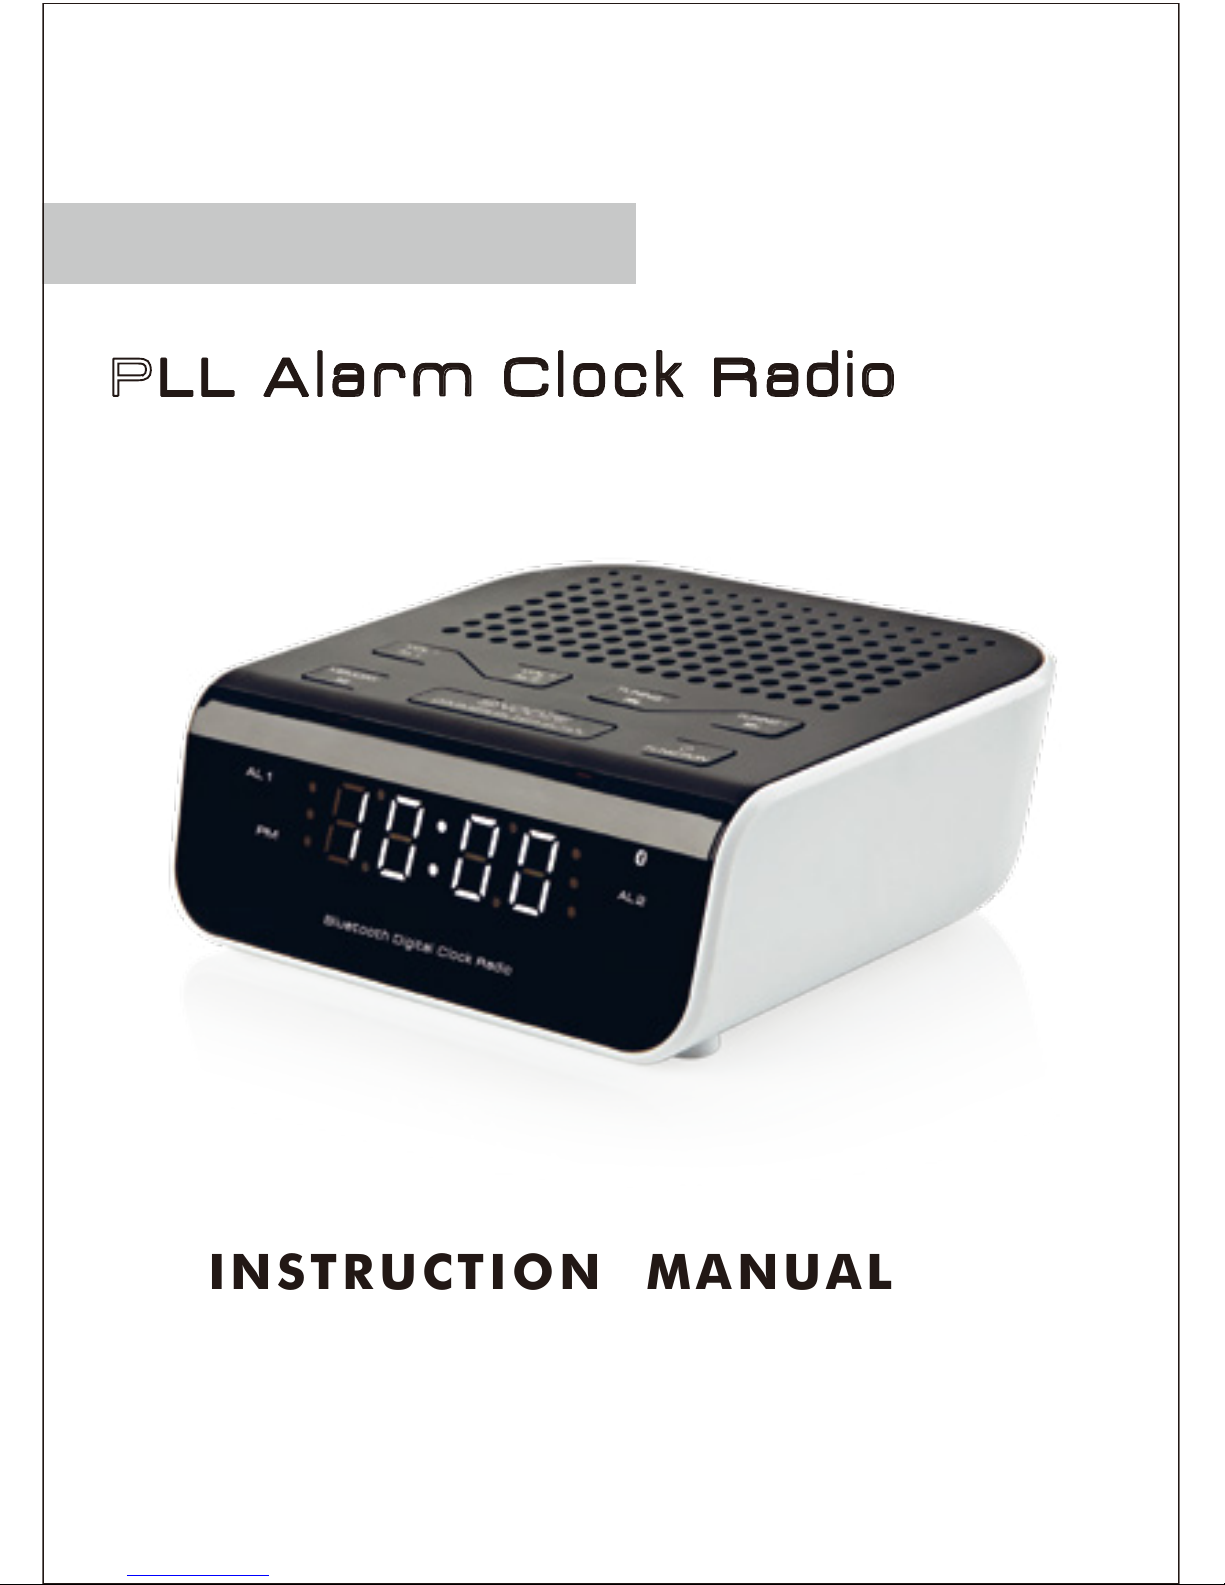
PLL Alarm Clock RadioPLL Alarm Clock Radio
Model: KT-3268BTU
INSTRUCTION MANUAL
Thank you for buying KT TECH’s product. Please
read the manual carefully to get the best
performance from this unit.
KT TECH

IMPORTANT
· Read these instructions.
· Heed all warnings.
· Follow all instructions.
· Do not block any ventilation openings, Install in accordance with the manufacturer’s
instructions.
· Do not install near any heat sources such as radiators, heat registers, stoves, or other apparatus
(including amplifiers) that produce heat.
· Protect the power cord from being walked on or pinched, particularly at plugs, convenience
receptacles, and the point where they exit from the clock radio.
· Only use attachments/accessories specified by the manufacturer.
· Unplug this clock radio during lightning storms or when unused for long periods of time.
· Refer all servicing to qualified service personnel. Servicing is required when the clock radio has
been damaged in any way, such as power supply cord or plug is damaged, liquid has been
spilled or objects have fallen into the clock radio, the clock radio has been expose to rain or
moisture, does not operate normally, or has been dropped.
· This clock radio shall not be exposed to dripping or splashing.
· Do not place any sources of danger on the clock radio (e.g. liquid filled objects, lighted candles).
· Attention should be drawn to the environmental aspects of battery disposal. Don’t throw used
batteries in dustbin. Please contact your retailer in order to protect the environment.
· Minimum distances around the apparatus for sufficient ventilations( exact distance of e.g.5 cm
should be mentioned);
· The ventilation should not be impeded by covering the ventilation openings with items such as
newspaper, table-cloths, curtains etc.
· No naked flame sources such as lighted candles should be placed on the apparatus;
· Attention should be drawn to the environment aspects of battery disposal;
· The use of apparatus in tropical and /or moderate climates.
Electrical products should not be disposal of with household waste. Please recycle where
facilities exist. Check with your Local Authority of retailer for recycling device.
(Batteries pack or batteries installed) shall not be exposed to excessive heat such as sunshine, fire
or the like.
1
CAUTION
· Risk of product damage! Ensure that the power voltage corresponds to the voltage
printed on the back or underside of the clock radio.
· Risk of electric shock! When you unplug the AC adaptor, always pull the plug from
the socket. Never pull the cord.
BOTTOM OF SET : Battery compartment for 1.5 volt (2XAA/LR06/UM3) battery
2pcs. (not included) for temporary time storage.
1. Press and hold TIME SET for two seconds.
2. Press HOUR or MINUTE to select 12/24 hours and then press TIME SET again to
confirm setting.
3. Press TUNING +/ - to set hour.
4. Press TIME SET again to set minute .
5. Press TUNING +/- again to set minute.
6. Press TIME SET again to confirm setting or The setting will be confirmed
automatically if no button is used within 3 seconds.
1. Press / FUNCTION to turn on FM radio.
[FM frequency] is displayed.
2. Press TUNING +/- for two seconds.
The FM Tuner tunes to a station with strong reception automatically.
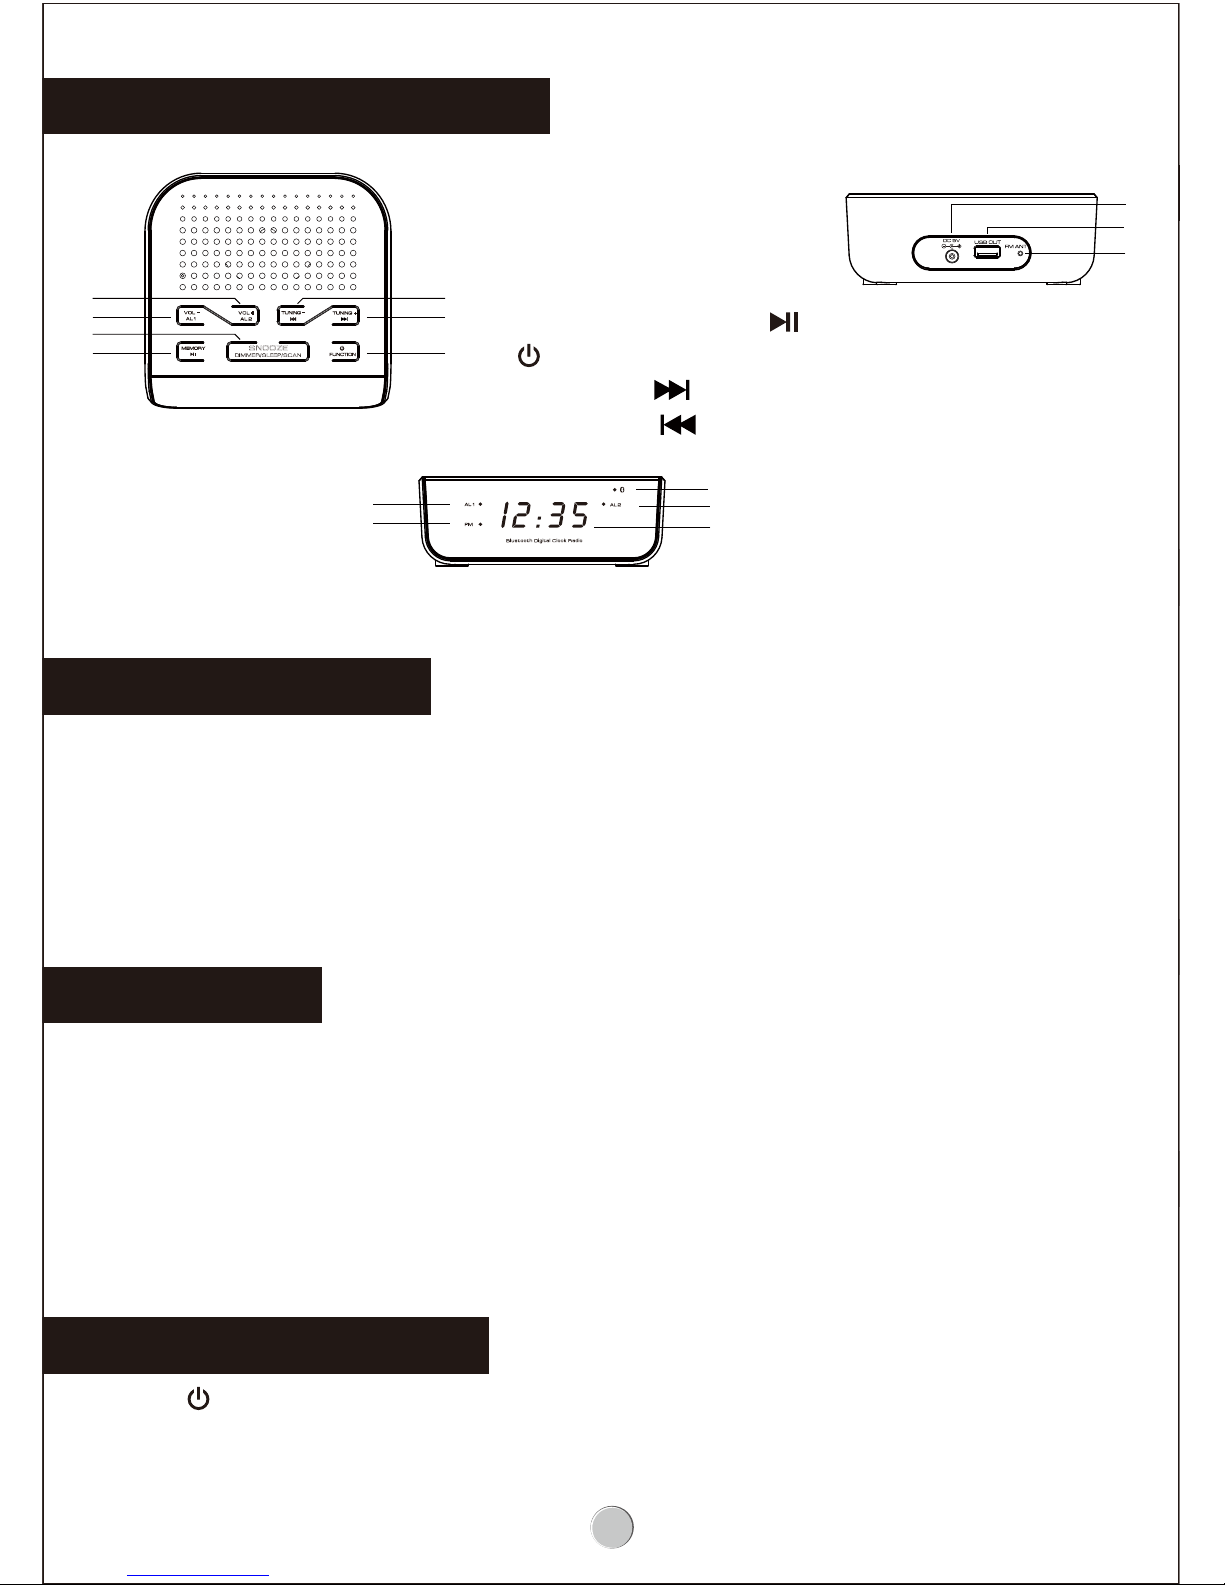
LOCATION OF CONTROL
CONNECT POWER
SET TIME
LISTEN TO FM RADIO
2
1. VOLUME + / AL2
2. VOLUME - / AL1
3. SNOOZE / DIMMER /
SLEEP/SCAN
4. MEMORY / TIME SET/
5.
6. TUNING +/
7. TUNING - /
8. AL1 INDICATOR
9. PM INDICATOR
10. BLUETOOTH
11. AL2 INDICATOR
12. DIGIT DISPLAY
13. FM ANTENNA WIRE
14. DC INPUT
15. USB FOR CHARGING THE
PHONE OR OTHER DEVICE
Bluetooth Digital Clock Radio
PM
AL2
AL 1
8
9
10
11
12
14
15
13
FUNCTION
MEMORY
TUNING -
TUNING +
VOL +
AL 2
VOL -
AL 1
SNOOZE
DIMMER/SLEEP/SCAN
1
2
3
4
7
6
5
/ FUNCTION

You can store up to 20 FM radio stations in preset channel automatically or manually.
Store FM radio stations automatically (auto scan)
1. Press “ / FUNCTION” to turn ON FM radio.
2. Press and hold “Tuning + or - ” for the FM Tuner to tune to a station
automatically.
3. Press and hold “SNOOZE/DIMMER/SLEEP/SCAN” multi-function button for 2
seconds.
4. The received stations are automatically stored to preset numbers.
To seach for a radio station manually :
Press TUNING +/- repeatedly to tune to a radio station.
Store FM Radio Stations
3
1. Press / FUNCTION to tune to an FM radio station.
2. Press TUNING +/- repeately to tune a FM radio station.
3. Press MEMORY and hold to activate the storing mode for 2 seconds more.
4. Press TUNING +/- to select the preset number. [P 01 ~ P 20] is preset station numbers.
5. Press MEMORY again to confirm the store FM radio station.
NOTES:
If this position is occupied, the previous stored frequency will be displayed .
To remove a pre-stored FM radio station, store another station in its place.
1. Press / FUNCTION to tune to an FM radio station.
2. Press MEMORY to select a preset number.
Note
The digit display return to clock display if no buttons is pressed for 5 seconds
STORE FM RADIO STATIONS MANUALLY
LISTEN TO A PRESET FM RADIO STATION
LISTEN TO BLUETOOTH WIRELESS MUSIC STREAMING
1. Press / FUNCTION to Bluetooth mode.
2. [bt] displays on the screen.
3. Bluetooth indicator flash to wait for Bluetooth enabled device / smartphone to pair
with it.
4. Turn on Bluetooth function at Bluetooth enable device / smartphone.
5. Scan KT-3268BT as device name.
6. Select KT-3268BT on device name list.
7. Bluetooth indicator flash slowly after pairing and connecting

90 > 80 > 70 > 60 > 50 >40 >30 >20 > 10
OFF
SNOOZE ALARM
SET SLEEP TIMER
4
SET ALARM TIMER
8. Playback music or multi-media audio source on the device/ smartphone.
9. Press Volume + / - or adjust volume level on the device/ smartphone to desired level.
10. Press skip to select previous song.
11. Press skip to select next song.
12. Press to play or pause the song that is being played back.
Note
The digit display returns to clock display if no button is pressed for 10 seconds.
This clock radio can switch to standby mode automatically after a preset period.
1. Press / FUNCTION to radio mode.
2. Press SNOOZE/DIMMER/SLEEP/SCAN multi-function button repeatedly for 2
seconds to select the sleep timer period (in minutes).
To deactivate the sleep timer, press SNOOZE/DIMMER/SLEEP/SCAN multi-function
button repeatedly until back to radio frequency.
Sleep Timer period circle as follow :
You can set two separate alarm timers. For the alarm sound, you can select the radio
or the buzzer.
1. Press / FUNCTION to Clock mode.
2. Press and hold AL1/AL2 for two seconds. [0:00] Hour digit is blink.
3. Press TUNING +/- to set the alarm hour.
4. Press AL1/AL2 again to set minute.
5. Press TUNING+/- to set the alarm minute.
6. Press AL1/AL2 again to select a sound source and then press TUNING +/- to
select a sound source: RADIO or BUZZER.
The [rAd] is blink if radio source is selected and AL1 / AL2 indicator is
light up.
The [bu2] is blink if the buzzer sound is selected and AL1 / AL2
indicator is light up.
Press AL1/AL2 again to set alarm volume level.
Press TUNING +/- to adjust desire alarm volume level
Press AL1/AL2 to off alarm function and AL1/AL2 indicator is off.
When alarm sounds,press SNOOZE to activate the snooze time 9 minutes.
The AL1/AL2 indicator keeps blinking.

ADJUST VOLUME
ADJUST DISPLAY BRIGHTNESS
5
BATTERY BACK-UP
(For Temporary Time Storage Only)
Install
2XAA/LR06/UM3 battery (not included) according to polarity shown inside the battery
compartment. In the event of a power interruption, your set will not work normally from the
mains supply but there is now the advantage that your clock will continue to work. The clock
display will not light up, as the clock time will be held in the memory. This also enables you to
move the set from place to place without re-setting the clock every time. The battery back-up
system is only meant to be used from short temporary power interruption. For longer durations,
the battery may become exhausted or there may be some deviation in accuracy. When the
battery is exhausted, it should be removed from the set to prevent leakage. If you do not wish to
take advantage of the battery back-up system, your set will work normally without a battery.
However, if disconnected from the mains, the clock figures will flash when the mains are
re-connected and you must re-set the clock as described in the Electronic Clock Operation
paragraph.
Attention should be drawn to the environmental aspects of battery disposal. Don’t throw used
batteries in dustbin. Please contact your retailer in order to protect the environment.
Attention should be drawn to the environmental aspects of battery disposal.
Electrical products should not be disposal of with household waste. Please recycle where
facilities exist. Check with your Local Authority of retailer for recycling device.
(Batteries pack or batteries installed) shall not be exposed to excessive heat such as sunshine, fire
or the like.
SPECIFICATION
Power Source : AC 110-240V ~50/60Hz VDE External adapter
Tuner Range : FM 87.5-108.0MHz
Power Consumption : 5W
Product information is subject to change without prior notice.
USB Charging
To Connect your cell phone for charging :
Use a USB cable (not included) to connect your cell phone to the USB connector or
the unit. Your cell phone should start charging.
Use the USB charging port to charge your smartphone or to power USB powered
devices such as a USB type lamp or fan.
Remarks :
Charging function may not be supported for all phones or electronic devices
During standby mode, Press and hold DIMMER for 2 seconds repeatedly to select
high or low brightness levels.
While listening, press + VOLUME – to adjust volume.
USB Charging power : DC 5V 1A ( standby mode )

FCC Caution: Any changes or modifications not expressly approved by the party responsible
for compliance could void the user's authority to operate this equipment.
This device complies with Part 15 of the FCC Rules. Operation is subject to the following two
conditions: (1) This device may not cause harmful interference, and (2) this device must
accept any interference received, including interference that may cause undesired operation.
This device and its antenna(s) must not be co-located or operating in conjunction with any
other antenna or transmitter.
NOTE: This equipment has been tested and found to comply with the limits for a
Class B digital device, pursuant to Part 15 of the FCC Rules.
These limits are designed to provide reasonable protection against harmful interference in a
residential installation. This equipment generates, uses and can radiate radio
frequency energy and, if not installed and used in accordance with the
instructions, may cause harmful interference to radio communications.
However, there is no guarantee that interference will not occur in a particular installation.
If this equipment does cause harmful interference to radio or television reception,
which can be determined by turning the equipment off and on, the user is encouraged to
try to correct the interference by one or more of the followingmeasures:
-- Reorient or relocate the receiving antenna.
-- Increase the separation between the equipment and receiver.
-- Connect the equipment into an outlet on a circuit different from that to which the
receiver is connected.
-- Consult the dealer or an experienced radio/TV technician for help.
This equipment should be installed and operated with minimum distance 20cm between the
radiator and your body.
 Loading...