

Page 1

ENCORE
(MODEL NO:KP900XT)
USER'S MANUAL
Page 2

This device complies with part 15 of the FCC rules and
regulations.
Operation is subject to the condition that this device not
cause harmful interference.
Page 3

CONTENTS
■ Features.
■ External View.
■ DESCRIPTION OF ICON INDICATION
■ Operation Pager
- Power ON
- Receiving and Reading a message
- Delete received Messages
- Delete all Messages
- Delete single Message
- Protect the Messages
■ HOW TO SET UP FUNCTION
- Default settings
- Setting the Time & Date
- Setting the Alarm
- Setting the Auto Power ON/OFF
- Changing the Alert Mode
■ Out of Range
■ Remind Alert Mode
■ Battery in function
- Replacing the battery.
- Low battery indication
Page 4

1.FEATURES
1) Date & Time Stamping.
2) 10 deference melodies and Beep Tone.
3) 18 Messages and Memory of 12 digits.
4) Automatic Power ON/OFF.
5) Selective Vibration or Beep Alert.
6) Remind Alert.
8) LCD displays 12 Characters in 1 LINE.
9) Low Battery indication.
10) 3 set of Alarm Time.
11) Memory Backup.
12) Baud Rate Selectable.
13) Pass Word Function.
14) CAPCODE Selectable.
15) Duplicate Message Indication.
16) Continuation Message Indication
Page 5
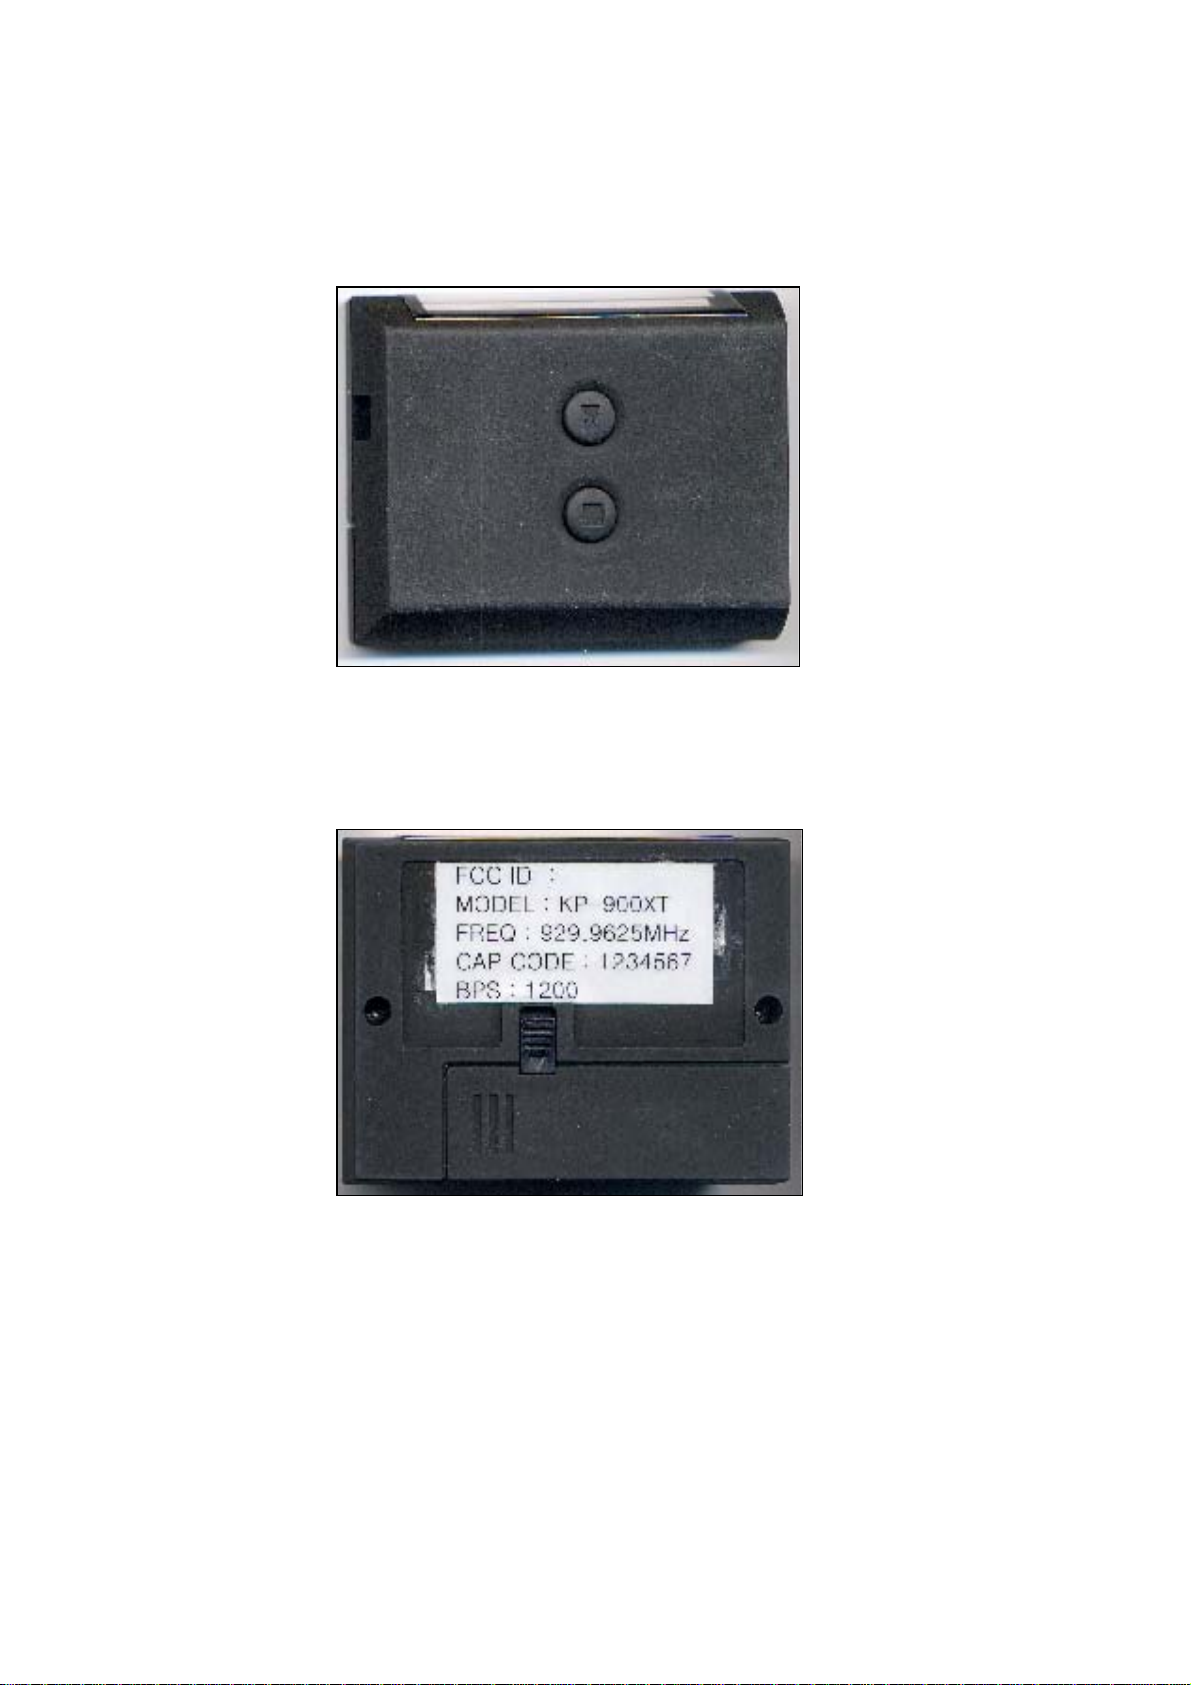
2. EXTERNAL VIEW
Page 6

3. DESCRIPTION OF ICON INDICATION
DISPLAY SYMBOL
Stand-by mode
No Page: No message is received
Pages Full: Message full indicator
Low battery: Low battery indicator
4. OPERATION OF PAGER
1) Turn power off
Page 7

Press the Function Button (■) twice to “PAGE OFF”
Press the Read Button (▶) to turn off.“OFF” and current time will display at the same
time on the Screen to confirm the pager is in off mode. Clock is working While pager
in off mode.
2) RECEIVING AND READING A MESSAGE
When a message is received, the pager alert for 8 sec. And “PAGE” will be displayed.
Press any button to stop the alert.
Press the Read Button (▶) to read the message.
If the pager has over 18 messages.
It will erase the oldest one to make room for the new 1st one.
If the pager has over 18 To read a message in memory. Do the following.
Press the Read Button (▶). The first display will be date and time stamp.
01- is sequence that does not to read the message in memory.
Press the Read Button (▶) to display the message.
Then press the Read Button (▶) again to read the next messages.
Page 8

3) DELETE RECEIVED MESSAGE
Received message can be deleted singly or all the unlocked Message at
once.
Delete all Message
Press the Function Button (■) until “delete all” Displays.
Press the Read Button (▶) to delete all the messages in the memory slot.
Delete single message
Press the Read Button (▶) until a message you want to delete is Displayed
on the Screen.
Press the Function Button (■) until “ delete?” displays.
Press the Read Button (▶) again to delete.
4)PROTECT THE MESSAGES.
Press the Read Button (▶) until a message you want to protect is display on the
screen.
Page 9

Press the Function Button(■). It will be prodect with symbol.
Press the Read Button(▶) again and your message is saved.
5. HOW TO SET UP FUNCTION
1)SETTING THE TIME & DATE
Press the Function Button (■) until <SET TIME> Displays.
Press the Read Button (▶) then <0-00P>displays.
Press the Function Button (■) to set up the flashing digit.
Press the Function Button (■) to scroll and move the cursor to the next digit.
After setting, Press the Read Button (▶) to return to the stand by mode.
2) SETTING THE ALARM
Press the Function Button (■) until <SET ALARM> displays.
Press the Read Button (▶) then <1 OFF00-00A> display.
Page 10

Press the Function Button (■) to set up the flashing digit according to you
daily schedule.
3) SETTING THE AUTO POWER ON/OFF
Press the Function Button (■) until <SET AUTO> displays.
Press the Function Button (■) to change from <AUTO ENABLE>/<AUTO DISABLE>
displays.
Press the Read Button (▶) select until <ON 00:00P> displays.
Press the Function Button (■) to set up the flash digit.
Press the Read Button (▶) to scroll and move the cursor to the next digit.
Page 11

Press The Function Button (■) to return to the stand by mode.
4) CHANGING THE ALERT MODE
Press the Function Button (■) until <SET ALERT> displays.
Press the Read Button (▶) then <AUDIO> display.
Press the Function Button (■) Then <MOTOR> <MUSIC> <SILENT> displays.
Press the Read Button (▶) Menu select.
Page 12

Setup melody (from vibration or silent sound)
Press the Function Button (■) until <SET ALERT> display on the screen.
Press the Read Button (▶) then <MUSIC 1> display on the screen.
Press the Function Button (■) then (1, 2, 3⋯.) selected.
Press the Read Button (▶) to return to the stand by mode.
6. OUT OF RANGE
Press the Function Button (■) until <SET 0-0-R> displays.
Press the Read Button (▶) ,Then <OOR ENABLE> <OOR DISABLE> displays.
Select the enable/disable Function by pressing the Function Button (■).
Press the Read Button (▶) to return to the stand by mode.
“OUT OF RANGE” will be displayed as below if you are not receiving the message.
Page 13

If the “OUT OF RANGE” feature is turned off, the symbol will not be.
Displayed whether you are within the receiving range of signal or not.
7. REMIND ALERT MODE
Press the Function Button (■) until <SET REMIND> displays.
Press the Read Button (▶) then <REM DISABLE> <REM ENABLE> displays.
Select the enable / disable function by pressing the Function Button (■).
Press the Read Button (▶) to return to the stand by mode.
You can hear alert sound every minute when the remind alert Is “ENABLE” and the
page isn’t displayed.and the page isn’t displayed.
The alert sound isn’t heard when the remind alert is DISABLE
Page 14

8. BATTERY INFORMATION
1) Low Battery indication
When the Battery power low levels, it display “LOW BATTERY” with sound alert.
Replacing the Battery
Pager is designed to operate with AAA size alkaline battery.
To replaced the battery. Do the following.
※ Slide locking switch to the unlock position..
※ Slide the battery cover off the pager.
※ Remove the old battery and insert a new AAA battery in the
direction shown the battery compartment.
※ Slide the battery cover back on the pager slide the
battery lock switch to the lock position.
**NOTICE: Don’t place the battery in backward.
If you insert the battery in backward, All the message, Time, and Setting mode
Setting mode will be deleted.
Page 15

CAUTION : Any changes or modifications in construction of this device
which are not expressly approved by the party responsible for compliance
could void the user's authority equipment.
 Loading...