

Page 1

Installation Guide
Atmospherix, Hemispherix, Ecliptix
Page 2
Congratulations on choosing Krix
Your Krix speakers are designed to reproduce the highest quality sound. To get the best
performance from your speakers please read these installation instructions thoroughly as there
are many factors that infl uence the performance of your speakers. If you have any diffi culties
please speak with one of our friendly authorised Krix dealers.
installation
before you begin
Please read the disclaimer on the back
!
of this manual.
After discussion with your local Krix •
distributor, or installation consultant,
to determine the best location for your
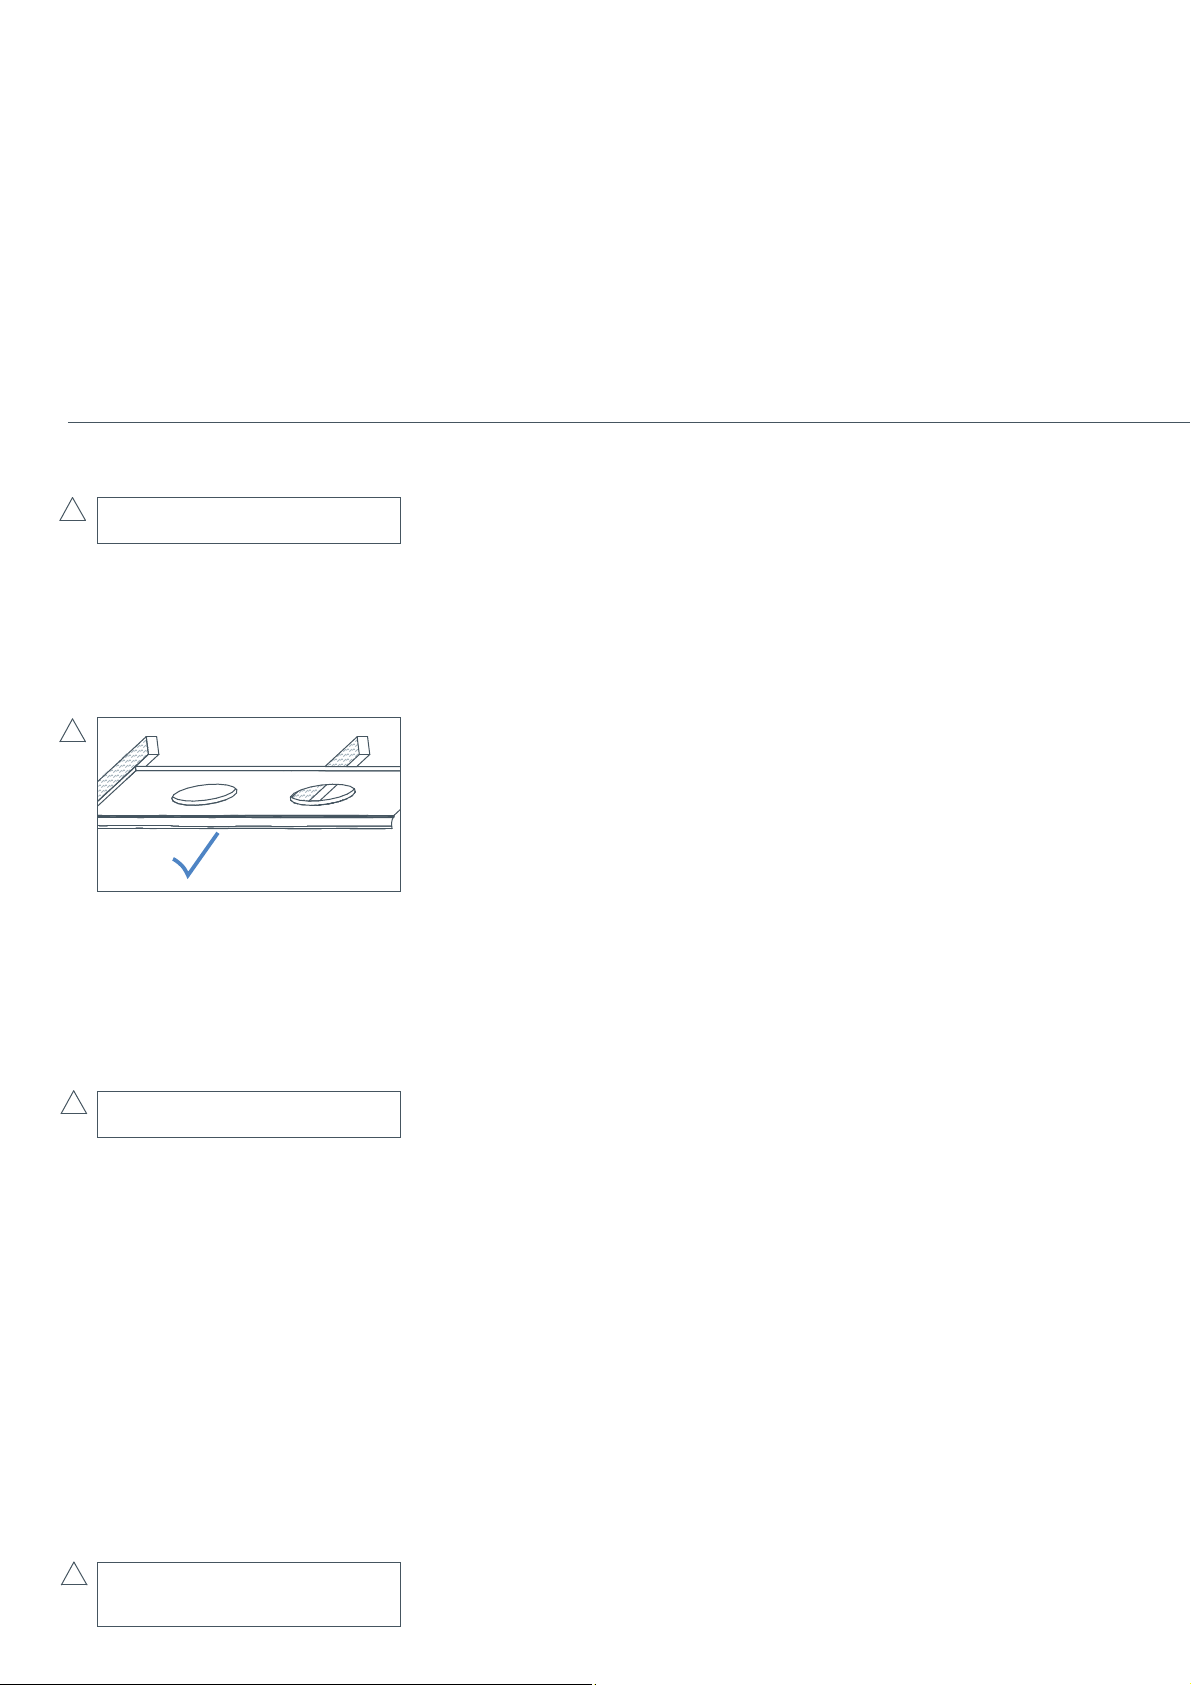
loudspeakers. Check for any obstructions,
such as electrical wiring, plumbing, stud
work or air conditioning ducts before
commencing the installation. (fi gure 1)
!
fi gure1
Also ensure that there is enough ceiling/•
wall space to accommodate the speaker
enclosure.
connecting
To ensure optimum performance it is
important that your speaker system is
connected properly:
Turn off all electronic equipment and
!
disconnect from the power point.
Follow the connection instructions •
supplied with your amplifi er, CD/DVD, hard
disk recorder, video player etc.
• Install speaker cable in wall or ceiling
cavity, or run cable along wall surface.
Allow approximately 300mm of excess
cable to facilitate loudspeaker installation.
• Follow the connection instructions
supplied with your amplifi er to connect
the speaker cables to amplifi er. Take care
to assign the same cable colour or trace to
the positive (+) connector on the amplifi er
as the positive (+) connector on the
speaker.
• Prepare speaker cables for connecting to
speakers by neatly stripping cable ends.
Care should be taken to eliminate loose
!
strands of wire that may be present a
short circuit hazard.
installation
Once the correct placement the speakers •
has been determined, use the cardboard
insert marked ‘template’ (from the internal
packing) to trace the required cut-out onto
the ceiling/wall.
(fi gure 2 - Note: Atmospherix or
Hemispherix round template is shown, the
Ecliptix template is rectangular)
Drill a hole inside the marked cut-out. •
Using a fi ne gyprock saw to cut around the
inside of the marked cut-out. (fi gure 3)
Remove the circular offcut and insert the •
speaker to check the hole is the correct
size. Enlarge the cut-out if required.
To install the speaker, fi rst remove the •
grille. To remove the speaker grille use
the mounting clamps located around the
edge of the enclosure. Swing the mounting
clamps out so that they are 90 degrees to
the enclosure, and gently push upwards
on the clamps until the grille lifts. Carefully
lift out the grille without bending.
(Figure 4)
Pull the stripped speaker cable through the •
ceiling/wall opening. Push and hold down
the positive (+) red binding post on the
speaker and insert the positive (+) wire
through hole in post. Take care to assign
the same cable colour or trace to the
positive (+) connector on the amplifi er, as
the positive (+) connector on the speaker.
Repeat connection process with the
negative (-) black binding post and the
negative (-) wire. (Figure 5)
Ensure all mounting clamps are swung •
back against the speaker enclosure
(Figure 5), so that the speaker can be
easily inserted into the ceiling cut-out.
Once the speaker has been located in the
ceiling/wall, use a Philips head screwdriver
to tighten all mounting screws. Be careful
not to over tighten screws, as this may
strip the clamp, or crush the gyprock
surface. As the screws are tightened,
the mounting clamps will automatically
swing out over the gyprock and clamp the
speaker in place. (Figure 6)
Concealed audio products may feature •
a pivoting tweeter which allows the
high frequency sound to be directed as
desired, depending on your environment
and preference. Gently press on the round
outer edge of the tweeter frame to tilt the
tweeter to the desired position. Be careful
not touch the tweeter dome, as this may
damage to the tweeter. (Figure 7)
If painting the grille and speaker frame is •
not required, gently fi t the metal grille to
the front of the speaker housing.
If the grille and speaker frame require •
painting, ensure the black front baffl e
is masked off to protect the speaker
drivers. When painting the metal grille it
may necessary to thin down the paint to
avoiding blocking the holes in the grille.
After all paint is dry, fi t the grille to the
front of the speaker housing.
2
Page 3

installation
fi gure 3 fi gure 2
fi gure 4 .
fi gure 6 fi gure 7
3
fi gure 5
Page 4

Krix Loudspeakers Pty Ltd
14 Chapman Road
Hackham SA 5163
Australia
T 61 8 8384 3433
F 61 8 8384 3419
listen@krix.com Rev #10004
krix.com
!
disclaimer
Cutting or drilling into anything can be dangerous. You should make sure you know what is behind or inside the surface that you are cutting
into before you start to cut. For example, you might strike an electrical cable.
If you do not feel entirely confi dent about installing this product, contact a professional installer.
disclaimer
To the extent permissible by law:
All warranties, conditions, representations, promises and statements relating howsoever to this product whether express or implied and
whether in contract or tort are excluded to the extent permitted by law; and
Our liability to you under a condition or warranty (if any) implied into this sale and purchase agreement relating to this product by the Trade
Practices Act 1974 (as amended) or any other law (whether a law of Australia or any other country) other than a condition implied by Section
69 of the said Act is limited at our option to:
the replacement of the product; or
the supply of an equivalent product; or
the repair of the product.
If you do not accept the above conditions, return this product (in the original packaging) with proof of purchase for a full refund.
 Loading...