

Instructions for Use, v 99.0
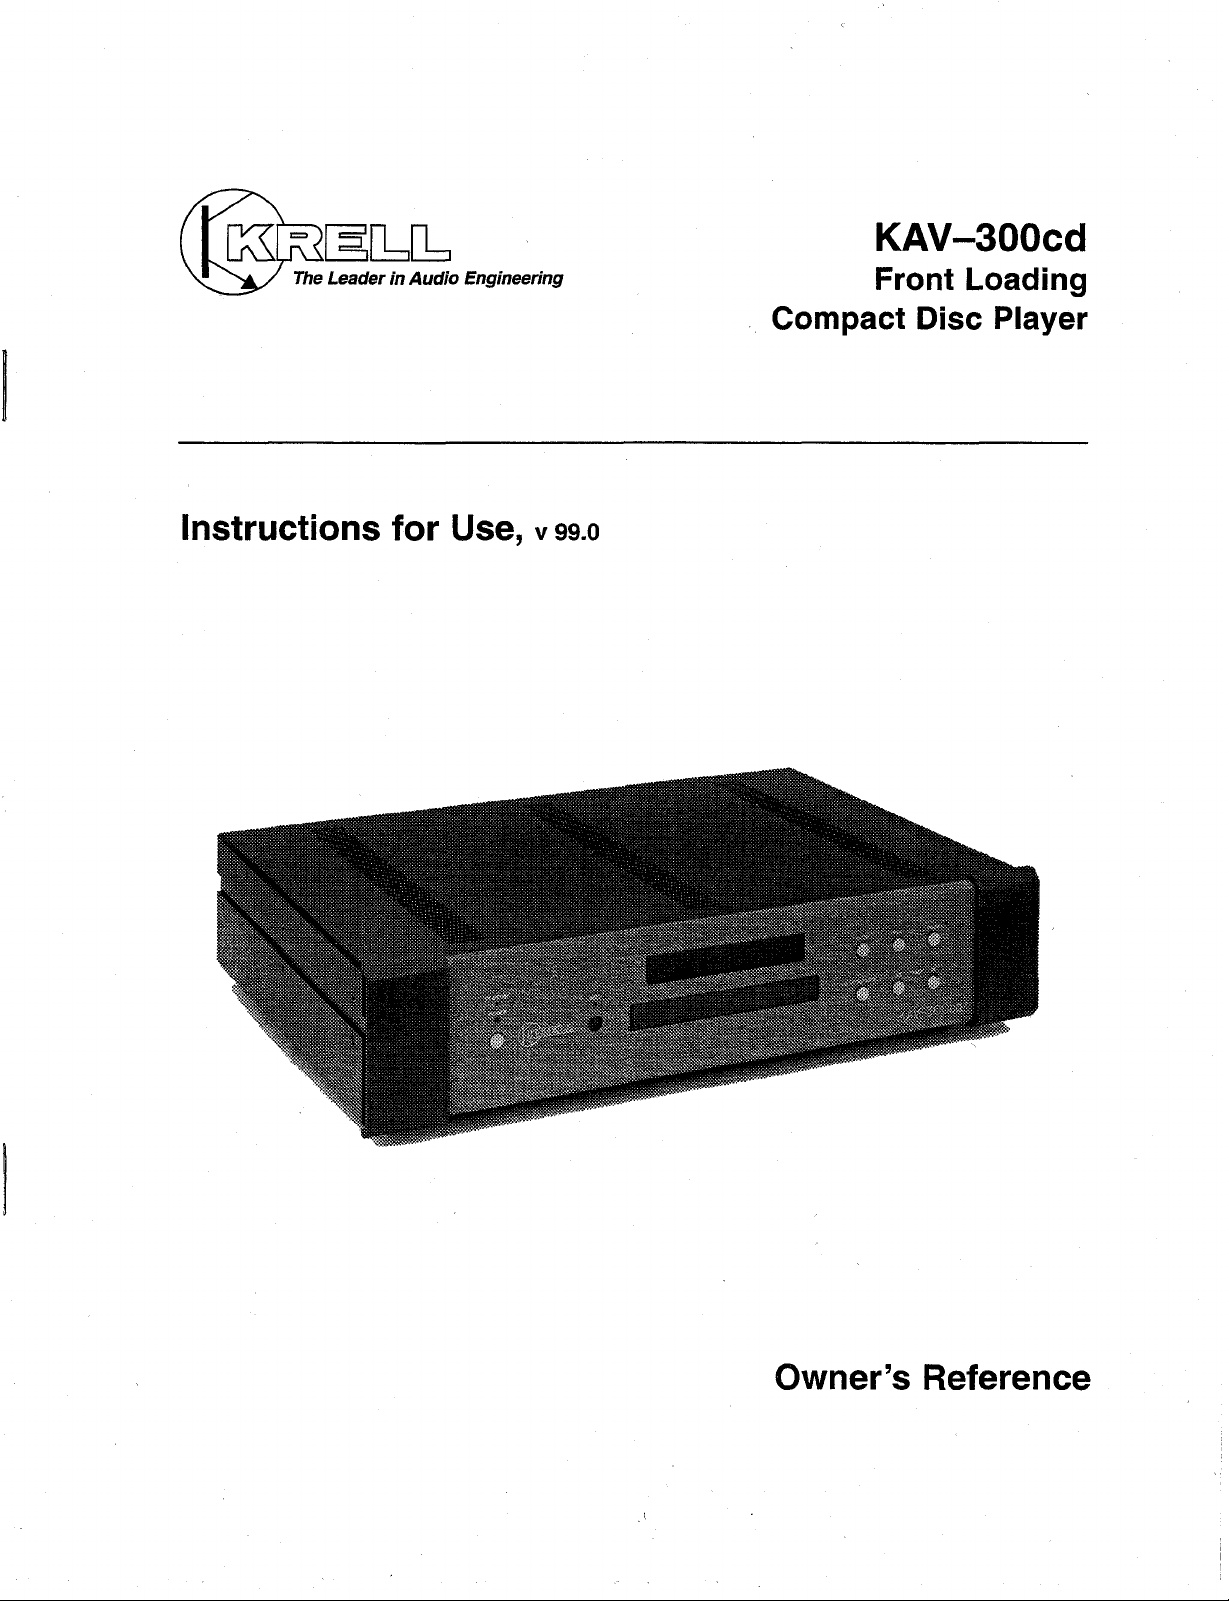
KAV-300cd
Front Loading
Compact Disc Player
Owner’s Reference
KAV-300cd
Front Loading
Compact Disc Player
CONTENTS
INTRODUCTION
Page
3
Krell Industries, Inc.
45 Connair Road
Orange, CT 06477-3650 USA
TEL 203-799-9954
FAX 203-799-9796
E-MAIL krell @ krellonline.com
WEB SITE www.krellonline.com
UNPACKING
PLACEMENT
AC Power Guidelines
CONNECTING THE KAV-300cd
TO YOUR SYSTEM
Digital Outputs
Additional Connections
FRONT PANEL AND
REMOTE CONTROL OPERATION
Track Programming
How to Write a Program
How to Program Using
Track Forward and Back
Battery Installation and Removal
WARRANTY
3
4
4
5
5
5
9
10
11
© 1999 by KRELL Industries, Inc. All rights reserved
RETURN AUTHORIZATION
PROCEDURE
SPECIFICATIONS
ILLUSTRATIONS
Figure 1 FRONT PANEL
Figure 2 BACK PANEL
Figure 3 REMOTE CONTROL
P/N 1960101700090
12
Back Cover
Page
6
6
7
CE Marking
Unpacking
This product complies with the EMC directive (89/336/EEC) and the low-voltage
directive (73/23/EEC).
Introduction
Thank you for your purchase of the Krell
KAV-300cd Front Loading Compact Disc
Player. The KAV-300d’s transport design
eliminates error-producing wobble and delivers exceptional tracking & focus accuracy,
regardless of environment or disc characteris-
tics. Digital circuitry provides ultra-high signal
resolution and directly coupled analog circuit-
ry assures superior low-frequency performance, with low distortion, wide bandwidth,
and minimal negative feedbacks. The
KAV-300cd can be seemlessly into a home
theater or whole-house audio system, and
the hand-held remote control provides convenient operation of the KAV-300cd as well
as other Krell components. This owner’s
reference manual contains important infor-
mation on placement, installation, and operation of your KAV-300cd. Please read this
information carefully. A thorough understanding of these details will help ensure
satisfactory operation and long life for your
KAV-300cd and related system compo-
nents.
1. Open the box and remove the top layer of
foam. You will see these items:
1 KAV-300cd
1 AC power cord
1 12 VDC remote cable link
1 3 AG 3 AMP 250V fast acting fuse
1 KAV-300c remote control
2 AAA batteries
1 packet containing an introductory
letter from C.E.O. Dan D’Agostino,
the Owner’s Reference, and the
Warranty Registration Card
2. Carefully remove the unit and accessories from the box. Remove the pro-
tective plastic wrap from the unit.
Notes
ff any of these items are not included,
please contact your authorized Krell dealer
or distributor immediately for assistance.
Save all packing materials. If you must ship
your KAV-3OOcd in the future, repack the
un# in its original packaging to prevent tran-
sit damage.
THERE ARE NO USER-SERVICEABLE
PARTS INSIDE ANY KRELL PRODUCT.
Please contact your authorized dealer,
distributor, or Krell, if you have any
questions not addressed in this reference manual.
1 Krell is the registered trademark of Krell Industries, Inc.
KRELL KAV-300cd Page 3 of 16
Placement
WARNING
The compact disc player must not be locat-
ed where it could be exposed to dripping or
splashing fluids.
The ventilation grids on the top of the
KAV-300cd need to be unobstructed at all
times during operation. Do not place flam-
able material on top of or beneath the
KAV-300cd. For installations inside cabi-
netry, make sure the KAV-300cd has adequate air circulation. Contact your autho-
rized dealer, distributor, or Krell for more
information.
Before you install the KAV-300cd into your
system, review the following guidelines to
choose the location for the KAV-300cd.
This will facilitate a clean, trouble-free instal-
lation. The KAV-300cd does not require any
type of special rack or cabinet for installation.
For the dimensions of the KA V-3OOcd, see
Specifications on the back cover.
1. Place the KAV-300cd on a firm level surface, away from excessive heat, humi-
dity or.moisture.
2. Although well shielded, the KAV-300cd
should not be placed near hum sensi-
tive components such as preamplifier
phono stages or turntables. The power
supply may create interference and
induce hum.
3. The KAV-300cd incorporates an advanced suspension system and does
not require additional mass coupling or
isolation. You may experiment with feet
or cones as long as they are not perma-
nently affixed to the chassis. Any unauthorized modifications to the electronics
or chassis will void the warranty.
IMPORTANT
The use of CD rings, mats, or other devices
attached to individual CDs is not recommended. These devices may cause problems with the transport mechanism, result-
ing in erratic playback and~or poor sound.
AC POWER GUIDELINES
WARNING
Do not remove or bypass the ground pin on
the end of the AC cord. This may cause
radio frequency interference (RFI) to
induced into your playback system.
The KAV-300cd has superb regulation and
does not require a dedicated AC circuit.
Avoid connections through extension cords
or multiple AC adapters. High quality 15 amp
grounded AC strips are acceptable. High
quality AC line conditioners or filters can be
used if they are grounded and meet or
exceed the unit’s power supply rating of 100
VA.
Page 4 of 16 KRELL KAV-300cd

Connecting the KAV-300cd
to Your System
The left and right channel RCA and balanced
outputs (6) are labeled on the back panel.
Maintain the correct left/right orientation.
WARNING
When making connections to this component or any other, make sure the power
amplifier is off and the preamplifier is in the
mute or stand-by mode. Make sure all cable
terminations are of the highest quality, free
from frayed ends, short circuits, or cold solder
joints.
Plug the KAV-300cd into a standard
1.
wall AC receptacle. The stand-by LED
will illuminate.
Connect the KAV-300cd output (6) to the
2.
appropriate preamplifier input.
3. Push the power button (2) on the front
panel or the pwr key onthe remote control. To activate the KAV-L300cd from the
remote, first press the CD key on the
remote, then press the red pwr key.
When the power LED on the compact
disc player illuminates, the KAV-300cd
is ready for operation.
The KAV-300cd is equipped with two ana-
log output configurations: Single-ended via
RCA connectors, and balanced via XLR
connectors. Krell recommends the use of
balanced interconnects. Balanced intercon-
nects not only have the ability to minimize
sonic loss but also have immunity to
induced noise, especially for installations
using long cable lengths. Balanced connec-
tions have 6dB more gain than singleended connections. When level matching is
critical, keep this specification in mind.
The XLR pin configuration is described
below:)
Note
Both the balanced and single-ended out-
puts can be used to simultaneously feed dif-
ferent systems.
DIGITAL OUTPUTS
The KAV-300cd is equipped with one EIAJ
fiber optic (Toslink) and one S/PDIF coaxial
digital output. The toggle switch on the rear
panel must be set to the ON position in
order to send this output to a digital record-
ing device or external D/A processor.
ADDITIONAL CONNECTIONS
RC-5 In
This input accepts baseband RC-5 input
commands from various remote devices,
facilitating custom installations. This allows
the KAV-300cd to be controlled via hardwired signals sent from such units
12 VDC Remote Power In
This input accepts 12 volt power on/off sig-
nals from other Krell components, as well
as other devices that incorporate a 12 volt
power on/off trigger output. This allows for
remote turn on/off of the KAV-300cd with
the power activation of another Krell com-
ponent as well as other components used
in a custom installation.
Note
Consult the owner’s reference of any com-
ponent used in a custom installation to take
full advantage of the remote capability of
the KA V-3OOcd. ¯
Pin 1 Ground
Pin 2 Non-inverting (0
Pin 3
KRELL KAV-300cd Page 5 of 16
°)
°)
Inverting (180

FIGURE 1 KAV-300cd FRONT PANEL
1 Display Window
2 Power On/Off Button
Function Indicator for HDCD
3
4 Infrared Remote Sensor
Transport Function Buttons for: Stop, Play, Pause,
5
Open/Close, Track Back, and Track Forward
®1
Decoding
1
3
HDCD
O
4
2
FIGURE 2 KAV-:~00cd BACK PANEL
Left and Right balanced and single ended analog outputs
6
7 Digital outputs: EIAJ optical (Toslink) and SPDIF coaxial
Digital output activation switch
8
9 Fuse holder
Baseband RC-5 input
10
11 12 volt trigger
5
0 0 0
KAV-300cd
12 IEC Standard 15 amp AC power cord receptacle
8 7
KAV-300cd
Compact Disc Player
IGrrAL°uTPUTs----~O
r-o~
/
V~~ HDCD® is the registered trademark of Pacific Microsonics, Inc.
6
I’ " ANALOG OUTPUTS.
RIGHT LEFT
RIGHT (~O
9
10 11

THE KAV-300cd REMOTE CONTROL
17
16
18
19
13 Open Key
14 Play Key
15 Stop Key
16 Track Back Key
Track Forward Key
17
18 Search Back Key
19 Search Forward Key
20 Pause Key
Repeat Key
21
A/B Key
22
23 Direct number Access Keypad
24 Display Key
Dim Key
25
26 Track Programming Key
27Clear Key
KRELL KAV-300 cd Page 7 of 16
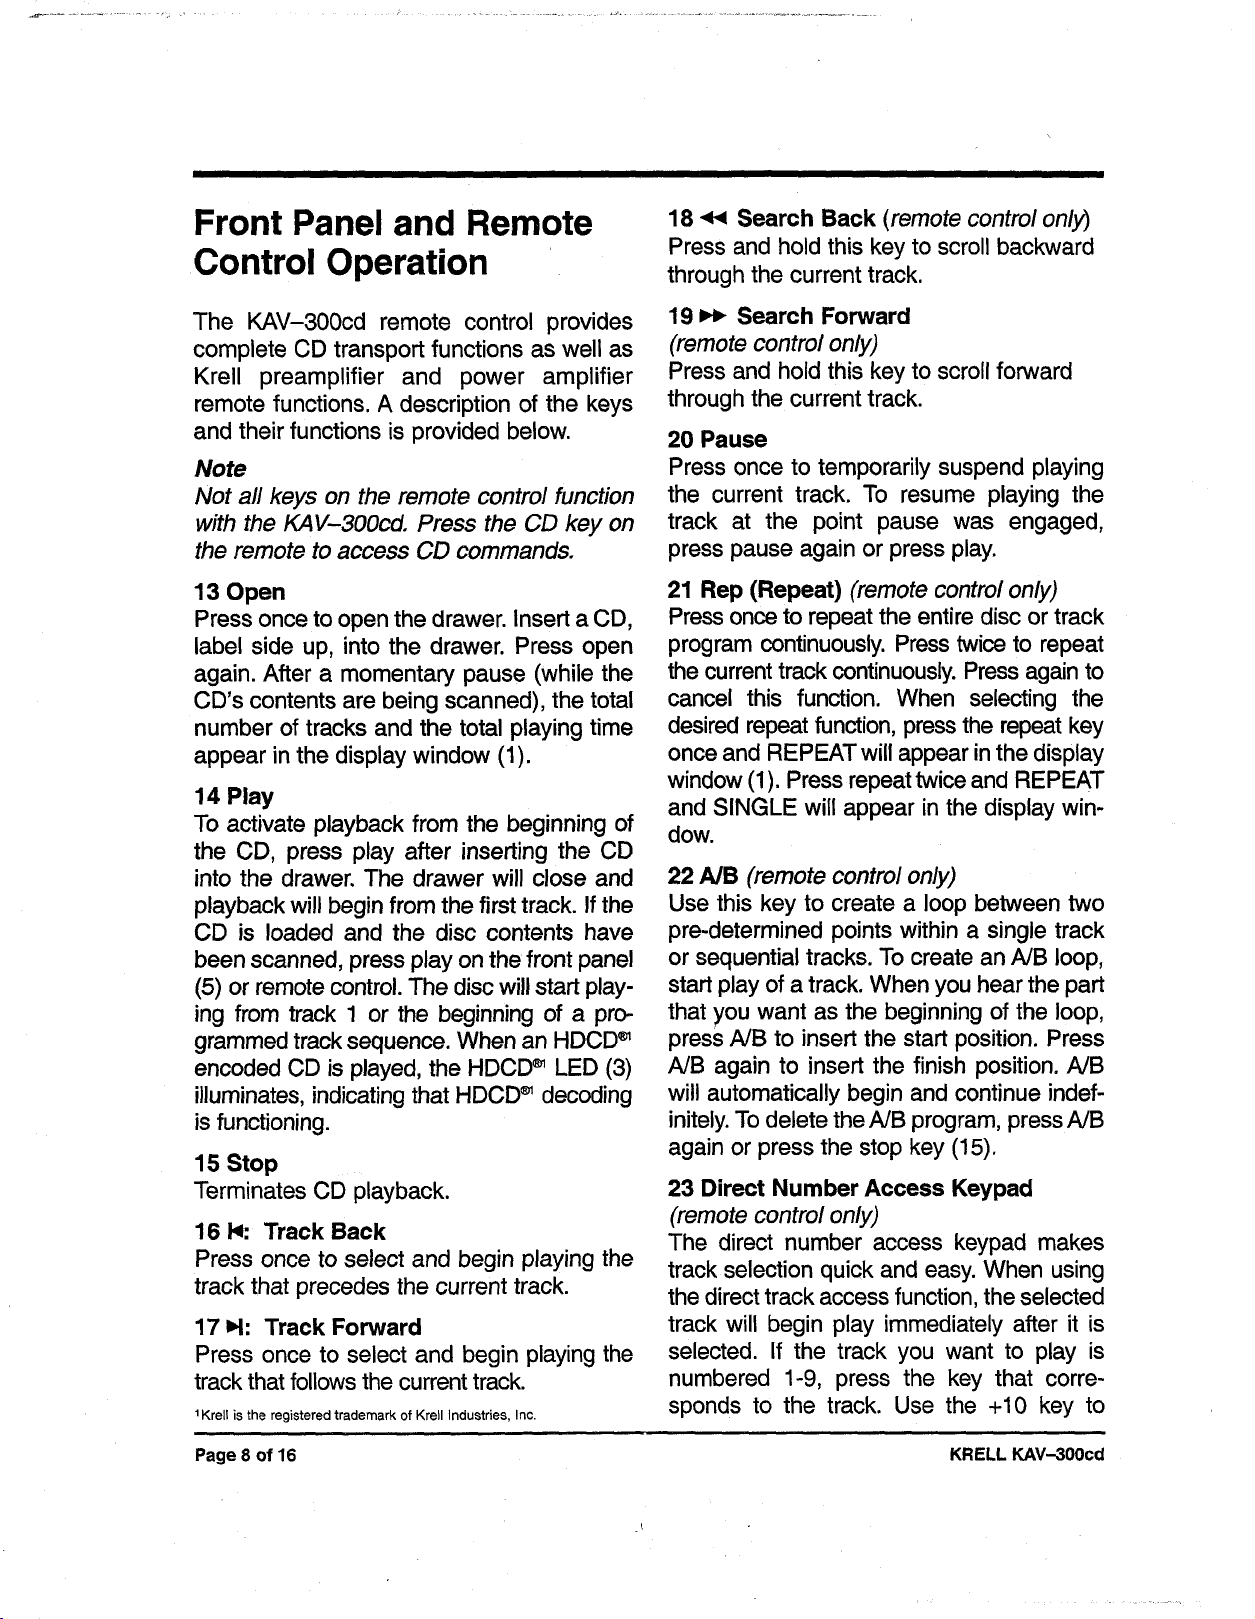
Front Panel and Remote
Control Operation
18 << Search Back (remote control only)
Press and hold this key to scroll backward
through the current track.
The KAV-300cd remote control provides
complete CD transport functions as well as
Krell preamplifier and power amplifier
remote functions. A description of the keys
and their functions is provided below.
Note
Not all keys on the remote control function
with the KAV-3OOcd. Press the CD key on
the remote to access CD commands.
13 Open
Press once to open the drawer. Insert a CD,
label side up, into the drawer. Press open
again. After a momentary pause (while the
CD’s contents are being scanned), the total
number of tracks and the total playing time
appear in the display window (1).
14 Play
To activate playback from the beginning of
the CD, press play after inserting the CD
into the drawer. The drawer will close and
playback will begin from the first track. If the
CD is loaded and the disc contents have
been scanned, press play on the front panel
(5) or remote control. The disc will start playing from track 1 or the beginning of a pro-
~
grammed track sequence. When an HDCD
encoded CD is played, the HDCD~ LED (3)
illuminates, indicating that HDCD~ decoding
is functioning.
15 Stop ....
Terminates CD playback.
16 I~: Track Back
Press once to select and begin playing the
track that precedes the current track.
17 H: Track Forward
Press once to select and begin playing the
track that follows the current track.
1 Krell is the registered trademark of Krell Industries, Inc.
19 ~ Search Forward
(remote control only)
Press and hold this key to scroll forward
through the current track.
20 Pause
Press once to temporarily suspend playing
the current track. To resume playing the
track at the point pause was engaged,
press pause again or press play.
21 Rep (Repeat) (remote control only)
Press once to repeat the entire disc or track
program continuously. Press twice to repeat
the current track continuously. Press again to
cancel this function. When selecting the
desired repeat function, press the repeat key
once and REPEAT will appear in the display
window (1). Press repeat twice and REPEAT
and SINGLE will appear in the display window.
22 AJB (remote control only)
Use this key to create a loop between two
pre-determined points within a single track
or sequential tracks. To create an NB loop,
start play of a track. When you hear the part
that you want as the beginning of the loop,
press A/B to insert the start position. Press
A/B again to insert the finish position. NB
will automatically begin and continue indefinitely. To delete the A/B program, press A/B
again or press the stop key (15).
23 Direct Number Access Keypad
(remote control only)
The direct number access keypad makes
track selection quick and easy. When using
the direct track access function, the selected
track will begin play immediately after it is
selected. If the track you want to play is
numbered 1-9, press the key that corre-
sponds to the track. Use the +10 key to
Page 8 of 16 KRELL KAV-300cd

access tracks numbered 10 or higher. The
+10 key selects a track in increments of 10.
EXAMPLE: To access track 8, press the
number 8 key once. To access track 10,
press the +10 key once and the 0 key
once. To access track 24, press the + 10 key
twice and press the 4 key once.
24 Display (remote control only)
Use this key to cycle the display window (1)
between elapsed time of the track currently
playing, time remaining in the current track,
and total remaining time of the disc or program. Press the CD key on the remote control, then press the mode key until the
desired information appears in the display
window.
25 Dim (remote control only)
Use this key to turn the display window (1)
on and off. Press the CD key on the remote
control, then press the dim key until the display window reaches the desired position.
TRACK PROGRAMMING
26 Prog (remote control only)
Use this key to select the tracks you would
like to hear, in the order in which .you would
like to hear them. This method of programming is short term and will be cleared when
you press the stop key (15) twice. A maxi-
mum of twenty tracks may be stored in a
program sequence.
27 Clr (Clear) (remote control only)
Use this key to delete the last entry select-
ed in a programmed sequence. Track for-
ward, track back, repeat, and pause function
normally within a programmed sequence.
Note
Track forward, track back, repeat, and
pause function normally within a programmed sequence.
HOW TO WRITE A PROGRAM
Press the program key (26)
1.
theKAV-300cd remote control. PRO-
GRAM will appear in the display window
(1).
Key in the desired track sequence using
=
the numeric keypad (23). The number
tracks and total playing time of the programmed sequence will appear in the
display window (1). Track numbers will
appear in the display as they are stored
within a programmed sequence.
Press the play key (14) to begin playback
=
of the programmed sequence.
Press the stop key (15) once to stop
=
playback (but not erase program). Press
stop twice to erase a programmed
sequence.
Note
When the CD is in stand-by mode the pro-
grammed sequence is erased.
HOW TO PROGRAM USING
TRACK FORWARD AND BACK
1. Press the program key (26) on the
KAV-300cd remote control. PROGRAM
will appear in the display window (1).
Press the track forward key (17)
2.
select a track. Key in the desired track
sequence using the numeric keypad (23).
The number of tracks and total playing
time of the programmed sequence will
appear in the display window (1).Track
numbers will appear in the display as
they are stored within a programmed
sequence.
EXAMPLE: Press track forward two times
to get back to track 2.
KRELL KAV-300cd Page 9 of 16
Press play (14) to begin playback of theprogrammed sequence.
1. Remove the back panel to expose the
batteries.
Press stop (15) once to stop playback
(but not erase the program). Press stop
twice to erase the programmed
sequence.
BATTERY INSTALLATION
AND REMOVAL
NOTE: Batteries should be replaced when
functions from the remote control become
intermittent. The KAV-3OOcd remote uses
two AAA size 1.5 volt batteries.
2. Remove the old batteries.
3. Install the new batteries, following the
battery position diagram on the plastic
battery receptacle.
4. Re-install the backplate.
5. Check to make sure the remote control is
functioning properly.
Page 10 of 16 KRELL KAV--300cd

Warranty
The KAV-300cd has a limited and transferable warranty of
five years for parts and labor on circuitry and three years for
parts and labor on all mechanical components. Should this
product fail to perform at any time during the warranty, Krell
will repair it at no cost to the owner, except as set forth in
this warranty.
This warranty does not apply to damage caused by acts of
God or nature.
The warranty described on this page shall be in lieu of any
other warranty, express or implied, including, but not limited
to, any implied warranty of merchantability or fitness for a
particular purpose. There are no warranties which exceed
beyond those described in this document. If this product
does not perform as warranted herein, the owner is sole
remedy shall be repair. In no event will Krell be liable for
incidental or consequential damages arising from purchase,
use, or inability to use this product, even if Krell has been
advised of the possibility of such damages.
The warranty period begins on the date of retail purchase,
as noted on the retail sales slip provided by an authorized
Krell dealer or distributor, or on the warranty registration
card sent to Krell. In the event adequate proof of purchase
date is unavailable, the warranty period will begin on the
date the unit was originally shipped from the factory. Krell
can determine the original ship date from the serial number.
Transfer of warranty to a second owner occurs automatically. Please contact Krell to have the registration on the
warranty changed. When the warranty is transferred, the
second owner assumes the remainder of the original war-
ranty period.
The warranty for Krell products is valid only in the country to
which they were originally shipped, through the authorized
Krell distributor for that country, and at the factory. There
may be restrictions on or changes to Krell’s warranty
because of regulations within a specific country. Please
check with your distributor for a complete understanding of
the warranty in your country.
Freight to the factory is your responsibility. Second-day
return freight within the United States (U.S.A.) is included
the warranty.if you have purchased your Krell product out-
side the U.S.A. and wish to have it serviced at the factory,
all freight and associated charges to the factory are your
responsibility. Krell will pay retum freight to the U.S.A.based freight forwarder of your choice. Freight and other
charges to ship the unit from the freight forwarder to you are
also your responsibility.
Krell is not responsible for any damage incurred in transit.
Krell will file claims for damages as necessary for units
damaged in transit to the factory. You are responsible for filing claims for shipping damages dudng the return shipment.
Replacement parts and/or products will be fumished on an
exchange basis only; any parts and/or products retumed to
Krell for exchange become the property of Krell.
No expressed or implied warranty is made for any Krell
product damaged by accident, abuse, misuse, natural or
personal disaster, or unauthorized modification.
Any unauthorized voltage conversion, disassembly,
component replacement, perforation of chassis,
updates, or modifications performed to the unit will
void the warranty.
The operating voltage of this unit is determined by the factory and can only be changed by an authorized Krell distributor or at the factory. The voltage for this product in the
U.S.A. cannot be changed until six months from the original
purchase date.
In the event that Krell receives a product for warranty ser-
vice that has been modified in any way without Krell autho-
rization, all warranties on that product will be void. The prod-
uct will be returned to original factory layout specifications at
the owner’s expense before it is repaired. All repairs
required after the product has been returned to original fac-
tory specifications will be charged to the customer, at cur-
rent parts and labor rates.
All operational features, functions, and specifications and
policies are subject to change without notification.
To register your product for warranty benefits, complete and return the Warranty
Registration Card enclosed in the shipping
box within 15 days of purchase. Thank you.
KRELL KAV-300 cd
Page 11 of 16
Return Authorization
Procedure
To return this product to Krell, please
follow this procedure so that we may
serve you better:
IMPORTANT
If you believe there is a problem with your
component, please contact your dealer, distributor, or the Kre// factory to discuss the
problem before you return the component for
repair. To expedite service, you may wish to
complete and e-mail the Service Request
Form in the Service Section of our website
at:
www.krellonline.com
To contact the Krell Service Department
TEL
FAX
E-MAIL
WEBSITE
KAV-300cd
PRODUCT PLEASE WRITE YOUR SERIAL NUMBER HERE
203-799-9954
Monday-Friday
9:00 AM to 5:00 PM EST
203 -799 -9796
service @ krellonline.com
www.krellonline.com
1. Obtain a Return Authorization Number
(R/A number) and shipping address from
the Krell Service Department.
2. Insure and accept all liability for loss of or
damage to this product during shipment to
the Krell factory and prepay all shipping
charges. Please see the Warranty page in
this manual, concerning liability for shipping
damage and shipping charges.
This product may also be hand delivered if
arrangements with the Service Department
have been made in advance. Proof of pur-
chase may be required for warranty validation at the time of hand delivery.
IMPORTANT
Use the original packaging to ensure safe
transit of this product to the dealer, distribu-
tor, or facto~ Krell may, at its discretion,
return this product in new packaging and bill
the owner for such packaging if the product
received by Krell was boxed in non-standard packaging or if the original packaging
was so damaged that it was unusable, ff
Krell determines that new packaging is
required, the owner will be notified before
this product is returned.
To purchase additional packaging, please
contact your authorized dealer, distributor,
or the Krell Service Department.
KRELL KAV-300 cd Page 12 of 16
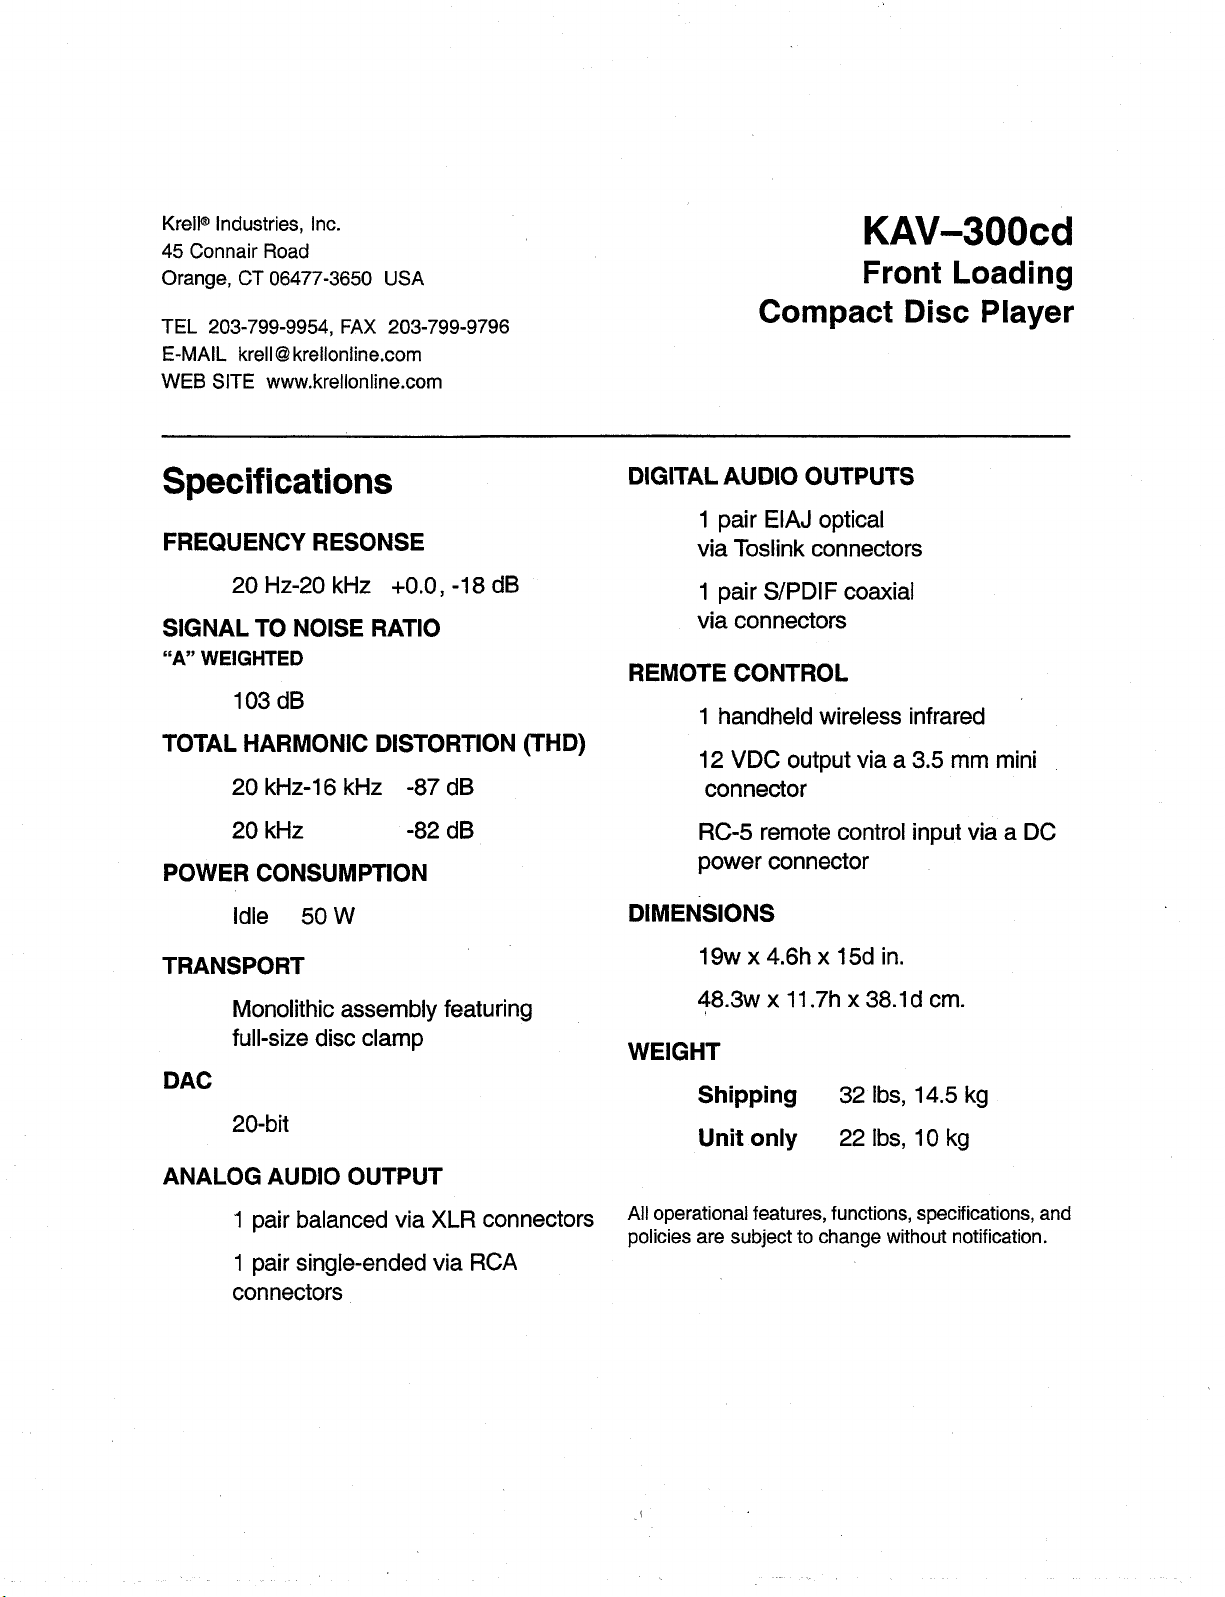
Krell® Industries, Inc.
45 Connair Road
Orange, CT 06477-3650USA
KAV-300cd
Front Loading
TEL 203-799-9954, FAX 203-799-9796
E-MAIL krell@krellonline.com
WEB SITE www.krellonline.com
Specifications
FREQUENCY RESONSE
20 Hz-20 kHz +0.0, -18 dB
SIGNAL TO NOISE RATIO
"A" WEIGHTED
103 dB
TOTAL HARMONIC DISTORTION (THD)
20 kHz-16 kHz -87 dB
20 kHz -82 dB
POWER CONSUMPTION
Compact Disc Player
DIGITAL AUDIO OUTPUTS
1 pair EIAJ optical
via Toslink connectors
1 pair S/PDIF coaxial
via connectors
REMOTE CONTROL
1 handheld wireless infrared
12 VDC output via a 3.5 mm mini
connector
RC-5 remote control input via a DC
power connector
Idle 50 W
TRANSPORT
Monolithic assembly featuring
full-size disc clamp
DAC
20-bit
ANALOG AUDIO OUTPUT
1 pair balanced via XLR connectors
1 pair single-ended via RCA
connectors
DIMENSIONS
19w x 4.6h x 15d in.
48.3w x 11.7h x 38.1d cm.
WEIGHT
Shipping
Unit only
All operational features, functions, specifications, and
policies are subject to change without notification.
32 Ibs, 14.5 kg
22 Ibs, 10 kg
 Loading...