

Page 1
Page 2

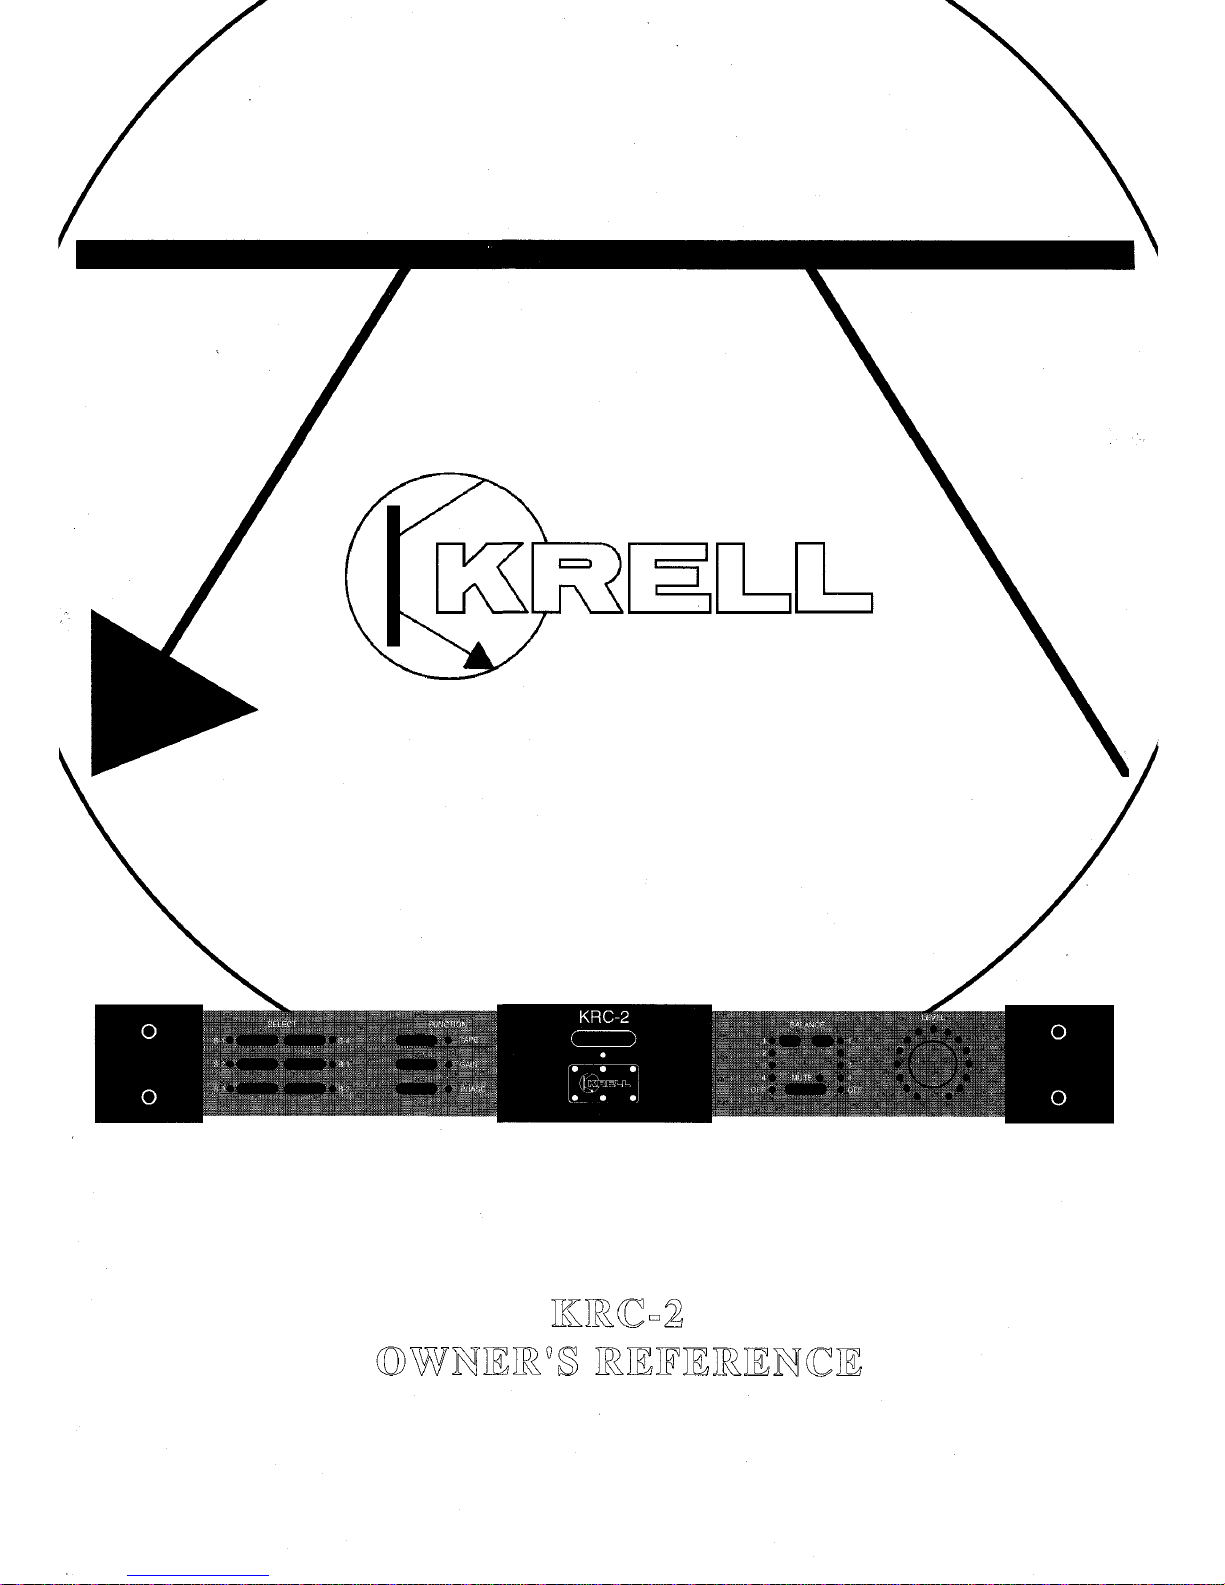
A. INTRODUCTION
Thank you for your purchase of the KRELL KRC-2.
remote control preamplifier. The KRC-2 combines the
latest eV.olutions in preamL~lifier technology with a radical
approacla to remote control circuitry. The-KRC-2 is part
oI" a new gener.ation, of KRELL products where convenience is united witla exceptional sonic quality.
To obtain the best performance.from your KRC-2, carefu.1
attention sh.ould be paid to its placement, installation anti
operation. A thor~ough understanding of these detail.s will
help insure satistactory operation and long life for the
KRC-2 and related system components.
This Owner’s Reference is divided into several sections,
eac.h designed to perfor_,m a different function. As you
read through the Owner s Reference you will beco.me
bet.ter acquainted with the features and functions that
make the KRC-2 a superb value, A Question and Answer
section is included wtiere answers to common questions
are provided. Should you have any questions or sugges-
tioffs please feel free to contact your authorized dearer or
the KRELL staff for assistance.
In the unlikely event that your .KRC-2. should require
service, you will be pleas6_d to ~lgaow tlaat it is backed by a
compretiensive Customer batistaction policy and one of
the most advanced service facilities in the industry. For
detailed information on the terms and conditions of service, please consult your warranty registration card, your
authorized KRELL Dealer or Distributor.
2
Page 3

B. TABLE OF CONTENTS
4
5
6
8
10
11
14
15
UNPACKING AND ASSEMBLY
BASIC INSTALLATION AND OPERATION
INPUT AND OUTPUT CONNECTIONS
BASIC PREAMPLIFIER OPERATION
REMOTE CONTROL
QUESTIONS AND ANSWERS
SPECIFICATIONS
WARRANTY AND SERVICE INFORMATION
3
Page 4

C. UNPACKING AND ASSEMBLY
1. Open the box and remove the top layer of foam. The
KRC-2 and following items will now be visible:
KRC-2 remote control
Warranty card
AC power cord
Owner’s Reference
NOTE: If any of these items are not included please
contact your authorized dealer immediately f6r assistance.
3. Remove the plastic bag from the preamplifier and
remote control.
NOTE: Save all packing m.ate.rials. If you .must ship your
KRC-2 in the future, repacl~ the unit with tlae remote
control in its original packaging to prevent transit damage.
4
Page 5

D. BASIC INSTALLATION AND
OPERATION
1. Place the unit on a firm level surface free from excessive dirt or moisture..The KRC-2 is not particularly hum
sensitive, therefore other components can be placed on or
around the KRC-2.
2. If you are using the separate. KPE ph.ono stage with the
KRC-2, the following connections apply:
NOTE: If you are not using the KPE proceed to step 3.
a. Unplug the KRC-2 from the wall AC receptacle.
b. Locate the 9 pin DC power connector labeled KPE
POWER.
c. Connect the KPE with the DC power cable supplie.d
with the phono stage, to the KPE POWER input on the
KRC-2.
d. Plug the KRC-2 into the wall AC .receptac.le..The Pilot
LED on the KPE should illuminate along with the
KRC-2. The input select will default to the mute po.sition.
Should the KPE pilot LED not illuminate, unplug the
KRC-2 from the wall AC receptacle and check aI1 qf your
connections. Should you have difficulty powering tlae
KR.C-2 and the KPE together please contact Krell for
assistance.
3. If you. are not using the .KPE,plug the AC cord into the
receptacle on the back of the umt. Plug the remaining end
into the .wall AC receptacle.The pilot LED will illuminate, and the KRC-2 will default to the Mute position.
NOTE: While the KRC-2 has superb regulation and does
not require a dedicated AC circuit, we strongly advise
against any. connections through extension cords or multiple AC adaptors. High quality 15 amp line conditioners
or grounded AC strips are acceptable.
NOTE: The KRC-2 provides two special remote connec-
tors on the.backpane]. These are provided for future room
remote and remote slave formats. Please consult the
KRELL staff for assistance on these developments.
Page 6

E. INPUT AND OUTPUT
CONNECTIONS
CAUTION: When making connections to this component
or any other, make sure tlie power amplifier is OFF.
CAUTION: Make sure all cable terminations are of the
highest quality, free from frayed ends, shorts or cold
solder joints.
1. Connect t.he left and right outputs of your source components t.o the inputs on the KRC-2. The KRC-2 is
equipped with 4 single-ended inputs., 2 balanced capable
inputs, a single ended tape input and tape output.
The single-ended and balanced inputs are labeled S-1
througti S-4, B-1 a.nd B-2 respectively, to allow
customization in the set-up otyour system. There is. no
difference between the four single-ended inputs, or ~etween the two balanced inputs.
2. Connect the output of the KRC-2 to the input of your
power amplifier. The KRC-2 has both Balanced outputs
via standard XLR type connectors and single-ended
outputs via standard-RCA type connectors.
Thepin assignment for the XLR connectors is:
pin _1-= shield (ground)
p!n 2 = non-inverting input (hot)
pin 3 - inverting input
NOTE: The RCA center conductor for each channel is
wired in para!lel with pin 2, the non-inverted output.
Only one of these outputs should be connected to a single
stereo amplifier.
NOTE: When connecting inputs or outputs to the KRC,
remember the balanced connections will have 6dB of
gain .m.ore than the single-ended connections. When level
matching is critical in your install, keep this specification
in mind.
6
Page 7

REAR PANEL DESCRIPTION
INPUTS
Four single-ended inputs via standard RCA connectors
S1
$2
$3
$4
Two balanced inputs via standard XLR connectors
B1
B2
TAPE
Tape input via standard RCA connectors
TAPE OUTPUT
Record via RCA connectors
MAIN OUTPUTS
Single-ended RCA output connectors
Balanced XLR output connectors
XLR input and output pin configuration
p!n 1 Ground (shield)
p!n 2 0 degrees (non-inverting)
pin 3 180 ~egrees (inverting)
7
Page 8

F. BASIC PREAMPLIFIER
OPERATION
The KRC-2 has the flexibility of a remote controlled
device but does not require special attention in order to .
perform simple functions. Tile KRC-2 will function much
fike other K/ell preamplifiers.The unit can be operated
from the front panel controls or via the remote control.
All functions available on the front panel can also be
accomplished from the KRC-2 remote control. This gives
you. the ability to sit in your favorite listening position
and control aI1 preamphfier functions.
Notes on the Volume Control:
The level control on the KRC-2 is quite unique in that.the
output level is indicated by illuminated LEDs around the
ou~tside of the level control, not by the physical po.sition
ot the level co.ntr.ol. When you~ change level with the
remote control, the position ot the level control knob -
does not change. When you increase the volume manually or by remote control, indicator LEDs will illuminate
clockwise. When you decrease the volume, indicator
LEDs illuminate counter clockwise. When the level is
fully off, no indicator LEDs will be i!lu .m.inated. This is
because level is electrically regulated with out the use of
a potentiometer.
The level indicator display for the KRC-2 can be
switched between a bar graph mode and a single LED.
.mode. In the bar graph mode all LEDs are illuminated to
the point where level is. set. In the single LED mode only
one-LED is illuminated at the level setting. To change
from bar graph mode to ~single LED mode,press anil
hold the MUTE button tor .approximately 3-seconds..
Level will now be indicated with a single LED. Hold the
MUTE button in again for 3 seconds to change the dis-
play back to the bar graph .mode. The display can only be
changed via the front panel.
"
-
t~OTE: When changing the volume, display, do not select
e mute position before trying to change the display.
Wh.en you are chang.ing the volume display and holding
in the mute button, the mute LED will not illuminate.
8
Page 9

Basic Operation:
1. Press the Mute button briefly on the KRC-2.
2. Turn the volume control fully counterclockwise to the
Off position, no LED’s illuminated.
3. Turn the power amplifier On.
4. Choose a listening source and .select that input by
pushing the corresponding input button on the KRC-2.
5. Start play of the source.
turn6. Slowly _ the volume control clockwise until you
reach a comtortable listening level.
7. When changing sources, return to the Mu.te position
and or lower the volume. This insures that tlae next
source you play will not be potentially damaging to your
system witti a high output transient.
8. Enjoy
9
Page 10

FRONT PANEL DESCRIPTION
INPUT SELECTION
S 1 selects S 1 input
$2 selects $2 input
$3 selects $3 input
B 1 selects
B 1 input
B2
selects B2 input
FUNCTIONS
TAPE selects Tape i~nput and allows
monitoring ot Tape return.
PHASE Inverts absolute polarity of the main
output
LED illuminates when phase is
reversed 180 degrees when
GAIN
MUTE
BALANCE <
BALANCE >
VOLUME
Low 6 dB High 12 dB
LED illuminates in high position
No signal output when LED is On
Left channel attenuation in 1 dB
increments and OFF
Right channel attenuation in l dB
increments and OFF
Custom electronic volume control
(See notes in section F)
10
Page 11

G. REMOTE CONTROL
1. When a function button on the remote control is
~ssed, the blue pilot LED will flash on the KRC-2.
en the button is released the flashing stops.
2. The functions of the remote control are described
below:
UP arrow
DOWN arrow
volume higher
volume lower
S 1 selects S 1 input
$2 selects $2 input
$3 selects $3 input
$4 selects $4 input
B 1 selects B 1 input
B2 selects B2 input
TAPE selects Tape input and allows tape
monitoring
PHASE 0 or 180 degrees
LED illuminates when the phase is
reversed 180 degrees
GAIN Low 6 dB High 12 dB
LED illuminates in high position
MUTE
BALANCE <
BALANCE >
No signal output with LED on
Left channel attenuation in 1 dB
increments and OFF
Right channel attenuation in 1 dB
increments and OFF
BATTERY INSTALLATION
NOTE: Batteries should be replaced when the KRC-2
functions from the remote control are not readily
accessible.
1. Remove the four hex head screws from the bottom
12ortion of the remote control’s front plate.
2. llemove the back plate to expose the battery storage
compartment.
3. Insert batteries (Refer. to the polarity drawing while
inserting the batteries)
4. Replace the back plate and insert the four hex head
screws.
11
Page 12

H. OUESTIONS AND ANSWERS
.Q. When I turn up the volume on the KRC-2 a loud hum
is present from ttie loudspeakers. What could it be?
A. Hum can be caused by_ several different disturbances.
Check to make sure all of the cables in and out of the
KRC-2 are sound and making proper contact. Make sure
there are~no power supplies orhum inducing components
on top ot or directly below the KRC-2.
You also could be experiencing a ground loop in the
system. A ground loop can be ca.used whe.n several.
components with diffdrent ground potentials are in the
system. Ground loops can often be easily correcte.d.
Consult your dealer or KRELL for system grounding
considerations.
Q. Can the KRC-2 be used to control more than one
system?
A. Yes, the KRC-2 has both single end.ed and bala.nced
outputs that can be used simultaneously to control two
seperate systems.
Q. When I select the B 1 input on the KRC-2 one channel
seems to have less gain than the other. Is something
wrong with the preamp?
A. More than likely there is not a problem with the
KRC-2. The balanced input or output internal cable
terminations could be incorrect. Switch the suspect cable
to the other channel and vice versa to determine whether
a cable is defective. If the problem switches to the other
channel, it is a defective cable. If the problem does not
move to the other channel and remains the same after
cables have been switched, check the wiring at the input
of the KI~.C,2 with the same process. If it is not cable or
source related call your dealer or KRELL.
Check to make sure there are no LED’s illuminated in the
Balance control section of the front panel. If there are,
correct the balance by pushing the balance contol
switches until no LEDs on the balance control section are
illuminated.
12
Page 13

Q. Why do I have. to turn up the volume so high to get
music at a normal listening level?
A. If your system does not seem .to have enough gain
over all, you are probab~ly not utilizing the balanced input
or output capabihties ot the KRC-2. For every balanced
termination on the KRC-2 yo.u increase the gain by 6dB.
If you still have to increase tlae gain too far, make sure
the KRC-2 is in the HIGH gain position.
~
. I came home one evening and the pilot LED in the
RC-2 was not illuminated. What stiould I do?
A. Unplug the KRC-2 from the wall AC receptacle and
check the. fuse in the rear panel. If there is a 15reak in toe
wire inside the fuse, replace it. If there is no break in the
fuse, do not try turning on the preamplifi.er or replacing
.the fuse. Call your dealer or KRELL. If tlae new fuse lets
thee unit turn on whenyouplug it in, then fails shortly
atterward, call KRELL Industries. If the fuse solves the
problem, carry on listening as usual.
Q. When I push the function buttons on the KRC-2 remote control the preamp does not respond. What should I
do?
A. Check or change the batteries in the remote control.
The remote control will not operate the preamplifier in
other rooms not in the remote control’s trajectory..Make.
sure you have a direct path from the remote control to the
preamp front.
13
Page 14

I. SPECIFICATIONS
GAIN
6dB orl 2dB
SIGNAL-TO-NOISE
< ,95 dB unweighted
THD
1K < 0.02%
20K < 0.02%
INPUT IMPEDANCE
47,000 ohms(47K)
OUTPUT IMPEDANCE
10 ohms
OUTPUT VOLTAGE
16 volts R.M.S.
DIMENSIONS
19.0" WIDE
14.5" DEEP
2.75" HIGH with feet
WEIGHT
Unit only 20 pound_s
packed 26 pounds
14
Page 15

J. WARRANTY AND SERVICE
INFORMATION
There are no user-serviceable parts inside the KRC-2. The
KRC-2 has a limitecl warranty of fiv.e years parts and
labor. Return freight is included in tlae warranty. The
warranty, per!od, begins on ~the date of purchase and is
activated witla tlae return ot the enclosed Warra.nty Card
and a copy of the Sales receipt. Please return tlae war-
ranty cardimmediately after successful installation and
operation are completed.
The warranty for Krell products is valid ~ in t.he count~ry to which they were originally shipped a.nd at tlae
ta.ctory. If you think there are pr.oblems w.itla your unit,
please contact your dealer, distrit)utor or tlae tactory
~mmediately.
~
he operating voltage of this unit is determ, ined b.y the
acto_ry and c.a.n only be changed by an autlagrized
KREEL distrit~utor or the KR-ELL factory. Any unautlao[~zed volta.ge cooversio~n will void the warranty. Should
e operating voltage ot your KRC-2 require changing,
contact KRELL Industries.
Plea~s.e do not return, any unit to KRELL for repair with-
out first calling to cliscuss the problem and to obtain a
Return Authorization number.-Freight to the factory or
distributor is your responsibili.ty. Return freight to you
will be paid by the factory or distributor. Any unautho-
r.ized disassembly,.updates or modifications performed to
the unit will voidthe warranty.
15
Page 16

l
l
1 KRELL INDUSTRIES
I
45 Connair Road
Orange, Ct
USA
06477-3650
 Loading...