


Contents
-2-
Dear Customer,
Congratulations! Thank you for buying this KORYO appliance. Your new Induction Cook Top
has been designed for your convenience. We are sure you will get many years of trouble free
service from this appliance.
Before commissioning this device please read this user manual carefully. Please retain this
user manual, warranty certificate, sales receipt and if possible carton with the inner
packaging.
Induction Cook Top working principle 3
Specification 4
Parts name 4
Operation and usage 5
Cautions 7
Cleanlinessmaintenance 8
Usable and Non-usable cooking utensils 8
Trouble shooting 9
E-Waste Disposal 9
Warranty Card 10

Induction Cook Top Working Principle
Generating a large amount of thermal energy
Eddy current formed at the bottom
Magnetic field
Generating variable magnetic field
Current going through the wired coil
-3-

Specification
Parts Name
Model No.
Power Supply
Power Range
Temperature Adjustment
Timer / Preset timer
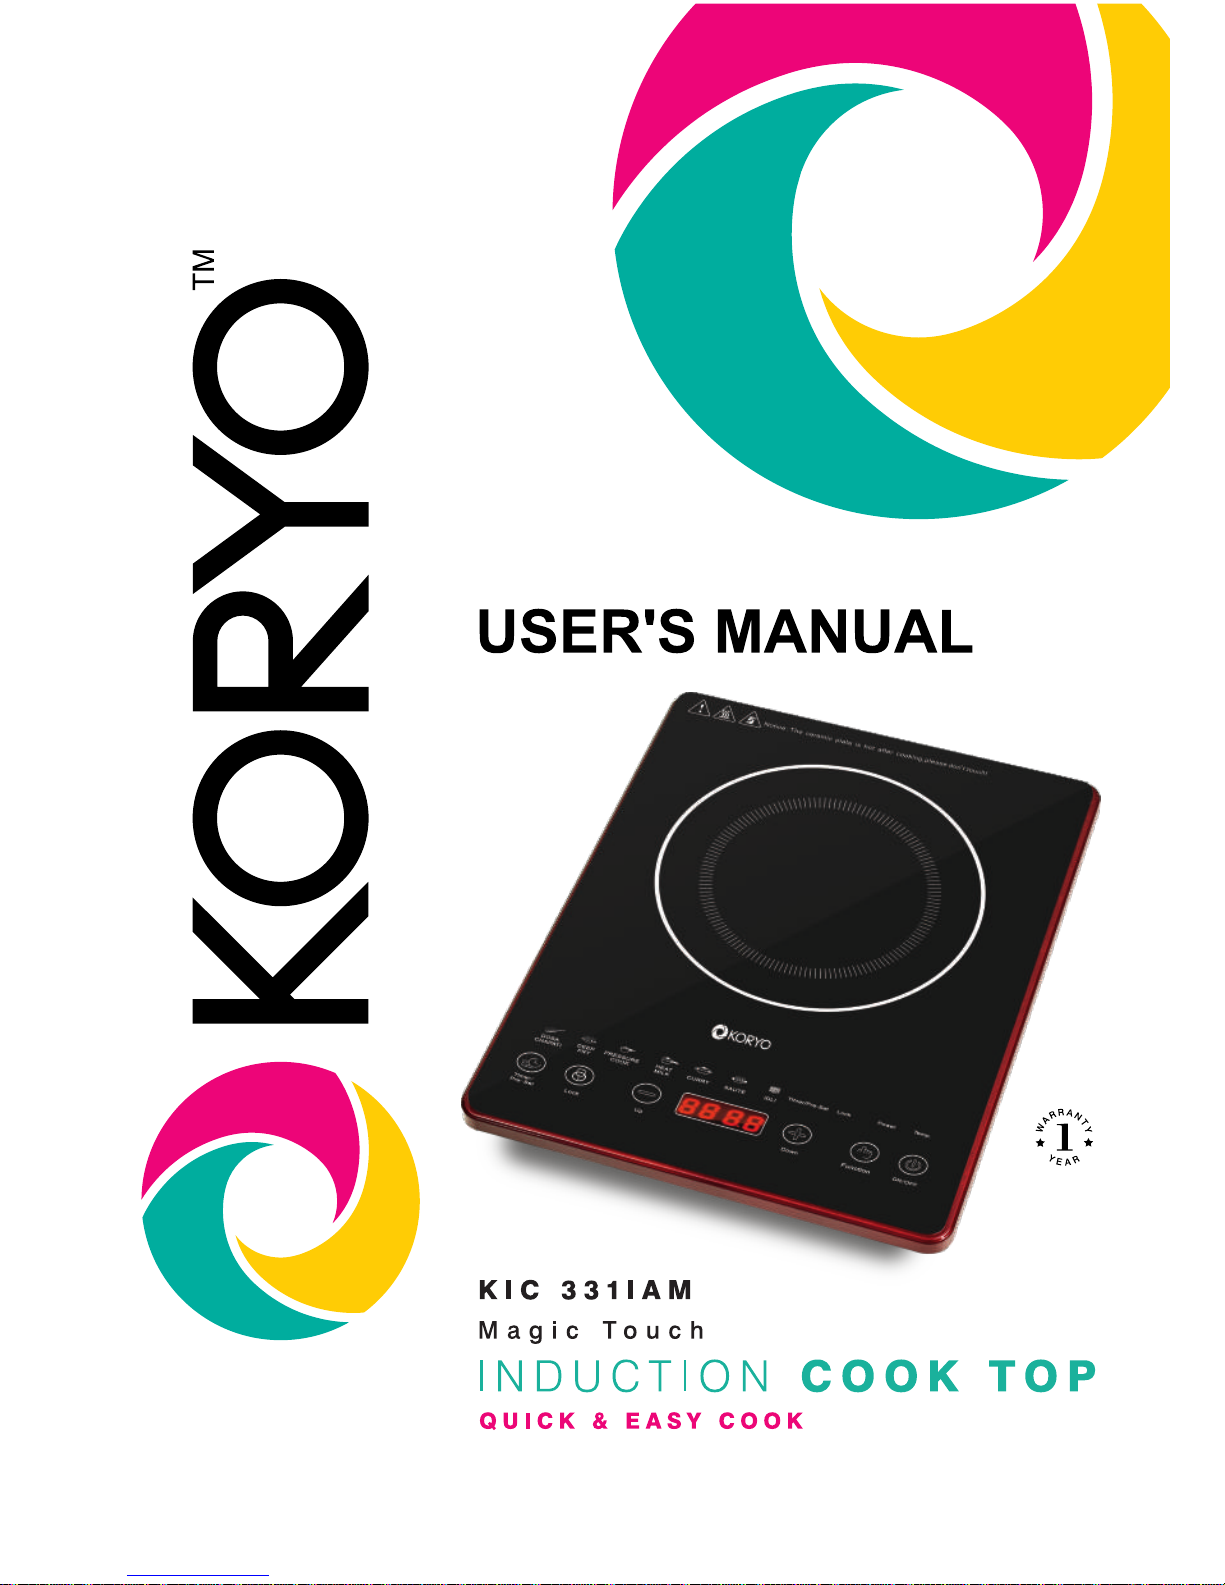
KIC 331IAM
AC 220V~50HZ
200W~2000W
0 0
60 C~240 C
0 / 23 hours 59 minutes
Power cord and plug
Air vent
Glass Plate
Control panel
Air entry
-4-

Operation and Usage
-5-
1. After plugging in and switching on the power, the indicator of "on/off" will light, after 5 seconds
with sound. It will show that the induction Cook Top has connected with the electrical source and
ready to work.
2. Put the suitable cooking utensils (with food) in the center of panel, choose any of function
according to cooking as needful:
2.1 On/Off - touch the key of On/Off, enter into the stand by station, the digital display will start.
Then touch the function key to select options
2.2 Dosa /Chapati : Touch the key of “function” to choose Dosa/Chapati option, the indicator
light of Dosa/Chapati will light. It will display 180°C . During use of this function, according
to requirement, there are 5 levels for you to adjust temperature by touch key of “+ or –“.
The maximum temperature is 180°C.With the cooking function requirement, you can also
use timer / pre-set function by touching the key “+ or –“
• The default timer is 60 minutes
• Temperature adjustment range: 60 ~ 180°C
• The temperature can be adjusted
2.3 Deep Fry – Touch the key of “function” to choose Deep Fry option, the indicator light of
Deep Fry will light. It will display 220°C . During use of this function, according to
requirement, there are 8 levels for you to adjust temperature by touch key of “+ or –“. With
the cooking function requirement, you can also use timer / pre-set function by touching
the key “+ or –“
• The default timer is 30 minutes
• The temperature can be adjusted
2.4 Pressure Cook - Touch the key of “function” to choose Pressure Cook option, the indicator
light of Pressure Cook will light. It will display 2000W . During use of this function,
according to requirement, there are 8 levels for you to adjust temperature by touch key of
“+ or –“. With the cooking function requirement, you can also use timer / pre-set function
by touching the key “+ or –“
• The default timer is 30 minutes
2.5 Heat Milk - Touch the key of “function” to choose Heat Milk option, the indicator light of
Heat Milk will light. It will display 60°C . In this function timer and “+ or –“ cannot be
adjusted, but can use Pre-set function.
• The default timer is 60 minutes
2.6 Curry - Touch the key of “function” to choose Curry option, the indicator light of Curry will
light. It will display 180°C . During use of this function, according to requirement, there are
8 levels for you to adjust temperature by touch key of “+ or –“. With the cooking function
requirement, you can also use timer / pre-set function by touching the key “+ or –“
• The default timer is 30 minutes
• The temperature can be adjusted
2.7 Saute – Touch the key of “function” to choose Saute option, the indicator light of Saute will
light. It will display 240°C . During use of this function, according to requirement, there are
8 levels for you to adjust temperature by touch key of “+ or –“. With the cooking function
requirement, you can also use timer / pre-set function by touching the key “+ or –“
• The default timer is 30 minutes
• The temperature can be adjusted

Operation and Usage
-6-
2.8 Idli - Touch the key of “function” to choose Idli option, the indicator light of Idli will light. It
will display 1600W . During use of this function, according to requirement, there are 8
levels for you to adjust temperature by touch key of “+ or –“. With the cooking function
requirement, you can also use timer / pre-set function by touching the key “+ or –“
• The default timer is 15 minutes
• The temperature can be adjusted
2.9 Lock – In the working station, touch the key of Lock with 3 minutes, it will display “Lock” at
the locking mode. Any function key cannot be pressed except “ON/OFF” and Lock Key.
Touch Lock key with 3 minutes again to unlock.
3. Timer / Pre Set:
3.1 Timer – In working model touch Timer, the indicator light of Timer / Preset will light. The
Timer can be adjusted from 1 minute to 3 hours. Timer can be cancelled to reset by
touching Timer.
3.2 Pre Set - In the standby mode, touch “Pre-set” with the indication light of “Timer/Pre-Set”
will light. The Pre-Set can be adjusted from 0~23 hours 59 minutes. Touch the
Timer/Pre-Set” again to cancel Pre-Set.
Notice:
1. You cannot set Timer Off and adjust power and temperature for automatic Cooking Function
2. For manual Cooking function, power or temperature adjustment and Timer off setting
are available
3. Overheat Protection. The unit is equipped with overheat protection. If the pot or pan gets too
hot, the unit will switch off automatically. The buzzer will give an alarm. If this problem occurs,
wait for some time & allow the unit to cool. The unit will work without any problem.

Cautions
-7-

Cleanness & Maintenance
Usable and Non-usable Cooking Utensils
Usable Pans
Steel or cast iron, enameled iron, stainless steel, flat-bottom pans / pots with diameter from
12 to 26cm.
Non-usable Pans
Heat resistant glass, ceramic container, copper, aluminium pans/pots, rounded bottom pans/pots
with bottom measuring less than 12cm.
-8-

Trouble Shooting
E-Waste Disposal
If there is something wrong with the induction Cook Top, please check it as following before
sending to repair.
This symbol on the product or on the container indicates that this product
cannot be eliminated with the general waste. The user is responsible for
eliminating this kind of waste by throwing them away at a "recycling point"
specifically for electrical and electronic waste. Selective collection and
electrical equipment recycling contribute to preserve natural resources and
warrant waste recycling to protect environment and health.
In order to receive further information about electrical and electronic waste
collecting and recycling, contact your Local Council, the service of household
waste or the establishment where the product was acquired.
Malfunction
Without pot
“EI"
“E2"
“E3"
“E6"
“E7"
The fan delay scattering heat
Be "Off " state Automatically
Disposal
The function indicator will light, the digital display,
the buzzer will ring, the machine will turn off after this
state and last for one minute
The voltage is too high than AC275V/50Hz,
the buzzer will start ringing. The machine will turn off
after this state and last for one minute
The voltage is too low than AC100V/50Hz,
the buzzer will start ringing. The machine will turn off
automatically after this state and last for one minute
The IGBT Sensor is not working, the buzzer will ring.
The machine will turn off automatically after this state
and will last for one minute
The sensor of pot bottom is not working, the buzzer
will start ringing and machine will turn off automatically
and last for one minute
The temperature of pot bottom is over, the buzzer
will start ringing and machine will turn off automatically
and last for one minute
This machine will turn off automatically
after this state and last for one minute
Without operation will last for two hours
-9-

-10-
This product comes with a warranty of 12 months from the date of purchase as specified on the
warranty card. This is against all defective material or workmanship. In the event of a defect, Future
Retail Limited or Koryo Authorized Service Centre undertakes to repair the set, free of charge, during
the warranty period.
In the event of a defect developing in the product, contact KORYO Customer Care or Koryo Authorized
Service Centre and provide information about the defect, the model number and serial number
of the product.
THIS WARRANTY IS VOID IF
1. The completely filled warranty card is not presented to the authorised personnel at the time of
servicing of the product.
2. The product is not operated according to the instructions given in the user manual.
3. Defects are caused by improper or reckless use.
4. Modifications or alterations have been made to the product or if the product has been tampered
with, in any manner whatsoever.
5. Repairs to the product are carried out by anyone other than an authorised company representative.
6. For defects other than faulty parts or workmanship such as damage due to lightning, abnormal
voltage, spillages, dust, accidental damage, etc.
7. The serial number is deleted or altered.
8. Used for any non–domestic purpose.
OTHER TERMS AND CONDITIONS
1. Repairs or replacement will be carried out either by a Future Retail Limited authorised customer
care centre or by a representative.
2. All expenses incurred in collecting the unit(s) or part(s) thereof from the Customer Service Centre,
as well as any other expenses and incidentals will be borne by the customer.
3. Whilst the company will make every effort to carry out repairs at the earliest, it is made expressly
clear that the company is under no obligation to do so in a specified period of time.
4. The company or its authorised customer centre reserves the right to retain any part(s) or
component(s) replaced at its discretion, in the event of a defect being noticed in the equipment
during the warranty
Warranty Terms and Conditions

Warranty Card
-11-

 Loading...