

Page 1
-1-
Quick Installation Guide
(please refer to the full English manual on CD for specifi c details)
1. Package contents
1 Internet Camera
1 Power Adapter
1 Camera Stand
1 Cat5 Ethernet Cable
1 Quick Installation Guide
1 CD
1 Antenna
2. System requirements
Windows 98, ME, 2000, XP + SP2, Server 2003, Vista
Intel Pentium III 750MHz above or Intel Celeron 1GHz above
Memory: 128MB (256MB recommended)
VGA Card Resolution: 800 x 600 or above
3. Hardware installation
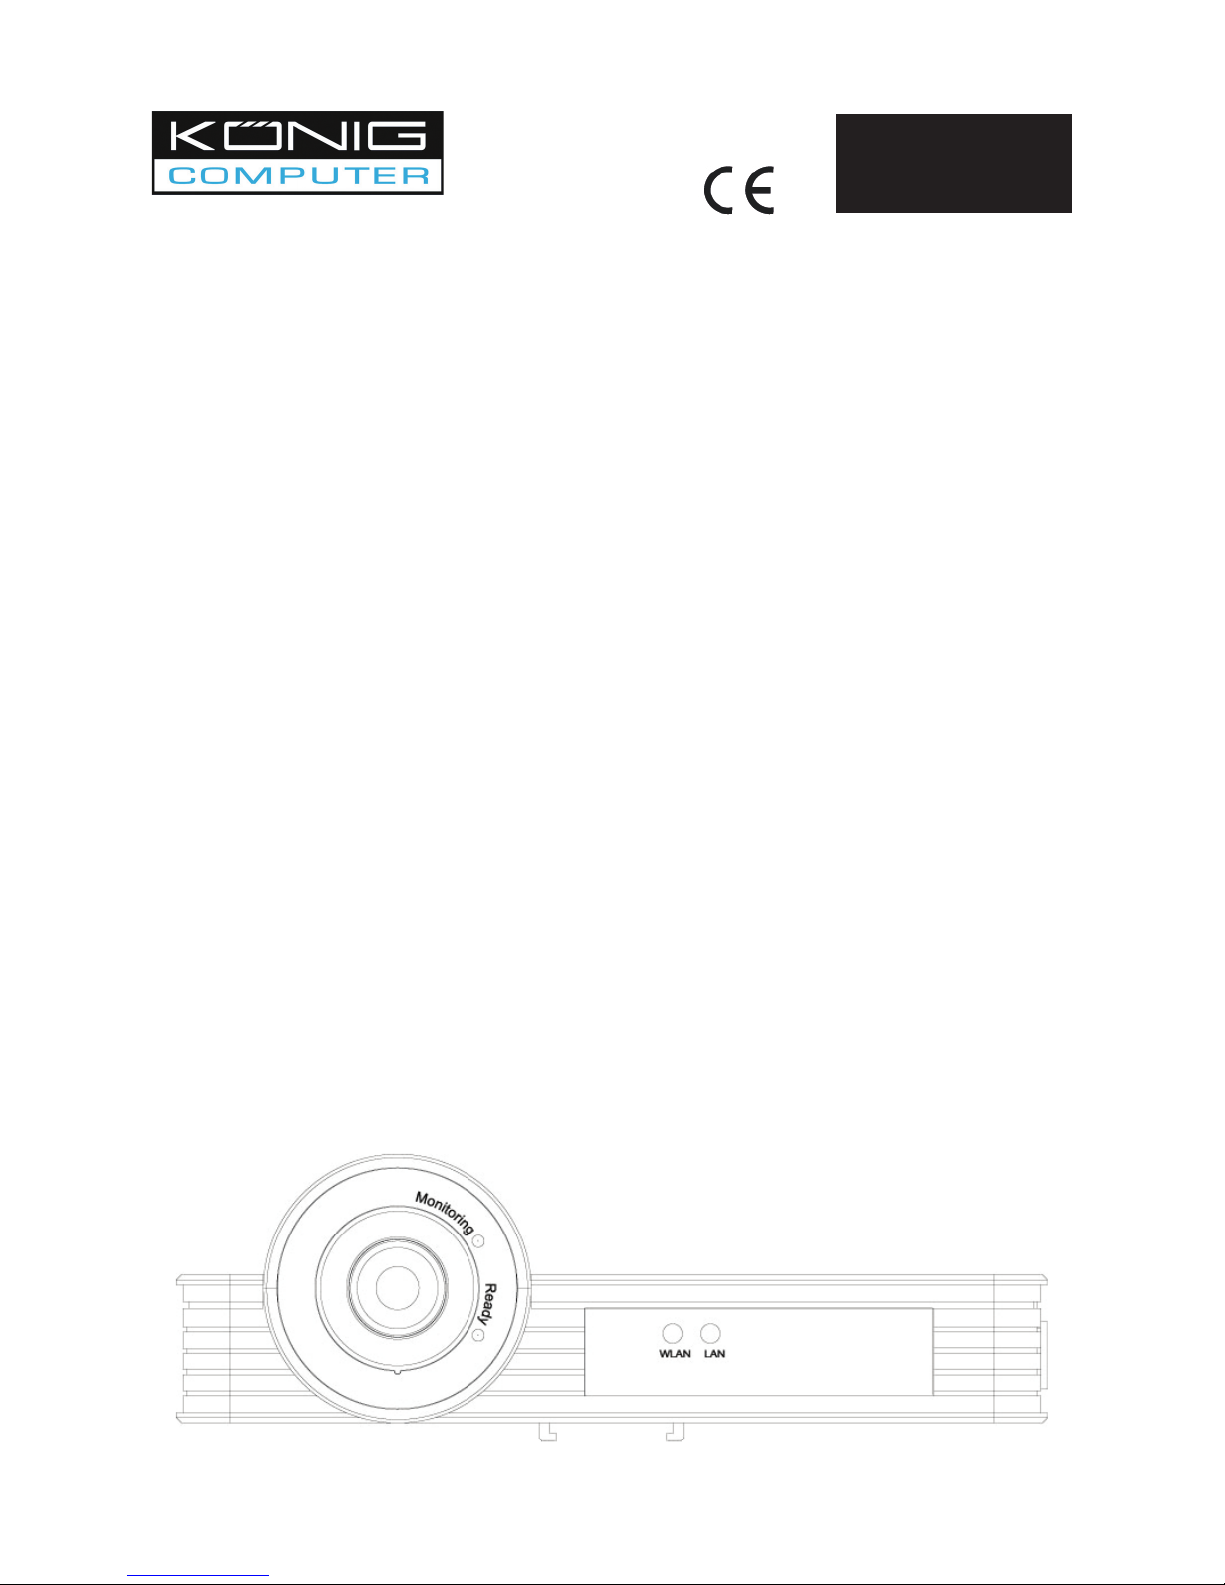
3.1 LED and Focusing
The camera focus ring allows you to modify the focus of the Camera. To adjust the camera’s focus,
rotate the dark focus ring.
There are four LEDs indicating the camera status and networking status.
Monitoring
When a user is viewing the camera, the LED will be on.
Ready
When the camera is powered on and ready for use, the LED will be on.
LAN
When the camera is linking to the wired network, the LED is on. The LED will be fl ashing when
video is transmitted or received through the wired network.
WLAN (only for CMP-NWIPCAM30)
When the camera is linking to the wireless network, the LED is on. The LED is fl ashing when video
is transmitted or received through the wireless network.
IP NETWORK CAMERA
CMP-NWIPCAM20
CMP-NWIPCAM30
ENGLISH
INSTRUCTIONS
Page 2
EN
-2-
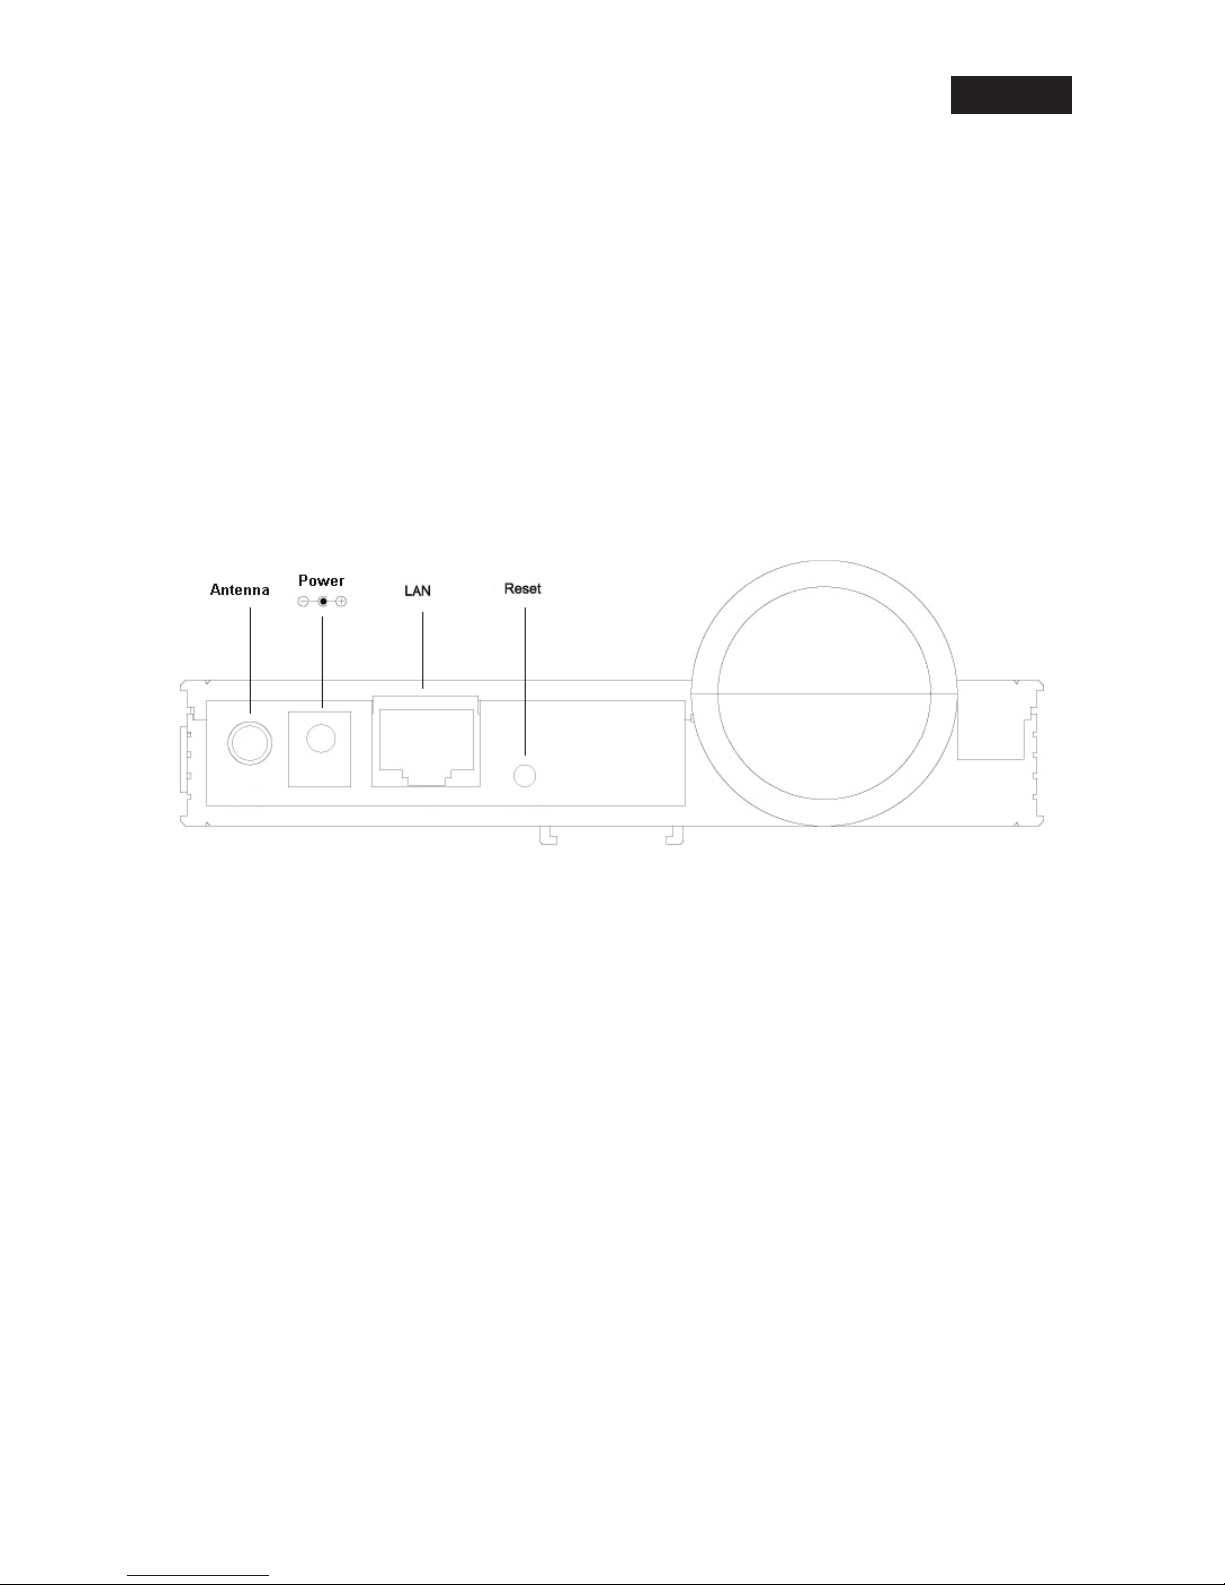
3.2 Camera Ports
The camera features three ports and a reset button.
Antenna
Standard port with reverse SMA connector.
Power
Connection for power adapter.
LAN
Connection for Ethernet network cable.
Reset button
1. If a problem occurs with your camera, press the reset button with a pencil tip (for less
than 2 seconds) and the camera will reboot itself with your confi guration.
2. If the problem persists or you experience extreme problems or you forgot your
password, press the reset button for longer than 5 seconds. The camera will reset
itself to the factory default settings (warning: your original confi gurations will be
replaced with the factory default settings).
4. Installation Procedure
- Connect the camera to your network with the attached the network cable from the switch/router
to the LAN port of the camera.
- Connect the power adapter to the camera and plug the power adapter to a power outlet. The
camera will be powered on. When the camera is ready, the Ready LED will be on.
5. Software Installation
Follow the steps below to run the Install Wizard to guide you quickly through the Installation process.
The following installation is implemented in Windows XP. The installation procedures in Windows
2000/XP/Server 2003 are similar.
Insert the CD shipped along with the camera into your CD-ROM drive. The “Autorun.exe” program
should be executed automatically. If not, run “Autorun.exe” manually from “Autorun” folder in the
CD.
Page 3
EN
-3-
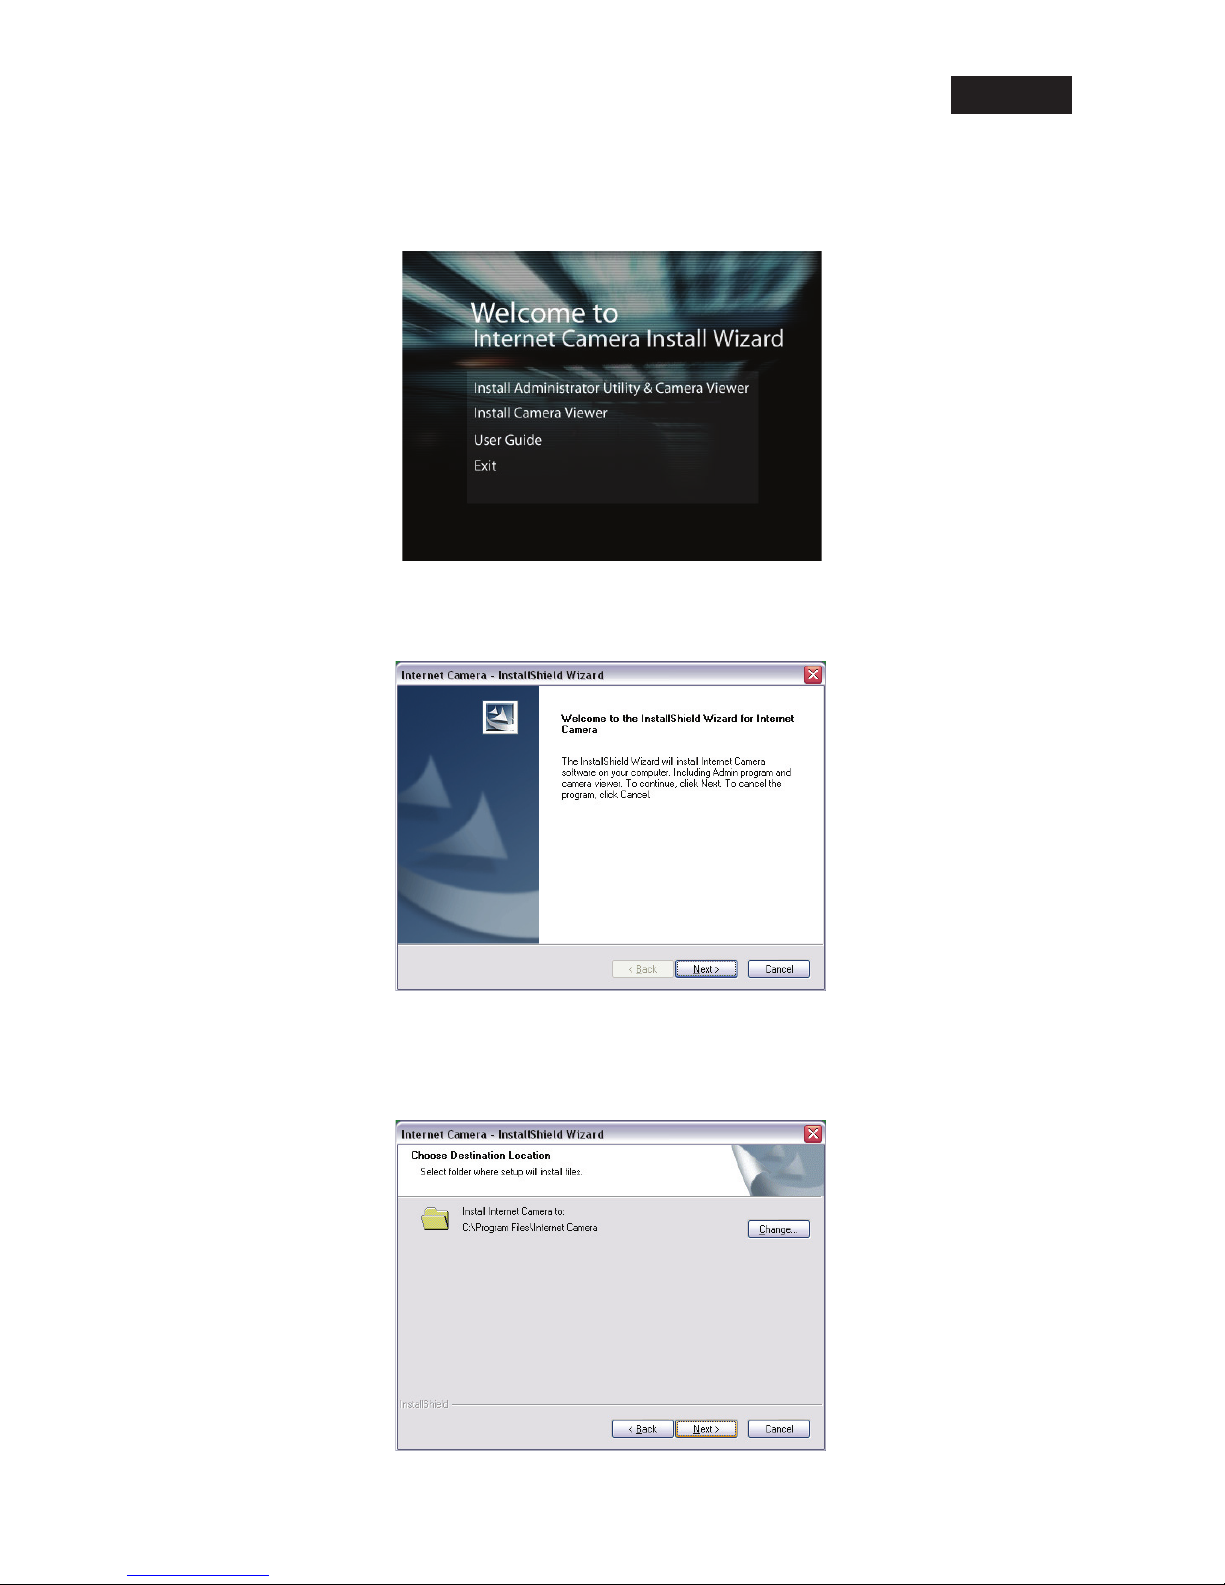
The Install Wizard will show four selections, select the program you want to install or click “Exit”
to install the program later. The following installation steps are the demonstration of “Install
Administrator Utility & Camera Viewer”.
The system will start the installation procedures. Click “Next” to continue installation.
If you wish to install the software program in an alternate location, click “Change”; otherwise click
“Next” to move on to the next step.
Page 4
EN
-4-
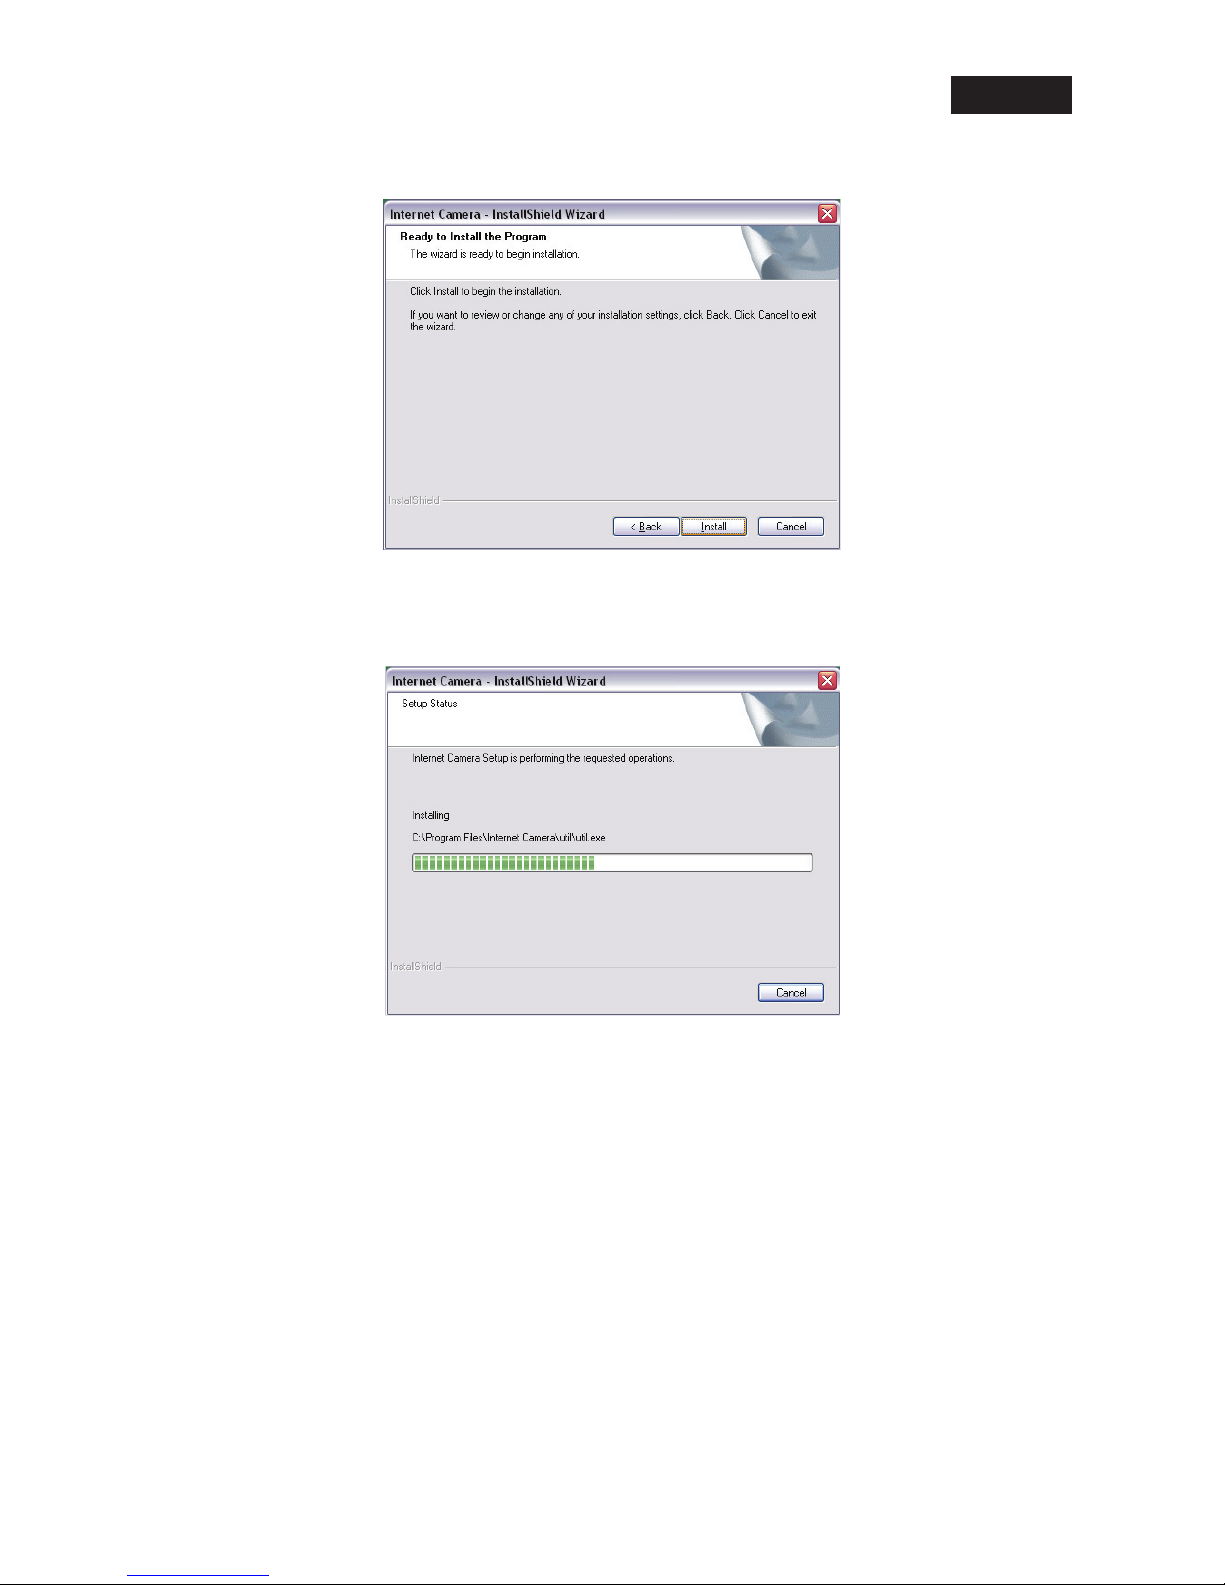
Click “Install” to start installing the program.
The system will install the program automatically.
Page 5
EN
-5-
Click “Finish” to complete the software installation.
When the installation is complete, the system will auto run the ”Administrator Utility“. In this window,
the cameras found in the network are listed in the left pane. Choose the one you want to confi gure
and click “Setting Wizard” to proceed.
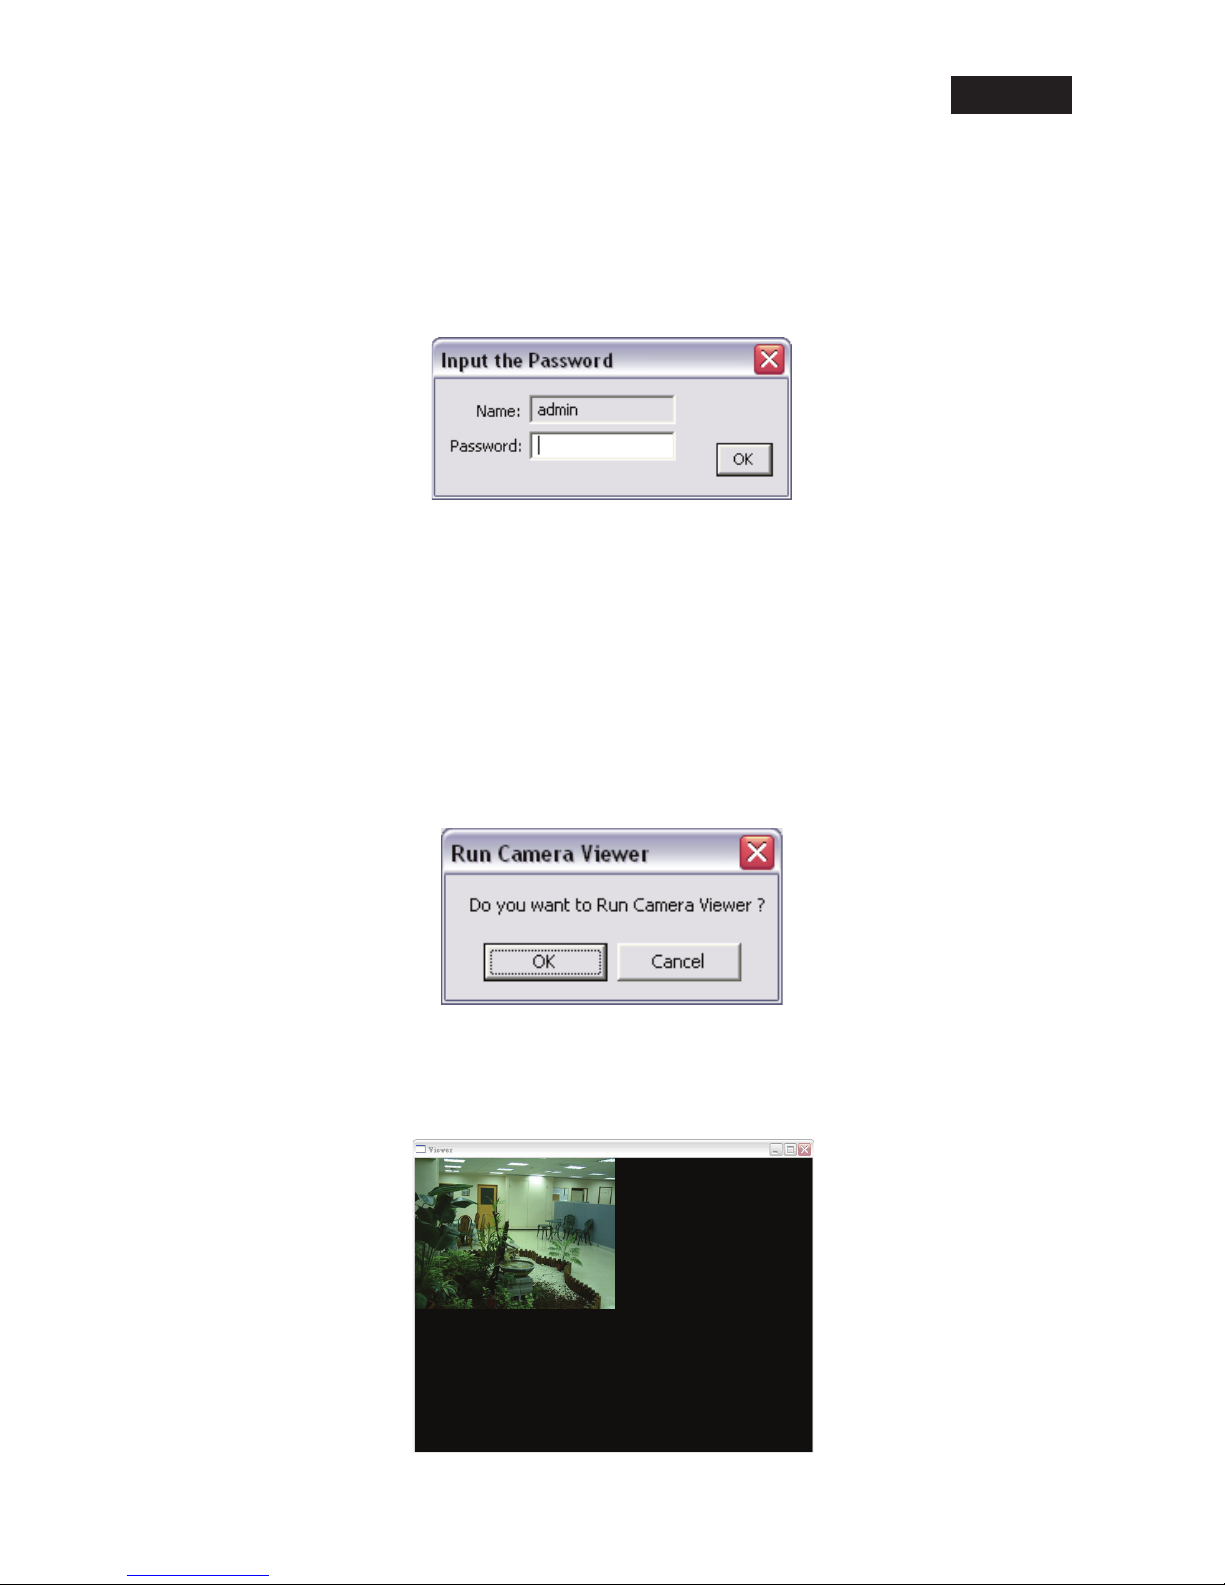
Note: Please enter the default password “1234” and click “OK” to login to the IP setup page.
The camera is working through the network (TCP/IP Protocol). The IP address setting must be
correct, or you cannot access to the camera. The wizard program will detect the IP address status
of your network automatically and suggest a free IP address for the camera. You can accept the
suggested value or enter a value manually. If you enter the value manually, please be aware that
the “Subnet Mask” must be the same for both the camera and the PC. Click “Finish” to apply the
confi guration.
This wizard will pop up a window to ask you if you want to run the “Camera Viewer” and see the
video of the camera immediately. Select “OK” to run “Camera Viewer”.
The “Camera Viewer” will show the video automatically. You can use the camera through the
network to view the video from now on.
Page 6

EN
-6-
6. Wireless Setup Help
Please follow the procedures below if you want to setup the wireless IP camera.
(1) Please check your Router’s wireless settings. It is suggested to use Open System (Disable
security) fi rst.
(2) Please turn on the DHCP Server function of the Router.
(3) Reset the Wireless IP Camera settings to factory defaults by pressing the Reset button for
over 8 seconds.
(4) Please change your PC’s IP address to 192.168.2.xx (in which xx can be any number from
10 to 253), Netmask = 255.255.255.0.
(5) Go to the Web-Confi g WLAN section of the Wireless IP Camera.
Press Refresh button until you fi nd the SSID you want in the list fi rst!
Then select the Connect column of the SSID you want and select the Enable button of
Wireless Connection.
Press the Apply button.
(6) Please go to the LAN section of Web-Confi g.
Select DHCP and press Apply button.
Then close this IE browser window.
Page 7

EN
-7-
(7) Please UNPLUG the Ethernet Cable of the Wireless IP Camera.
(9) Wait for a few seconds, then the Wireless IP Camera should be linked with the Wireless
Router.
(10) Now you can connect your PC the Wireless Router.
(11) In this case, if your PC’s DHCP Client IP is 192.168.8.101, then the Wireless IP Camera
must be at 192.168.8.100, because the Wireless IP Camera got an IP address earlier than
your PC.
(12) You can now go to the Web-Interface of the Wireless IP Camera.
Safety precautions:
To reduce risk of electric shock, this product should ONLY be opened by an authorized technician
if service is required. Disconnect the product from mains and other equipment if a problem should
occur.
Warranty:
No guarantee or liability can be accepted for any changes and modifi cations of the product or
damage caused due to incorrect use of this product.
General:
Designs and specifi cations are subject to change without notice.
DECLARATION OF CONFIRMITY (for CMP-NWIPCAM30)
We declare under our responsibility that the product;
Brand name: KÖNIG
Model: CMP-NWIPCAM30
Description: 2.4GHz Wireless IP Network Camera
Is in conformity with the following standards;
Radio: EN 300 328 V1.6..1 (2004-11)
EMC: EN 301 489-1 V1.5.1 (2004-11), EN 301 489-17 V1.2.1 (2002-08)
LVD: EN 50371:2002, EN 50392:2004
Following the provisions of the 1999/5/EC R&TTE Directive, in accordance with this regulation
it is allowed to use this product in all European Community & EFTA countries. Nedis BV is not
responsible for the use of this product outside the European Community & EFTA countries.
Page 8

www.konigcomputer.com
 Loading...