

Page 1

CMP-MOBPLAY40
Media Player Enclosure
with LAN connection
MANUAL
ANLEITUNG
MODE D’EMPLOI
GEBRUIKSAANWIJZING
MANUALE
MANUAL DE USO
HASZNÁLATI ÚTMUTATÓ
KÄYTTÖOHJE
BRUKSANVISNING
NÁVOD K POUŽITÍ
Page 2

1
1. Package contents
- 1 Media player enclosure
- Remote control
- Power adapter + cable
- Driver CD
- Manual
- 2 A/V cables
- USB cable
- Network cable
2. Hardware installation
Step 1: Open the enclosure by unscrewing the back panel and pulling out
the board.
Step 2: After removing the board, connect the data and power cables to the
hard drive and slide it carefully into the board.
Step 3: Connect the hard drive to the board using the screws.
English Deutsch Français Nederlands
Italiano Español Magyar Suomi Svenska Česky
Page 3

2
Step 4: Gently slide the board with the hard drive connected to it back into
the aluminum enclosure. Close up the enclosure with two screws on each
side of the back plate.
3. Connections
The enclosure has the following connections and buttons:
- Copy button (used for back-up software on PC)
- USB 2.0 connection
- Network connection (not shown in this picture)
- Video output connection
- Audio output connection
- Power connection.
English Deutsch Français Nederlands
Italiano
Españ
ol Magyar Suomi Svenska Česky
Page 4

3
4. Remote control buttons
Button Function
OK Takes you to play or execute the current selection.
UP Direction button to move cursor on the screen.
DOWN Direction button to move cursor on the screen.
LEFT Direction button to move cursor on the screen.
RIGHT Direction button to move cursor on the screen.
PHOTO PHOTO Mode.
MUSIC MUSIC Mode.
VIDEO VIDEO Mode.
FILE FILE Mode.
MAIN MENU Go to the main menu.
SETUP Setup and customize the settings of the media player
INFO See the information of the file.
REV Previous section in Music or Video.
PAUSE Interrupts file playback.
FWD Next section in Music or Video.
LASTPAGE Jump to last page.
PLAY Continue playback.
NEXTPAGE Jump to next page.
PREVIEW Previous file.
STOP Stop the current action.
NEXT Next file.
VOL+ Increase the volume.
VOL - Decrease the volume.
MUTE Turn off the sound.
AUDIO Choose the sound channel.
REPEAT
Repeat setup when photo、music
and video are playing.
SLIDESHOW
Playback music under slideshow
with photos.
ROTATE Rotate the photo.
ZOOM Zoom out the photo.
TRANSITION
Allows you to choose the transition
mode.
TV/VGA
Change display between VGA and
TV
English Deutsch Français Nederlands
Italiano Español Magyar Suomi Svenska Česky
Page 5

4
5. S
et-up and use the player
When you start the media player and connect it to the TV, you can adjust
the TV settings in the set up main page. Press the SETUP button to enter
the main menu for set up. Then go to PREFERENCES. You can choose the
TV TYPE and select either MULTI-SYSTEM (PAL and NTSC), NTSC or
PAL. For Europe, please select PAL system.
5.1 Photos and music
Press the arrow key to select PHOTO mode in the main menu or press the
PHOTO button on the remote control to start playing photos. Press the
PLAY button on the remote control to start displaying the full size picture.
To zoom in, press the ZOOM button on the remote control. Press the
ZOOM button again to disable this function. By pressing the arrow buttons,
you can move the photo when it’s zoomed in.
Rotating the photos can be done by pressing the ROTATE button on the
remote control. The photo will be turned clockwise.
Press the SETUP button to enter the main menu and choose SLIDESHOW
SETUP to select your play mode. You can choose between MANUAL
(press the arrow up or down to select the next or previous photo) or choose
AUTO to let the photos change automatically.
In the PHOTO SLIDESHOW SETUP, you can also choose e.g. the interval
time between each photo and the type of transition. AUTO START enables
the player to start displaying as soon as the player has been switched on. If
set to OFF, you should manually start displaying your files.
Press the arrow key to select MUSIC mode from the main start-up menu or
press the MUSIC button on the remote control. Press the up or down arrow
button to select the file you want to play. You can press the EQ button to
change the equalizer settings (Classic, Jazz, Rock, Pop, Ballade, Dance).
Select MUSIC SETUP from the main set-up menu and go to REPEAT mode
to change which song(s) are being played. You can select ONE (same song
will be repeated), OFF (music will stop playing after last track has been
played) or ALL (all songs will be repeated continuously).
English Deutsch Français Nederlands
Italiano Español Magyar Suomi Svenska Česky
Page 6

5
5.2
Video
You can press the arrow key to select VIDEO from the main menu or press
the VIDEO button on the remote control. Press the PAUSE button to pause
or resume playback. Press STOP to stop playback of video. To go to the
previous video file, press the PREVIOUS or REV button on the remote
control. Press NEXT or FWD to go to the next video.
5.3 File library
Alternatively, you can also go to the FILE option and manually browse
through all the files stored on the hard drive of the player to select any file
you want to play. Press INFO on the remote control and you can delete,
rename a file or create a new folder. Press CANCEL to go back to the file
library
5.4 Other set-up functions
In the PREFERENCE page you can also set OSD LANG (On Screen
Display Language) and change the language used. Go to OSD MESSAGE
to switch on or off the On Screen messages. Go to SETUP VALUES if you
for any reason want to reset the player to its default settings.
5.5 Hard drive set-up
Please note that the player can only recognize the HDD if it is formatted in
FAT32. If the HDD is formatted in NTFS, no files can be displayed on he
TV.
Example of main menu.
English Deutsch Français Nederlands
Italiano Español Magyar Suomi Svenska Česky
Page 7
6
6. LAN Share (network drive)
Connect the included ethernet cable from the ethernet port on the player to
the network connection on your switch/router. You can switch between MP4
play (Media Player) or Net HDD (network share mode). The lights on the
front panel also indicate which mode is currently active.
6.1 Install LAN Share Device Management in Windows XP and
Windows 2000 or above
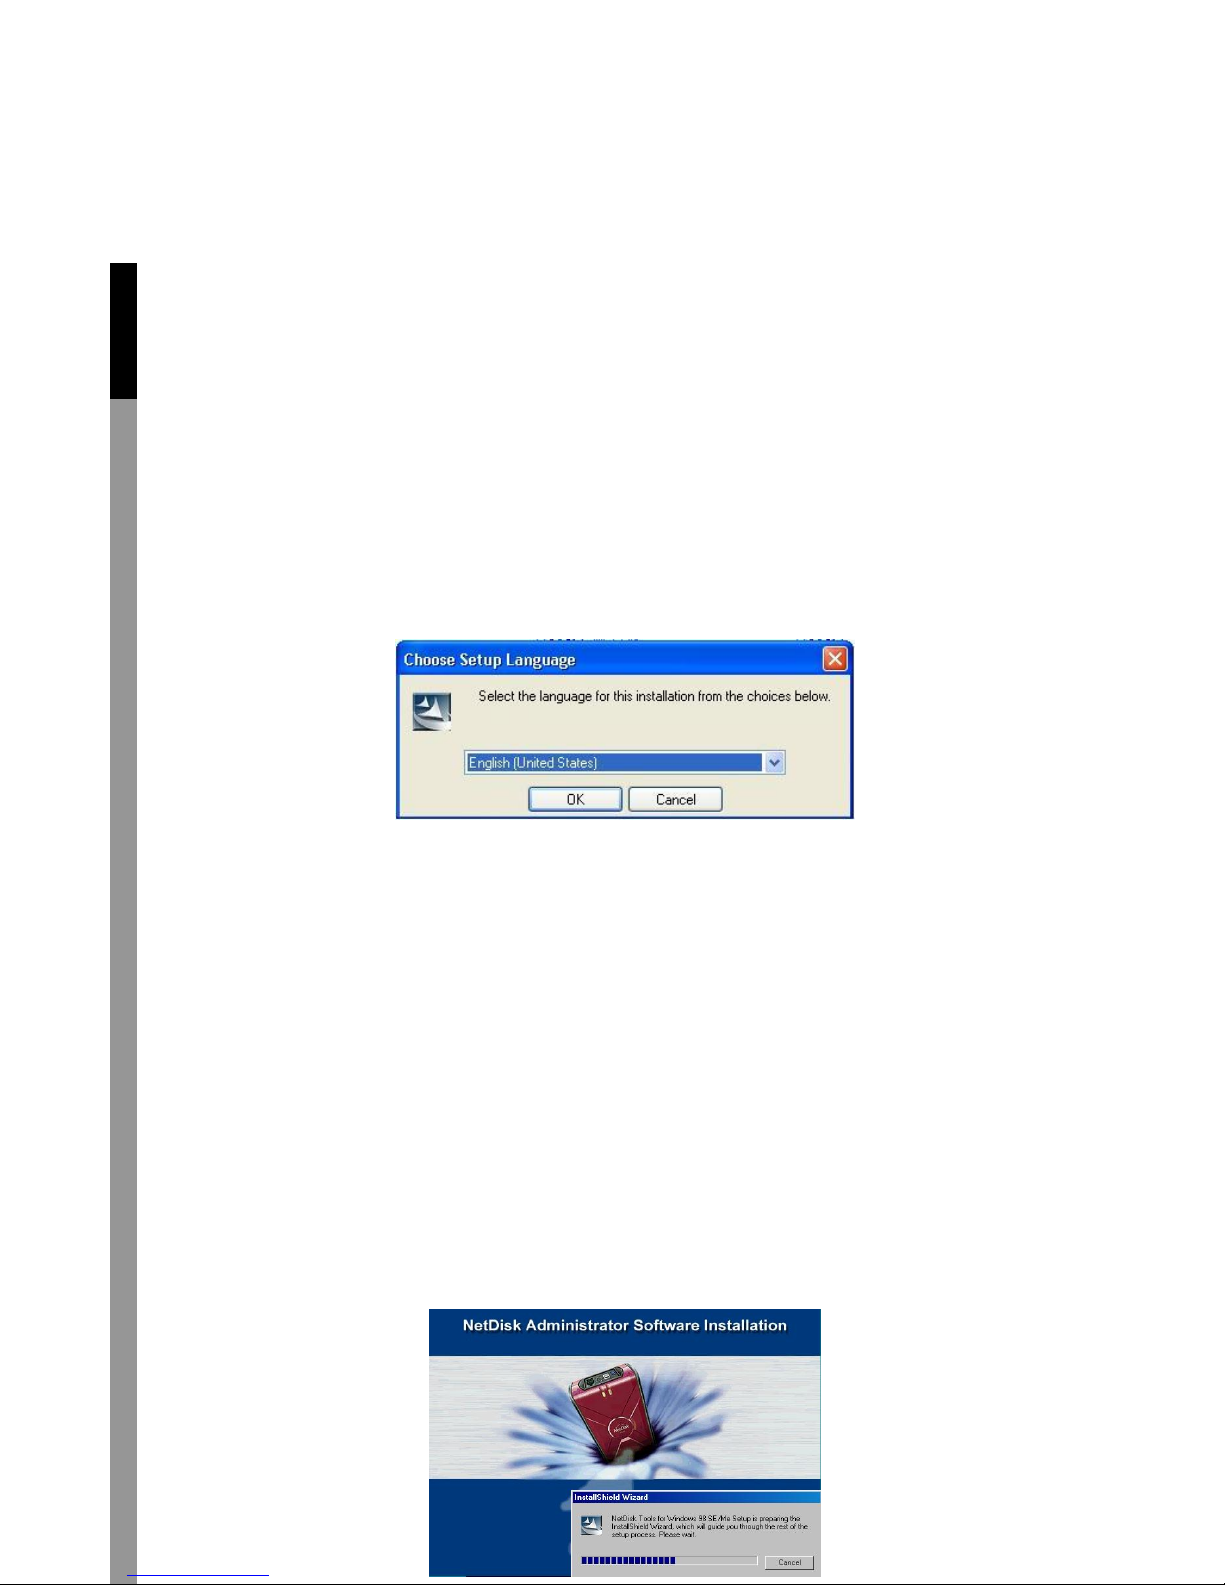
1. Find LAN Share control AP in the driver CD, double click SETUP.EXE
and then choose the language you need.
2. Install Shield Wizard will appear. Click the NEXT button to continue to
next step.
3. Accept License Agreement and then click NEXT to continue installation.
4. Click the Install button to install drivers.
5. Click “Continue Anyway” if any windows come up asking if you are sure
to install non-certified drivers.
6. Click the FINISH button to complete.
7. Click on the YES button to restart your computer now, or NO to restart
later.
6.2 Install NDAS Device Windows ME and Windows 98SE
1. Find the LAN Share control AP from the driver CD, double click it and
start the installation.
English Deutsch Français Nederlands
Italiano Español Magyar Suomi Svenska
Č
esky
Page 8

7
2. INSTALL SHIELD WIZARD will appear, click NEXT.
3. Select I ACCEPT THE TERMS IN THE LICENSE AGREEMENT, and
then click NEXT..
4. Click INSTALL.
5. When this window appears, insert the Windows 98SE CD and click OK.
6. Select YES, I WANT TO RESTART MY COMPUTER NOW then click
FINISH restart of the computer.
7. If this is the first time installing LAN Share, ADD NEW HARDWARE
WIZARD will appear. Click NEXT and follow further instructions. Otherwise,
NetDisk will be listed as a local drive on MY COMPUTER. Drive letter and
name may vary between Personal Computers.
8. Select SEARCH FOR THE BEST DRIVER FOR YOUR DEVICE. Click
NEXT.
9. Select SPECIFY A LOCATION and click the BROWSE button. From the
BROWSE FOR FOLDER window, search for NDASUSB folder and click
OK. Once the location is set, click NEXT from the ADD NEW HARDWARE
WIZARD window.
10. Click NEXT.
11. Driver has been successfully installed, click FINISHED.
6.3 LAN SHARE ADMINISTRATOR
When the software installation has been completed, you will find a LAN
Share Launcher Icon on your desktop screen and a LAN Share
Administrator Tool icon in the system tray.
6.4 Add / Register a New NDAS device using the Registration Wizard
1. Click on the NDAS DEVICE MANAGEMENT Icon located on the
system tray.
2. Select REGISTER A NEW DEVICE.
3. NDAS DEVICE REGISTRATION WIZARD will appear. Click NEXT to
continue.
4. Enter a name for the NDAS device and click NEXT.
5. Add your NDAS device ID and WRITE KEY. WRITE KEY is needed to
write to NDAS device. Click NEXT to continue.
NB: Key and ID can be found on the sticker in front of this manual.
- If the WRITE KEY was entered in the previous step, the NetDisk is
registered as READ / WRITE MODE.
- If the WRITE KEY was not entered in the previous step, the NetDisk is
registered as READ ONLY MODE.
English Deutsch Français Nederlands
Italiano Español Magyar Suomi Svenska Č
esky
Page 9

8
Note: NDAS device ID and Write Key do not contain the letter O. Please
use the number 0 for all letter O’s.
6. Checking NDAS device status.
7. Select how you want to mount the NDAS device.
8. Registration is finished. Click Finish.
6.5 Add / Register a New NDAS device without using the Registration
Wizard
1. Click on the NDAS Device Management Icon located on the system
tray.
2. Select Register A New Device.
3. The Register a new NDAS Device window will appear.
4. Enter in a NDAS Device Name.
5. Type in NDAS Device ID and Write Key. Write Key is needed to write to
NDAS device.
Leave the Activate this device after registration box checked to
automatically enable the device after registration.
Note: NDAS device ID and Write Key do not contain the letter O. Please
use the number 0 for all letter O’s.
6.6 Found New Hardware Wizard
1. After you have registered, the Found New Hardware Wizard may appear.
If the window appears, click Next to install the new NDAS device. It should
automatically find the appropriate drivers for your NDAS Device.
Note: For Windows 2000, the Upgrade Device Driver Wizard will appear
instead.
English Deutsch Français Nederlands
Italiano Español Magyar Suomi Svenska
Page 10

9
Safety precautions:
To reduce risk of electric shock, this product should ONLY be opened by an
authorized technician when service is required. Disconnect the product from
mains and other equipment if a problem should occur.
Warranty:
No guarantee or liability can be accepted for any changes and modifications of
the product or damage caused due to incorrect use of this product.
General:
Designs and specifications are subject to change without notice.
Copyright ©
English Deutsch Français Nederlands
Italiano Español Magyar Suomi Svenska
 Loading...