

Page 1
4398-7767-02
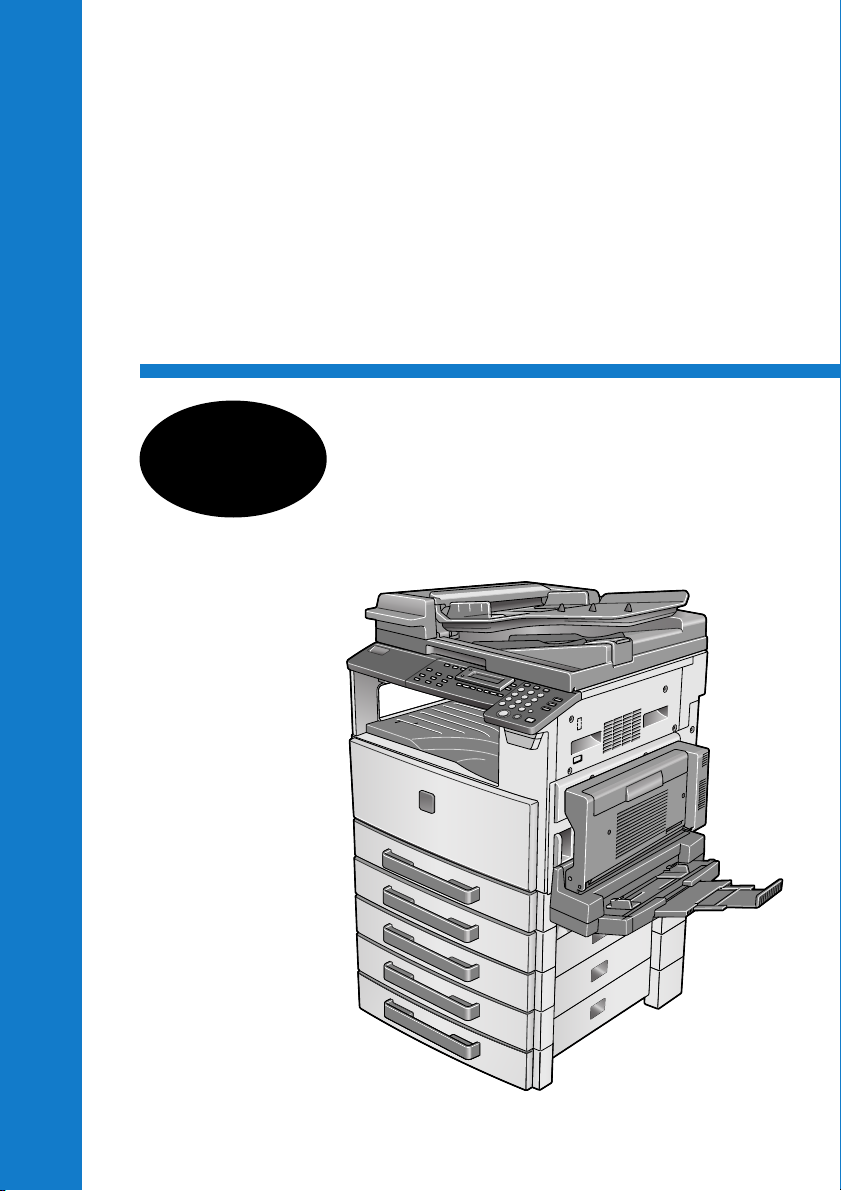
7216 / 7218 / 7220
User’s
Guide
TWAIN Driver
Page 2

Contents
1Welcome
1.1 Trademark Acknowledgements...................................................1-1
2 Setting Up PC Scanning
3 Connecting to the USB Port
4 Installing the TWAIN Driver
4.1 Installing the TWAIN Driver Using Plug and Play ......................4-1
Installing the TWAIN Driver Using Plug and
Play Under Windows XP ............................................................4-1
Installing the TWAIN Driver Using Plug and
Play Under Windows 2000 .........................................................4-3
Installing the TWAIN Driver Using Plug and
Play Under Windows Me/98 .......................................................4-4
5 How to Scan Document
5.1 Using the Automatic Document Feeder...................................... 5-1
5.2 Using the Original Glass .............................................................. 5-2
6 Common Settings
6.1 Auto Options .................................................................................6-1
7 Error Message
7.1 Original Document Jam................................................................7-1
To clear a misfeed in the Automatic Document Feeder .............7-2
Communication Error..................................................................7-3
Scanner Busy .............................................................................7-3
Read Data Error .........................................................................7-4
Automatic Document Feeder No Paper......................................7-5
Other Machine Error...................................................................7-6
7216/7218/7220 i
Page 3

User Instructions
For the U.S.A.
FCC Part 15-Radio Frequency Devices
NOTE
This equipment has been tested and found to comply with the limits for a Class A digital
device, pursuant to Part 15 of the FCC Rules. These limits are designed to provide
reasonable protection against harmful interference when the equipment is operated in a
commercial environment. This equipment generates, uses, and radiates radio frequency
energy and, if not installed and used in accordance with the instruction manual, may cause
harmful interference to radio communications.
Operation of this equipment in a residential area is likely to cause harmful interference in
which case the user will be required to correct the interference at his own expense.
WARNING
The design and production of this unit conform to FCC regulations, and any changes or
modifications must be registered with the FCC and are subject to FCC control. Any changes
made by purchaser or user without first contacting the manufacturer will be subject to penalty
under FCC regulations.
This device must be used with shielded interface cables. The use of non-shielded cables is
likely to result in interference with radio communications and is prohibited under FCC rules.
For Canada
Interference-Causing Equipment Standard (ICES-003 Issue 3)
This Class A digital apparatus complies with Canadian ICES-003.
Cet appareil numérique de la classe A est conforme à la norme NMB-003 du Canada.
For Europe
CE Marking (Declaration of Conformity)
This product complies with the following EU directives:
89/336/EEC, 73/23/EEC and 93/68/EEC directives.
This declaration is valid for the area of the European Union.
This device must be used with shielded interface cables. The use of non-shielded cables is
likely to result in interference with radio communications and is prohibited under EU
directives.
ii 7216/7218/7220
Page 4

For countries subject to Class B regulations
This device must be used with shielded interface cables. The use of non-shielded cables is
likely to result in interference with radio communications and is prohibited under CISPR 22
rules and local rules.
For countries not subject to Class B regulations
WARNING
This is a Class A product. In a domestic environment this product may cause radio
interference in which case the user may be required to take adequate measures.
This device must be used with shielded interface cables. The use of non-shielded cables is
likely to result in interference with radio communications and is prohibited under CISPR 22
rules and local rules.
7216/7218/7220 iii
Page 5

iv 7216/7218/7220
Page 6

Welcome
1 Welcome
This manual provides information on setting up and using a copier as a
scanner.
Read these instructions thoroughly before using the functions.
For instructions on using the copier itself and for general safety
precautions, refer to the manual provided with the copier.
Store the quick guide and the enclosed CD-ROM in a safe location for
future reference.
✎
Note
No part of this manual may be copied or reproduced, either in part or
in whole, without prior permission.
The contents of this manual are subject to change without notice.
No part of the manual may be reproduced or modified without prior
permission.
1
Screen images used in this manual may differ from the actual screen
display.
1.1 Trademark Acknowledgements
KONICA MINOLTA is a trademark or a registered trademark of KONICA
MINOLTA HOLDINGS, INC.
Microsoft, Windows, and Windows NT are registered trademarks of
Microsoft Corporation.
All other company and product names are trademarks or registered
trademarks of their respective companies.
Copyright© 2004 KONICA MINOLTA BUSINESS TECHNOLOGIES, INC.
All rights reserved.
7216/7218/7220 1-1
Page 7

1
Welcome
1-2 7216/7218/7220
Page 8

Setting Up PC Scanning
2 Setting Up PC Scanning
If the enclosed TWAIN Driver is installed on the computer, this copier can
be used for to scan documents to a PC.
The following software and hardware system environment is required for
PC scanning.
G OS: Windows 98, Windows Me, Windows 2000, or Windows XP
G TWAIN-compatible image-processing software (such as, Adobe Pho-
toshop)
G USB V.1.1 (or later version)
2
7216/7218/7220 2-1
Page 9

2
Setting Up PC Scanning
2-2 7216/7218/7220
Page 10

Connecting to the USB Port
3 Connecting to the USB Port
✎
Important!
Be sure to use a shielded USB cable. Use of an unshielded cable may
result in radio interference.
1 Make sure that the copier and the computer to be connected to the
copier are turned OFF.
2 Connect one end of the USB cable to the USB port of the copier.
3
Connect
PC
Copier
This completes the connection.
✎
Note
USB1.1 is only supported on Windows 98, Windows Me, Windows
2000, and Windows XP.
7216/7218/7220 3-1
Page 11

3
Connecting to the USB Port
3-2 7216/7218/7220
Page 12

Installing the TWAIN Driver
4 Installing the TWAIN Driver
This section describes the procedure for installing the TWAIN driver. The
TWAIN driver can be installed by using Plug and Play.
4.1 Installing the TWAIN Driver Using Plug and Play
Installing the TWAIN Driver Using Plug and Play Under Windows XP
1 With Windows running, insert the CD-ROM into your computer’s CD-
ROM drive.
2 Turn on the copier.
3 When the copier is ready, connect it to the computer with the USB cable.
The “Found New Hardware Wizard” dialog box appears.
4 Select Install from a list or specific location [Advanced], and then
click [Next].
5 Select Include this location in the search: under Search for the
best driver in these locations., and then click [Browse].
4
6 Browse to “Driver\(language)\2k_XP” on the CD-ROM, and then click
[OK].
✎
Tip
Select the language you prefer. For example, if you prefer English,
browse to:
Driver\English\2k_XP
7216/7218/7220 4-1
Page 13

4
Installing the TWAIN Driver
7 Click [Next].
8 The “Completing the Found New Hardware Wizard” dialog box ap-
pears.
❍ Click [Finish].
9 The “Found New Hardware Wizard” dialog box appears again.
❍ Repeat steps 4 through 7.
✎
Note
This completes the installation of the TWAIN driver.
4-2 7216/7218/7220
Page 14

Installing the TWAIN Driver
Installing the TWAIN Driver Using Plug and Play Under Windows 2000
1 With Windows running, insert the CD-ROM into your computer’s CD-
ROM drive.
2 Turn on the copier.
3 When the copier is ready, connect it to the computer with the USB ca-
ble.
The “Found New Hardware Wizard” dialog box appears.
4 Select Search for a suitable driver for my device (recommended)
in the “Install Hardware Device Drivers” dialog box, and then click
[Next].
The “Locate Driver Files” dialog box appears.
5 Select Specify a location, and click [Next].
6 Click [Browse...] on the next dialog box, browse to
“Driver\(language)\2k_XP” on the CD-ROM, and then click [OK].
✎
4
Tip
Select the language you prefer. For example, if you prefer English,
browse to:
Driver\English\2k_XP
7 Click [OK], and follow the instructions that appear on the screen until
the “Completing the Found New Hardware Wizard” dialog box appears.
❍ Click [Finish].
8 The “Found New Hardware Wizard” dialog box appears again.
❍ Repeat steps 4 through 7.
✎
Note
This completes the installation of the TWAIN driver.
7216/7218/7220 4-3
Page 15

4
Installing the TWAIN Driver
Installing the TWAIN Driver Using Plug and Play Under Windows Me/ 98
1 With Windows running, insert the CD-ROM into your computer’s CD-
ROM drive.
2 Turn on the copier.
3 When the copier is ready, connect it to the computer with the USB ca-
ble.
The “Add New Hardware Wizard” dialog box appears.
4 Click [Next], and then select Search for the best driver for your de-
vice (Recommended) on the next dialog box.
❍ Click [Next] again.
5 Select [Specify a location], and then click [Browse…].
6 Browse to “Driver\(language)\Win9x” on the CD-ROM, and then click
[OK].
✎
Tip
Select the language you prefer. For example, if you prefer English,
browse to:
Driver\English\Win9x
7 Click [Next], and then follow the instructions that appear on the screen
until you can click [Finish].
8 The “Add New Hardware Wizard” dialog box appears again.
❍ Repeat steps 4 through 7.
✎
Note
Repeat steps 4 through 7 until the installation is completely finished.
This completes the installation of the TWAIN driver.
4-4 7216/7218/7220
Page 16

How to Scan Document
5 How to Scan Document
5.1 Using the Automatic Document Feeder
1 Select the PC software program (Imaging, Photoshop, etc.). This pro-
cedure uses Microsoft Imaging as an example.
2 Click [File].
3 Click [Select Device...].
4 Choose the device from the dialog box, then click [OK].
5 Click [Acquire Image...], then adjust any settings necessary.
❍ See “Common Settings” on page 6-1.
6 Place the document face up
on the Automatic Document
Feeder (DF-218) or Duplexing Document Feeder (DF-
321).
5
✎
Note
In order to scan doublesided documents, the Duplexing Document Feeder DF-321 must
be connected to the machine. (7218 and 7220 only)
7 Click [Scan] to begin scanning.
7216/7218/7220 5-1
Page 17

5
5.2 Using the Original Glass
1 Select the PC software program (Imaging, Photoshop, etc.). This pro-
cedure uses Microsoft Imaging as an example.
2 Click [File].
3 Click [Select Device...].
4 Choose the device from the dialog box, then click [OK].
5 Click [Acquire Image...], then adjust any settings necessary.
❍ See “Common Settings” on page 6-1.
6 Place the document face
down on the Original Glass.
❍ Align the document with
the scale marks across
the top and to the left of
the Original Glass.
7 Click [Scan] to begin scan-
ning.
How to Scan Document
5-2 7216/7218/7220
Page 18

Common Settings
6 Common Settings
6.1 Auto Options
6
1
2
3
4
5
No. Items Settings
1 Paper Size A3, B4, A4R, B5R, A5R, F4, A4, B5, A5, 11 × 17, 11 × 14, 8.5
2 Scan Type B/W (default setting), Photo
3 Resolution 150dpi × 150dpi, 300dpi × 300dpi (default setting),
4 Duplex Scanning OFF (default setting), ON
5 Brightness -4 to 4
6 Help See the Help file.
7 About See version information.
8 Scan Scan an image.
9 Close Close scanner dialog.
× 14, 8.5 × 11R, 5.5 × 8.5R, 8.5 × 11, 5.5 × 8.5, 8K, 16KR, 16K
See “Paper Size:” on page 6-2.
See “Scan Type:” on page 6-2.
600dpi × 600dpi
See “Resolution:” on page 6-2.
See “Duplex Scanning:” on page 6-2.
See “Brightness:” on page 6-2.
6
7
8
9
7216/7218/7220 6-1
Page 19

6
Common Settings
Paper Size:
Select the paper size from the pull-down list to match the size of document
to be scanned.
Scan Type:
The Scan Type pull-down list contain two options.
G B/W: Suitable for most text documents.
G Photo: Suitable for photographs.
Resolution:
The Resolution pull-down list contain three options that can be used for
different purposes.
G 150dpi × 150dpi: Normal resolution for text documents containing
standard sized text.
G 300dpi × 300dpi: Higher resolution for text documents containing small
characters or fine print, such as a newspaper article. This is default
setting.
G 600dpi × 600dpi: Highest resolution for scanning photographs and oth-
er images.
Duplex Scanning:
Select OFF or ON from the pull-down list.
✎
Note
“Duplex Scanning” is not displayed and cannot be selected when the
Duplexing Document Feeder is not connected to the machine. (7218
and 7220 only)
Brightness:
This function is used to adjust the brightness of colors. The default settings is 0.
Brightness can be set from -4 to 4.
6-2 7216/7218/7220
Page 20

Error Message
7 Error Message
7.1 Original Document Jam
Message on the Control Panel:
Message on the PC screen:
7
Cause Remedy
• A paper jam occurred in the Automatic
Document Feeder or Duplexing Document
Feeder.
• All misfed paper was not removed from the
Automatic Document Feeder or Duplexing
Document Feeder.
• Open the Document Feeder Cover and
the Automatic Document Feeder or Duplexing Document Feeder, and then remove the misfed paper.
• The recovery procedure is the same as
that for “To clear a misfeed in the Auto-
matic Document Feeder” on page 7-2.
• After the paper jam has been cleared, the
memory percentage will return to its original value.
7216/7218/7220 7-1
Page 21

7
Error Message
To clear a misfeed in the Automatic Document Feeder
1 Remove the original docu-
ment from the Document
Feed Tray.
2 Open the Document Feeder
Cover and gently remove the
misfed paper.
3 Open the Automatic Docu-
ment Feeder and gently remove the misfed paper.
4 Close the Document Feeder
Cover, then load the document removed in step 1 into
the Automatic Document
Feeder again.
7-2 7216/7218/7220
Page 22

Error Message
Communication Error
Message on the PC screen:
Cause Remedy
• The copier is not ready.
• PC or copier system crash during commu-
nication.
• USB cable does not connect properly during communication.
1. Turn the copier OFF, then check if the
USB cable is connected properly or not.
2. After checking the USB cable carefully,
turn the copier ON again.
3. If you still cannot fix the problem, call
your service representative.
7
Scanner Busy
Message on the PC screen:
Cause Remedy
• If TWAIN scanning and copy j obs are being
performed at the same the time, the copier
may stop in the middle of scanning.
• Wait until Copy or all scanning is over.
7216/7218/7220 7-3
Page 23

7
Read Data Error
Message on the PC screen:
Cause Remedy
• An error occurred while reading data from
the copier while scanning.
1. Turn the copier OFF, then check if the
2. After checking the USB cable carefully,
3. If you still cannot fix the problem, call
Error Message
USB cable is connected properly or not.
turn the copier ON again.
your service representative.
7-4 7216/7218/7220
Page 24

Error Message
Automatic Document Feeder No Paper
Message on the PC screen:
Cause Remedy
• There is no paper in the Automatic Document Feeder (Duplexing Document Feeder) when duplex scanning is selected.
✎
• Add paper to the Automatic Document
Feeder (Duplexing Document Feeder).
7
Note
In order to scan double-sided documents, the Duplexing Document
Feeder DF-321 must be connected to the machine. (7218 and 7220
only)
7216/7218/7220 7-5
Page 25

7
Other Machine Error
Message on the PC screen:
Cause Remedy
• The Automatic Document Feeder (Duplexing Document Feeder) cover or Document
Feeder Cover was opened while a document was being scanned.
• An transmission error occurred between
the TWAIN driver and the copier.
• The recovery procedure, please refer to
• After the paper jam has been cleared, the
• Check the copier and the USB cable.
Error Message
“User’s Guide”.
memory percentage will return to its original value.
✎
Note
In order to scan double-sided documents, the Duplexing Document
Feeder DF-321 must be connected to the machine. (7218 and 7220
only)
7-6 7216/7218/7220
 Loading...