

Page 1
KONFTEL.COM
USER GUIDE
Konftel Cam50
Page 2
SAFETY PRECAUTIONS
Electric safety
Installation and operation must take place in accordance with electric safety standards.
Use caution during transport
Avoid stress, vibration or soakage in transport, storage and installation.
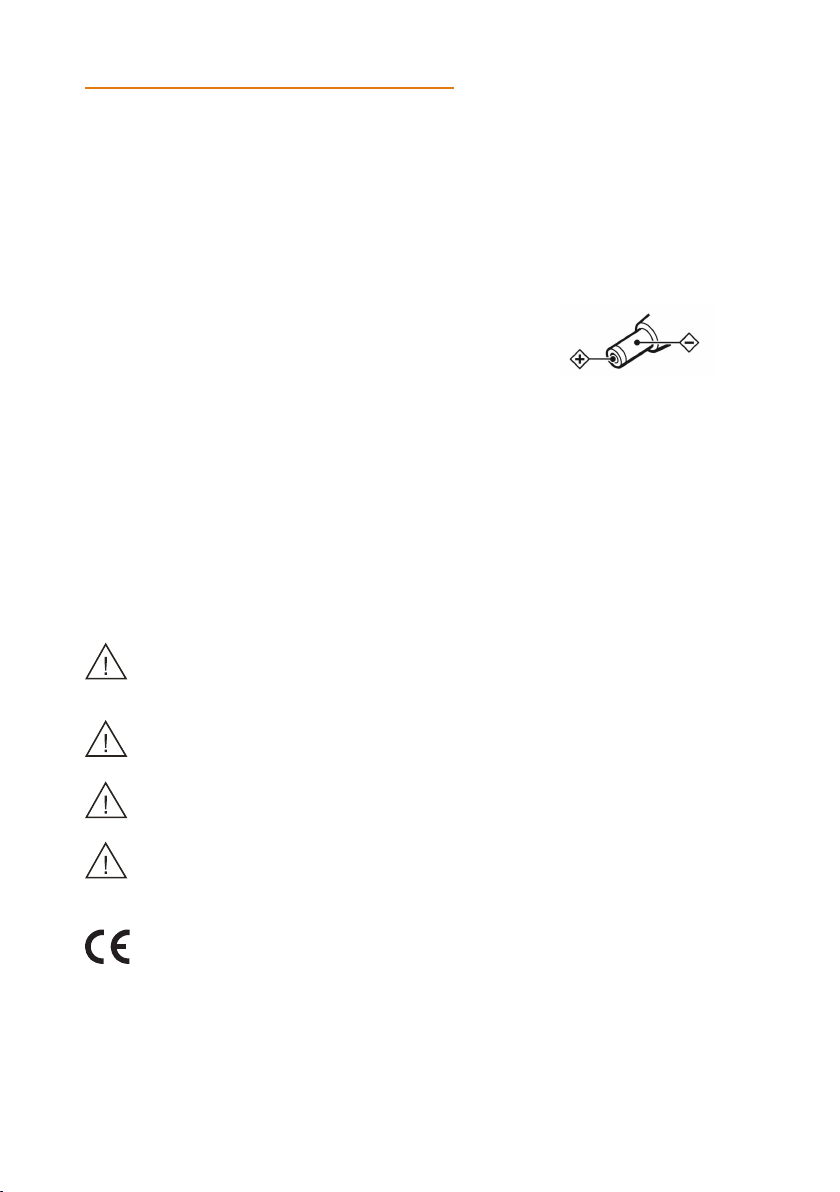
Polarity of power supply
The power supply of this product is +12V, the max electrical
current is 2A. Polarity of the contact is shown in illustration.
Installation precautions
Do not grasp the lens when carrying the camera. Don’t touch camera lens with your hand.
Mechanical damage may be caused by doing so.
Do not use in an environement with corrosive substance to avoid any cover
(plastic material) damage. Make sure there is no obstacle within rotation range.
Do not power on before the installation is completed.
Do not dismantle the camera
We are not responsible for damage caused by unauthorized modification or dismantling.
Specific frequencies of electromagnetic field may aect the image of the camera!
This is a class A product. Electromagnetic radiation at specific frequencies may
aect the image quality of a TV in home environment.
Do not expose the Konftel Cam50 to water or moisture.
Do not open the casing of the Konftel Cam50.
Konftel AB hereby declares that this conference camera is in conformity with all the
essential requirements and other relevant provisions of Directive 1999/5/EC.
Please visit www.konftel.com to view the complete declaration of conformity.
2
Page 3

TABLE OF CONTENTS
Maintenance 4
Camera maintenance ...............................................4
Unqualified use ............................................................ 4
Packing list 5
Appearance and Interface 6
Installation 7
Remote control 8-9
Service and Warranty 10
Warranty .......................................................................10
Service ............................................................................10
Konftel support ...........................................................10
3
Page 4

MAINTENANCE
Camera maintenance
• If the camera will not be used for a long time, please turn o the power switch and
disconnect power cord of AC adaptor from the outlet.
• Use a soft cloth or tissue to clean the camera cover. If the camera is very dirty,
clean it with a diluted neutral detergent. Do not use any type of solvents, which may
damage the surface.
• Please use a soft, dry and clean cloth to polish the lens.
Unqualified use
• Do not point the camera at extremely bright objects for a long period of time, such
as sunlight, powerful light sources, etc.
• Do not operate in unstable lighting conditions, to avoid image flickering.
• Do not operate close to powerful electromagnetic radiation, such as TV or radio
transmitters.
4
Page 5

PACKING LIST
Konftel Cam50
5 m USB 2.0 Type-A/Type -B Power Cable
Remote Control
AC Adapter
2x Batteries AAA
Wall bracket
Quick Guide Safety declaration
5
Page 6

APPEARANCE AND INTERFACE
USB 3.0 LINE IN
USB 3.0/2.0
LINE IN
(Not supported)
IN RS232 OUT
-
DC 12V
+
AC Adapter
RS232 OUT
RS232 IN
1. Please check that connections are correct before starting.
2. Connect the AC adapter to the power connector on the rear panel of the
camera. The power indicator on the front panel should light up.
3. After the camera is powered on, it starts to initialize: to the top limit position and
then both horizontal and vertical before stopping at the middle position. The motor
stops running and the initialization is completed.
(Note: If the position preset 0 has been stored it will be the cameras default position.)
6
Page 7

INSTALL ATION
USB cable HDMI cable
(not included)
7
Page 8

1
CAMERA SELECT
2 3 4
STD REV
PRESET
RESET
1
CAMERA SELECT
2 3 4
STD REV
PRESET
RESET
REMOTE CONTROL
1
CAMERA SELECT
1
2 3 4
STD REV
10
2
CAMERA SELECT
1
2 3 4
STD REV
3
4
5
6
7
8
9
PRESET
PRESET
RESET
RESET
11
12
13
14
15
16
17
8
Page 9

REMOTE CONTROL
No. Name Function Description
1 Standby Button Enter into standby mode
2 Position Buttons To set preset or call preset
3 * Button Used with other buttons
4 Set Preset Button
5 Pan-Tilt Control Button Press [HOME] back to the middle position.
6 Back Button Press to return to previous.
7 Zoom Buttons
8 Set Pan Left/Right
9 Focus Buttons
Store a preset position.
[PRESET] + Numeric button (0-9):
Setting a corresponding numeric key preset position.
Slow Zoom: Zoom In [+] or Zoom Out [-] slowly
Fast Zoom: Zoom In [+] or Zoom Out [-] fast
Setting the direction of the pan.
• Simultaneously press [L/R SET] + 1 [STD]: set the pan turn the same
direction as the L/R Set.
• Simultaneously press [L/R SET] + 2 [REV]: set the pan turn the opposite
direction as the L/R Set.
Used for focus adjustment.
Press [AUTO] to adjust the focus on the center of the object automatically.
Press [MANUAL] to adjust the focus on the center of the object manual.
Adjust it with [FAR] (Focus on far object) and [NEAR] (Focus on near
object).
10 Camera Select Buttons
11 # Button Used with other buttons
Set Camera IR Address
12
Buttons
13 Clear Preset Buttons
14 Pan/Tilt Control Buttons
15 Menu Press [MENU] to enter or exit menu.
BLC (Backlight
16
Compensation)
ON/OFF Button
17 PTZ Reset Button Preset Pan/Tilt self-test.
Press the button corresponding to the camera you want to operate with the
remote controller.
[*]+[#]+[F1]: Address 1
[*]+[#]+[F2]: Address 2
[*]+[#]+[F3]: Address 3
[*]+[#]+[F4]: Address 4
Clear preset: Erase a preset position.
[RESET] + Numeric button (0-9)
Or: [*]+[#]+[RESET] to erase all the presets.
Press arrow buttons to perform panning and tilting.
Press [HOME] button to return to original position.
Press [BLC ON/OFF] to enable the backlight compensation. Press it again
to disable the backlight compensation.
NOTE:
• Eective only in auto exposure mode.
• If a light is behind the subject, the subject will become dark. In this case,
press the [BACKLIGHT ON/OFF] button. To cancel this function,
press [BACKLIGHT ON/OFF] button.
9
Page 10

SERVICE AND WARRANT Y
Warranty
We give a two-year warranty on our conference devices.
Service
Service is oered after the expiration of the warranty. Please contact your reseller and
ask for a cost estimate.
Konftel support
If you have any questions about the warranty and service, please contact your Konftel
support centre.
Europe:
+44 1483 308 003 (Monday-Friday 8.00 AM-5.00 PM GMT-1)
+46(0)90-706 489 (Monday–Friday 8.00–17.00 GMT+1)
E-mail: support@konftel.com
Website: www.konftel.com/contact-support
USA and Canada:
+1 866-606-4728 (Monday–Friday 08.00–17.00 GMT-8)
E-mail: support@konftel.com
Website: www.konftel.com/contact-support
10
Page 11

KONFTEL.COM
Konftel is a leading company within collaboration endpoint solutions.
Since 1988, our mission has been to help people in businesses around the
world to have meetings regardless of distance. Based on our success,
we know that remote collaboration is a smooth way to save time,
money and at the same time contribute to a more sustainable world.
Crystal clear audio and a sharp video image are essential for efficient meetings,
this is why we only focus on cutting-edge technology in our Collaboration Solutions.
Our audio technology OmniSound® is built into all Konftel Conference
phones and devices. The products are sold globally under the Konftel brand
and our headquarter is based in Sweden.
Read more about the company and our products at konftel.com.
Konftel AB, Box 268, SE-901 06 Umeå, Sweden
Tel: +46 90 70 64 89 E-mail: info@konftel.com
EU 931401002, UK 932401002, AU 933401002, US 834401002-UG-ENG-R1A
 Loading...