

Page 1
Before reading, unfold the page containing the illustrations
and familiarise yourself with all functions of the device.
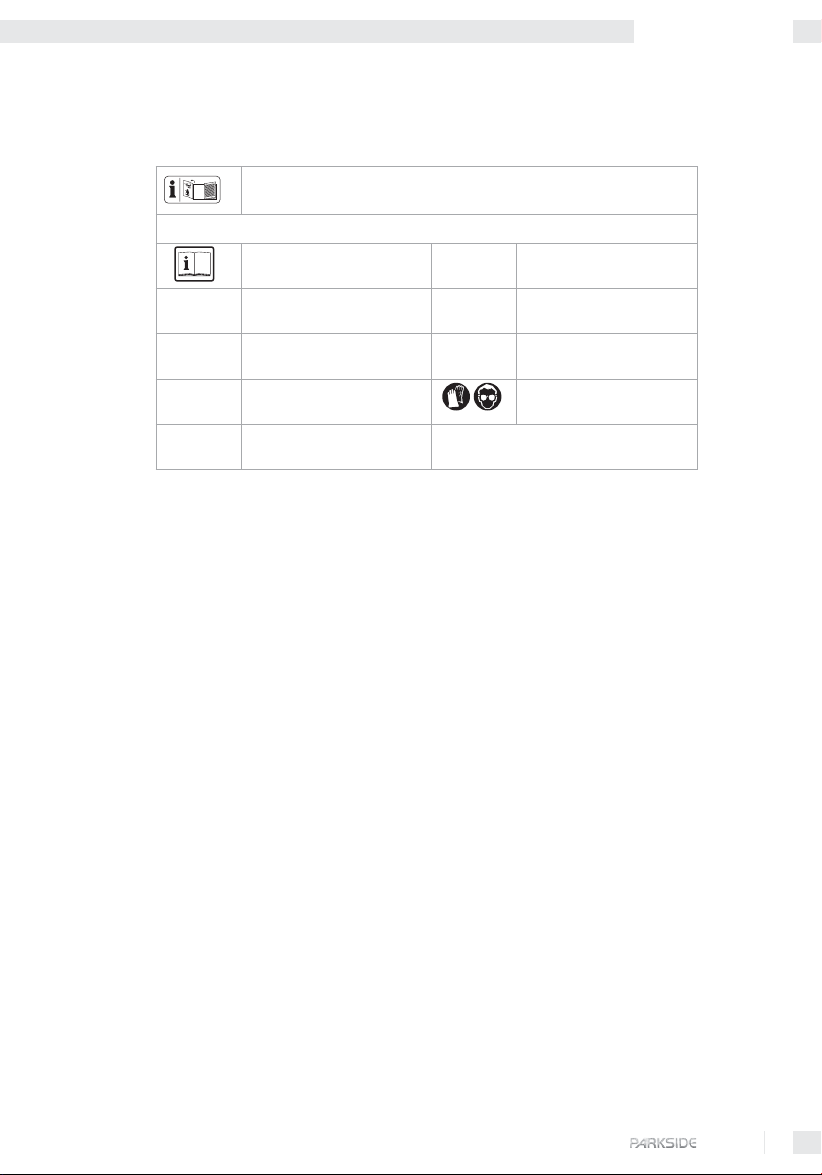
The following icons/symbols are used in this instruction manual:
Read instruction manual!
Watt (performance)
W
Observe caution and safety
notes!
Beware of electrical shock!
V~
n
Risk of fi re! Wear protective gloves and
Risk of explosion!
Introduction
For your safety ............................................................... Page 6
Proper use ...................................................................... Page 6
Features and equipment ................................................. Page 6
Included items/supplied accessories ............................... Page 6
Technical information ...................................................... Page 6
Voltage
Rated idle running speed
0
safety goggles
Table of Content
Safety
Important specifi c safety advice ..................................... Page 7
Operation
Preparing the device for use ............................................ Page 8
Advice on use .................................................................. Page 8
Changing the nozzle ........................................................ Page 8
Further examples of uses in the house, car and garden ... Page 9
Cleaning/disposal
Cleaning .......................................................................... Page 9
Disposal .......................................................................... Page 9
Information
Servicing ......................................................................... Page 9
Manufacturer‘s declaration of conformity
....................... Page 9
5 GB
Page 2

Introduction
Hot air gun PHLG 2000 SE
For removing, reshaping, preheating,
defrosting etc.
Introduction
For your safety
Please make sure you familiarise yourself fully with
the way the device works before you use it for the
fi rst time and that you understand how to handle
electrical power tools correctly. Further details can
be found in the operating instructions
In addition to the above, you must also strictly
observe the general safety advice contained
in the accompanying booklet. Use the device only
as described and for the indicated purposes. By
doing this you will be able to work with a high level
of safety and produce better results. Keep these
instructions in a safe place. If you pass the hot air
gun on to anyone else, please ensure that you also
pass on all the documentation.
Proper use
.
Features and equipment
햲
Air inlet
햳
ON/OFF switch (ON = setting 1 (375° C)
or setting 2 (550° C))
햴
Nozzle
햵
Heat shield
햶
Refl ector nozzle
햷
Protector nozzle
햸
Flat nozzle
햹
Reducer nozzle
Included items/
supplied accessories
Check that all the items and accessories are
present immediately after unpacking:
1 Hot air gun PHLG 2000 SE
1 Refl ector nozzle
1 Protector nozzle
1 Flat nozzle
1 Reducer nozzle
1 General safety advice for electrical tools
1 Operating instructions
1 Guarantee documentation
The hot air gun is intended for the removal of paint,
for warming (e.g. heat-shrinkable sleeves) and
for reshaping and welding of plastics. It may also
be used for detaching glued connections and for
defrosting or thawing water pipes. It is not suitable
for defrosting pipes made from PVC or similar
materials. The device is also suitable for soldering
and tinning.
Any other use or modifi cation to the device shall
be considered as improper use and could give
rise to considerable dangers. The manufacturer
will not accept liability for loss or damage arising
from improper use. The device is not intended for
commercial use.
6 GB
Technical information
Nominal voltage: 230 V ~ 50 Hz
Power consumption: Setting 1: 1000 W
Setting 2: 2000 W
Air fl ow approx.: Setting 1: 300 l/min,
Setting 2: 500 l/min
Temperature
Nozzle outlet approx.: Setting 1: 375° C,
Setting 2: 550° C
Protection class: II/
쓑
The sound pressure level (A) of the device is typically less than 70 dB(A).
Page 3

Safety
Safety
Important specifi c
safety advice
To avoid danger to life
from electric shock:
· Do not operate the device if the mains lead or
the mains plug is damaged.
Caution! A damaged mains lead presents
a serious danger to life from electric shock.
The service centre for your country is shown in
the guarantee documentation.
· Have repairs carried out only by an electrician
or the relevant service centre.
· Do not touch the mains lead if it becomes
damaged or cut through while you are using
the device. Pull the plug out of the mains
socket immediately and have the device repaired by a suitably qualifi ed person or at your
service centre.
· Do not operate the device if it is damp and do
not use it in a damp environment.
· If you use the device outdoors, always connect
it through a residual current device with a
maximum trip current of 30 mA.
If using an extension lead always use one that
is approved for outdoor use.
· Do not use the device in rain or in wet conditions.
· Do not suspend or carry the device by the
mains lead.
· Always work with the mains lead leading away
from the rear of the device.
Avoiding the danger of injury, fire and damage
to your health:
· Never use the device as a hairdryer.
· Do not direct the hot air fl ow at persons or
animals.
·
the hot nozzle.
Wear protective gloves.
·
Danger of burns! Do not touch
Wear protective glasses.
· In addition, you should never leave the device
working unattended.
· Bear in mind the high rate of heat generation.
If the device is not used carefully, it can
give rise to increased risk of fire or explo-
sion.
· Do not work in the vicinity of easily ignitable
gases or materials.
Heating of plastics, paints, varnishes etc. can
lead to the creation of gases that are hazardous to health. Make sure you always have
adequate ventilation.
· Let the device cool down completely before
you put it into storage. Always place your heat
gun down on its end, with the nozzle pointing
upwards.
· Never allow children to use the device.
Using the device safely :
· If danger arises, pull the mains plug immediately out of the mains socket.
· Never use the device for a purpose for which it
was not intended.
· When taking a break from your work, before
carrying out any tasks on the device itself (e.g.
changing the nozzle) or when you are not using the device, always pull the mains plug out
of the mains socket.
· Do not direct the device at the same spot for
too long a period.
· Do not hold the nozzle outlet too close to the
workpiece or the surface on which you are
working. If the airfl ow is constricted it can lead
to overheating of the device.
· Handle the device carefully and treat it with
respect. Always keep the device clean, dry and
free of oil or grease.
· Be aware of areas other than the one you are
directly working on. The heat can reach infl ammable materials that may be outside your fi eld
of view.
· Remain alert at all times! Always watch what
you are doing and proceed with caution. Do
not use the device if you cannot concentrate or
you are feeling unwell.
7 GB
Page 4

Operation
Operation
Preparing the device for use
The mains voltage at the mains socket must match
that shown on the rating plate on the device.
Devices marked with 230 V can also be operated
at 220 V.
Caution! When using the device, never allow the
ventilation slots to be covered.
Switching on the device :
Press the ON/OFF switch
setting „I“ or „II“.
Switching off the device:
Press the ON/OFF switch
setting „0“.
Setting the air flow and temperature :
The switch
햳
has two different air fl ow settings.
You can select the combination of air fl ow and
temperature most suitable for your task.
Setting I: 300 l/min, 375° C
Setting II: 500 l/min, 550° C
Advice on use
Removing the heat shield:
Remove the heat shield
larly narrow spaces.
Caution! Danger of burns! Do not touch the hot
nozzle. When you are working without the heat
shield there is an increased risk of burns.
The device must be completely cool before you
remove or replace the heat shield.
Turn the heat shield
to remove it.
Turn the heat shield
to put it back on.
햳
into
햳
into
햵
for working in particu-
햵
anticlockwise
햵
clockwise
Placing the device down:
Always set the device down upright on a level
surface, this will allow
• you to have both hands free
• the device to cool
Changing the nozzle
Reflector nozzle 햶 – for shaping plastic pipes
or tubes:
Use the refl ector nozzle
햶
for shaping plastic
pipes or tubes. Fill the pipe or tube with sand and
ensure it is closed at both ends. This will prevent
the pipe or tube from kinking. Warm the pipe or
tube evenly by moving the hot air gun from side to
side and backwards and forwards.
Protector nozzle
햷
– for removing paint and
varnish:
Use the protector nozzle
햷
to warm paint and
varnish evenly. The spatula shape of the nozzle
ensures the air is properly directed. Use a separate
spatula for removing paint or varnish.
Flat nozzle
햸
– for detaching glues, softening
paint:
Use the fl at nozzle
햸
to soften paint and varnish.
Do not apply heat for too long a period, as burned
paint can only be removed with diffi culty. Many
glues can be softened by warming. Glued connections can then be detached and excess glue
removed.
Reducing nozzle
Use the reducer nozzle
햹
– for welding plastic:
햹
for applying heat to a
spot. e.g. for soldering or removing solder. When you
weld workpieces, be sure that the workpiece and
welding rod are made of the same materials.
In addition, the site of the weld must be clean and
free of grease. Warm the area until it softens enough
to become ‚doughy‘. When doing this, bear in mind
that the temperature difference between the plastic
being ‚doughy‘ and liquid is very narrow. Guide the
welding rod and let the plastic run into the gap so
that it forms an even curved bead. Use the reducing
햹
nozzle
for heat-shrinkable sleeves and fi lm.
8 GB
Page 5

Operation/Cleaning, disposal/Information
Further examples of uses in the
house, car and garden
Defrosting water pipes :
Caution! It must not be used for thawing PVC
pipes.
Caution! It is often very diffi cult to tell the difference between gas pipes and water pipes. If in
doubt, ask a competent person.
Caution! Copper pipes are joined using tin solder
and must not be heated above 200° C.
Use the refl ector
the frozen section of pipe from its edge towards its
centre.
Loosening a threaded connection:
Threaded connections (e.g. on the car) are often
seize due to overtightening or rust. Heating the
threaded connection carefully can often allow the
connection to be released.
Removing weeds:
Dry out weeds and micro-organisms. Do not burden the environment unnecessarily with chemicals,
for example, when you wish to remove weeds
between stones and paving slabs. The hot air dries
out the weeds and micro-organisms.
Cleaning/disposal
햶
to defrost water pipes. Warm
Contact your local refuse disposal authority for
more details of how to dispose of your hot air gun.
Information
Servicing
The service centre for your country is shown in the
guarantee documentation.
Manufacturer‘s declaration
of conformity
We, Kompernaß Handelsgesellschaft mbH, Burgstr.
21, D-44867 Bochum, Germany, declare that this
product complies with the following EU directives:
Low Voltage Directive (73/23/EEC):
Electromagnetic Compatibility 89/336/EEC:
and confi rms this with the CE marking.
Type/device descript io n:
Hot air gun PHLG 2000 SE
Bochum, 31.10.2004
Cleaning
Before carrying out any tasks on the device
itself, pull the plug from the mains socket.
Keep the air inlet and outlet clean.
Use a soft cloth to clean the housing. Never
use petrol, solvents or cleaning agents as
these may attack the plastic.
Disposal
The packaging consists entirely of environmentally-friendly materials. It can be disposed of at your
local recycling facility.
Hans Kompernaß
- Managing Director -
9 GB
 Loading...