

KOLDTECH DT-R21F21-2D, 21-1D, 72-3D, 72-6d, 21-2d General Operation And Service Manual
...
KOLDTECH
REFRIGERATOR AND
FREEZER
THIS MANUAL SHALL BE PERMANENTLY KEPT AT END USER
PREPARED FOR JOB NR.…………OR PRODUCT SR.NR………….
General Operation and Service Manual of Refrigeration
(Covering Models as shown: DT-R21F21-2D)
OASMs-616-C-05/19/07/05
CONTENTS
KOLDTECH
The Technology of Excellence
Topics Description Page
1 INTRODUCTION
2 INSTALLATION & STARTS UP
2.1 Uncrating
2.2 Handling Issue
2.3 Installation
2.4 Draining
2.5 Ventilation
2.6 Electrical Preparation
2.7 Starting
3
3
3
3
3
4
4
4
4
Topics Description Page
5 TEMPERATURE SETTING
5.1 Temperature Settings,
5.2 Controller and Parameter
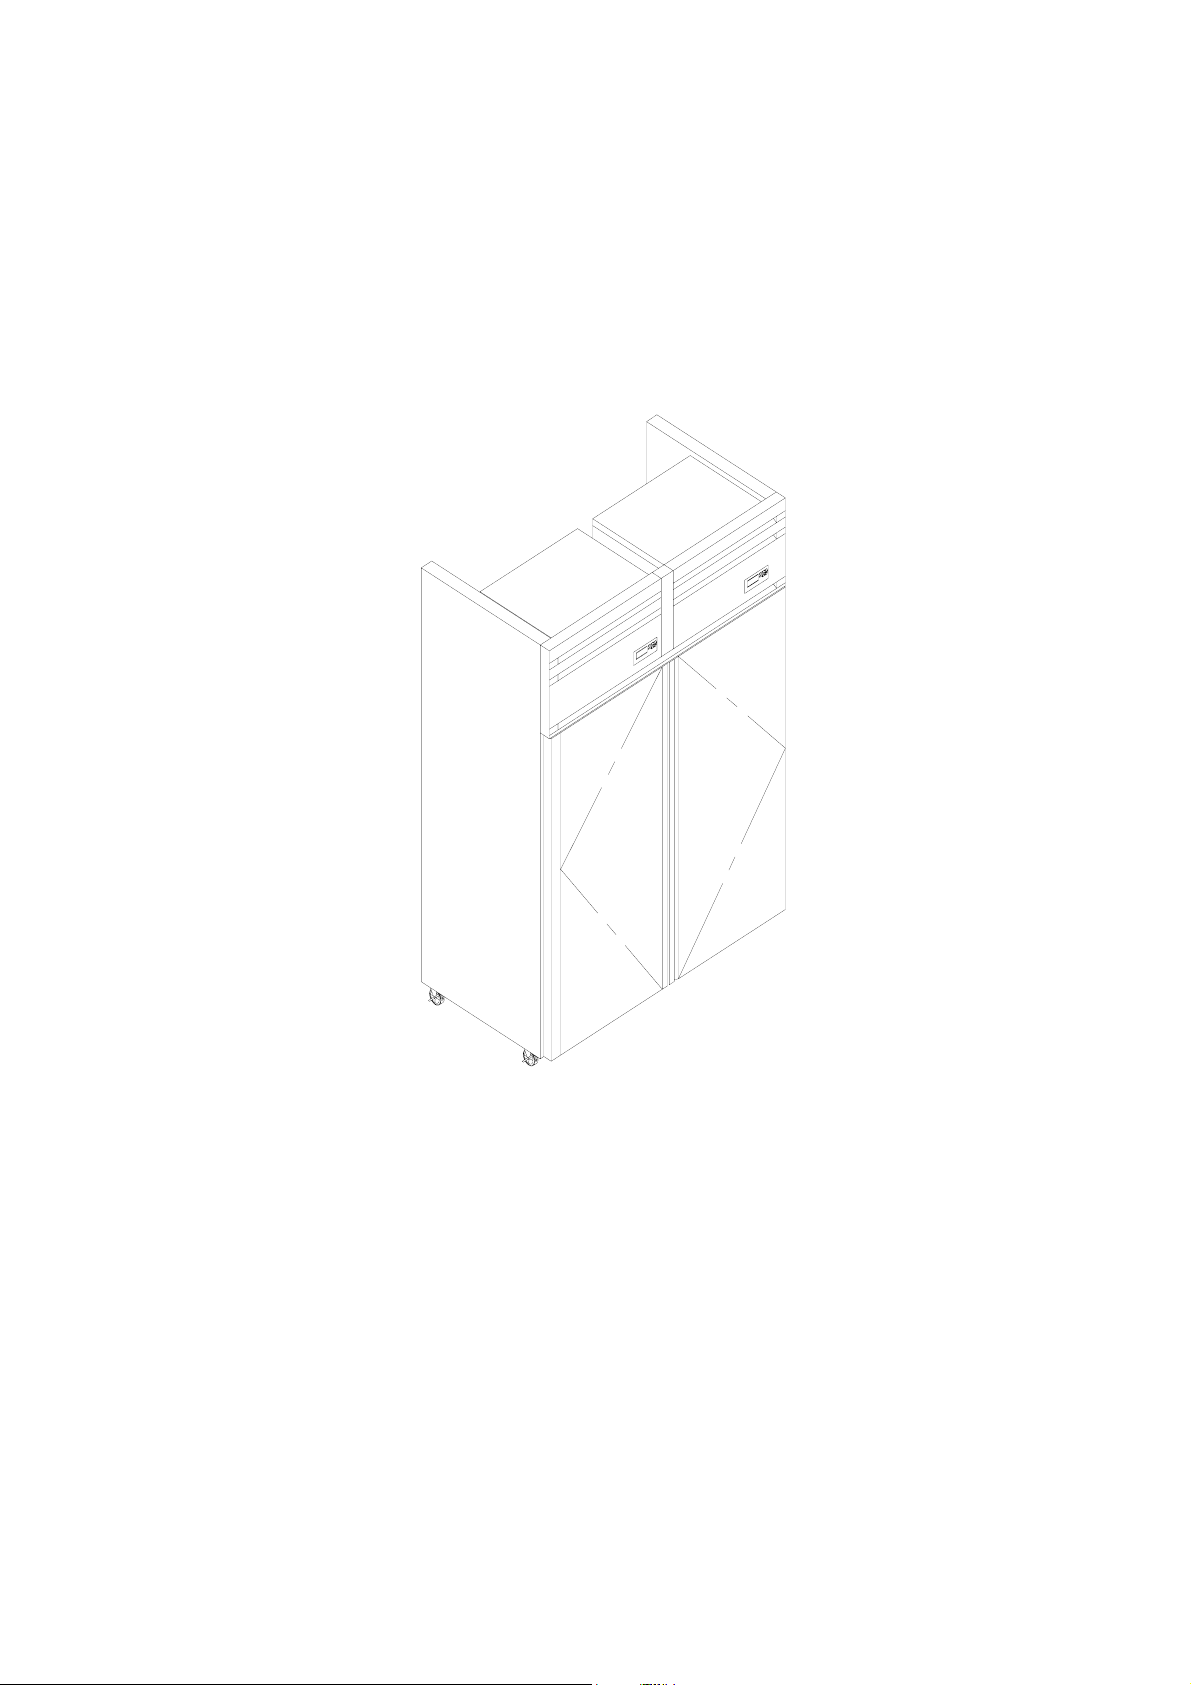
6 ASSEMBLY DRAWING
7 RECOMMENDED PARTS
8 TROUBLE SHOOTING
TABLES AND TREES
9 WARRANTY & SERVICE
10 REFRIGERATION
DIAGRAM
11 TIMING DIAGRAM
12 I/O UTILITY
6
7
LAST
8
9
10-13
14
15
17
LAST
2.8 Product Loading
2.9 Machine Performance
2.10 Defrosting
3 PRODUCT CLAEANING/Tips
4 MAINTENANCE SCHDULE
4
4
4
4 /
last
5
LOCATION
13 ELECTRICAL DIAGRAM
14 TEST CERTIFICATE
15 CLAIM FORM
16 SERVICE RECORD FORM
Technical depth as italicized
page may be limited to dealer
use only.
(IF APPLICABLE)
LAST
LAST
LAST
LAST
Noted
OASMs-616-C-19-07-05/13/1/07 2 OF 18

KOLDTECH
The Technology of Excellence
1. INTRODUCTION:
Thank you for choosing our KOLDTECH product. With over 30 years of experience in
refrigeration manufacturing we are confident that our product will provide you with years of
trouble-free operation. Our products are fully engineered to be amongst the best in the industry.
We also continually improve our product designs to ensure they continue to take advantage of the
latest in refrigeration design. Every unit is fully tested in our calibrated testing laboratory prior to
leaving our factory.
As with other precision equipment, proper care and operation will ensure years of trouble-free
service. It is essential that you spend time reading this manual before operating the machine, to
familiarize yourself with our product and safety procedures. Keep the manual where end-user
could see and locate.
We thank you again for choosing KOLDTECH . If you have any further questions please feel
free to call the dealer from whom you purchased the unit. Our address and telephone number can
be found under the “Service and Repair” information section.
2. INSTALLATION AND START UP
The following procedure should be followed for trouble free installation:
2.1
Uncrating: While unpacking, take note of any damage to the unit. If damage is found do not
discard the packing materials and notify your dealer, or the freight company a.s.a.p. Do not proceed
to install the unit.
2.2
Handling Issue:
2.2.1 Precaution has been taken to ship the unit in an upright position. If the unit is tilted during
transit lubricating oil may shift from the reservoir, and operating the unit may cause excessive wear
or damage to the compressor’s moving parts. It is recommended that the unit be left standing for
48 hours before operation.
2.2.2 Inspect and clear away any packing material that may be used to secure the unit during
transit.
2.3
Installation:
2.3.1 Install the unit in a dry, well-ventilated place away from heat sources or any vibration.
Ideally for optimum performance we recommend installation in air-conditioned premises. In the
event of high relative humidity, condensation may form on the cabinet. This will not impact on the
OASMs-616-C-19-07-05/13/1/07 3 OF 18

KOLDTECH
The Technology of Excellence
ability of the cabinet to maintain internal temperature. Should ambient temperature exceed 36oC
we cannot guarantee the maintenance of internal temperature to required standards.
2.4
2.3.2 The unit should be set on a level and firm surface.
Draining: Special models may require drain pipe for condensate water, End-user should well
explore from specification sheet before plugging in and self prepare of drain pipe as appropriate.
2.5
2.6
Ventilation: ventilating grills or louvers must not be obstructed for proper operation.
Electrical Work Preparation:
2.6.1 For safety reasons, the unit must be properly earthed. Check and make sure that the outlet is
properly grounded. If a grounded plug is not available, a separate earth ground must be installed to
prevent any electrical hazard. A properly rated circuit breaker should be installed to the supply
outlet. Check for proper supply voltage before plugging in the unit. Please refer to voltage
requirements on the nameplate of the unit.
2.6.2 Plug the unit into the wall outlet. Turn the unit on using the on/off switch.
2.7
Starting: After turning on the unit for the first time, if there is any unusual odour, heat, smoke or
vibration immediately turn off and unplug the unit and call for a service technician. The unit
should be closely monitored during the first hour of operation.
2.8
Product Loading: The thermostat is set at the factory for optimum operating temperature. Time
taken to attain the operating temperature depends on the temperature of the food being loaded, the
frequency of the door opening, ambient temperature etc. The unit should reach operating
temperature during the first 4-6 hours for chiller and 8-12 hours for freezer of operation.
2.9
Machine Performance: To prevent compressor damage, the unit is equipped with a Time Delay
Circuit, which shall activate the compressor within 2 minutes after turning on the power or after
restarting.
2.10
Defrosting: Defrosting the circuit is set from the factory for optimum operation. Do not attempt to
alter the setting.
PLS NOTE do not disassemble the unit. Any service performed by parties other than our
authorized may void the warranty.
3. PRODUCT CLEANING
3.1 CLEANING Stainless Steel surface, P.V.C. and Display Glass: Users can wash by lukewarm
soapy water (or recommended cleaner) and, later, thoroughly rinses or wiping all surfaces with
water or moistened clothes respectively. Finally, polish with dry soft cloth.
OASMs-616-C-19-07-05/13/1/07 4 OF 18
KOLDTECH
The Technology of Excellence
3.2 Note: Do not use solvents or other aggressive liquids for cleaning e.g. with mixture of
chlorine or detergent etc. Do not use wire brush, steel wool or grainy –wiping pad such as
Scotbrite-pad-grain.
4. MAINTENANCE
4.1 Observe safety practice by disconnecting all electrical supply before performing any kind of
maintenance.
4.2 Do not use sharp instruments or cleaning agents on the unit. Clean (interior and exterior
surfaces) using a damp cloth and warm water. Food particles and spillage should be
removed as soon as possible to avoid build-up and odour.
4.3 To ensure efficiency and reliability it is important that the condenser coil be kept clear of
accumulated dirt and duct. It is recommended to use a non-metallic brush, vacuum cleaner
or air blower to dislodge dust from the condenser fins. The frequency of cleaning depends
on the amount of dust in the surrounding area of the installation. The condenser should be
inspected and cleaned at least every month.
4.4 Do not expose any electrical components to moisture or water. If the unit gets wet, turn it
off and unplug it from the wall outlet immediately. Do not turn it on again until the unit is
completely dry or after inspection by a qualified service technician.
4.5 Should the unit be left unused for an extended period, all food items should be removed.
The interior surface and shelves should be cleaned thoroughly. Unplug the unit from the
power source and leave the doors slightly opened.
Recommended Maintenance Schedule
Frequency
Maintenance List
Daily Weekly Monthly
Clean interior and exterior surfaces X
Check operating temperature X
Check control panel alarm X
Check compressor for vibration X
Check compressor temperature X
Check condenser fan X
Clean condenser coil X
OASMs-616-C-19-07-05/13/1/07 5 OF 18
KOLDTECH
The Technology of Excellence
5. TEMPERATURE SETTING:
5.1 Your KOLDTECH product is equipped with an electronic thermostat with off cycle
designed for refrigeration applications at normal temperature. It provides a relay output to drive
the compressor and a probe input. An internal timer manages the off cycle defrost.
Tips: Recommended preset temperatures for specialized use.
Flowers: +4°C to +8° C
Confectionery (Candy): +14°C to +18°C
Seafood: -1°C to +1°C
Meat: -2°C to +1°C
Cakes: +7°C to +10°C
(Consult factory when needed, self-adjustment may void the given warranty)
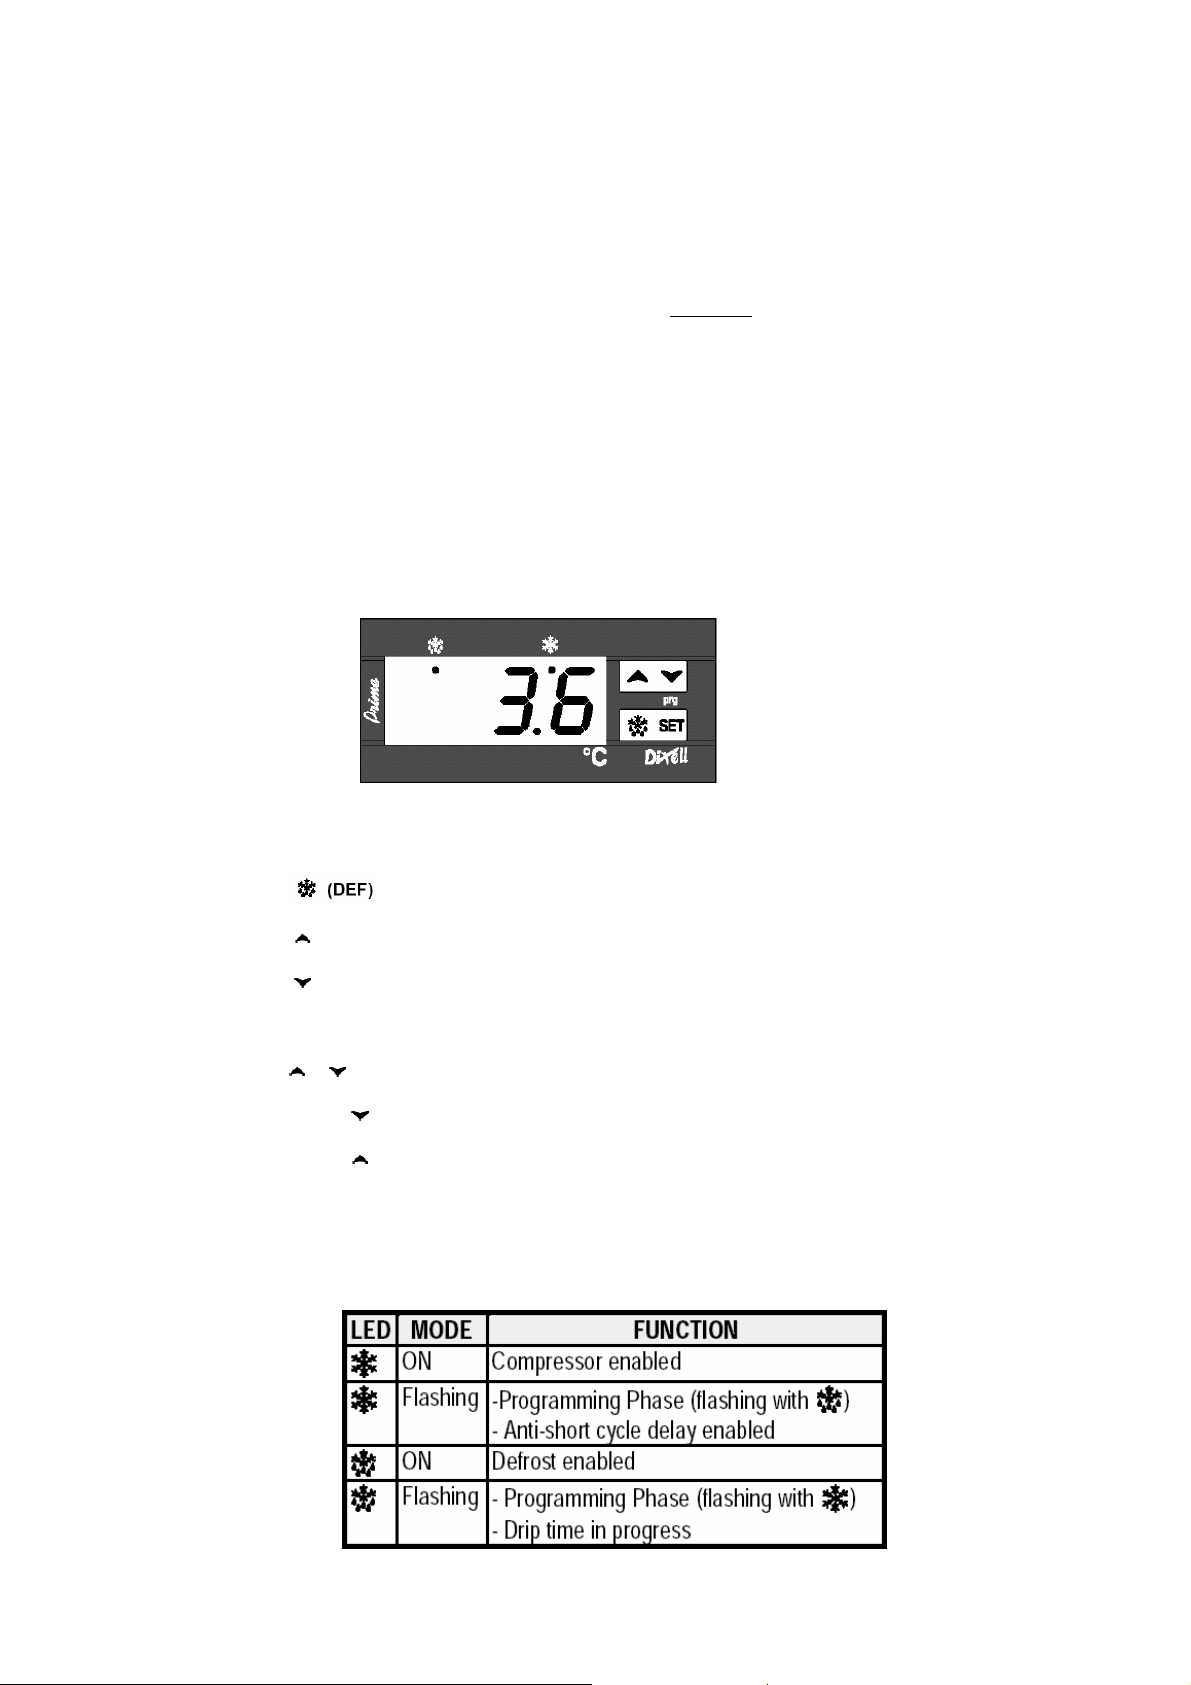
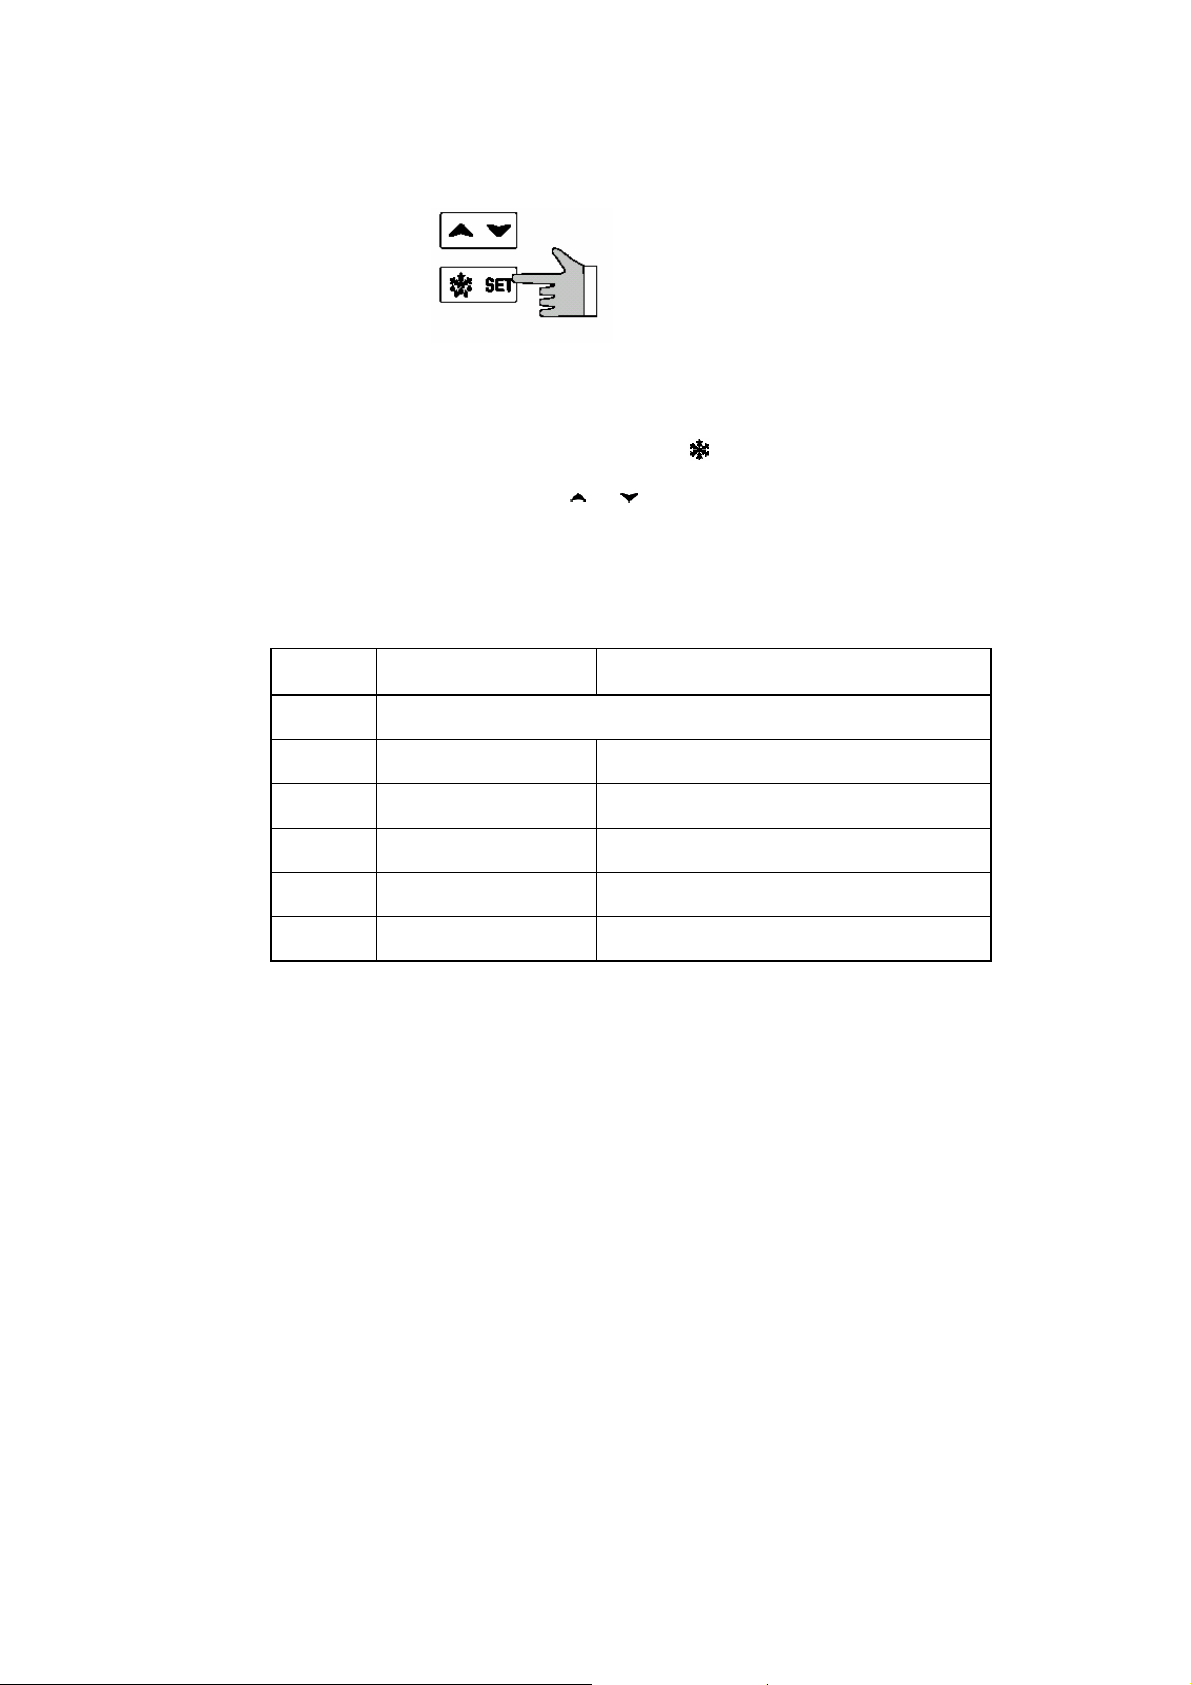
5.2 Front Panel Commands
SET: refers to display target set point, in programming mode it selects a parameter or
confirms an operation.
Presses for more 2 seconds to start a manual defrost.
(UP) Press to see the maximum stored temperature.
(DOWN) Press to see the minimum stored temperature.
Key Combinations:
+ Lock and unlock the keyboard.
SET +
SET +
To enter in programming mode.
To return to the room temperature display.
Use of LEDS
Each LED function is described in the following table
OASMs-616-C-19-07-05/13/1/07 6 OF 18
KOLDTECH
The Technology of Excellence
5.3 Changing the Set Point
1. Press the SET key for more than 2 seconds to change the Set point value.
2. The value of the set point will be displayed and the
3. To change the Set value, pushing the
or arrows within 10 sec.
LED starts blinking.
4. To memorize the new set point value, pressing the SET keys again or waits 15 sec.
5.4 Alarm Signals
Display Cause Output
"EE" Data or memory failure
"P1" Room probe failure Output according to par. "Con" and "COF"
"HA" Maximum temp. alarm Output unchanged.
"LA" Minimum temp. alarm Output unchanged.
"EA" External alarm Output unchanged.
"CA" Serious external alarm Output OFF.
Note:
The setting of operating temperature (and defrost for freezer) is already factory set.
End-user self- adjustment may void the given warranty unless consult the authorized.
(The parameter setting table, herewith given, is for the purpose of the reference of the DEALER’S service or
authorized competent service technician only.)
OASMs-616-C-19-07-05/13/1/07 7 OF 18
 Loading...