

Page 1
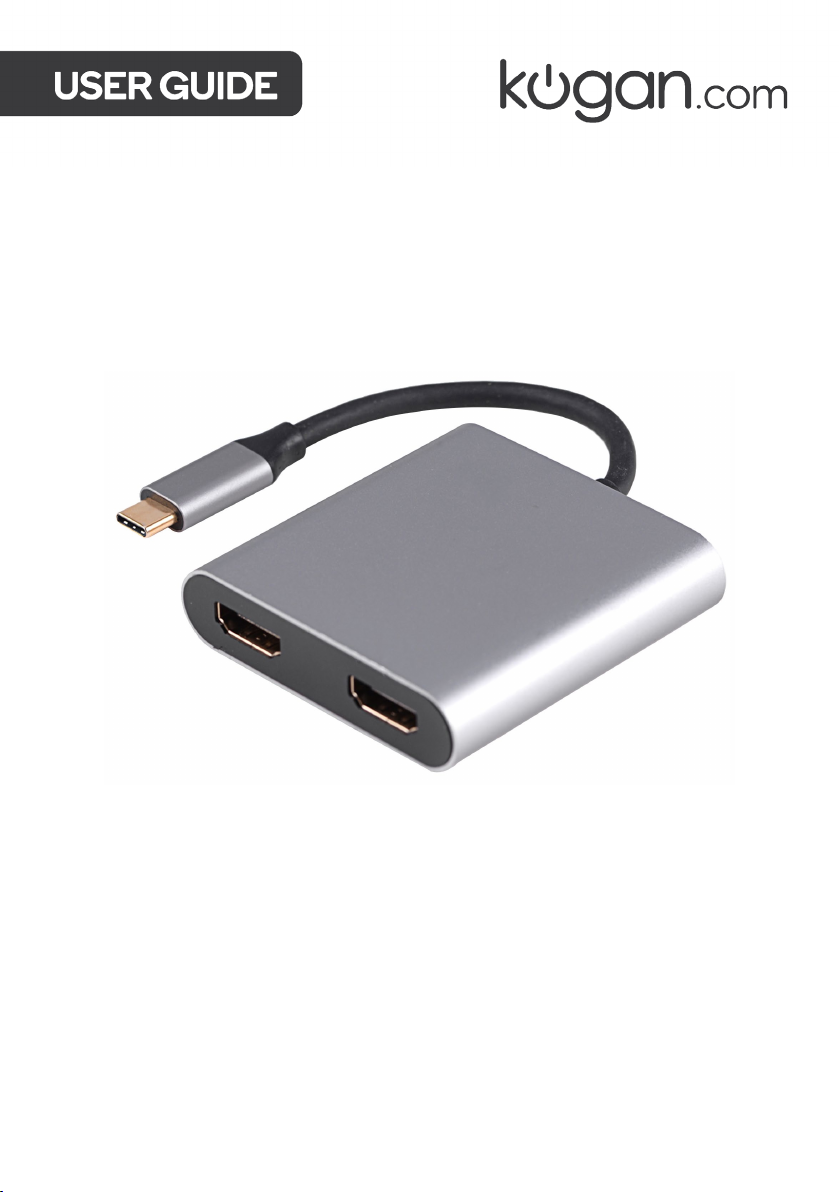
USB TYPE-C TO DUAL 4K
HDMI ADAPTER
KATCHBDUHDA
Page 2

Page 3
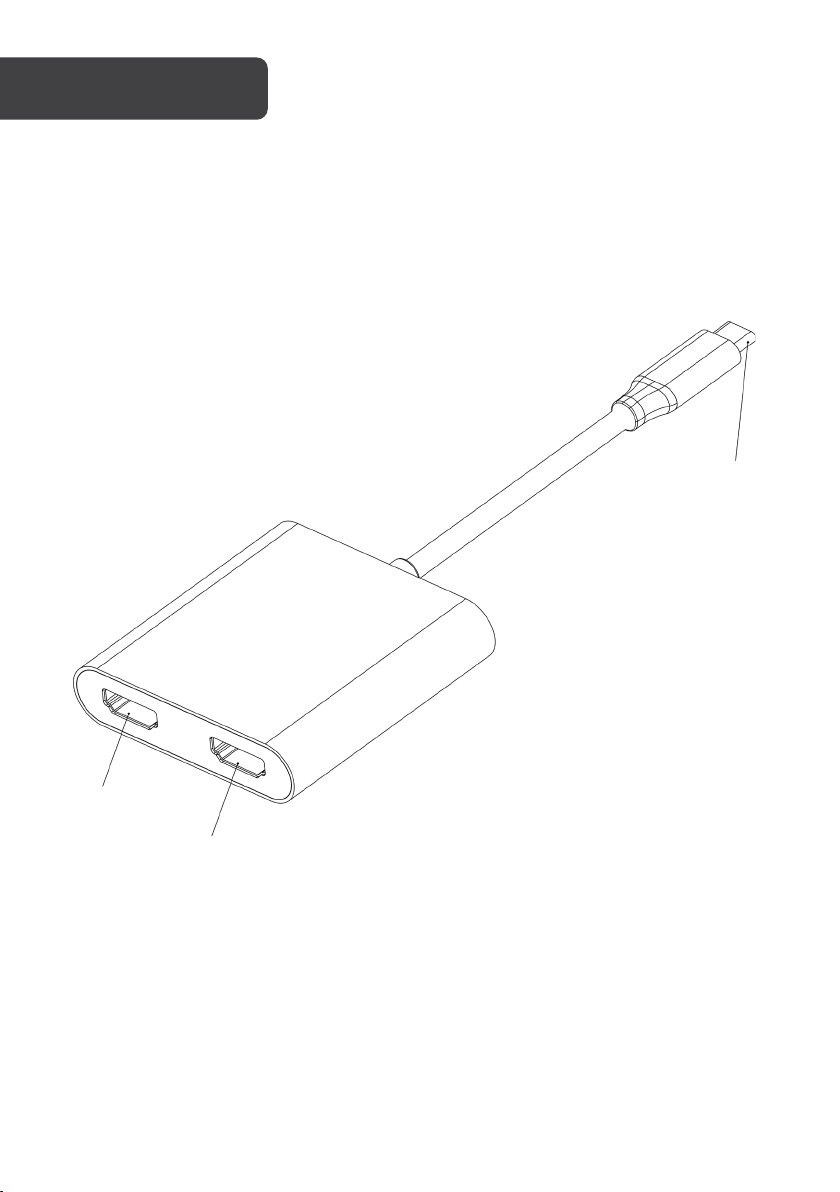
HDMI 2
HDMI 1
OVERVIEW
USB Type-C
Page 4
Note:
WINDOWS 10 SET-UP
1. Plug the USB Type-C end of the adapter into a device with a compatible USB
Type-C port. Connect one end of an HDMI cable (not included) to your display,
plugging the other end into the adapter. If you are connecting more than one display,
use a second HDMI cable (not included) and connect it the same way using the
second HDMI port on the adapter.
2. Once connected, right click on the desktop and select “Display settings”.
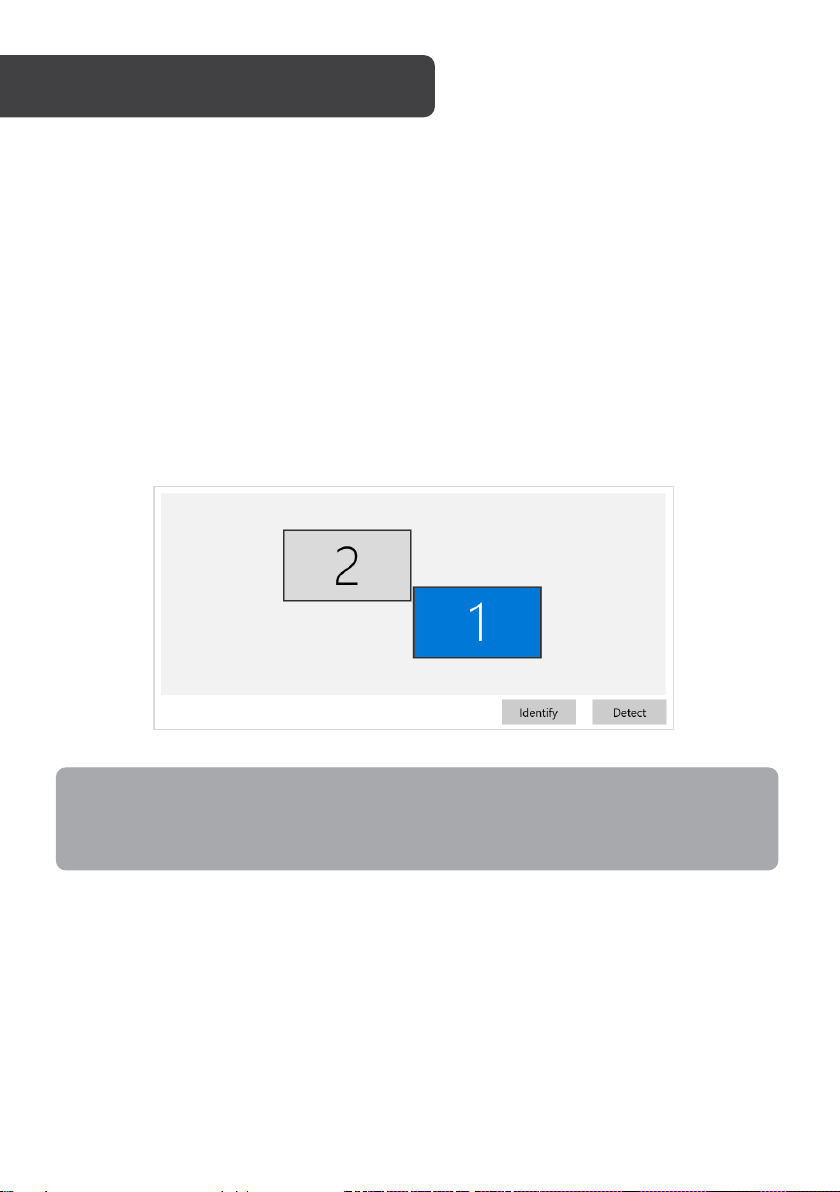
3. Under the “Rearrange your displays” heading, your available displays will be shown. If
your displays aren’t showing, double check that all cables are securely connected
and that the power to the display is switched on, then click “Detect”.
Click ‘Identify” to view the number assigned to each of your connected displays, and
select the on-screen display to view available settings. By holding and dragging on
the on-screen displays, you can rearrange their positions. Arrange the on-screen
displays so that they best match the layout of your actual displays.
If your displays are both showing the same thing, change the Multiple Displays
selection from “Duplicate” to “Extend”.
Page 5
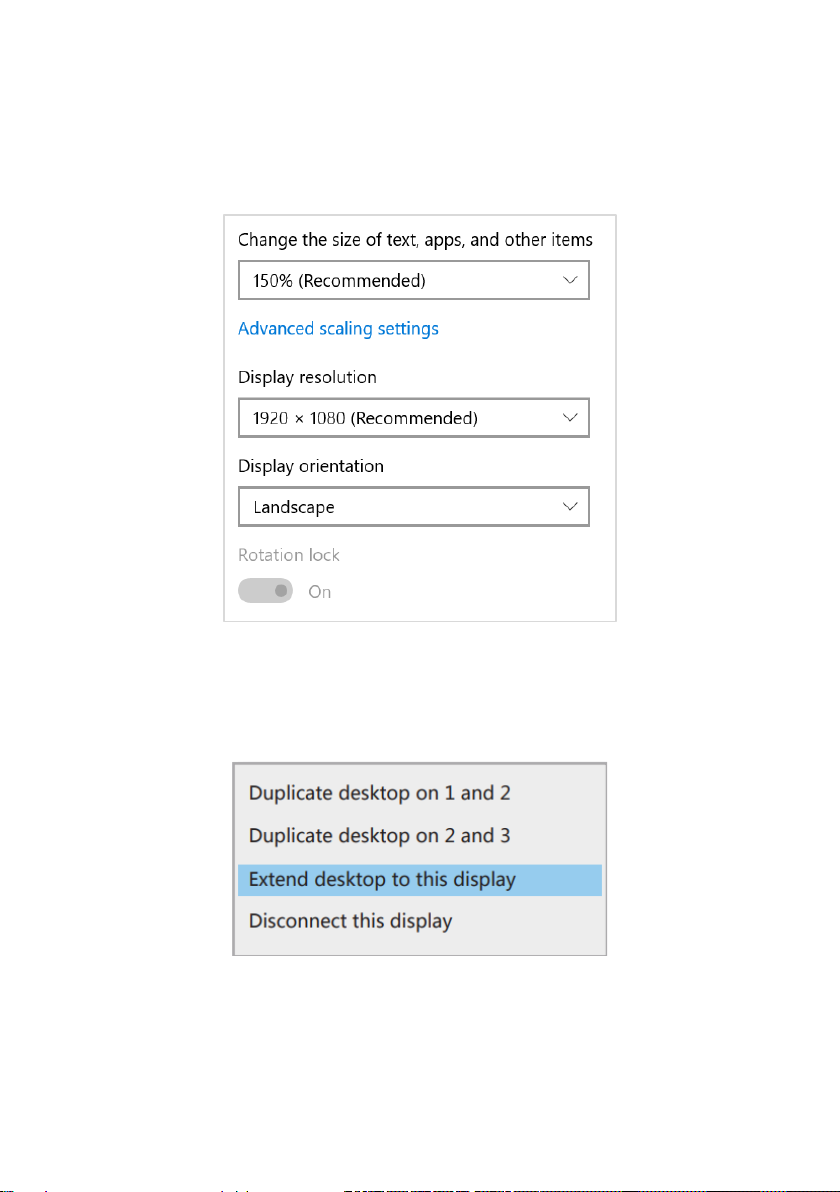
Scale & layout
These settings adjust the size of text and apps, the display resolution, and orientation.
For displays that have an auto-rotate function (for example, tablets), if toggled on, the
rotation lock setting can lock your display in one orientation no matter how you turn it. This
may be useful for example if you need to view something on your display at a different
angle.
Multiple displays
The displays can be configured to be duplicated or extended.
Page 6
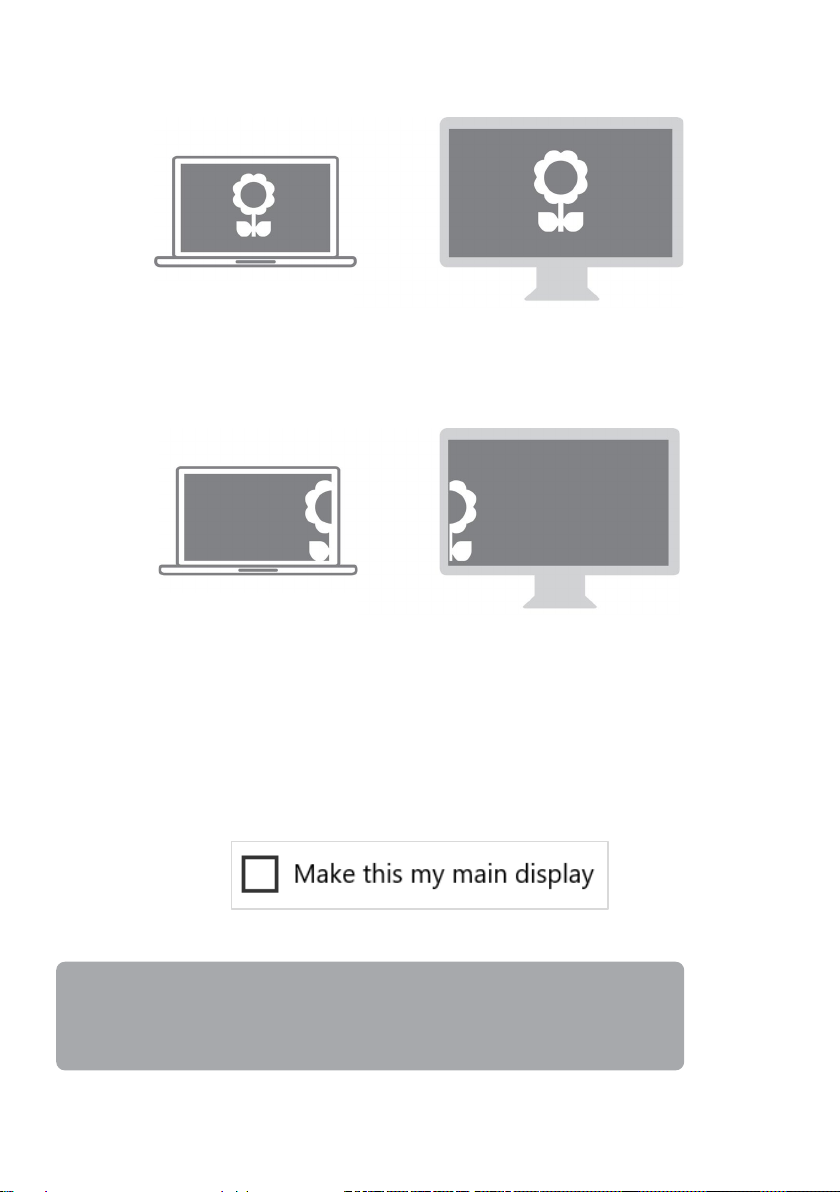
Duplicating will show identical screens on all connected displays.
Note:
Device
HDMI display
Device
HDMI display
Extending will allow multiple displays to be used as one screen.
Select the display you wish to become the main display by clicking on the relevant display
under the “Rearrange your display” heading. Tick this checkbox.
The main display is the one that will open all apps. Clicking to open apps from another
display will result in the apps being opened on the main display.
The images shown in this guide are intended for reference only and may
differ from the actual interface.
Page 7
MAC OS SET-UP
1. Plug the USB Type-C end of the adapter into a device with a compatible USB
Type-C port. Connect one end of an HDMI cable (not included) to your display,
plugging the other end into the adapter. If you are connecting more than one display,
use a second HDMI cable (not included) and connect it the same way using the
second HDMI port.
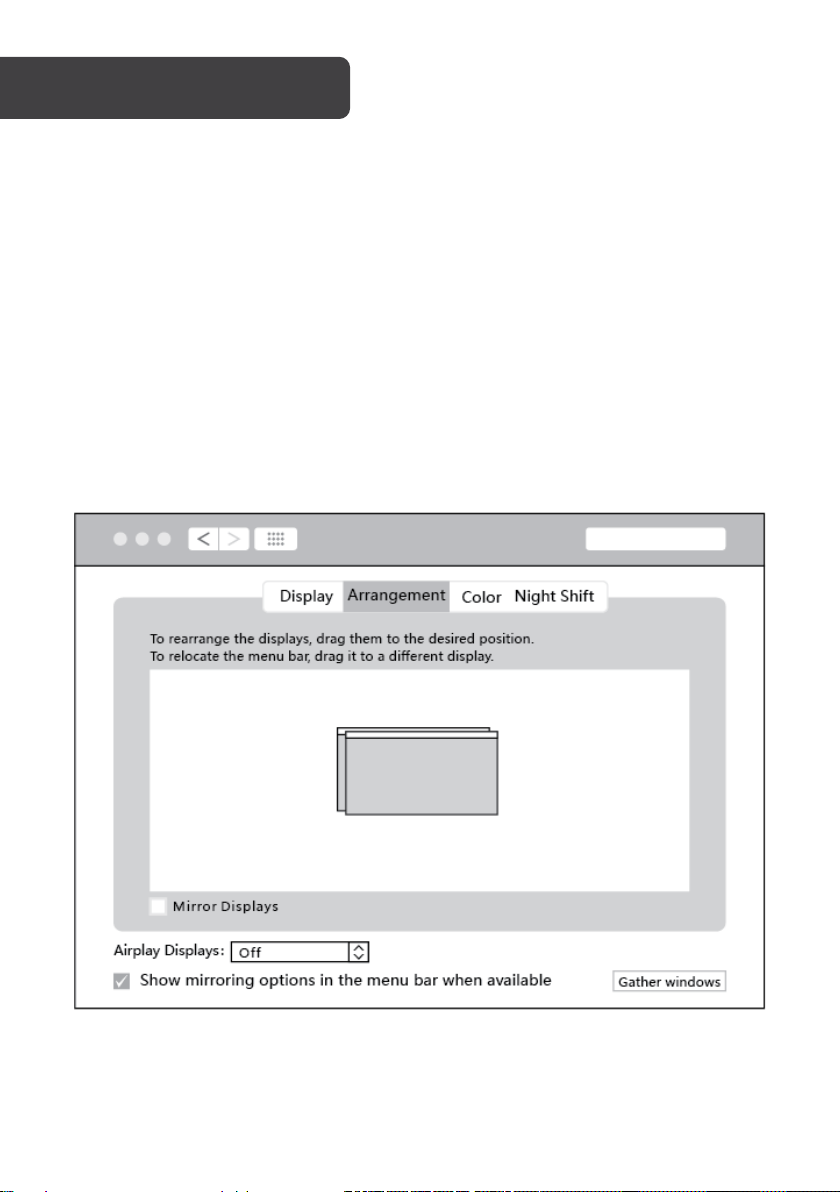
2. Once connected, click on the Apple menu > System Preferences > Displays >
Arrangement.
3. Under the “Arrangement” heading, your available displays will be shown. If your
displays aren’t showing, double check that all cables are securely connected and
that the power to the display is switched on.
Select the on-screen display to view available settings. By holding and dragging on
the on-screen displays, you can rearrange their positions. Arrange the on-screen
displays so that they best match the layout of your actual displays.
Page 8
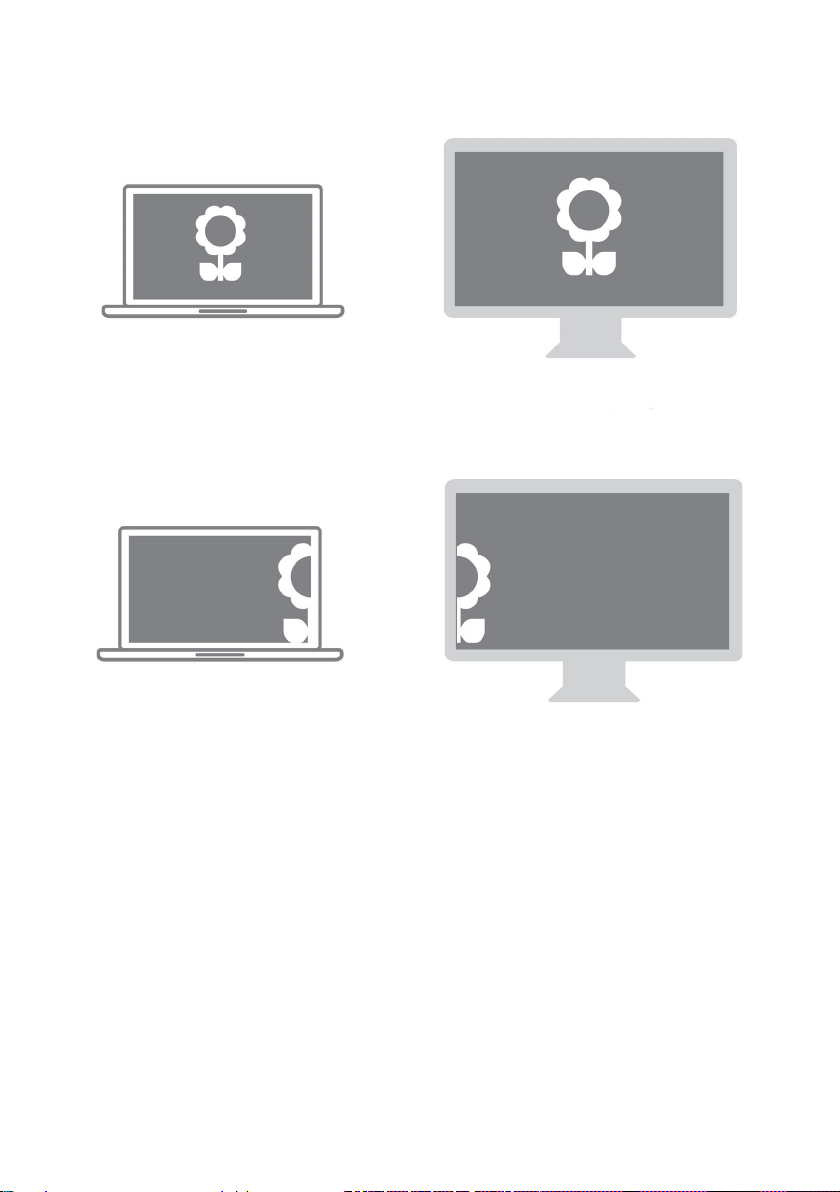
Mirror displays
Device
Device
HDMI display
HDMI display
If the checkbox is ticked, the same screen will show on all connected displays.
If the checkbox is unticked, the displays will be extended and combined to form one screen.
Page 9
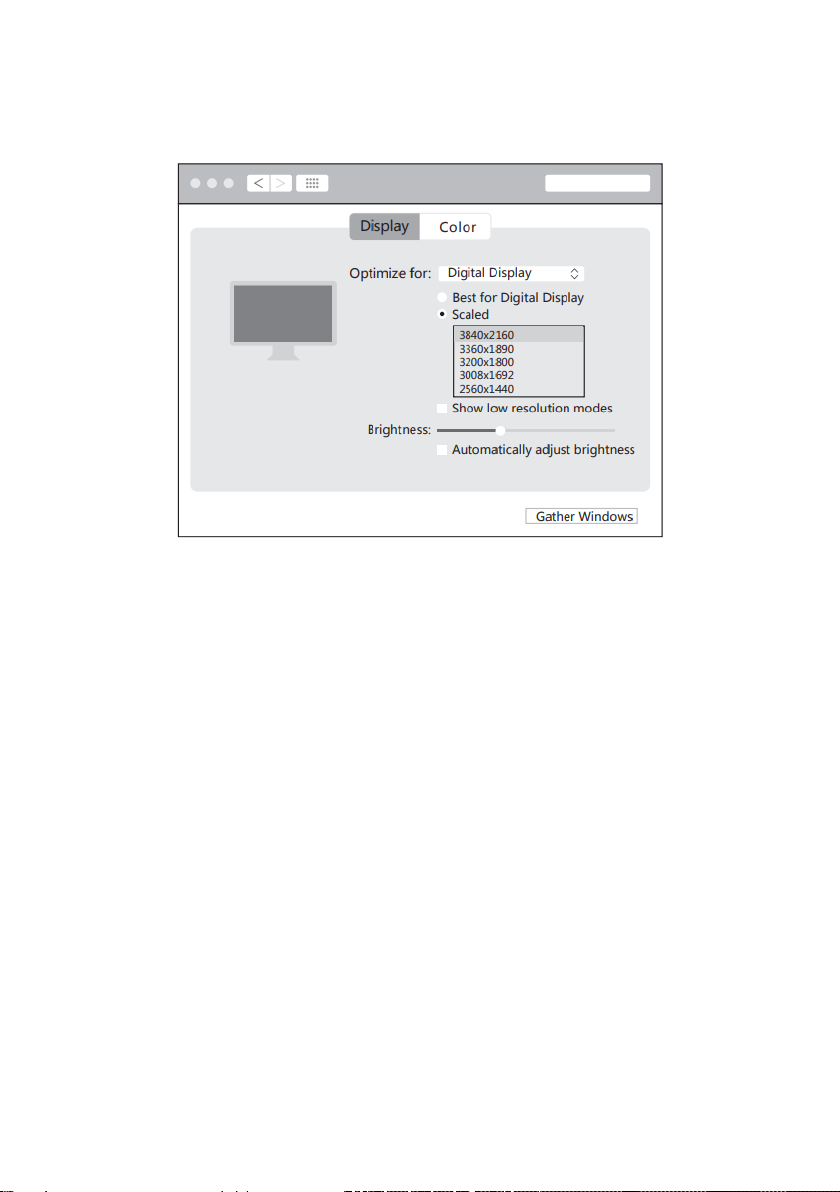
Display settings
Click on the Apple menu > System Preferences > Displays. Scaling and brightness controls
can be adjusted.
Page 10

TROUBLESHOOTING
No video output
Ensure the device plugged in with USB Type-C supports video output.
Ensure the USB Type-C is connected well into the device.
Ensure to use a standard HDMI cable when connecting to the adapter.
No audio output from the device plugged in with the HDMI cable
Ensure the device the HDMI cable is connected to supports audio output.
Adjust the settings to ensure audio output has been set to the HDMI cable connected
device.
One or more of the displays is black on the Windows 10 setup.
Right click on the desktop > Display settings. Scroll down the settings to “Multiple displays”
and change the settings to either duplicate or extend the displays.
Adapter is not recognised by the device plugged in with USB Type-C
Try restarting and reconnecting the adapter.
Slow file transferring speed to and from a hard disk.
Disconnect the USB Type-C from the hard disk and try reconnecting.
Try restarting your device and reconnecting the hard disk.
Page 11

SPECIFICATIONS
Ambient operating temperature 0℃ to 40℃
Ambient operating humidity 20%-90% RH
Storage temperature -20℃ to 85℃
Storage humidity 5%-95% RH
Plug and play Yes
Connectivity
USB Type-C Yes
HDMI 1 output 4K, 2K @ 60Hz (used alone)
4K, 2K @ 30 Hz (if both HDMIs are in use)
HDMI 2 output 4K, 2K @ 30Hz
Page 12

Need more information?
We hope that this user guide has given you
the assistance needed for a simple set-up.
For the most up-to-date guide for your product,
as well as any additional assistance you may require,
head online to help.kogan.com
 Loading...