

Page 1
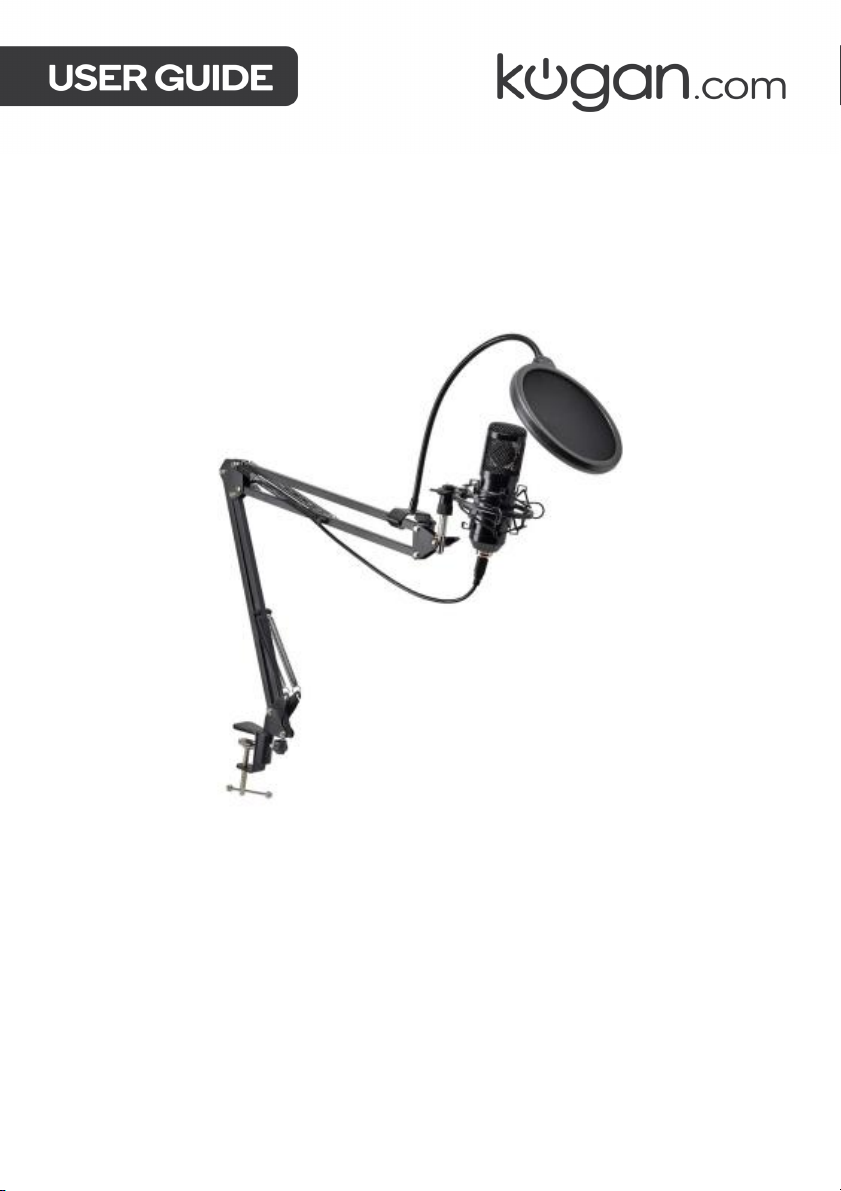
USB CONDENSER
MICROPHONE
WITH POP FILTER & STAND
KACONMICPHA
Page 2

Page 3

• Lower the volume before moving the microphone as loud feedback can occur when
the top of the microphone is covered by hands or the microphone is moved near to
the speaker.
• Ta k e c a r e n o t t o l e t t h e microphone fall or suffer physical damage.
• Do not store the microphone in a hot or damp environment.
Page 4
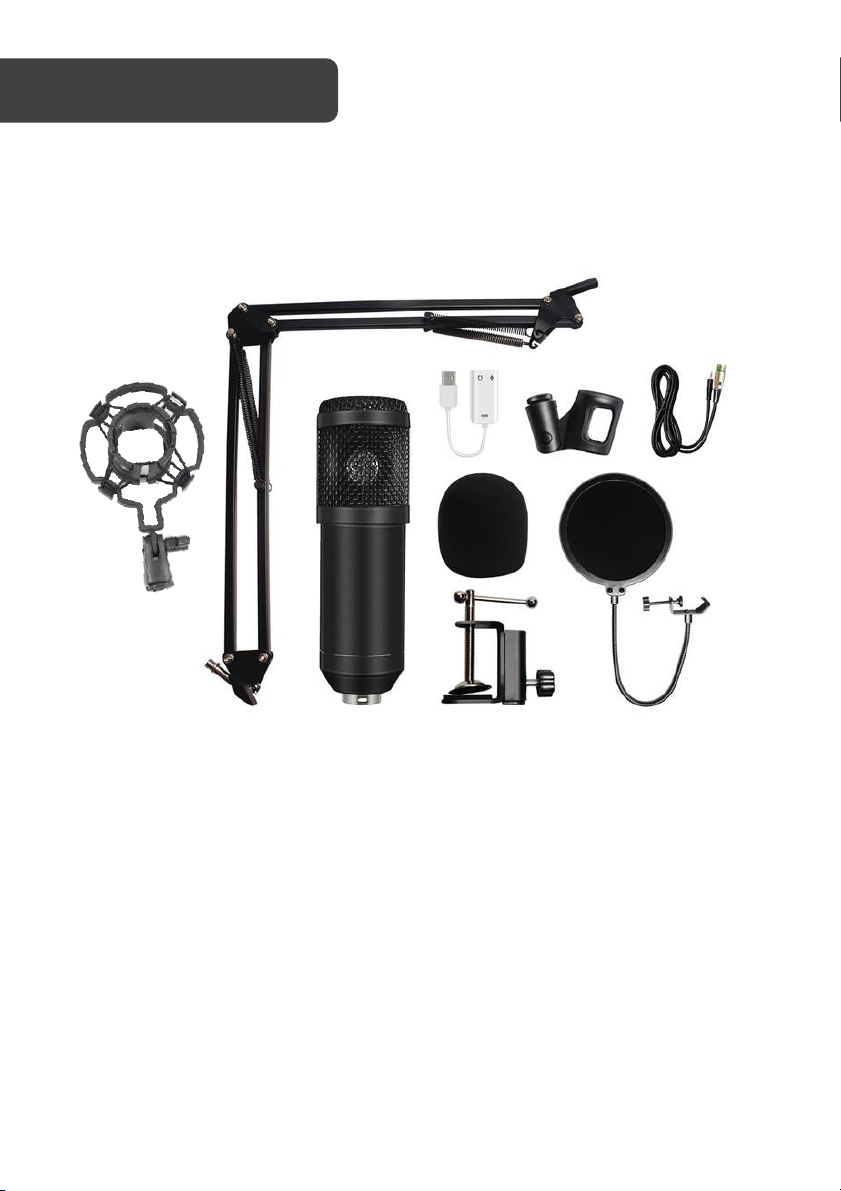
A
Shock-proof stand
F
Microphone holder
B
USB sound card
G
Condenser microphone
C
Pop filter
H
Vibration control frame
D
Sponge ball
I
Base
E Audio line
A
B
C
D
E
F
G
H
I
Page 5
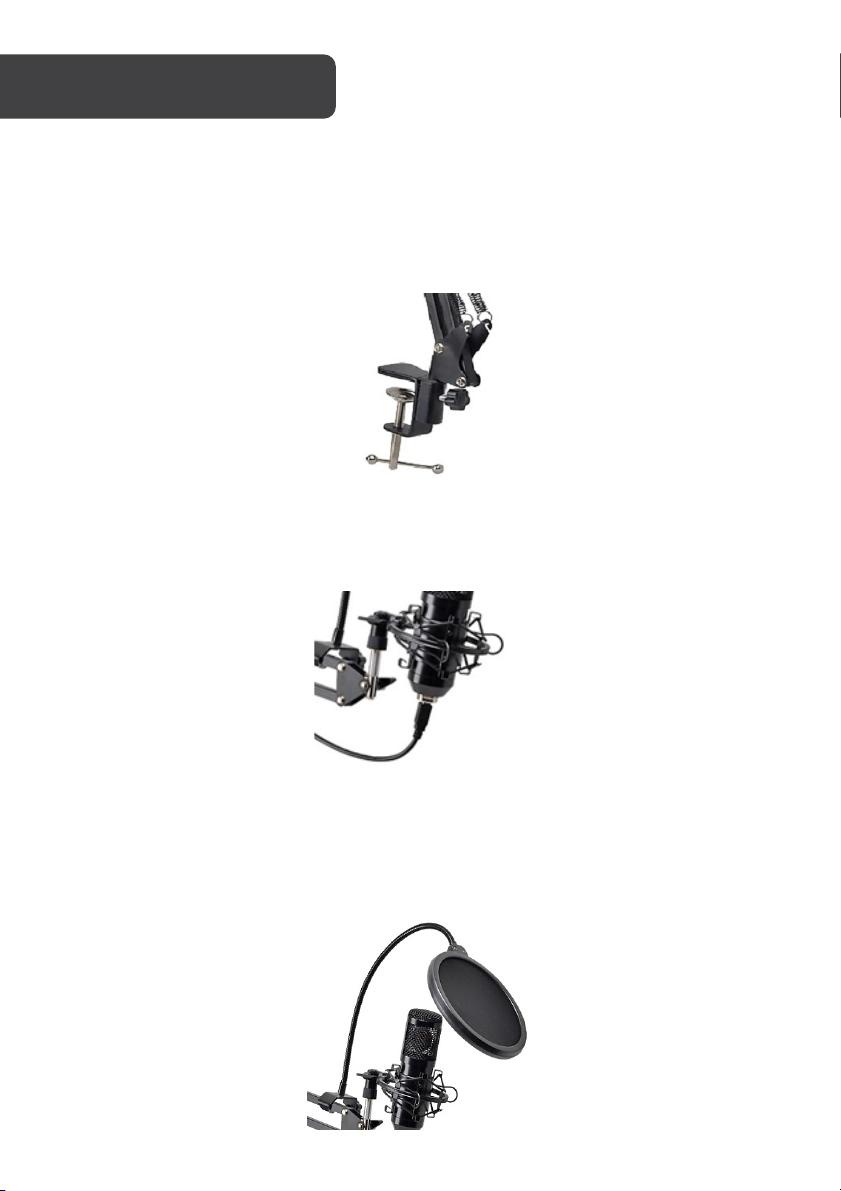
1. Connect the base to the shock-proof stand.
2. Hand-loosen the base using the dial on the back to adjust its clearance, then slide
it over the installation surface and tighten it to secure. Use the small screw on the
bottom to tighten further.
3. Connect the top of the bracket to the plastic shock-proof frame.
4. Use the large screw button of the bracket to adjust the bracket angle and use the
small screw button on the frame to adjust the frame angle.
5. Install the pop filter and sponge ball as shown below. Connect the audio cable and
route it through the shock-proof stand.
6. After the microphone is installed and connected, connect the microphone to your
computer using the audio cables (USB audio card & audio line).
Page 6
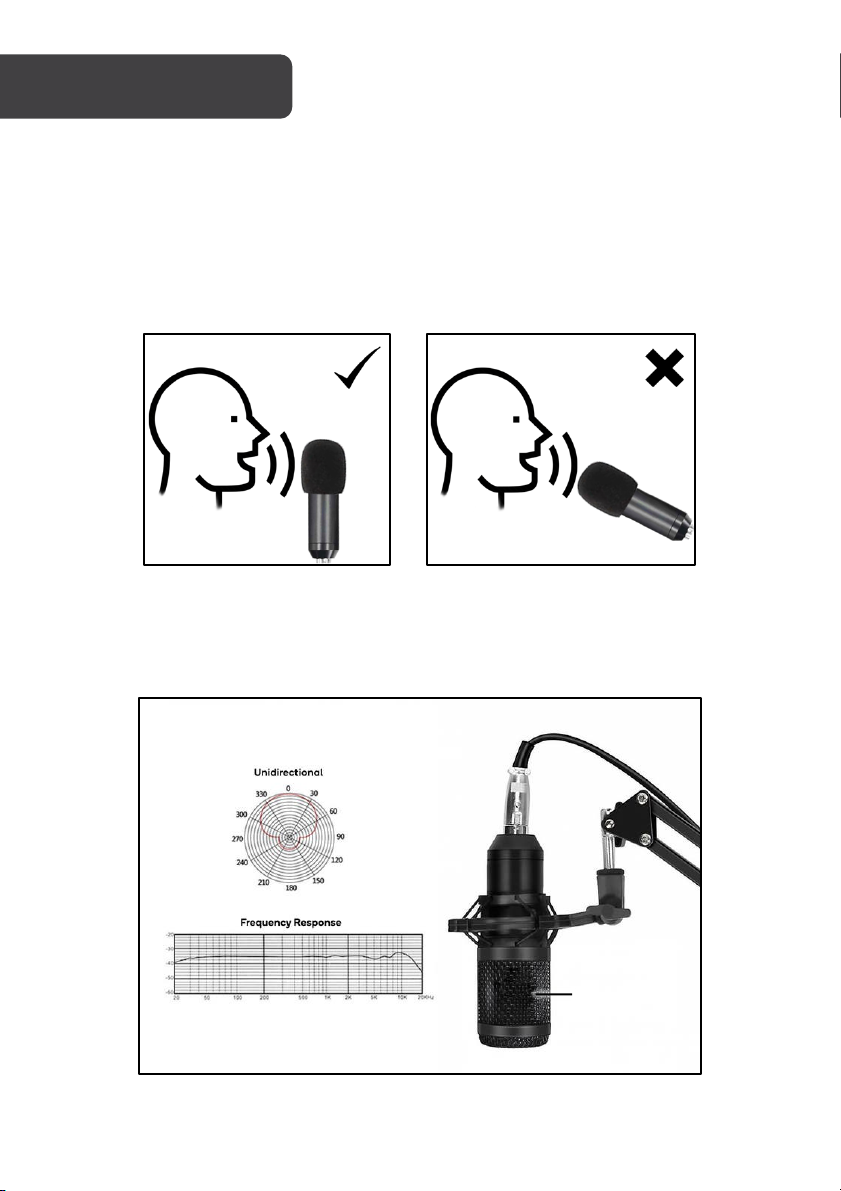
Diaphragm
Positioning your microphone:
This microphone is unidirectional. It is important to position the microphone directly in line
with the person speaking or instrument (or other sound source) to achieve the best
frequency response of the microphone.
The distance from the mouth should be approximately 10 - 40mm for optimal recording. For
speaking/singing applications, ensure the diaphragm (small circular piece inside the grille) is
facing the user.
Page 7

Polar pattern
Unidirectional
Frequ ency response
20Hz-20kHz
Sensitivity
-34dB±2dB (0dB=1V/Pa at 1kHz)
Output impedance
150Ω±30% (at 1kHz)
Load impedance
≥1000Ω
Equivalent noise level
16dBA
Maximum SPL
130dB (at 1kHz ≤ 1% T.H .D )
S/N Ratio
78dB
Electrical current
3mA
Page 8

Need more information?
We hope that this user guide has given you
the assistance needed for a simple set-up.
For th e mo st up -to-date guide for your product,
as well as any additional assistance you may require,
head online to help.kogan.com
 Loading...