

Page 1
Page 2
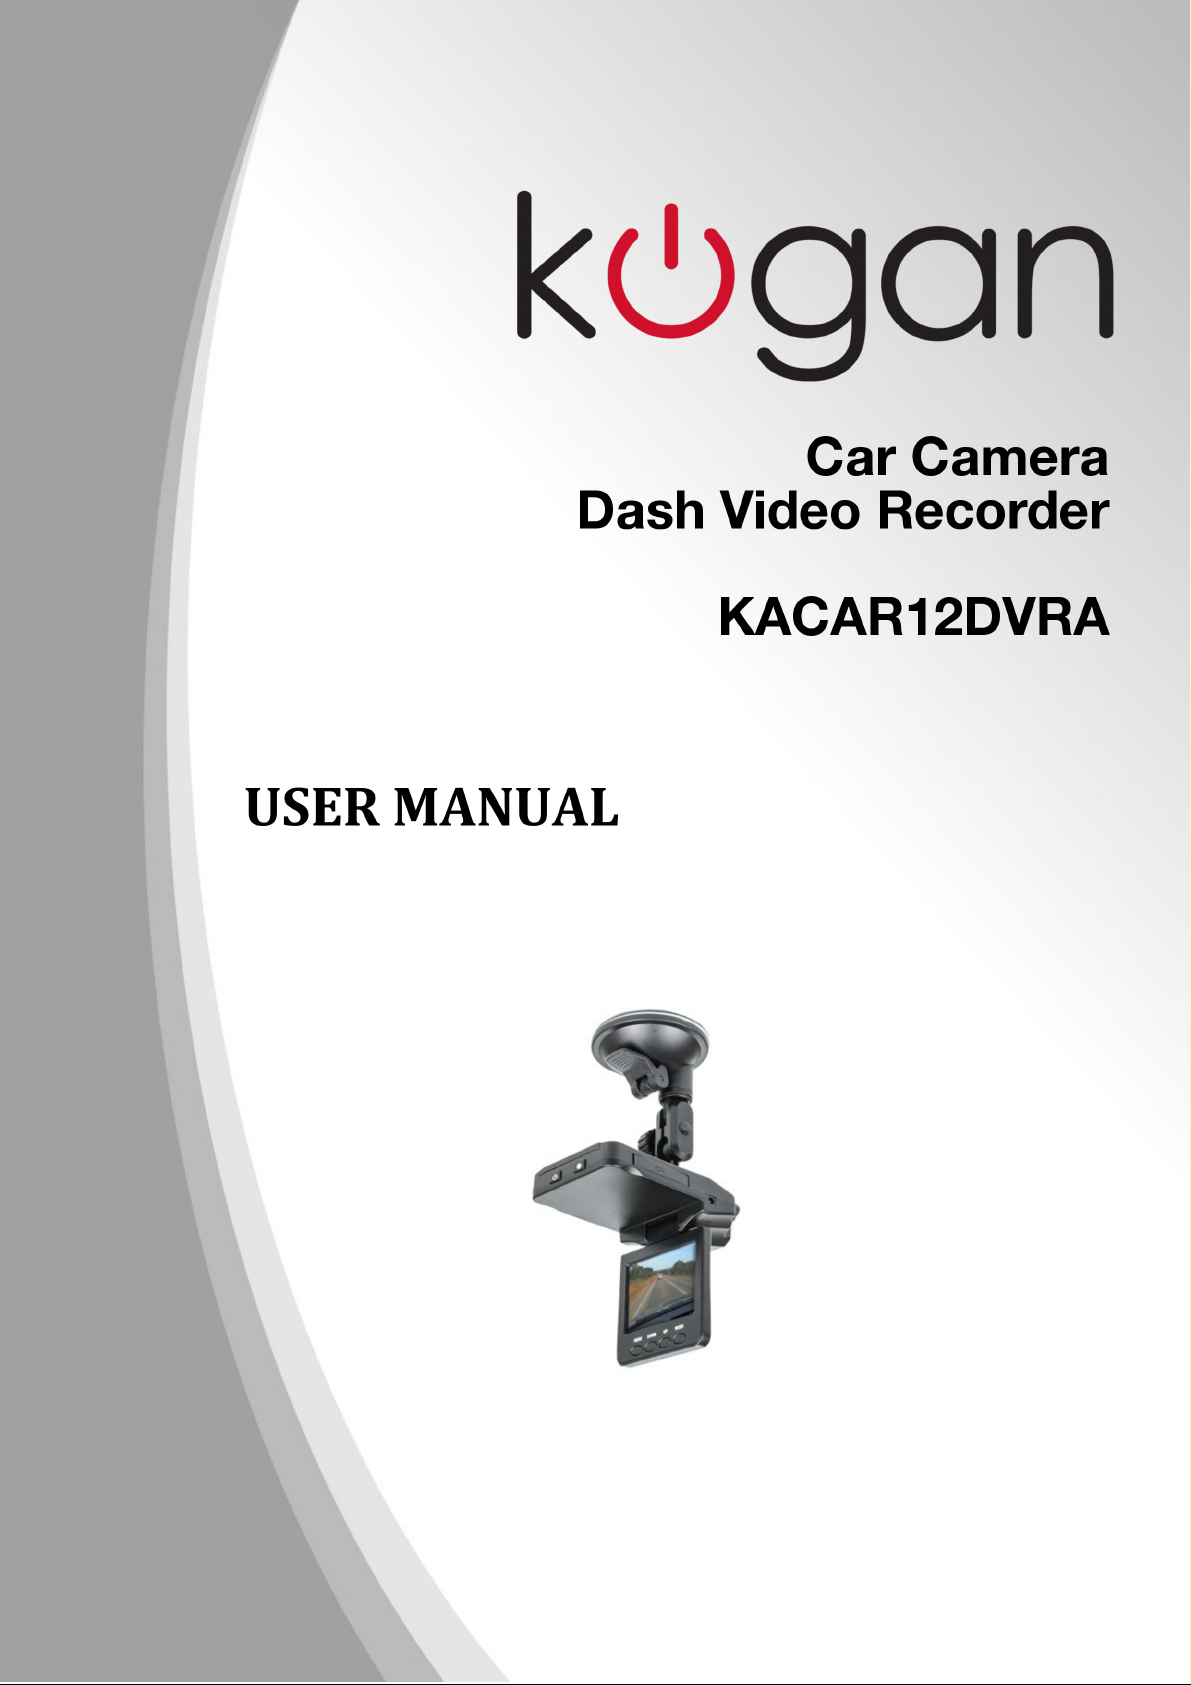
Parts List
Vehicle Camcorder Suction Cup Car Charger
USB Cable Lithium Ion Battery
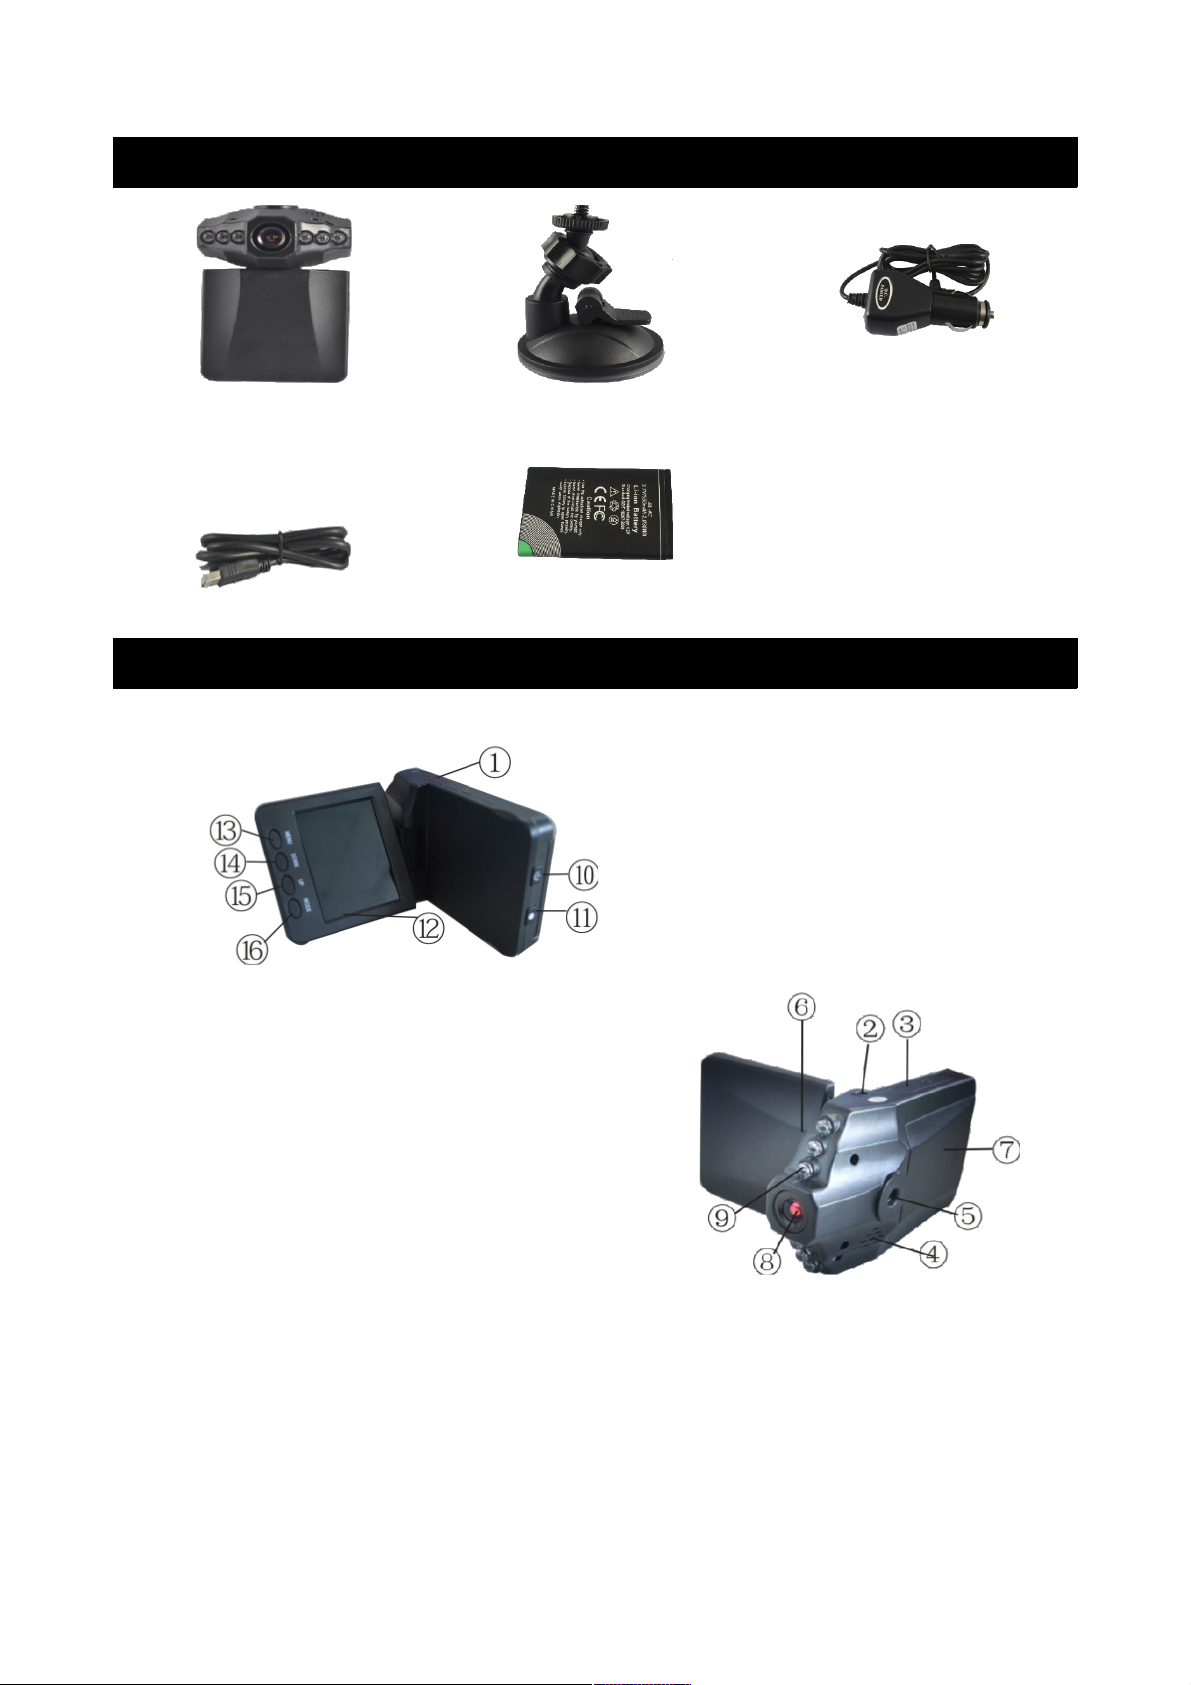
Product Layout
1 – USB Slot
2 – 5V Direct Current Slot
3 – SD/MMC Card Slot
4 - Speaker
5 – Mounting Hole
6 - Microphone
7 – Battery Cover
8 - Lens
9 – IR LED
10 – Power ON/OFF Button with Charging Indicator (Red)
11 – REC Button (with Blue Working Indicator)
12 – 2.5" LCD Display
13 – MENU Button
14 – DOWN Button
15 – UP Button
16 – Mode Button (Video/Camera/Playback)
1
Page 3

Operations
Power
There are two power options:
1. Use the Li-Ion Battery:
The DVR can be activated after it has been placed on the vehicle by pressing the POWER ON/OFF
button for three seconds, and can be turned off by pressing it again.
Charging: connect with the USB cable or car charger. The power button indicator turns red and
turns off when the battery is fully charged.
2. Connect with Car Charger:
The DVR will record automatically when the car starts, then will turn off and save the last file when
the car stops and the engine is turned off.
Note: Just 5V of output voltage is required.
Usage
1. Insert an SD memory card into the SD/MMC memory card slot.
2. Install the bracket into the mounting hole on the camera, then position the suction cup in a suitable
location. Adjust the location and direction so that it is pointing in the desired direction and does
not block your view of the road more than required.
3. Plug the car charger into the DC 5V connector in your car, then connect the other end to your
camera.
4. Hold the POWER ON/OFF button for three seconds to turn on your camcorder. Adjust the
settings as required.
Function Information
A – Video Mode
DVR will enter into default video mode when turned on. The recording file will be saved onto the SD/MMC
card. To stop recording, press REC. (When powered up on battery power alone, press the REC button to
start the recording).
B – Camera Mode
Turn on the DVR and press the MODE button to enter into camera mode. You can then take a photo by
pressing the REC button.
C – Playback Mode
Turn on the DVR and press the MODE button twice to enter into playback mode. Press UP or DOWN to
select the previewed file. If it is a video file, you can play or stop the video by pressing the REC button.
D – Delete
In Playback Mode, press the MENU button to enter into the delete interface. Press REC to choose between
Single/All/Select modes. Press UP/DOWN to confirm, then press the REC button to delete.
You can select Thumbnail mode to preview more files, volume (from 1 to 8) and file protect under the
Playback Mode.
2
Page 4

Settings Mode
Turn on the DVR and press the MENU button twice to enter into the Settings Interface. Confirm by pressing
the REC button, then press UP/DOWN for the following settings. Press the MENU button again to exit once
you are finished.
• Format: Cancel/execute
• Beep: ON/OFF
• Language: English/French/German/Italian/Spanish/Portugese/Chinese etc...
• Auto Off: 1 Min/3 Min/5 Min/OFF
• System Reset: Cancel/Execute
• Light Frequency: 60Hz/50Hz
• TV Output: NTSC/PAL
• Date Input: OFF/SET
Turn on the DVR and press the MENU button twice under Video mode to enter into the Video Settings
Interface. Confirm by pressing the REC button, then press UP/DOWN for the following settings. Press the
MENU button again to exit once you are finished.
• Size: VGA/QVGA/SXGA
• EV: +2.0 +5/3 +4/3 +1.0 +2/3 +1/3 +0.0 -1/3 -2/3 -1.0 -4/3 -5/3 -2.0
• White Balance: Auto/Daylight/Cloudy/Tungsten/Fluorescent
• Time Stamp: Off/Date Only/Date & Time
• Video Time: OFF/1 Min/2 Min/3 Min/4 Min/5 Min/10 Min/15 Min
• Motion Detect: OFF/ON
• Record: ON/OFF
• Night Mode: OFF/ON
Turn on the DVR and press the MENU button twice under Photo mode to enter into the Photo/Capture
Settings Interface. Confirm by pressing the REC button, then press UP/DOWN for the following settings.
Press the MENU button again to exit once you are finished.
• Size: 12M/8M/5M/2M/1.3M/VGA
• Quality: Fine/Standard/Economy
• Scene Mode: Auto/Sport/Night/Portrait/Landscape/Backlight
• EV: +2.0 +5/3 +4/3 +1.0 +2/3 +1/3 +0.0 -1/3 -2/3 -1.0 -4/3 -5/3 -2.0
• White Balance: Auto/Daylight/Cloudy/Tungsten/Fluorescent
• ISO: Auto/100/200
• Colour: Standard/Vivid/Sepia/Monochrome
• Saturation: High/Normal/Low
• Sharpness: High/Normal/Soft
• Preview: ON/OFF
• Time Stamp: Off/Date Only/Date & Time
• Burst: ON/OFF
Downloading Files
1. Connect the DVR to your computer via the USB cable while booted up.
2. The DVR will appear as a removable disk under "My Computer".
3. The files will be stored on that disk under DCIM/100DSCIM/
You can simply copy the files from this directory onto the hard-drive of your computer.
Note:
• Please insert the SD/MMC card before recording.
• This DVR stores in cycles if you choose 3/5/10/15 minute clips for your storage time. When the
memory card is full, it will record from the beginning again, overwriting the old files. When this
occurs, there will be a 3 second pause, so events within those 3 seconds will not be recorded.
• When the battery is low, "LOW BATTERY" will appear on the LCD and the unit will power off
automatically after 20 seconds.
3
Page 5

Technical Specifications
Recording Resolution: VGA / QVGA / SXGA
Video Format: AVI
Loop Recording: 3/5/10/15 Minutes
Power Source: Rechargeable Battery or 12V/24V Car Charger
Memory Card Support: SD/MMC Cards (From 1GB up to 32GB)
Output: USB 2.0
Sound Input: Mono
Screen Swivel: Up to 270°
If you have any further questions regarding the use of this product, please contact the Kogan.com
customer support team.
4
 Loading...