

Page 1
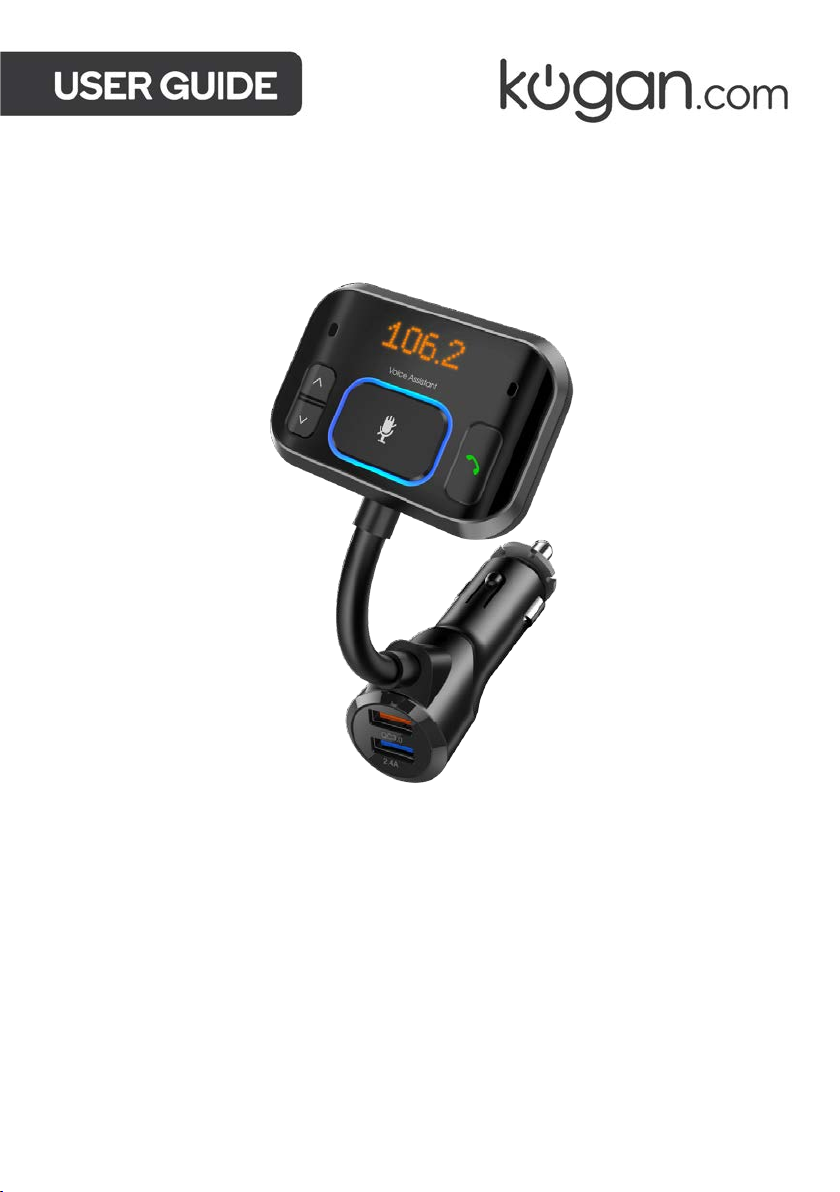
BLUETOOTH SMART FM
TRANSMITTER
WITH VOICE CONTROL
KABTFMTRVCA
Page 2

Page 3

SAFETY & WARNINGS
CAUTION: For con tinued protection against risk of fire, replace only
with the same type and ratings of fuse, fuse rating is 250V DC/3A.
• Read and understand all instructions before using this product. Retain this user guide
for future reference.
• Read all instructions and cautionary markings before using this product.
• Do not expose to rain, moisture, or snow.
• Use of any attachment that is not recommended or sold by kogan.com may result in a
risk of fire, electric shock, or injury to persons.
• If this device has received a sharp blow, been dropped or otherwise damaged in any
way, cease use immediately and contact help.kogan.com for support.
• Do not disassemble this device; contact kogan.com when service or repair is required.
Incorrect reassembly may result in a risk of electric shock or fire.
• To reduce risk of electric shock, unplug this device before attempting any maintenance
or cleaning. Turning off the controls will not reduce this risk.
• To reduce the risk of fire or electric shock, do not interconnect the output terminations.
• Avoid long exposure to direct sunlight, as this may cause damage to the device.
• Exposing this product to open flames may cause it to explode.
• Do not use this product in strong magnetic fields.
• Use a dry, soft lint-free cloth to clean. Do not use any corrosive cleaners or oils to clean.
• Always obey traffic laws and pay attention to the road. Do not attempt to use this
device while driving, as some features are limited while the vehicle is in motion. Failure
to pay full attention to the operation of your vehicle could result in death, serious injury
or property damage.
Page 4
OVERVIEW
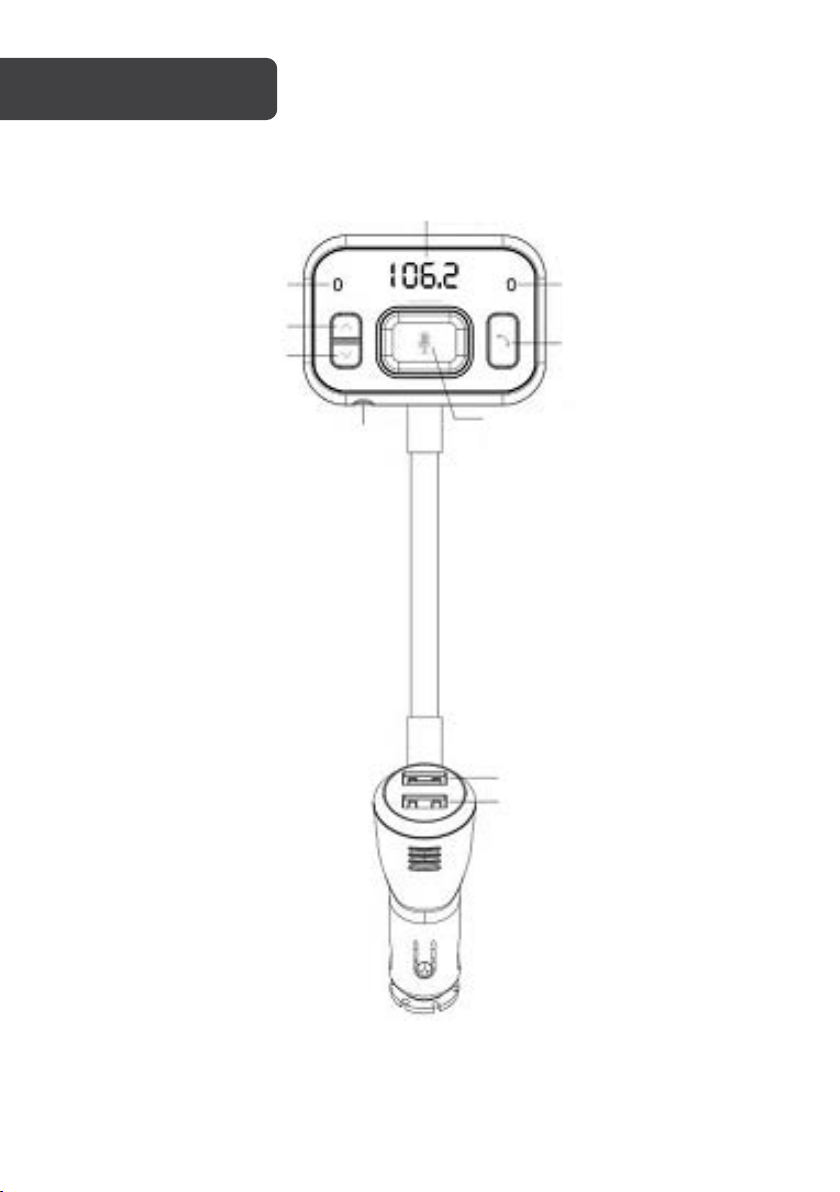
LED display
Hands-free button
Mic 2
Next
Previous
Mic 1
Voi ce assistant on/off
AUX
jack
USB 1
USB 2
Page 5
Button controls
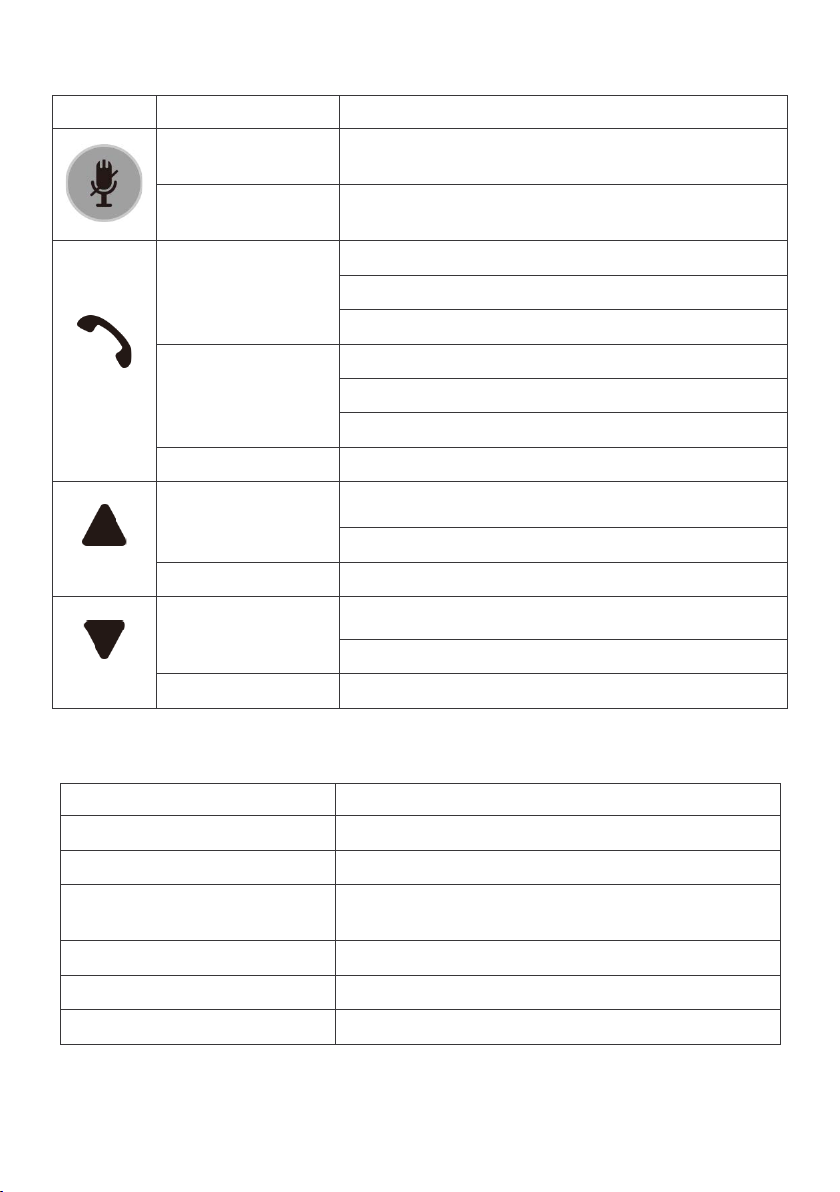
Buttons
Activities
Functionalities
Press once
To activate Siri/Google assistant (blue and green
lights blink alternately)
Press once again
To deactivate Siri/Google assistant (blue light stays
on)
Press once
Pause/Play music
Answer/hang up phone calls
Play/Pause music
Press and hold
Reject phone calls
Switch to Private Call
Enter frequency tuning mode
Press twice
Redial the last caller from the call log
Press once
Previous track
Previous frequency
Press and hold
Increase volume or frequency
Press once
Next track
Next frequency
Press and hold
Decrease volume or frequency
Status
LED Indicators
Power on and ready to pair
Blue light blinks
Connected
Blue light stays on
Voice assistant activated &
listening
Blue and green lights blink alternately
Incoming call
Blue light
During call
Blue light
Hang up or Reject call
Blue light
LED Indications
Page 6
OPERATION
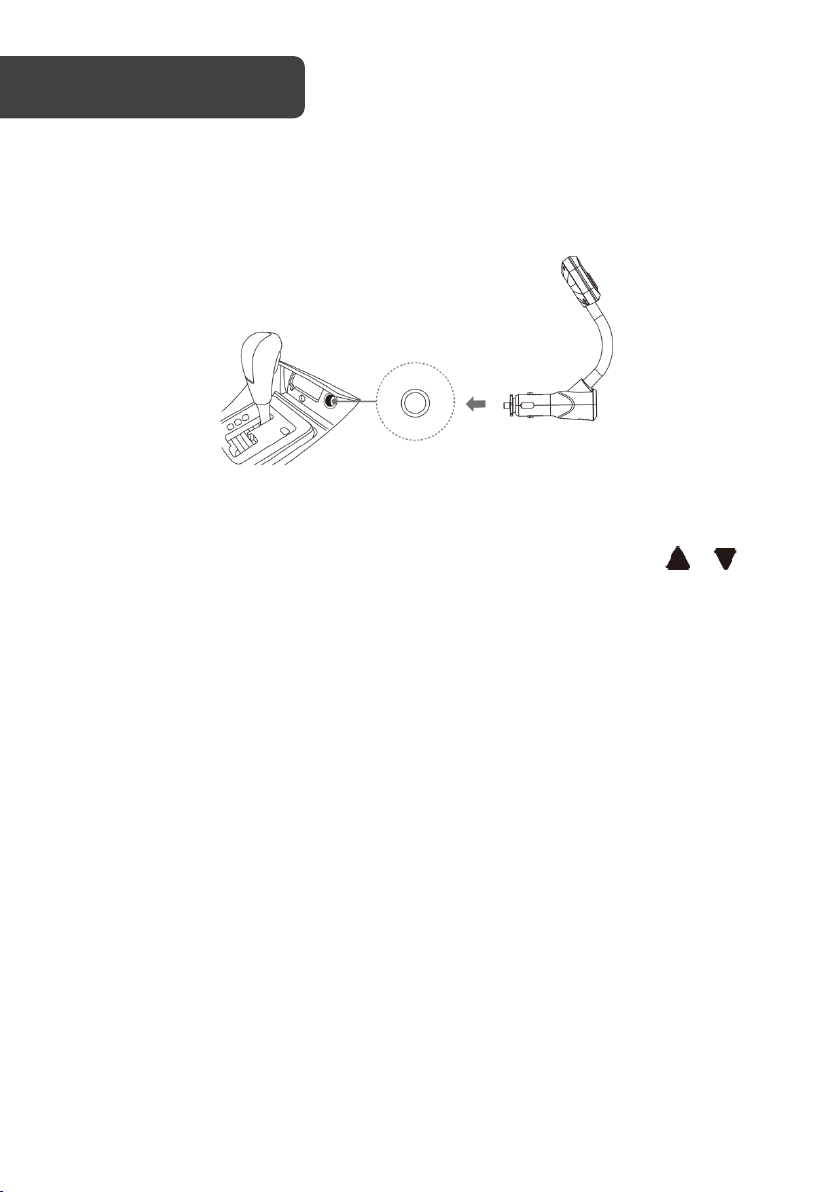
Plug the device into the 12V socket in your car, turn your vehicle on and the device will
power on automatically. The LED ring-light indicator will illuminate and stay blue.
Frequency and Volume Adjustment
1. The device supports a frequency range of 87.5-108.0MHz. Use the “ & ”
buttons to change the FM frequency.
2. Select the FM frequency you wish to transmit on. (In order to ensure good sound
quality, choose a frequency without any other radio signal occupying it).
3. Turn on the vehicle’s audio unit and select the same frequency as the device.
Connect the Wireless device
1. When the device is turned on, it will automatically enter Bluetooth pairing mode.
2. Search for Bluetooth devices on your phone and pair to the device.
3. The device has a memory function and will remember phones paired with it.
4. If you want to delete a stored device, please delete it in your phone's Bluetooth
pairing list.
Charging Devices
The transmitter features dual USB charging ports, allowing the charging of two devices at
the same time with a maximum output of 5V/2.4A+QC3.0.
Page 7
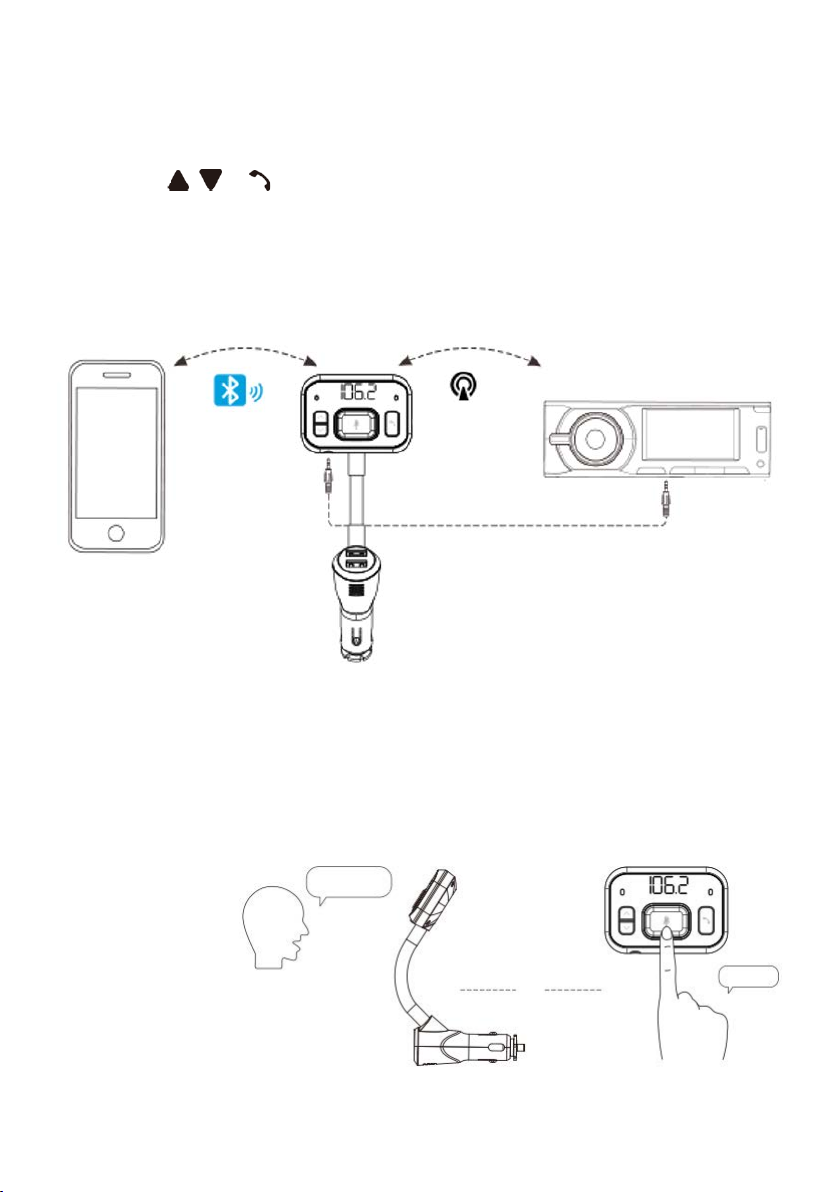
Playing Music from your Phone
Bluetooth
FM frequency
Audio unit
AUX cable
1
2
3
Play music
or
Hey Siri
1. Once your phone has been paired with the FM transmitter, music can be played
via Bluetooth.
2. You can operate the volume and music controls directly on your phone or using
the “ , & ” buttons on the transmitter.
3. The Bluetooth audio will transmit to the vehicle’s audio unit through the selected
FM frequency. Alternatively, you can connect the FM transmitter directly to the
audio unit using an AUX cable (not supplied).
Using the AI voice assistant
This device comes with an offline voice command feature which is completely data-free.
You can play/pause music, take/reject a voice call etc. using your voice.
To a c t i v a t e t h e v o i c e s e r v i c e f e a t u r e , s a y one of the following phrases:
• Answer the phone
• Reject the call
• Play music
• Stop playing
• Play next
• Play previous
• Volume up
• Volume down
Page 8

Radio source
FM
Frequency range
87.5MHz-108MHz
Power input
12-24V
Power output
DC 5V/2.4A; QC3.0
Bluetooth protocol
AVRCP, A2DP, HFP, HSP
Transmission distance
3m
Product weight
80g
Product dimension (L x W x H)
230 x 76 x 71mm
LED display dimensions
16 x 27 x 5mm (1.1inch)
Product colour
Black
Material
ABS
Line-out (AUX)
Yes
SPECIFICATIONS
Page 9

Page 10

Page 11

Page 12

Need more information?
We hope that this user guide has given you
the assistance needed for a simple set-up.
For th e mo st up-to-date guide for your product,
as well as any additional assistance you may require,
head online to help.kogan.com
 Loading...