

Page 1

Page 2
IMPORTANT STUFF
BATTERY INFORMATION
FOR PARENTS & KIDS
Keep these instructions in a handy
location. They contain important
safety information.
Read all warnings and instructions
before you start to build and
operate the model.
!
WARNING: CHOKING HAZARD -
Small parts. Not for Children under 3 years.
CAUTION: Keep hands, face, hair and
clothing away from all moving parts.
CAUTION: Be careful not to tip the model
over. Model should be placed on a flat and hard
surface.
• Share the K'NEX experience with your child
and make building with K'NEX a family fun
adventure.
Caution: To Avoid Battery Leakage
• Be sure to insert the batteries correctly and always follow the toy
and battery manufacturers’ instructions.
• Do not mix old and new batteries or alkaline, standard (carbon-
zinc) or rechargeable (nickel-cadmium) batteries. Only batteries
of the same or equivalent type recommended should be used.
• Always remove weak or dead batteries from the product; do not
short-circuit supply terminals.
• Insert batteries with correct polarity (+/-) as shown.
Important Tips:
• Alkaline batteries AA (LR6) are recommended.
• Rechargeable batteries are not recommended.
• Remove rechargeable batteries from toy before charging; they
must be charged only under adult supervision.
• Non-rechargeable batteries must not be recharged.
• Keep components free of dust; do not immerse or use in water.
• Do not dispose of batteries in a fire; they could leak
or explode and cause injury.
• Remove all batteries if the toy will not be used for a long period of time.
• Do not put Rods smaller than 2 inches in any openings of the
motor; they will damage the motor, and cannot be removed.
• Take your time to enjoy the building process.
Don't rush!
• While you’re building make sure you face your
model in the same direction as the pictures
show in the instructions.
• Be sure to install batteries into the motor before
you start building your motorized models.
• Product and colors may vary.
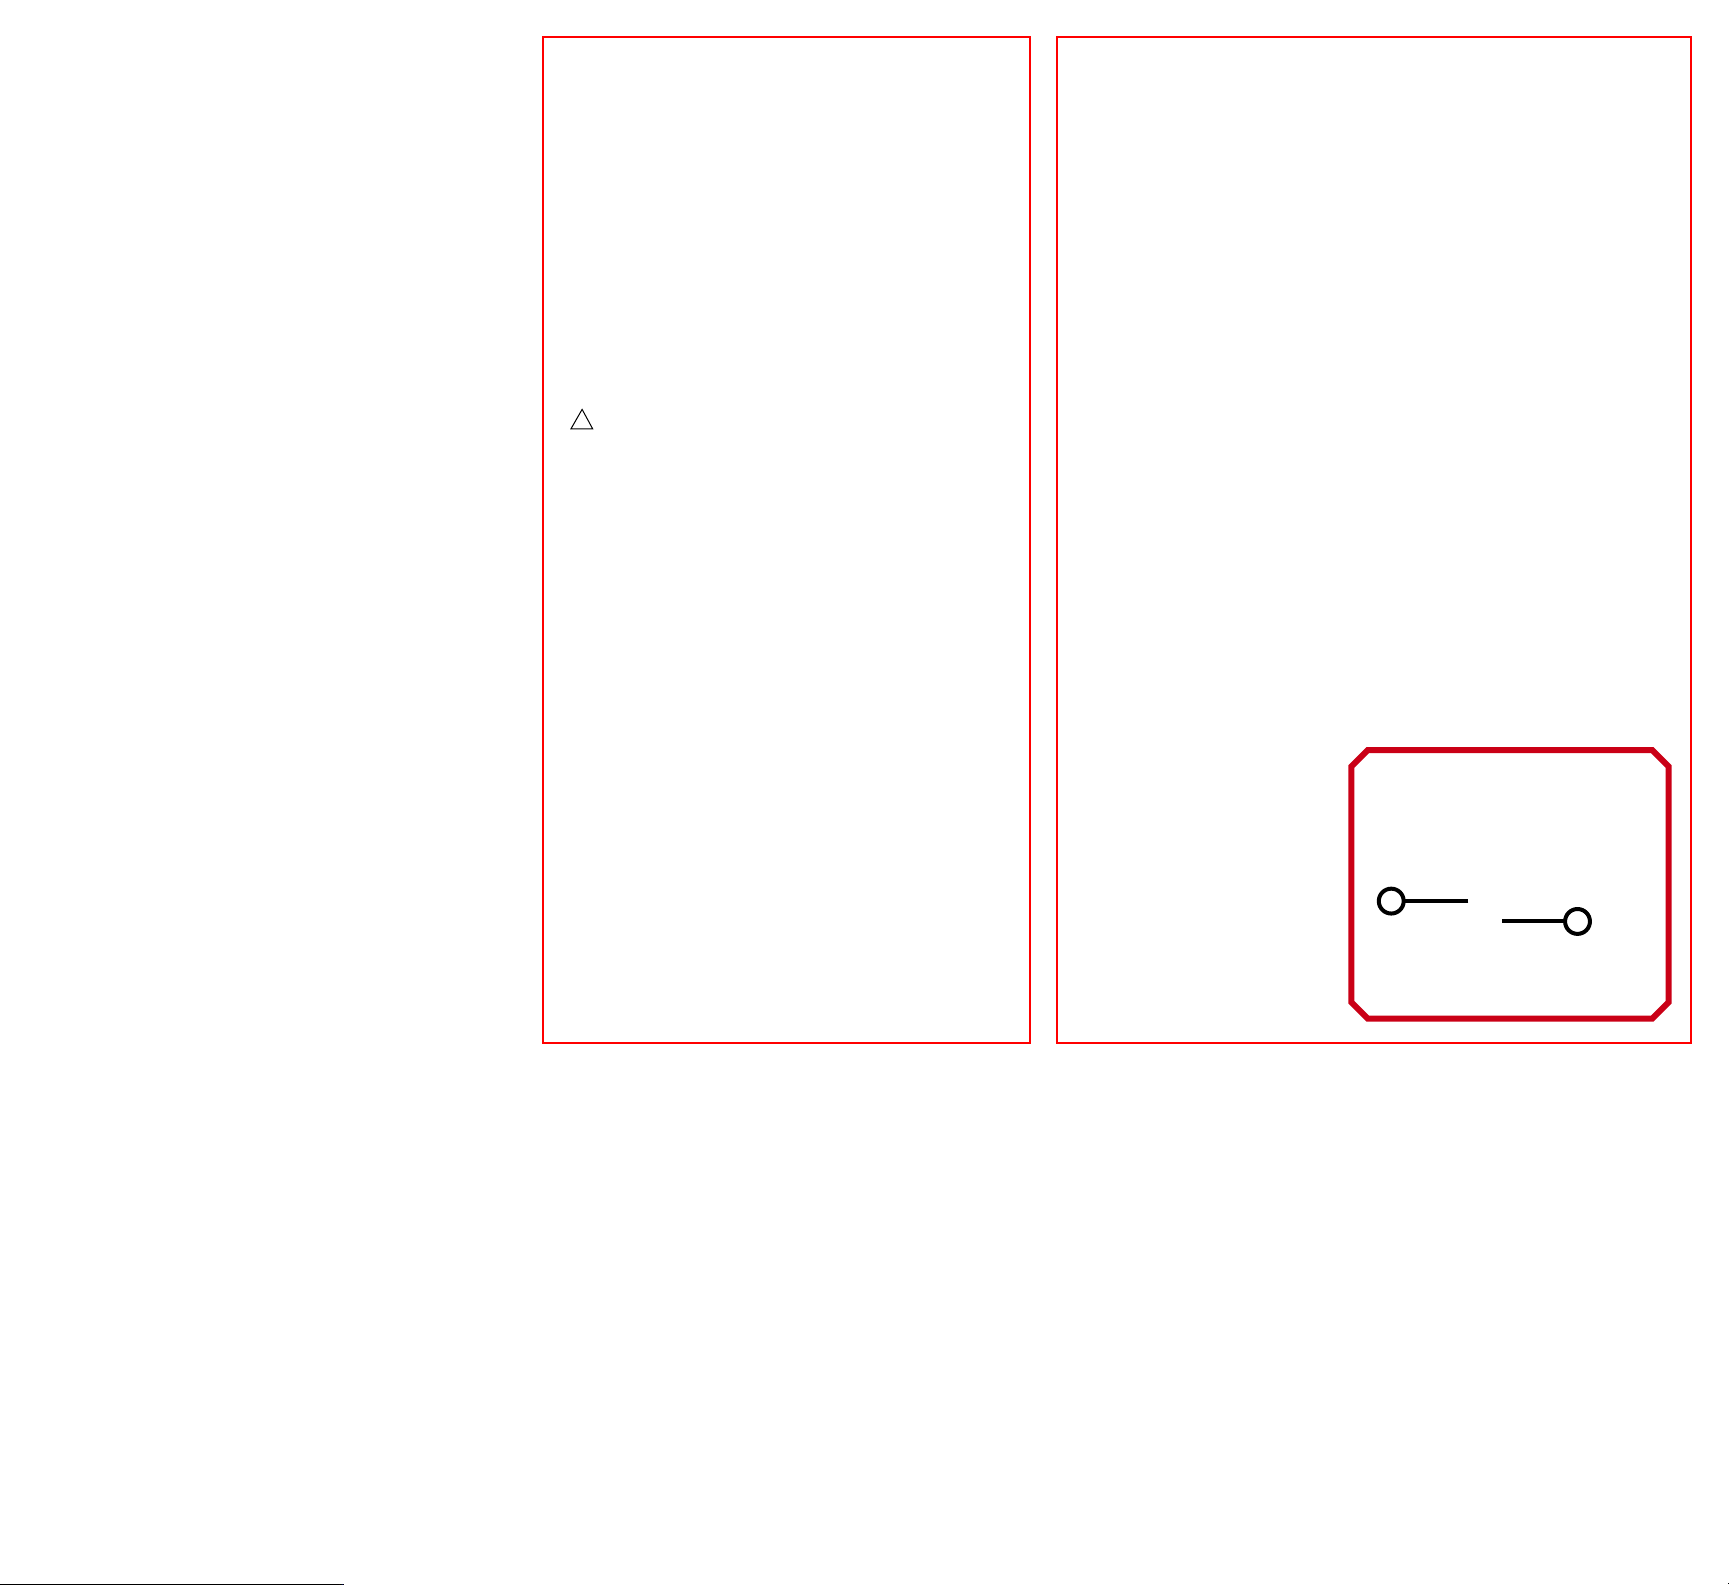
How to Insert and
Remove Batteries:
• Use a small Phillips head
screwdriver to loosen the
screw. Insert 2 fresh AA
batteries (LR6) into the
compartment with the
correct polarity (+/-) as
shown here.
+
-
Page 3
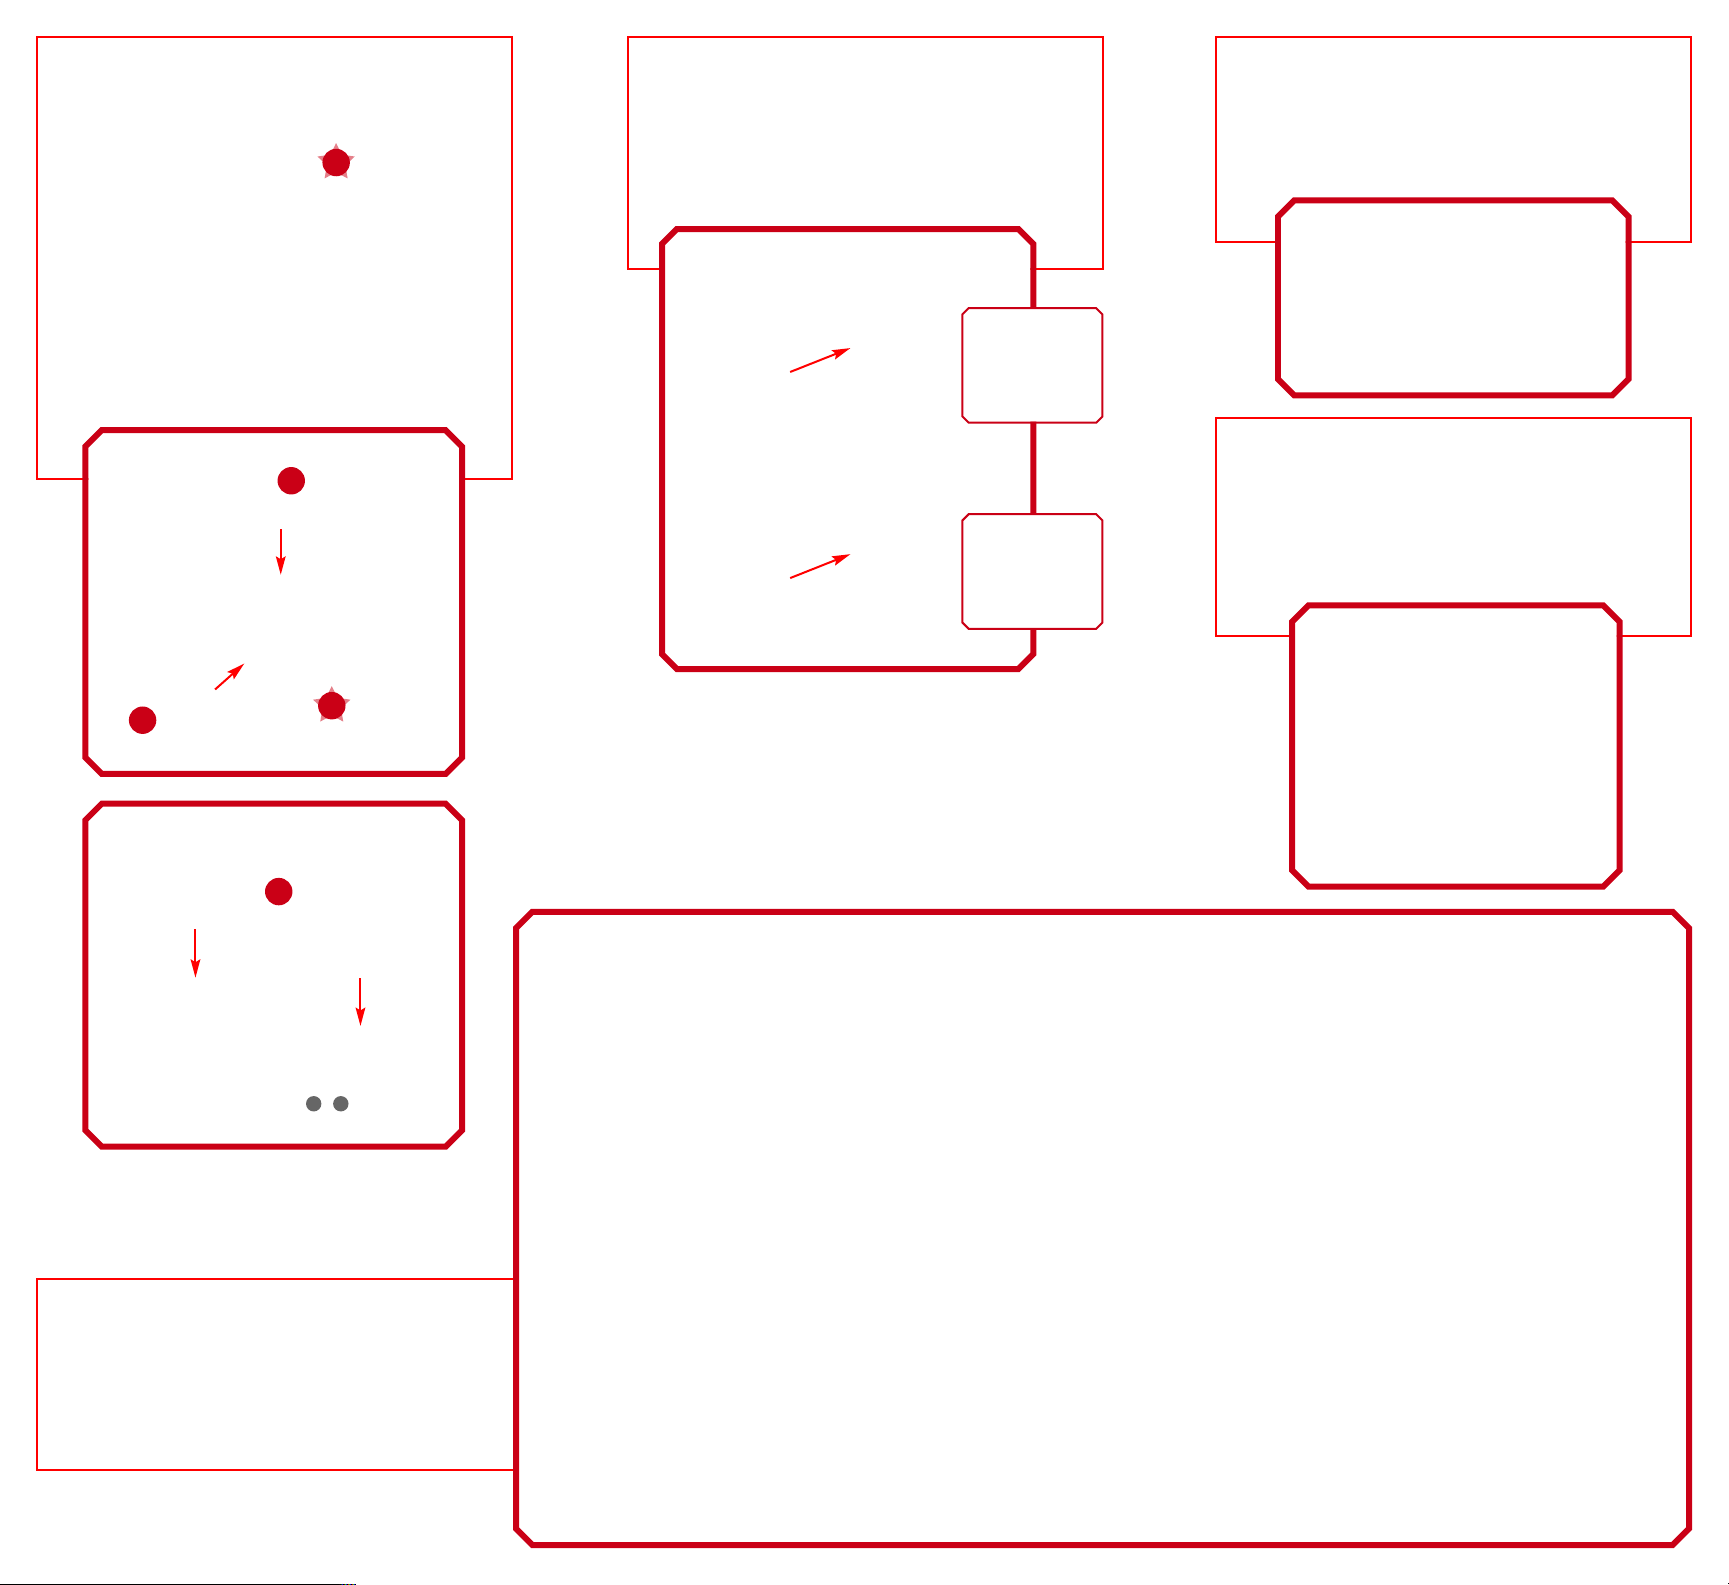
BUILDING BASICS
Getting Started:
To begin your model, find the and follow the
numbers. Each piece has its own shape and color.
Just look at the pictures, find the pieces in your
set that match and then connect them together.
Try to face your model in the same direction as
the instructions while you build. Faded colors
show you this section is already built. You’ll want
to connect the new section to the place where the
arrows are pointing.
1
Connectors:
There are blue and gray Connectors with special
long slots. They slide together as you see in the
pictures. Push these parts together until you hear
a “click.”
Spacers:
There are places in your model where you need to
add blue and silver Spacers. Be sure to use the
right color and count them carefully.
Gears:
3
2
1
4
To engage the Gears, push the tan Lock into the
holes of the Gear. Note the postion of the Gears
and the direction of the teeth. Make sure the
Gears mesh.
1 3
-
Parts Count:
Before you start building, be sure to compare the
par ts in your set with the parts listed here.
If anything is missing, call or write to us using the
information on the back cover. We’re here to help!
Page 4
1 3
-
1
2
4
3
Page 5
4
1 5
-
x
3
5
4
4
4
1 3
-
5
Page 6

1 6
-
6
6
1 5
-
Page 7

x
2
7
7
x
2
7
Page 8

x
2
9
x
8
3
8
8
x
2
Page 9

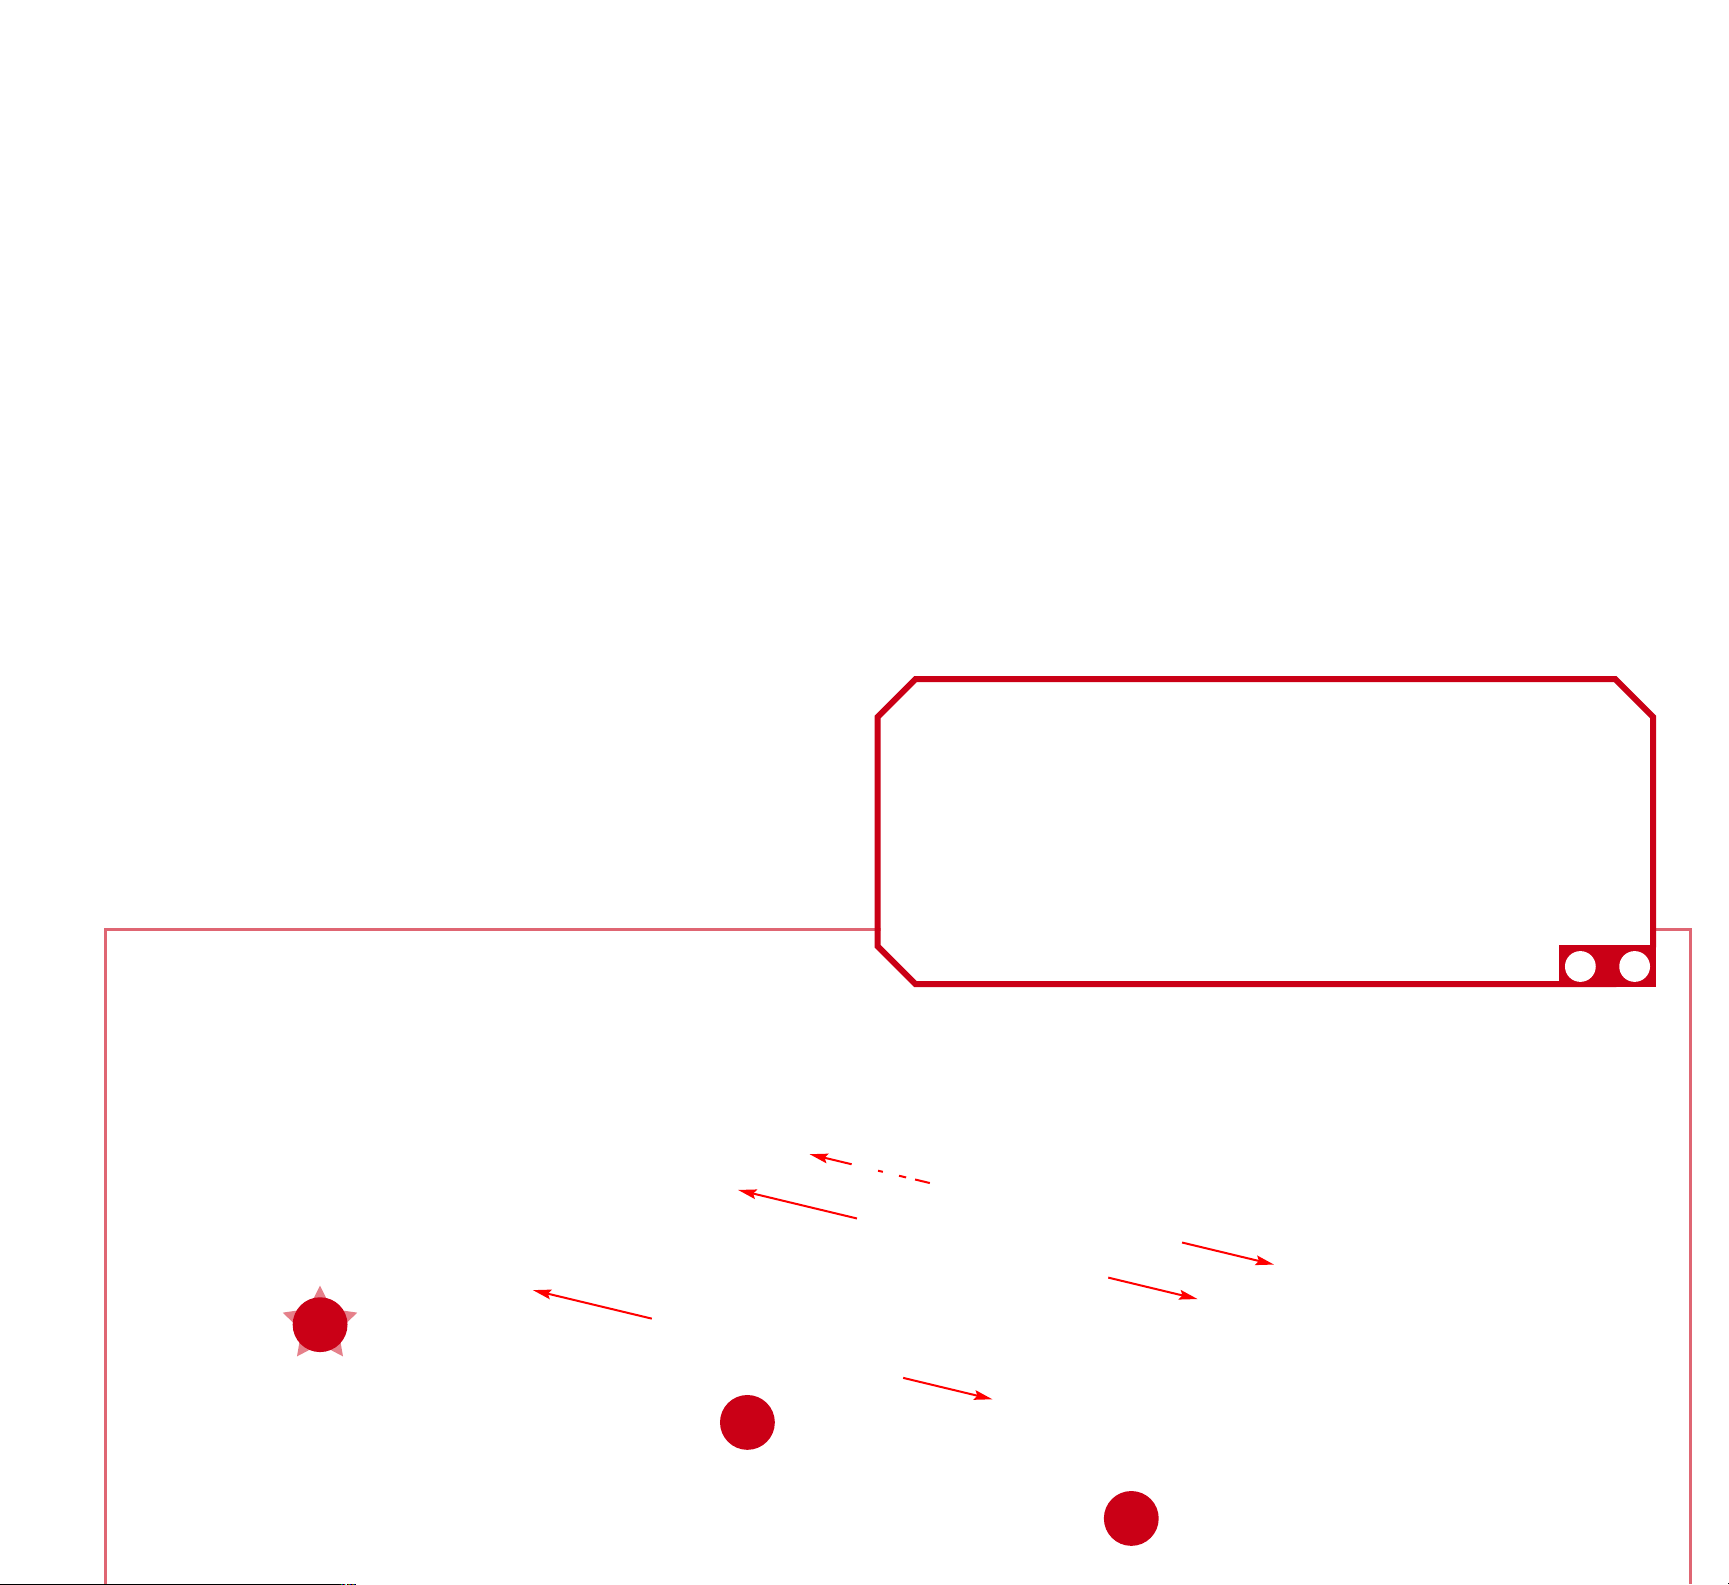
Did you install 2 AA (or LR6) batteries
in the Motor?
FR
Est-ce que tu as installé 2 piles AA (ou LR6) dans le moteur ?
ES
¿Instalaste dos pilas AA (o LR6) en el Motor?
DE
Heb je 2 AA (of LR6) batterijen gestoken in de motor?
IT
Hai installato 2 batterie AA (o LR6) nel motore?
PT
Foram instaladas as pilhas 2 AA (ou LR6) no Motor?
NL
Heb je er 2 AA (of LR6) batterijen ingestoken?
SV
Installerade du 2AA (eller LR6) batterier?
DA
Har du sat 2 AA (eller LR6) batterier i?
NO
Har du installert 2AA (eller LR6) batteriene?
FI
Oletko asentanut 2AA (tai LR6) -paristot?
8
9 10
-
7
13
7
8
12
11
9
10
7 13
-
9
Page 10

7 13
-
14
1 6
-
1 14
-
10
Page 11

16
15
15
15
15
1 14
-
17
x2
11
Page 12

18
19
x
4
18
x
19
2
12
Page 13

21
TM
FERRIS WHEEL
18
20
18
19
25
18
22
19
24
1 17
-
23
18
1 25
-
13
Page 14

FR
Français
(Page 2)
Informations importantes pour les parents et les enfants
Garde ces instructions à portée de la main. Elles comportent d'importantes informations
de sécurité.
Lis tous les avertissements et les instructions avant de commencer le montage et l'exploitation
du modèle.
AVERTISSEMENT : DANGER D'ÉTOUFFEMENT - Petites pièces. Ne convient pas aux enfants
de moins de 3 ans.
ATTENTION : Garde les cheveux, les doigts, la figure et les vêtements à l'écart de toutes les
pièces mobiles.
ATTENTION : Faire attention de ne pas renverser le modèle. Le modèle devrait être placé sur une
surface plate et dure.
• Partage l'expérience K'NEX avec ton enfant et fais du montage K'NEX un agréable projet
de famille.
• Prends ton temps lors du montage. Ne te presse pas.
• L'aide d'un adulte est recommandée.
• Essaye de situer ton modèle dans le même sens que les instructions durant le montage.
• Le produit et les couleurs peuvent varier.
Informations Pile
ATTENTION :
• S’assurer d’installer les piles correctement et de suivre toujours les directives des fabricants
du jouet et des piles.
• Ne pas mélanger des piles neuves avec des piles usées. Ne pas mélanger des pilesalcalines
avec des piles standard (Leclanché), ou des piles rechargeables (au nickel-cadmium). Il convient
d’utiliser uniquement des piles du type recommandé ou d’un type équivalent.
• Retirer toujours les piles faibles ou mortes du produit ; ne pas faire court-circuiter lesterminaux.
• Installer les piles en respectant la polarité (+/-) comme l’indique le schéma.
Conseils importants
• Les piles alcalines sont recommandées.
• l est déconseillé d’utiliser des piles rechargeables.
• Retirer les piles rechargeables du jouet avant de les recharger; elles doivent être chargées
exclusivement en présence d’un adulte.
• Les piles qui ne sont pas rechargeables ne doivent pas être rechargées.
• Veiller à ce que les éléments restent à l’abri de la poussière ; ne pas les plonger dans l’eau ;
ne pas utiliser dans l’eau.
• Ne pas jeter les piles dans le feu ; elles risqueraient de fuir ou d’exploser et d’entraîner des
blessures.
• Retirer toutes les piles si le jouet restera inutilisé pendant longtemps.
• Ne mettez pas les petites tiges dans les trous du moteur, elles endommageraient le moteur
et il n’est pas possible de les enlever.
Comment mettre et retirer des piles
• Introduis deux piles AA (ou LR6) comme l’indique le schéma.
(Page 3)
Notions de base K'NEX pour le montage
Commence la construction
Pour commencer ton modèle, trouve le 1 et suis les chiffres. Chaque pièce a sa propre forme
et sa propre couleur. Il suffit de regarder les illustrations pour retrouver les pièces correspondantes
dans le jeu et de les connecter ensemble. Essaye de situer ton modèle dans le même sens que les
instructions durant le montage. Les couleurs dégradées indiquent que cette section est déjà
montée. Tu dois connecter la section suivante à l'endroit indiqué par les flèches.
Connecteurs
Il y a des connecteurs bleus et argentés comportant de longues fentes. Ils s'ajustent l'un dans
l'autre comme l'indique l'illustration. Pousse ces pièces ensemble jusqu'à ce que tu entendes
un “clic”.
Entretoises
Dans ton modèle, il y a des endroits où il faudra ajouter des entretoises bleues et argentées.
Assure-toi d'utiliser la couleur correcte et compte-les soigneusement.
ES
Español
(Página 2)
Información importante para los padres y niños
Guarda estas instrucciones en un sitio conveniente. Contienen información importante de seguridad.
Lee todas las advertencias e instrucciones antes de comenzar a construir y operar este modelo.
ADVERTENCIA: PELIGRO DE ASFIXIA - Piezas pequeñas. No es para niños menores de 3 años.
PRECAUCIÓN: Mantén el cabello, los dedos, la cara y la ropa alejada de las piezas móviles.
PRECAUCIÓN: Tenga cuidadoparano inclinar el modelo sobre. El modelo se debe colocar en una
superficie plana y dura.
• Compartan la experiencia K'NEX con su niño y hagan que la construcción con K'NEX sea una
divertida aventura de toda la familia.
• Dedica tiempo a disfrutar el proceso de construcción. ¡No te apresures!
• Se recomienda la ayuda de un adulto.
• Mientras construyes, trata de colocar tu modelo en la misma dirección que se muestra en las
instrucciones.
• El producto y los colores pueden variar.
Información acerca de las pilas
PRECAUCIÓN:
• Asegúrese de insertar las pilas correctamente y de siempre seguir las instrucciones del
fabricante del juguete y de las pilas.
• No mezcle pilas viejas con nuevas, ni pilas alcalinas, estándar (carbón-cinc) o recargables
(níquel-cadmio). Se debe usar solamente pilas del mismo tipo, o las que se recomienden como
equivalentes.
• Siempre retire las pilas débiles o gastadas del producto; no forme cortocircuito en los puntos de
intercambio.
• Inserte las pilas de acuerdo con los esquemas de polaridad (+/-).
Consejos importantes
• Se recomiendan las pilas alcalinas.
• No se recomiendan las pilas recargables.
• Retire las pilas recargables del juguete antes de cargarlas; éstas deben ser cargadas solamente
bajo la supervisión de un adulto.
• No se debe recargar las pilas que no son recargables.
• Mantenga los componentes sin polvo; no sumerja ni use en agua.
• No deseche las pilas en el fuego ya que pueden tener fugas, explotar y causar lesiones
personales.
• Retire todas las pilas si el juguete no se usará por mucho tiempo.
• No meta las vanilas pequeñas en los orificios del motor ya que dañarian el motor y no se
podrian sacar.
Cómo insertar y quitar las pilas
• Insertar 2 pilas AA (o LR6) tal como se muestra.
(Página 3)
Consejos básicos de construcción de K'NEX
Empieza a construir
Para comenzar tu modelo, busca el 1 y sigue los números. Cada pieza tiene su propia forma
y color. Simplemente mira los dibujos, busca las piezas correspondientes en tu juego y después
conéctalas. Mientras construyes, trata de colocar tu modelo en la misma dirección que se muestra
en las instrucciones. Los colores desteñidos muestran que esta sección ya está construida.
Conecta las nuevas secciones en los lugares señalados por las flechas. Las nuevas piezas que
agregues estarán en colores vivos.
Conectores
Hay conectores azules y plateados con ranuras largas especiales. Se enganchan deslizándose
como ves en los dibujos. Conecta estas piezas empujándolas hasta que oigas “clic”.
Espaciadores
Hay lugares en tu modelo donde tendrás que agregar Espaciadores azules y plateados.
Cerciórate de usar el color correcto y cuéntalos con cuidado.
DE
Deutsch
(Seite 2)
Was Eltern und Kinder unbedingt wissen sollten
Halte diese Anleitungen stets griffbereit. Sie enthalten alle wichtigen Sicherheitshinweise.
Lies bitte alle Warnhinweise und Anleitungen, bevor du mit dem Bauen und Spielen beginnst.
WARNHINWEIS: ERSTICKUNGSGEFAHR - Vorsicht Kleinteile! Nicht für Kinder unter 3 Jahren
geeignet.
VORSICHT: Haare, Finger, Gesicht und Kleidungsstücke nicht mit beweglichen Teilen in Berührung
kommen lassen.
VORSICHT: Seien Sie vorsichtig, das Modell über zu nicht neigen. Modell sollte auf eine Wohnung
und harte Oberfläche gestellt werden.
• Helfen Sie Ihrem Kind beim Bauen mit K'NEX und machen Sie aus diesem Bauprojekt ein
Abenteuer mit Spaß und guter Laune für die gesamte Familie.
• Das Zusammenbauen macht Spaß, also nehmen Sie sich Zeit und hetzen Sie nicht!
• Am besten ist es, wenn Erwachsene dir dabei helfen.
• Versuche, dein Modell beim Zusammenbauen so zu orientieren, dass es in die
gleiche Richtung weist, wie es in den Anleitungen beschrieben und gezeigt wird.
• Die Produkte und Farben unterscheiden sich eventuell von denen auf den Abbildungen.
Informationen zu den Batterien
VORSICHT:
• Achte darauf dass die Batterien korrekt eingelegt werden und folge den Anweisungen der
Spielzeug- und Batterienfabrikanten.
• Mische keine alten und neuen Batterien oder alkaline Batterien, Standardbatterien (Kohle-Zink)
oder wiederaufladbare Batterien (Nickel-Cadmium). Verwende nur Batterien des gleichen Typs
oder des empfohlenen äquivalenten Typs.
• Leere oder verbrauchte Batterien aus dem Spielzeug entfernen; darauf achten, dass die Pole der
Batterie nicht kurzgeschlossen werden.
• Beim Einlegen der Batterien auf die korrekte Polarität (+/-), wie dargestellt, achten.
Wichtige Tipps
• Alkaline Batterien werden empfohlen.
• Wiederaufladbare Batterien sind nicht empfohlen.
• Bei Verwendung von wiederaufladbaren Batterien müssen diese aus dem Spielzeug entfernt
werden, bevor sie wieder aufgeladen
werden; das Wiederaufladen darf nur unter Aufsicht eines Erwachsenen stattfinden.
• Nichtwiederaufladbare Batterien dürfen nicht wieder aufgeladen werden.
• Die Komponenten von Staub freihalten; nicht in Wasser tauchen.
• Zu entsorgende Batterien nicht ins Feuer werfen; sie können auslaufen oder explodieren und
Körperverletzungen verursachen.
• Wenn das Spielzeug längere Zeit nicht verwendet werden soll, alle Batterien
entfernen.
• In keine der Öffnungen des Motor kleine Stangen einsetzen; sie beschädigen den Motor
un können nicht entfernt werden.
Anweisungen zum Einlegen und Entfernen der Batterien
• 2 AA (Mignon oder LR6) Batterien gemäß Abbildung einlegen.
(Seite 3)
Grundlegende Bauanleitungen für K'NEX
Los geht’s mit dem Bauen
Um mit dem Bauen deines Modells zu beginnen, suche die Nummer 1 und folge den laufenden
Nummern. Jedes Teil hat seine eigene Form und Farbe. Schau dir einfach die Abbildungen an,
such die Teile in deinem Bausatz, die so aussehen wie das, was du auf der Abbildung siehst und
steck sie ineinander. Versuche, dein Modell beim Zusammenbauen so zu orientieren, dass es in die
gleiche Richtung weist, wie es in den Anleitungen beschrieben und gezeigt wird. Blasse Farben
weisen darauf hin, dass dieser Streckenabschnitt bereits zusammengebaut ist.
Steckanschlüsse
Blaue und silberfarbene Steckanschlüsse haben besonders lange Schlitze. Wie du vauf der
Abbildung sehen kannst, lassen sie sich ineinander schieben. Achte beim Aneinanderfügen dieser
Teile darauf, dass du ein Klickgeräusch hörst. Erst dann sind die Teile fest miteinander verbunden.
Abstand Halten
An bestimmten Stellen in deinem Modell musst du Abstandshalter, sogenannte Spacer, einbauen.
Diese Abstandshalter sind blau und silberfarben. Achte darauf, dass du die richtige Farbe wählst
und dass du die richtige Anzahl davon verwendest.
IT
Italiano
(Pagina 2)
Informazioni importanti per bambini e genitori
Tenere queste istruzioni a portata di mano. Contengono importanti informazioni di sicurezza.
Leggere tutte le avvertenze e le istruzioni prima di iniziare a costruire il modello e di farlo
funzionare.
AVVERTENZA: PERICOLO DI SOFFOCAMENTO - Piccole parti. Non adatto a bambini di età
inferiore ai 3 anni.
ATTENZIONE: Tenere i capelli, le dita, il viso e i vestiti lontano da tutte le parti in movimento.
ATTENZIONE: Fare attenzione non rovesciare il modello. Il modello dovrebbe essere collocato
su un appartamento ed una superficie dura.
• Condividi l'esperienza di K'NEX con tuo figlio e rendi la costruzione con K'NEX un divertimento
per tutta la famiglia.
• Prendi il tempo necessario per divertirti durante il processo di costruzione. Non ti affrettare!
• Si raccomanda l'aiuto di un adulto.
• Orienta il tuo modello nella stessa direzione indicata nelle istruzioni.
• Il prodotto e i colori possono variare.
Informazioni sulle batterie
ATTENZIONE:
• Accertarsi di inserire le batterie correttamente e seguire sempre le istruzioni del produttore delle
batterie e del giocattolo.
• Non mettere insieme batterie nuove e vecchie o alcaline, standard (carbonio-zinco) e ricaricabili
(nichel-cadmio). Usare sempre batterie raccomandate dello stesso tipo o di tipo equivalente.
• Rimuovere sempre batterie quasi scariche o completamente scariche dal prodotto; non causare
corto circuito ai terminali di alimentazione.
• Inserire le batterie con la polarità corretta (+/-) come illustrato.
Consigli importanti
• Si raccomanda l'uso di batterie alcaline.
• Non si raccomanda l'uso di batterie ricaricabili.
• Rimuovere le batterie ricaricabili dal giocattolo prima della carica: devono essere caricate solo
sotto la supervisione di un adulto.
• Le batterie non ricaricabili non devono essere ricaricate.
• Mantenere i componenti privi di polvere; non immergere o usare in acqua.
• Non gettare le batterie nel fuoco, poiché potrebbero perdere o esplodere e causare lesioni.
• Rimuovere tutte le batterie se il giocattolo non verrà usato per un lungo periodo di tempo.
• Non inserire aste più corte di 5,1 cm (2 pollici) nei fori del motore, in quanto danneggerebbero
il motore e non possono essere rimosse.
Come inserire e rimuovere le batterie
• Inserire 2 batterie AA (o LR6) come illustrato.
(Pagina 3)
Istruzioni di base per costruire con K’NEX
Comincia a costruire
Per iniziare il modello, cerca il numero 1 e segui i numeri. Ogni pezzo ha una sua forma e un suo
colore. Guarda la figura, trova i pezzi corrispondenti nel set e mettili insieme. Cerca di tenere
il modello nella stessa direzione della figura e in tal modo sarà più semplice attaccare i pezzi nei
posti giusti. I colori spenti ti dicono che questa sezione è già stata costruita. Dovrai collegare
la nuova sezione al punto indicato dalla punta della freccia.
Connettori
È molto importante posizionare i connettori blu e argento in una specifica direzione. Presta molta
attenzione alle istruzioni e posiziona i connettori orizzontalmente o verticalmente proprio come
illustrato. Spingi con forza fino ad udire un clic.
Spaziatori
Ci sono punti nel tuo modello a cui dovrai aggiungere spaziatori blu e argento. Accertati si contarli
attentamente.
PT
Português
(Página 2)
Coisas importantes para os Pais e os Miúdos
Mantenha estas instruções num local de fácil acesso, pois contêm informações importantes
de segurança. Lê as instruções e advertências antes de começares a construir e a operar
o modelo.
AVISO: PERIGO DE SUFOCAÇÃO - Peças pequenas. Não se destina a crianças com menos
de 3 anos de idade.
CUIDADO: Mantém o cabelo, os dedos, a cara e a roupa afastados de todas as peças móveis.
CUIDADO: Tenha cuidadonão virar o modelo.O modelo deve ser colocado numa superfície dura plana.
• Compartilhe da experiência K'NEX com os miúdos e faça com que o processo de construção com
K'NEX se torne numa aventura entre família.
• Não te precipites para assim poderes desfrutar do processo de construção. Não o faças à pressa!
• Recomenda-se a ajuda de um adulto.
• Tenta fazer com que o teu modelo esteja virado exactamente na mesma direcção indicada nas
instruções.
• Tanto o produto como as respectivas cores podem variar.
Informações sobre as pilhas
Cuidado:
• Certifique-se de que introduz as pilhas correctamente e siga sempre as instruções do fabricante
da bateria e do brinquedo.
• Não combine pilhas usadas com pilhas novas, pilhas alcalinas, padrão (carbono-zinco) ou pilhas
recarregáveis (níquel-cádmio).
Deverão ser usadas apenas pilhas do mesmo tipo ou equivalentes ao tipo recomendado.
• Retire sempre as pilhas fracas ou gastas do produto; não provoque um curto-circuito nos
terminais de alimentação.
• Introduza as pilhas com a polaridade correcta (+/-), conforme se mostra.
14
Page 15

Conselhos importantes
• Recomenda se o uso de pilhas alcalinas.
• Não se recomenda o uso de pilhas recarregáveis.
• Retire as pilhas recarregáveis do brinquedo antes de as carregar; estas pilhas devem ser
recarregadas apenas sob vigilância de adultos.
• As pilhas não recarregáveis não devem ser carregadas.
• Mantenha os componentes livres de poeiras; não mergulhe em água nem use água.
• Não elimine as pilhas queimando-as; estas podem apresentar fugas ou explodir causando lesões.
• Retire todas as pilhas do brinquedo se não tencionar usá-lo durante um longo período de tempo.
• Não coloque varetas de tamanho inferior a 5,1 cm (2 pol.) em nenhuma abertura do motor;
as varetas causarão danos no motor e não podem ser removidas.
Como inserir e remover as pilhas
• Introduza 2 pilhas AA (ou LR6), conforme se mostra.
(Página 3)
Pontos básicos para a construção K’NEX
Inicia a construção
Para começar o teu modelo, procura o 1 e segue os números. Cada peça tem a sua própria forma
definida e cor. Basta simplesmente olhares para a ilustração, procurar as peças do teu jogo
correspondentes às que estás a ver e, em seguida, conectar umas nas outras. Enquanto estás
a montar as peças, tenta manter o teu modelo na mesma direcção, conforme mostrado
na ilustração, para assim ligares as peças correctamente. As cores desbotadas indicam que esta
secção já está montada. Passarás então a fazer a conexão da nova secção no local indicado
pelas setas.
Conectores
É muito importante que posiciones os conectores azuis e cor de prateados numa direcção
específica. Presta muita atenção às instruções e coloca estes conectores horizontal
ou verticalmente, exactamente conforme se mostra nas ilustrações. Junta as partes
simultaneamente e com firmeza até ouvires um "estalido".
Espaçadores
Existirão certos pontos no teu modelo que necessitam a colocação de espaçadores azuis
e prateados. Assegura-te que os contas cuidadosamente.
NL
Nederlands
(Bladzijde 2)
Belangrijke gegevens voor ouders en kinderen
Bewaar deze aanwijzingen op een gemakkelijk bereikbare plaats. Ze bevatten belangrijke
veiligheidsgegevens. Gelieve alle waarschuwingen en aanwijzingen te lezen vóór je het model
begint op te bouwen en te gebruiken.
WAARSCHUWING: VERSTIKKINGSGEVAAR - Kleine onderdelen. Niet geschikt voor kinderen
onder 3 jaar.
OPGEPAST: Hou het haar, de vingers, het gezicht en kledij verwijderd van alle bewegende onderdelen.
OPGEPAST: Wees voorzichtig om het model over niet te tippen. Het model zou moeten geplaatst
worden op een flat en kom hard boven.
• Deel de K'NEX ondervinding met je kind en maak van het bouwen met K'NEX een aangenaam
familieavontuur.
• Neem je tijd tijdens het bouwen en monteren. Spoed je niet!
• Bijstand van een volwassene wordt aanbevolen.
• Tracht je model in dezelfde richting te plaatsen als de aanwijzingen terwijl je bouwt en monteert.
• Produkt en kleuren kunnen afwijken.
Batterijgegevens
OPGEPAST:
• Verzeker je ervan dat de batterijen er op de juiste manier in te steken en volg steeds
de aanduidingen van de speelgoed- en batterijenfabrikanten.
• Meng geen oude en nieuwe batterijen of alkalische, gewone (koolstof-zink) of herlaadbaarse
(nikkel-cadmium) batterijen met mekaar. Uitsluitend batterijen van dezelfde of van een aanbevolen
equivalente soort dienen gebruikt te worden.
• Verwijder steeds uitgeputte of ontladen batterijen uit het produkt; veroorzaak geen kortsluiting van
de voedingspolen.
• Steek de batterijen erin volgens de juiste polariteit (+/-) zoals afgebeeld.
Belangrijke tips
• Alkalische batterijen worden aanbevolen.
• Herlaadbare batterijen worden niet aanbevolen.
• Verwijder herlaadbare batterijen uit het speelgoed alvorens ze te herladen; ze moeten slechts
herladen worden onder het toezicht van een volwassene.
• Niet-herlaadbare batterijen mogen niet herladen worden.
• Bescherm onderdelen tegen stof; dompel ze niet of gebruik ze niet in water.
• Werp de batterijen niet in het vuur; ze zouden kunnen lekken of ontploffen en verwondingen
veroorzaken.
• Verwijder alle batterijen wanneer het speelgoed gedurende lange tijd niet gebruikt zal worden.
• Plaats staafjes in de openingen van het motor, zij zouden de motor beschadigen en kunnen niet
worden verwijderd.
Insteken en verwijderen van batterijen
• Steek er 2 AA (of LR6) batterijen erin zoals afgebeeld.
(Bladzijde 3)
Basisstappen voor K'NEX bouwen
Begin te bouwen
Om met je model te beginnen, vind eerst het nummer 1 en volg de nummers. Elk stuk heeft zijn
eigen vorm en kleur. Kijk gewoonweg naar de afbeeldingen, vind de overeenstemmende stukken
terug in je geheel en maak ze aan mekaar vast. Tracht je model in dezelfde richting te plaatsen als
de aanwijzingen terwijl je bouwt en monteert. De vervaagde kleuren duiden aan dat dit deel reeds
is opgebouwd. Gelieve het nieuwe deel vast te koppelen op de plaats aangeduid door de pijlen.
Koppelstukken
Er zijn blauwe en zilveren koppelstukken met speciale lange gleuven. Ze schuiven in mekaar zoals
je kunt zien op de afbeeldingen. Duw deze onderdelen in mekaar tot je een “klik” hoort.
Tussenstukken
In je model zijn er plaatsen waar blauwe en zilveren tussenstukken moeten toegevoegd worden.
Verzeker je ervan de juiste kleur te gebruiken en tel ze zorgvuldig.
SV
Svenska
(Sida 2)
Föräldrar! Så här kan ni hjälpa ert barn bygga med K’NEX!
Förvara dessa instruktioner på ett lättåtkomligt ställe. De innehåller viktig säkerhetsinformation.
Läs alla varningar och instruktioner innan du börjar bygga och använda modellen.
VARNING! RISK FÖR KVÄVNING—SMÅ DELAR. Inte för barn under 3 år.
VARNING! Håll håret, fingrarna, ansiktet och kläderna borta från alla rörliga delar.
VARNING! Var försiktig så att modellen inte faller. Modellen ska placeras på en plan och hård yta.
Batteri-information:
Varning! Undvik batteriläckage
• Sätt i batterierna rätt och följ alltid anvisningarna från leksakens och batteriernas tillverkare;
• Blanda inte gamla och nya batterier eller alkaliska, standard (kol-zink) eller laddningsbara
(nickel-kadmium) batterier. Endast batterier av samma eller motsvarande typ som de som
rekommenderas får användas;
• Ta alltid bort svaga eller urladdade batterier från produkten; kortslut inte batteriets poler;
• Sätt in batterierna med rätt polaritet (+/-) enligt figuren;
Viktiga tips
• Alkaliska batterier 2 (LR6) rekommenderas;
• Laddningsbara batterier rekommenderas inte;
• Ta bort laddningsbara batterier från leksaken innan de laddas; de får laddas bara under vuxen
övervakning;
• Icke-laddningsbara batterier får inte laddas;
• Håll komponenterna dammfria; sänk inte eller använd inte i vatten;
• Battrier får inte brännas; de kan läcka eller explodera och orsaka personskador;
• Ta ur alla batterier om leksaken inte kommer att användas på lång tid;
• Placera inga stänger som är mindre än 5,08 cm i någon öppning i motorn; de skadar motorn och
kan inte avlägsnas.
Hur man sätter i och tar ut batterier:
• Använd en liten Phillips-skruvmejsel för att lossa skruven. Sätt i 2 nya AA batterier (eller LR6)
i utrymmet med rätt polaritet enligt vidstående figur.
(Sida 3)
K’NEX grundläggande bygginformation
Börja bygga:
Varje del har sin egen färg och form. Titta på bilden, hitta delarna som passar och sätt ihop dem.
Försök att hålla din modell i samma riktning som på bilden så att du fäster delen på rätt ställe.
De bleka färgerna anger sektioner som du redan byggt. Du ska koppla nästa delar till ställena som
anges med pilarna. Det finns inte pilar för varje kopplingspunkt.
Kopplingar
Det finns blå och silverfärgade kopplingar med speciellt långa hål som skjuts samman. Tryck ihop
delarna tills du hör ett klick-ljud.
Mellanstänger
Det finns ställen i din modell där du måste placera mellanstänger. Använd rätt typ och räkna dem
omsorgsfullt.
DA
Dansk
(Side 2)
Forældre! Sådan kan I hjælpe jeres barn med at bygge med K’NEX!
Opbevar denne brugsanvisning på et praktisk sted. Den indeholder vigtig sikkerhedsinformation.
Læs alle advarsler og anvisninger, inden påbegyndelse af bygning og betjening af modellen.
ADVARSEL: FARE FOR KVÆLNING PÅ GRUND AF SMÅ DELE. Ikke beregnet til børn under 3 år.
FORSIGTIG: Hold hår, fingre, ansigt og påklædning på afstand af alle bevægelige dele.
FORSIGTIG: Pas på ikke at vælte modellen. Modellen skal anbringes på en flad og hård overflade.
Oplysninger om batterier:
Forsigtig: Sådan undgås det. at batterierne lækker
• Sørg for at sætte batterierne rigtigt i og for altid at følge brugsanvisningen fra legetøjs- og
batteriproducenten.
• Lad være at blande gamle og nye batterier sammen, eller at blande alkaliske, almindelige
(kulstof-zink) eller genopladelige (nikkel-kadmium) batterier med hinanden. Det er kun tilladt
at bruge batterier af samme eller tilsvarende type iflg. anbefaling.
• Tag altid svage elle udbrændte batterier ud af produktet, og pas på ikke at kortslutte polerne.
• Sæt batterierne i, så polariteten (+/-) er korrekt iflg. illustrationen.
Vigtige råd
• Det anbefales at bruge 2 (LR6) alkaliske batterier.
• Batterier, der kan genoplades, frarådes.
• Tag genopladelige batterier ud af legetøjet, inden de oplades; de må kun oplades under opsyn
af en voksen.
• Batterier, som ikke er genopladelige, må ikke genoplades.
• Støv delene godt af. Lad være at nedsænke dem i vand.
• Batterier må ikke afskaffes ved at brænde dem; de risikerer at lække eller eksplodere, hvorved
folk kan komme til skade.
• Tag alle batterier ud, hvis ingen skal lege med legetøjet i en længere periode.
• Undlad at stikke stænger mindre end 5,08 cm ind i nogen som helst åbninger i motoren;
de vil beskadige motoren, og de kan ikke fjernes.
Sådan sættes der batterier i, og sådan tages de ud:
• Brug en lille stjerneskruetrækker til at løsne skruen. Sæt 2 friske AA-battterier (eller LR6)
i batterirummet, sørg for korrekt polaritet (+/-) iflg. illustrationen.
(Side 3)
K’NEX bygningsprincipper
Begynd at bygge:
Hver del har sin egen farve og form. Se på billedet, find de dele, der matcher, og sæt dem sammen.
Prøv at holde din model i samme retning som billedet, så du kommer til at sætte delen fast på den
rette plads. De falmede farver er de afsnit, du allerede har bygget. Du skal samle de næste dele
på det sted, som pilene peger på. Der findes ikke nogen pil for hvert eneste samlingssted.
Samestykker
Der er blå og sølvfarvede samlestykker med særlige lange slidser, som skydes sammen.
Skub delene sammen, indtil du hører et “klik”.
Afstandsstykker
Der er steder i modellen, hvor du får brug for at tilføje afstandsstykker. Sørg for at bruge de rette
stykker og tæl den omhyggeligt.
NO
Norsk
(Side 2)
Foreldre! Her ser du hvordan du kan hjelpe ditt barn med å bygge med
K’NEX!
Oppbevar denne veiledningen lett tilgjengelig. Den inneholder viktig sikkerhetsinformasjon.
Les alle advarsler og hele veiledningen før du begynner å bygge og kjøre modellen.
ADVARSEL: FARE FOR KVELNING—SMÅ DELER. Ikke for barn under tre år.
ADVARSEL: Hold hår, fingre, ansikt og klesplagg borte fra alle bevegelige deler.
ADVARSEL: Pass godt på å ikke vippe modellen overende. Modellen bør plasseres på en flat og
hard overflate.
Batteriinformasjon:
Advarsel: For å unngå batterilekkasje
• Pass på å sette batteriene riktig inn og følg alltid leketøy- og batteriprodusentens veiledning.
• Ikke bland gamle og nye batterier eller alkaliske, standard (karbonsink) eller oppladbare
(nikkelkadmium) batterier. Bare batterier av samme eller tilsvarende type som de anbefalte bør
brukes.
• Ta alltid svake eller utladede batterier ut av produktet, ikke kortslutt leveringsnettene.
• Sett batteriene inn med riktig polaritet (+/-), som vist.
Viktige Tips
• Alkaliske batterier 2 (LR6) anbefales.
• Oppladbare batterier anbefales ikke.
• Ta oppladbare batterier ut av leketøyet før du lader dem opp; de må bare lades opp under oppsyn
av en voksen person.
• Batterier som ikke er oppladbare, må ikke lades opp.
• Hold delene frie for støv; dypp dem ikke ned i eller bruk i vann.
• Ikke kast batteriene i ild eller flamme; de kan lekke eller eksplodere og forårsake skade.
• Ta alle batterier ut dersom leketøyet ikke skal brukes over tid.
• Putt ikke stenger på mindre enn 5,08 cm inn i noen av motorens åpninger; de vil skade motoren
og kan ikke fjernes.
Hvordan sette inn og fjerne batterier:
• Bruk et lite skrujern med krysshode til å løsne på skruen. Sett to nye AA-batterier (eller LR6) inn
i feltet med riktig polaritet (+/-), som vist her.
(Side 3)
K’NEX grunnbygging
Sett i gang byggingen:
Hver del har sin egen farge og fasong. Se på bildet, finn de delene som tilsvarer hverandre og sett
de sammen. Forsøk å holde modellen din i samme retning som bildet slik at stykket festes til det
rette stedet. Det bleke fargene er de seksjonene som du allerede har bygget. Du skal feste
de neste delene der hvor pilene peker. Det finnes ikke en pil for hvert skjøtepunktsted.
Skjøtemunnstykker
Det er blå og sølvfargede skjøtemunnstykker med spesielt lange åpninger, som glir sammen.
Skyv delene sammen inntil du hører et klikk.
Mellomlegg
Noen steder må du bruke mellomlegg i modellen din. Pass på å bruke de riktige mellomleggene
og tell dem nøye.
FI
Suomi
(Sivu 2)
Vanhemmat! Näin voitte auttaa lapsianne rakentamaan K’NEX-sarjalla
Pidä nämä ohjeet helposti saatavilla. Ne sisältävät tärkeää turvallisuustietoa.
Lue kaikki varoitukset ja ohjeet ennen kuin alat rakentaa ja käyttää mallia.
VAROITUS! Ei alle 3-vuotiaille lapsille.
VAROITUS! Pidä hiukset, sormet, kasvot ja vaatteet loitolla kaikista liikkuvista osista.
VAROITUS! Varo kaatamasta mallia. Malli on asetettava tasaiselle ja kovalle pinnalle.
Tietoa paristoista:
Varoitus! Vältä paristovuotoja
• Asenna paristot oikein ja noudata aina lelun ja paristojen valmistajien ohjeita;
• Älä sekoita vanhoja ja uusia paristoja tai alkaali-, normaali- (hiili-sinkki) tai ladattavia
(nikkeli-kadmium) paristoja. Vain samaa tai vastaavaa tyyppiä olevia paristoja saa käyttää;
• Poista aina heikot tai käytetyt paristot tuotteesta; älä oikosulje napoja;
• Asenna paristot navat oikein päin (+/-) kuvan mukaisesti;
Tärkeitä vihjeitä
• Alkaaliparistoja 2 (LR6) suositellaan;
• Ladattavia paristoja ei suositella;
• Poista ladattavat paristot lelusta ennen lataamista; ne saa ladata vain aikuisen valvonnan alla;
• Ei-ladattavia paristoja ei saa ladata;
• Pidä osat pölyttöminä; älä upota tai käytä niitä vedessä;
• Älä polta paristoja; ne saattavat vuotaa tai räjähtää ja aiheuttaa vammoja;
• Poista kaikki paristot mikäli lelua ei tulla käyttämään pitkään aikaan.
• Älä aseta 5,08 cm pienempiä tankoja moottorin aukkoon; ne vaurioittavat moottoria, eikä niitä
pysty poistamaan.
Paristojen asentaminen ja poistaminen:
• Käytä pientä ristipäämeisseliä ruuvin avaamiseen. Aseta 2 uutta AA-paristoa (tai LR6) paristotilaan
navat oikein päin (+/-) kuvan mukaisesti.
(Sivu 3)
K’NEX perusrakennusohjeita
Aloita rakentaminen:
Jokaisella osalla on oma värinsä ja muotonsa. Katso kuvaa, etsi käsiisi toisiinsa sopivat palat
ja pane ne yhteen. Yritä pitää mallisi samassa suunnassa kuin kuvassa jotta varmasti kiinnität osan
oikeaan kohtaan. Haaleat värit osoittavat rakenteita, jotka olet jo tehnyt. Liitä seuraavat osat nuolien
osoittamiin kohtiin. Nuolia ei ole jokaisessa liitäntäkohdassa.
Liittimet
Sarjassa on sinisiä ja hopeanvärisiä liittimiä, joissa on erityisen pitkiä aukkoja, jotka työnnetään
toisiinsa. Työnnä osat yhteen kunnes kuulet napsahduksen.
Välitangot
Mallissasi on paikkoja joihin sinun on lisättävä välitankoja. Varmista, että käytät oikeita ja laske
ne huolellisesti.
15
Page 16

 Loading...