

Page 1
ENGLISH
BC
CONTENTS
• 56064 Headlamp
•
Headlamp bracket with adjustable silicone strap
•
15" (381 mm) Micro USB Cable
•
Instruction Sheet
GENERAL SPECIFICATIONS
• Dimensions: 2.25" x 3.125" x 1.375"
•
•
•
•
•
• Operating/Charging Temperature: 32°F to 113°F (0°C to 45°C)
• Storage Temperature: 14°F to 131°F (-10°C to 55°C)
•
•
(57.2 mm x 79.4 mm x 34.9 mm)
Weight (headlamp only): 2.96 oz. (84 g)
Battery Type: Internal, Lithium polymer, 3.7V / 1800mAh
Battery Life: 22 hours in Flood/Low mode,
12 hours in Spot/High mode
4 hours in All-On/Boost mode
Charging Requirements: Maximum 5V DC, Minimum 0.5A
Certications: BC, CE, NR Can, REACH, RoHS
Drop Protection: 6 ft. (1.83 m)
Ingress Protection (IP) Rating: IP54
Specifications subject to change.
WARNINGS
Read, understand, and follow these instructions to ensure safe
operation. Failure to observe these warnings can result in risk
of fire or electric shock.
•
Keep these instructions for future reference.
•
No user-serviceable parts inside. Do not open enclosure or
attempt to repair this headlamp.
•
Never lubricate any part of this headlamp.
•
Do not expose to direct sunlight, open flame, heat
sources, equipment that produces heat, or extremes in
environmental temperature.
•
Never immerse in water or other liquids. Avoid spilling
liquids or falling foreign objects into openings on the
headlamp enclosure.
•
Water-resistant cover must be properly sealed to achieve
specified water & foreign object ingress protection. Keep
seal free of dirt, oil, sand, or other material that interferes
with proper sealing. Failure to do so can result in risk of
fire or electric shock.
•
Do not open water-resistant cover if wet or in a wet
environment. Dry the headlamp thoroughly and the seal
around water-resistant cover completely before opening
water-resistant cover.
•
When headlamp is in use or charging, make sure there
is adequate space to allow ventilation of internallygenerated heat.
•
Use safety-rated power supply or wall adapter. Never use
power supply or wall adapter that exceeds the specified
charging voltage and current.
•
Route the power supply cable so that it will not to be
stepped on or pinched by other objects.
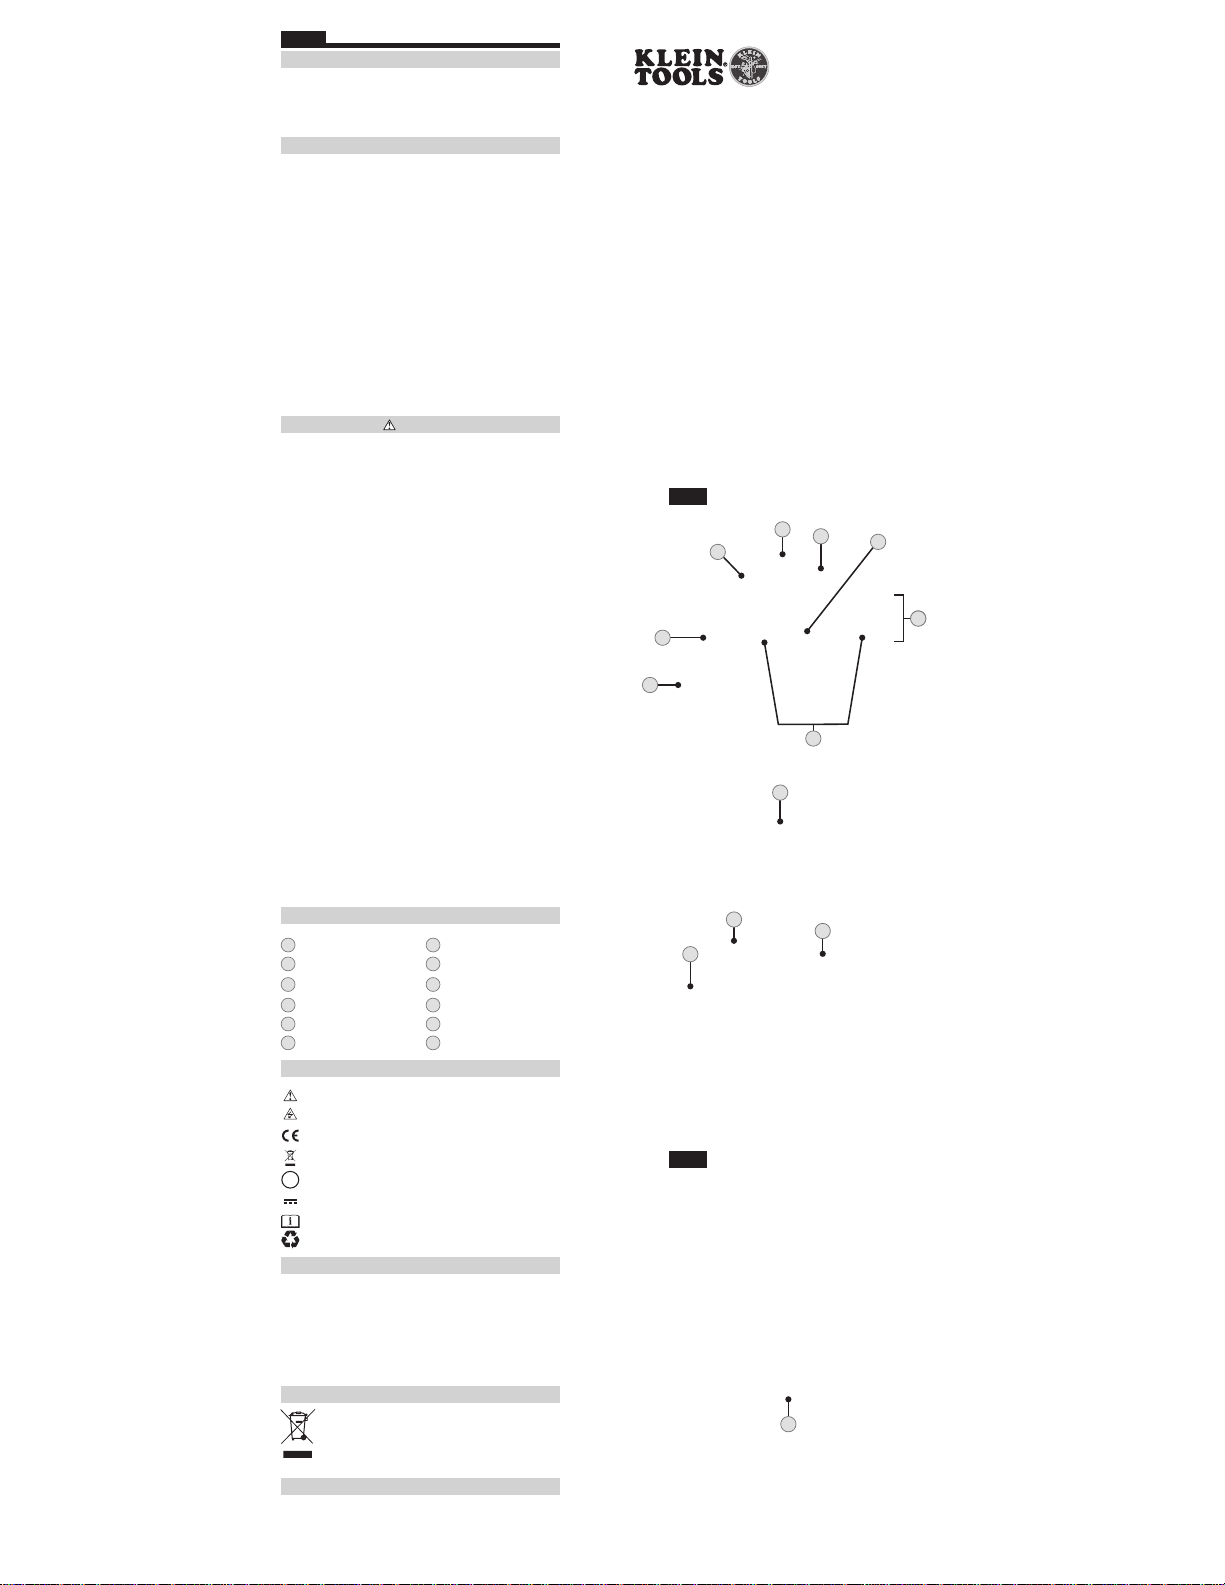
FEATURE DETAILS (FIG.A)
1
Power button
2
Battery level indicator8Floodlight/Low
3
Light sensor
4
Charging port cover
5
USB charging port
6
Micro-USB charging cable12Strap adjustment buckle
SYMBOLS ON PRODUCT (FIG.B)
Warning or Caution
Risk of Electrical Shock
Conformité Européenne. Conforms with
European Economic Area directives
WEEE – Battery disposal
Conforms with BCS regulations of
California Energy Commission
Direct Current (DC)
Read Instructions
Recycle
CLEANING: Be sure headlamp is turned off and wipe with a clean,
dry lint-free cloth.
STORAGE: If the headlamp is to be left unused for an extended
period of time, charge to approximately 70% (red, yellow, and
one green) before storing, and recharge periodically during
storage to maintain battery's charging capacity.
Do not use abrasive cleaners or solvents.
DISPOSAL / RECYCLE
Do not place equipment and its accessories in the trash.
Items must be properly disposed of in accordance with
local regulations. Please see www.epa.gov or
www.erecycle.org for additional information.
OPERATING INSTRUCTIONS
7
9
10
11
MAINTENANCE
Spotlight/High
Lever for removal from
bracket
Headlamp bracket
Silicone strap
PLEASE SEE REVERSE SIDE.
Rechargeable Headlamp - Instructions
FIG. A
FRONT / FRENTE / AVANT
9
3
5
.
4
6
12
11
FIG. B
BACK / ESPALDA / RETOUR
56064
1
7
2
2
.
8
10
9
Find Quality Products Online at: [email protected]
www.GlobalTestSupply.com
1390426 Rev 07/20 A
Page 2

ENGLISH
OPERATING INSTRUCTIONS
CHARGING BATTERY
Fully charge headlamp before use. First-time charge should
be at least 6 hours.
Connect micro USB cable connection to headlamp, plug the
other end of cable into USB port (2.0 or higher), or AC adapter
(not included). USB adapter/power supply should not exceed
the specified charging voltage and current (Max. 5.0V DC, min.
0.5A). Normal charging time is approximately 5 hours.
BATTERY LEVEL INDICATOR 2:
Press and hold the power button
1
to check battery level (do
not hold down for more than 5 seconds):
•
Four lights on (red, yellow, green, green), unit has 75% to
99% battery charge
•
Three lights on (red, yellow, green), unit has 50% to 74%
battery charge
•
Two lights on (red, yellow), unit has 25% to 49% battery
charge
•
One light on (red), unit has 15% to 24% battery charge
•
Flashing (red) battery indicator, less than 15% battery
charge
•
Spot or Flood light flashes 5 times, less than 15% battery
charge remains.
•
No LED lights, battery is fully discharged. Must leave unit
plugged in to charge for a minimum of 6 hours. If the unit
is fully discharged, the battery indicator may not light up
immediately when charge adapter is inserted.
ON/OFF:
Pressing the power button
1
will show battery level,
releasing the button will turn on the light:
•
Press and release the power button once to turn the
Spotlight/High
•
Press and release the power button again to turn the
Floodlight/Low
•
Press and release the power button a third time to turn the
7
on
8
on (the spotlight will turn off)
lights All-On/Boost 7 and 8
•
Press and release the power button a fourth time to turn
the unit off.
•
If the unit is on in any mode (High, Low, Boost) for more
than 5 seconds, the next button press and release will turn
the unit off.
AUTO-OFF MODE:
The unit arrives with Auto-Off activated. The light sensor
3
located on top of the headlamp will automatically shut the unit
off if it senses bright light for 3 continuous minutes:
•
To deactivate Auto-Off, depress and hold the power button
for 10 seconds. The battery indicator will flash the red and
yellow LEDs indicating Auto-Off has been deactivated. This
mode is saved until you reactivate it.
•
To reactivate Auto-Off, depress and hold the power button
for 10 seconds. The battery indicator will flash the green
LEDs indicating Auto-Off has been reactivated. This mode is
saved until you deactivate it.
REMOVAL AND REINSERTION OF THE HEADLAMP ONTO
THE BRACKET
10
:
The headlamp can be removed for charging:
•
Pull the lever 9 above the headlamp toward the power
button and lift the headlamp from the bracket
•
To reinsert the headlamp, align the slot on the back of
the headlamp with the slot on the bracket and push the
headlamp down until it clicks in place
SILICONE STRAP
11
:
The silicone strap is designed to fit on a standard hardhat. The
strap is adjustable for larger and smaller diameters.
Find Quality Products Online at: [email protected]
www.GlobalTestSupply.com
 Loading...