

Klein Blackbox+ series User Manual


Thank You
We appreciate you purchasing Blackbox™ two-way radios. We believe that the quality and function of this product
is the best available today.
Cost-effective portable + Series radios are the result of Blackbox’s pursuing high quality and high performance,
ergonomic design, reliable quality and stable performance. + Series ensures you clear communication under any
circumstances.
Please read this manual before you use the radio.
www.blackboxradios.com 1

Safety
Please switch off the radio before entering a potentially explosive or ammable environment.
Do not change or charge battery pack in a potentially explosive or ammable environment.
Do not use damaged antenna. Damaged antenna may cause burns.
Do not disassemble the radio.
Do not put the radio within the possible range of an air bag in a car.
Do not expose the radio to direct sunlight or near heating devices for a long time.
If you carry the radio on the body, please keep the antenna 2 inches away from the body when transmitting.
2 www.blackboxradios.com
Unpack and Check
Before use, we recommend that you check the packing and identify the items listed below. If any damages have
occurred during shipment, please contact your local dealer.
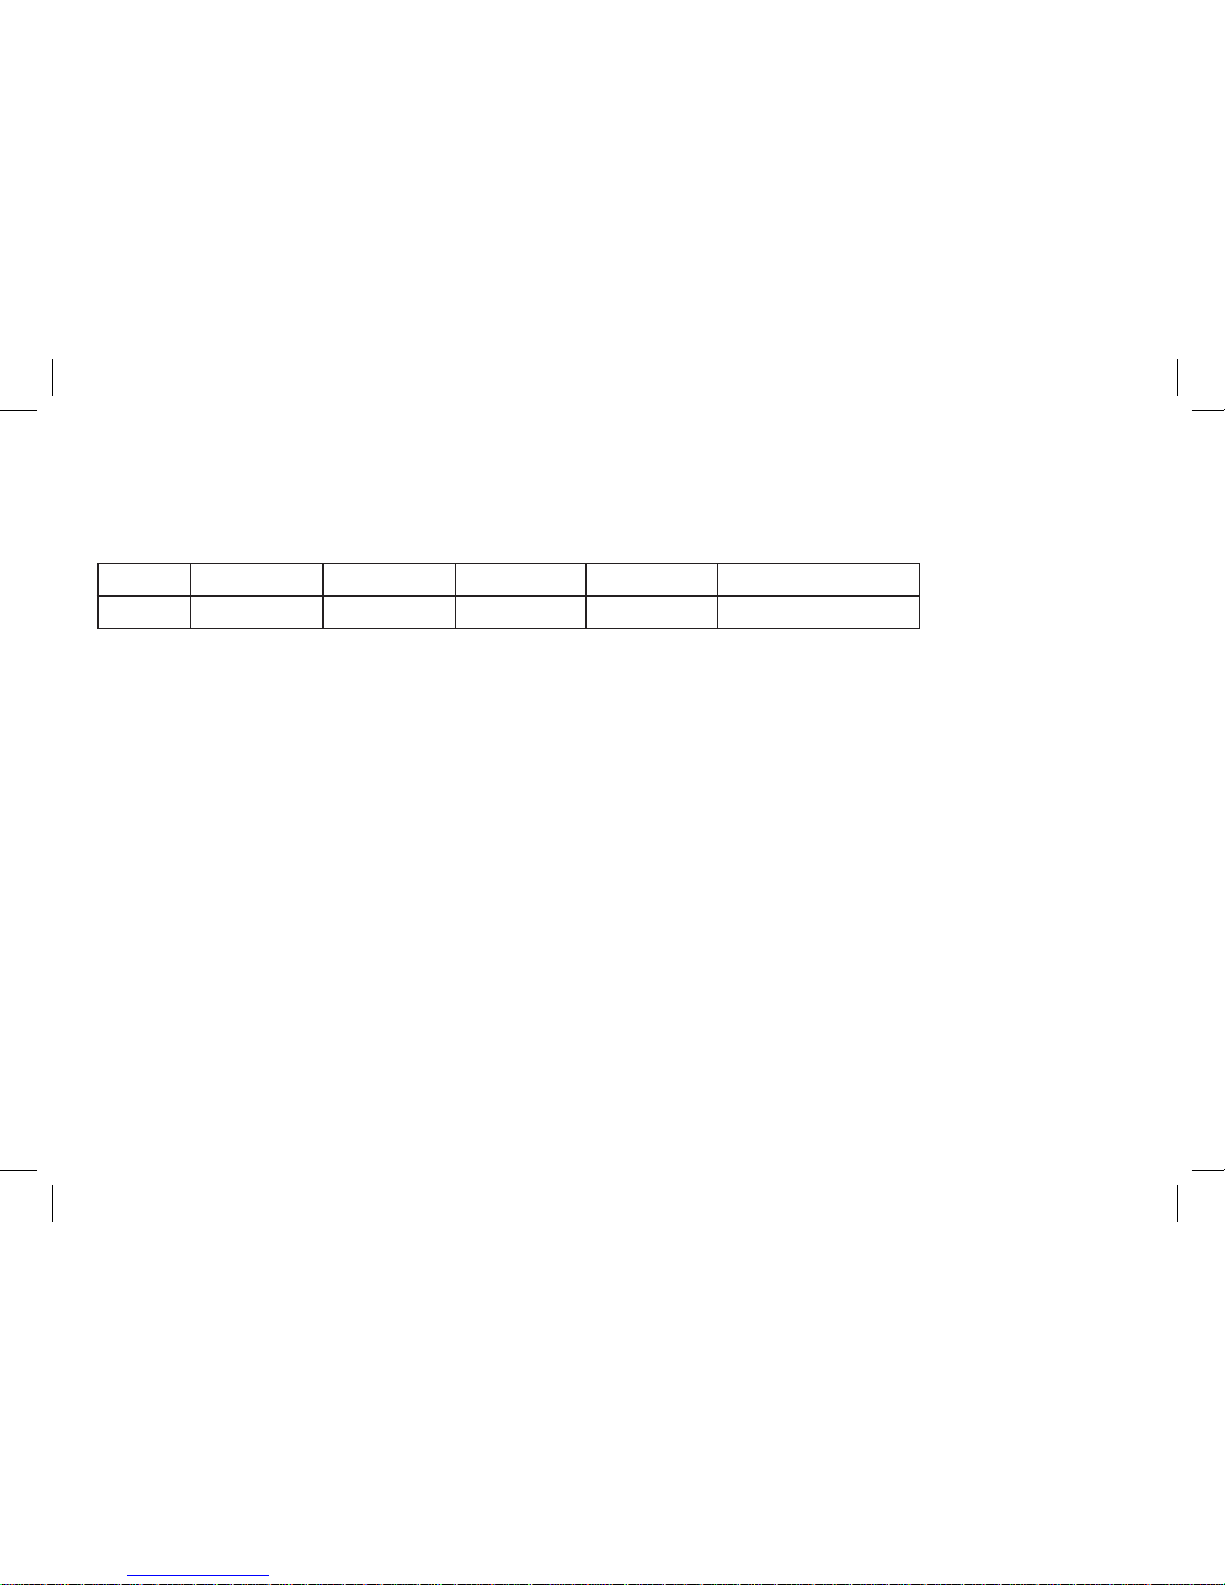
Items Radio Antenna Battery Belt Clip Charger w/adaptor
Quantity 1 1 1 1 1
Note: For frequency band of antenna, please refer to the label on the bottom of the antenna.
Get Acquainted
Battery Information
Please charge with Blackbox™ branded battery; Charging with other types of batteries may cause explosion,
personal injury, or cause radio to become defective.
Note:
1. Do not short-circuit the battery terminals or dispose the battery into re. Do not disassemble the battery casing.
2. Charging should be done in -0°C ~45°C environment. If temperature is beyond the range, the battery may not be
fully charged.
3. Please turn off the radio before charging.
4. It is best to fully drain the battery prior to charging, then fully charge it each time.
6. Do not charge when the battery or radio is wet. Dry it with cloth to avoid possible electric shock.
www.blackboxradios.com 3

Warning:
Please prevent the battery electrode from contacting with any metal conductors such as jewels or keys.
Charging Steps:
Please charge as follows:
1. Connect the adapter with the charger.
2. Plug the adapter into an AC outlet.
3. The charger is ready for charging if the indicator lights red for one
second and goes off. If the indicator ashes, the charger is not ready.
4. Place the battery into the charger slot.
5. The indicator lights red when charging. If the battery power is too
low, the indicator ashes. The battery is rst trickle charged and turns
to normal charging automatically.
6. The battery is fully charged when indicator light is green. The
charger stops charging automatically.
Precautions in Charging
The battery is not charged in factory. Please charge the battery before initial use or after longtime storage. Repeat
charging 2 or 3 times and the battery will reach normal capacity. Please change or charge the battery if the power
is low. If the battery power consumes quickly after a normal charge, the battery life is nished. Please replace the
battery pack.
4 www.blackboxradios.com
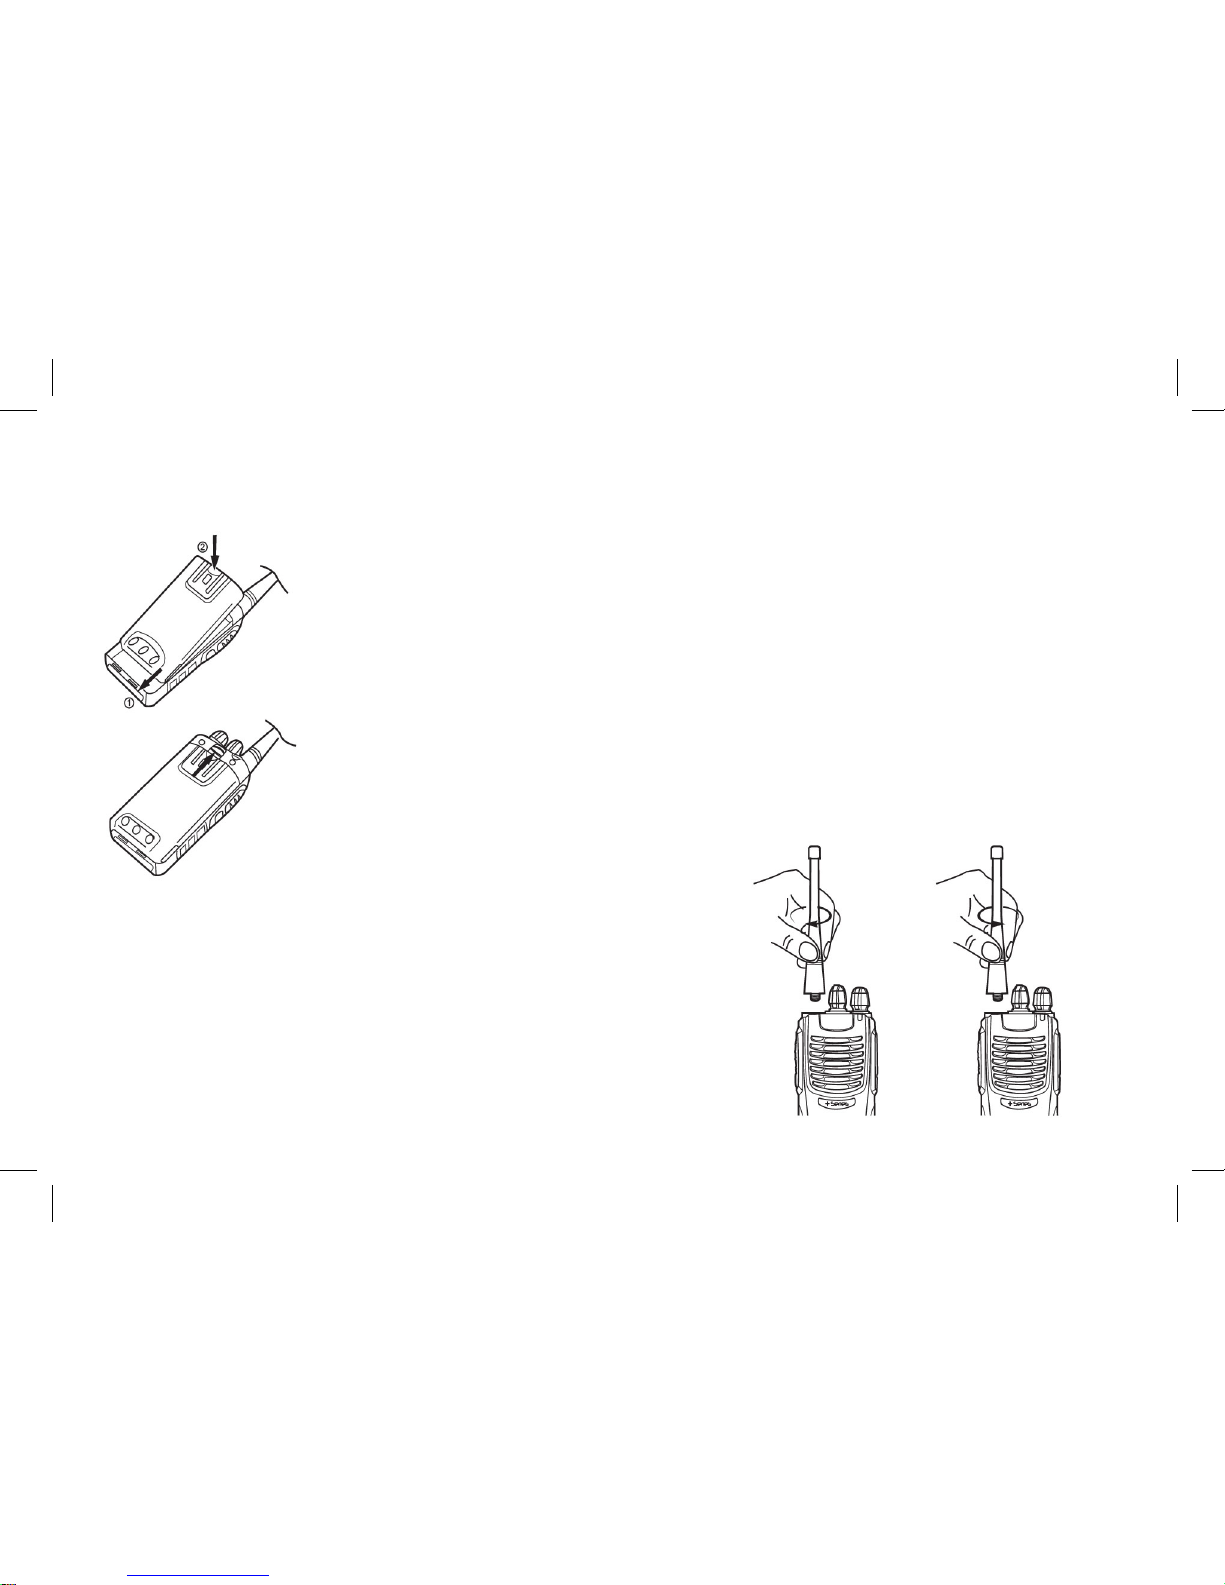
Installing and removing
Installing/Detaching the Battery
Installing the Battery
Match the guides of the battery pack with the corresponding grooves at the bottom of
radio and insert the battery pack. Then press downward battery pack until the release
latch locks.
Removing of Battery:
Before removing, make sure that the radio is switched off. Pull the release latch
outwards and slide the battery away from the radio.
Installing/Removing the Antenna
Installing the Antenna (Picture I)
Screw the antenna into the connector at the top of the radio by
holding the bottom of the antenna, and turn it clockwise until secure.
Removing the Antenna (Picture II)
Screw the antenna off counter clockwise by holding the bottom
of antenna.
Picture I Picture II
www.blackboxradios.com 5
 Loading...