

KJM C50 Installation And Operation Manual
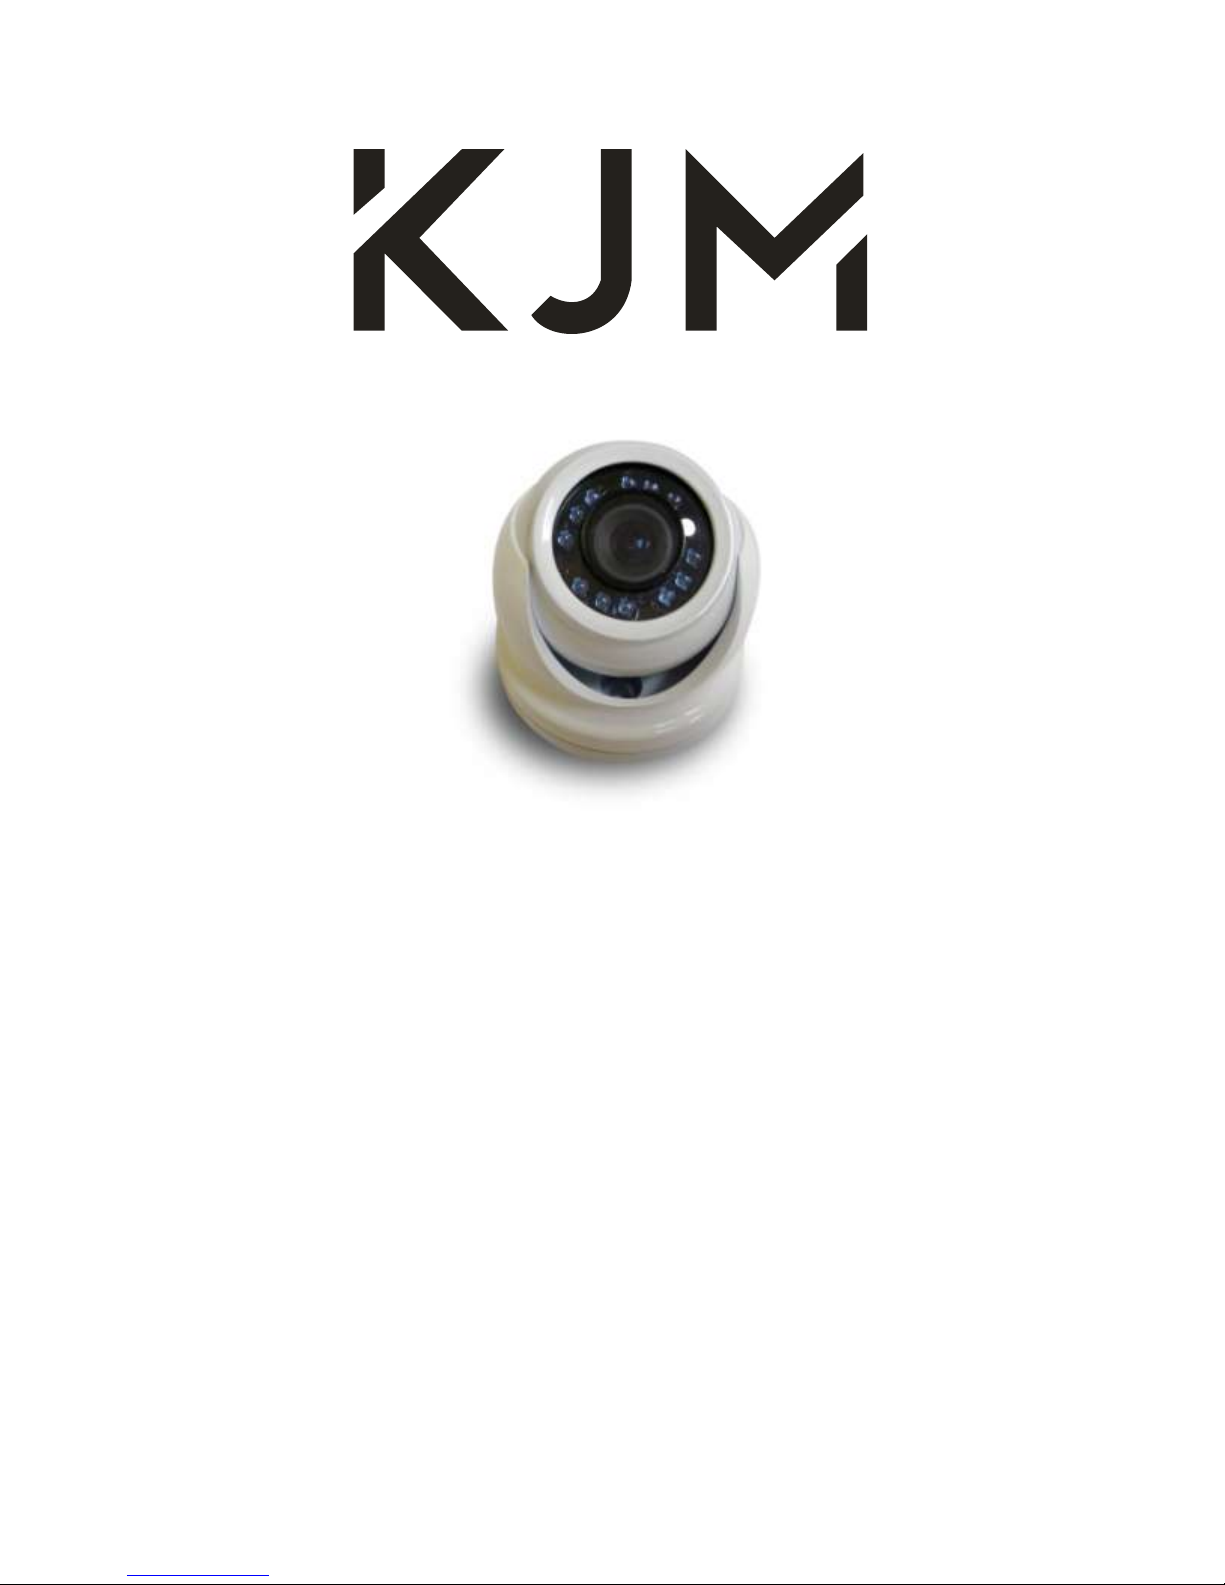
C50
Marine Grade Mini Dome Camera
Fixed Lens with Day/Night capabilities
Installation and Operation Guide
FEATURES
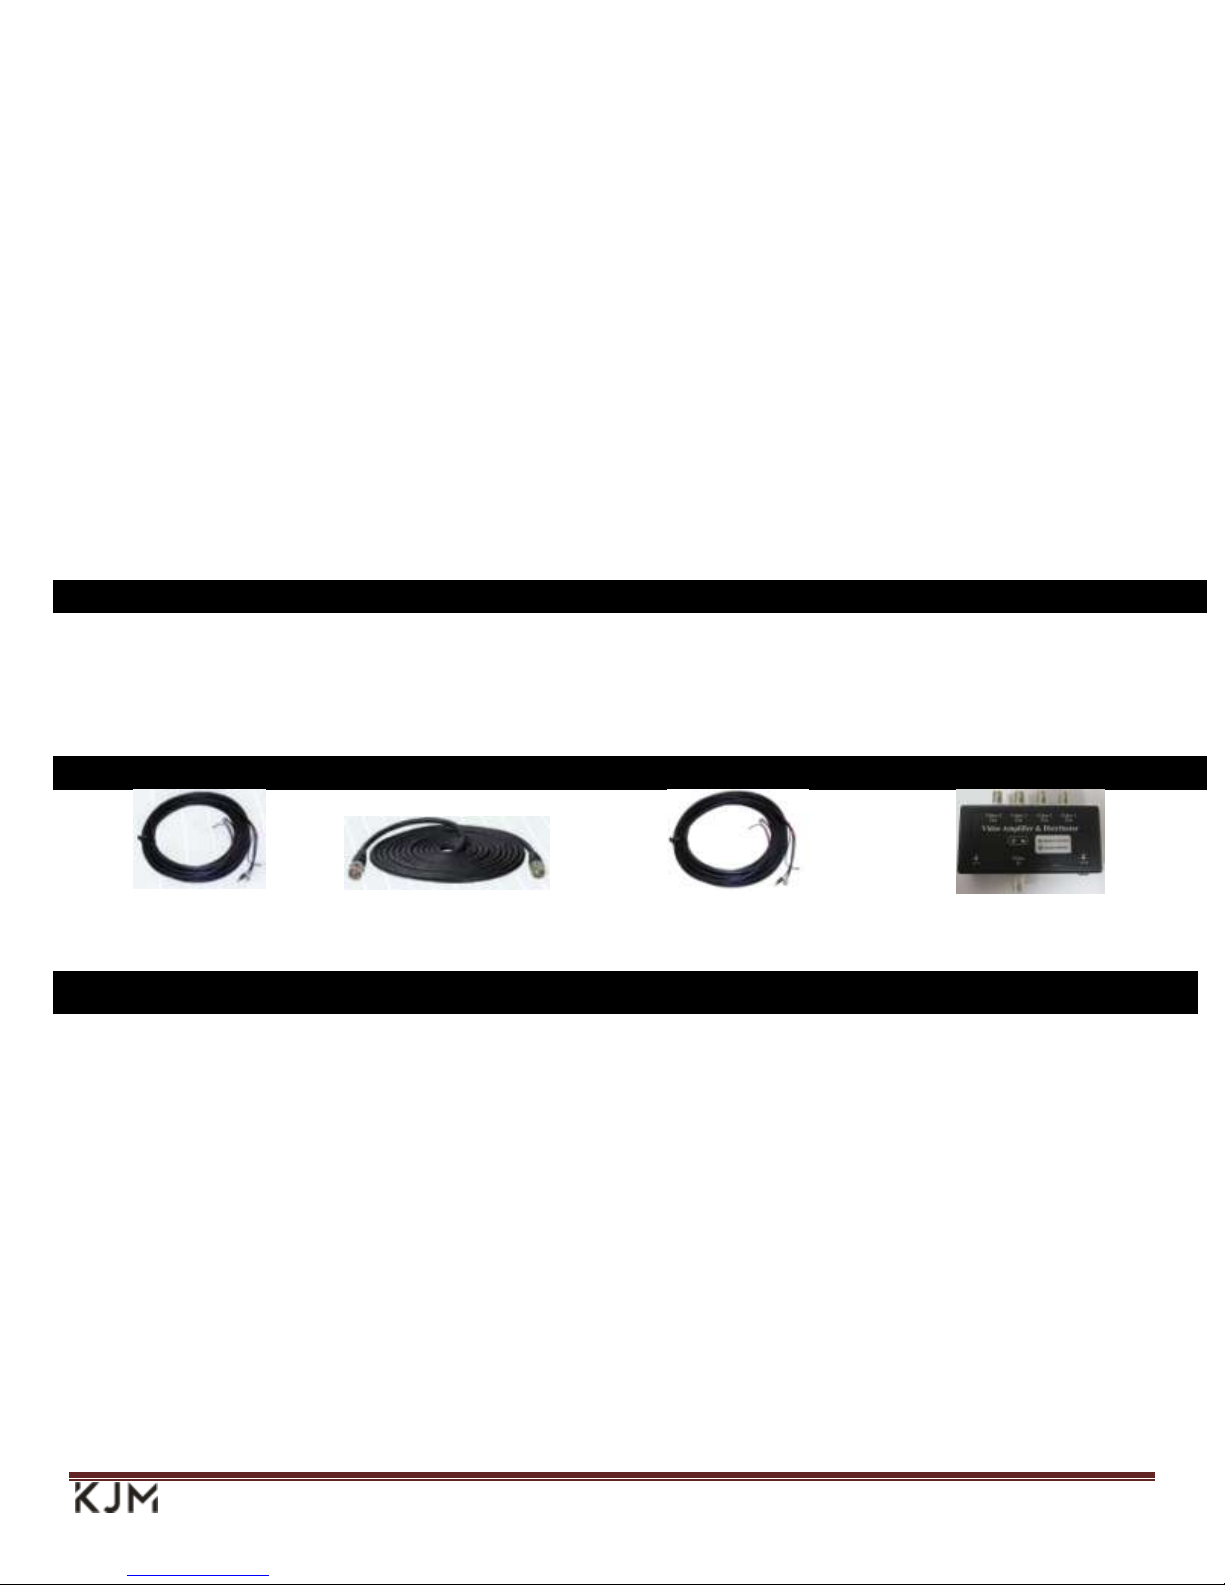
ACCESSORIES
POW-5
Five Meter Power Cable
BNC-5
Five Meter Video Cable
COMB-25
25 Meter Video and Power Cable
AMP1/4
Video Amp
INSTALLATION
Electrical Connections
1. DC connection
2.1 mm power plug
+12VDC - current 800mA
Center pin + +12VDC
Body = Ground
2. Video input
BNC female
Input: 1vP~P, 75 Ω Composite video,
Center pin: Video positive, Body: Video ground
KJM is dedicated to providing the finest in shipboard cameras and video equipment. Our high quality cameras are built to
withstand the harsh marine environment, and are designed by people with over three decades of experience in the marine
industry. KJM cameras provide crystal-clear images of whatever you need to monitor, from the engine room to the aft
deck. Built to exacting standards from the finest materials, KJM products are rugged, available in a wide variety of styles
and configurations, and will work with most marine monitors or Chart Plotters. No matter what your marine surveillance
requirements, KJM has a product to meet your needs.
Please read the following pages before attempting installation to ensure complete understanding of the KJM C50
camera.
Precautions
To reduce the risk of electric shock, do not remove disassemble the bullet camera as there are no user serviceable
parts inside.
This product must be installed by qualified service personnel or system installers.
Do not operate beyond its specified temperature, humidity and power source ratings.
Clean only with a dry cloth.
If you require additional support for the installation or use of this camera please contact us via email at
info@kjm-holdings.com
Stylish and designed from the ground up for demanding marine installations.
Ideal onboard larger leisure yachts, commercial vessels and work boats alike.
12 Infra-Red LEDs for true day / night operation
3.6mm fixed lens
CAUTION: Be careful not to pinch video or power cables during installation.
1. Using the supplied hex key remove the camera base.
2. Drill a 9/16” (15mm) hole for the camera's cables, and 3 pilot holes for the base mounting screws.
3. Carefully feed the cable through the mounting base and attach the base using 3 screws. Do not pinch the cable.
4. Re-assemble the camera using the hex key.
Page 2
 Loading...