

Page 1
iPROTECT
1215
microwave pointer
USER MANUAL
Page 2
It is possible that foes can spy on you using radio
microphones working on 'stealth' microwave
frequency bands. Conventional RF detectors are
typically capable of discovering signals up to
4-6 GHz; therefore higher frequencies usually stay
unstudied during sweeping procedures, unless
you apply an expensive spectrum analyzer.
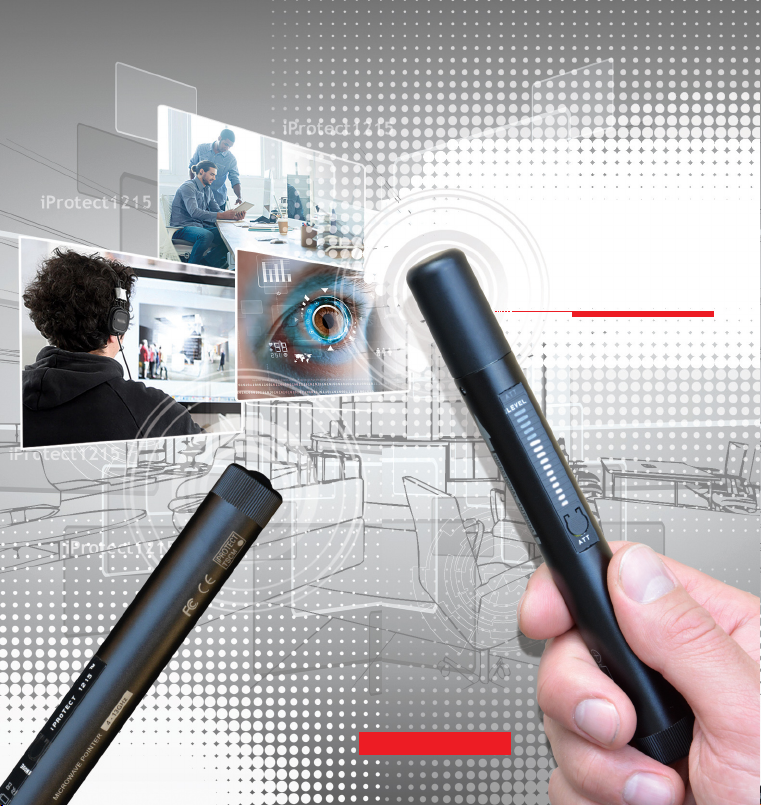
The new microwave pointer-probe iProtect 1215
was designed to extend the checked frequency
range during sweeping procedures up to 13 GHz.
It can find sur veillance bugging devices which
are usually not detectable by standard RF detectors. The directed antenna allows the operator to
understand where the signal originates from and,
as such, to locate the source physically.
Particular attention should be paid to the 5.8GHz
ISM band on which a number of wireless devices
can be active without being discovered by conventional RF detectors at a sufficient distance.
Typical signals detected by iProtect 1215 are:
Wireless microphones working on 5 GHz
frequency band
Wireless video cameras 5GHz
Covert 5GHz Wi-Fi access point
Covert 5GHz Wi-Fi client device
Other surveillance (bugging devices)
employing frequencies between 4-13 GHz
FEATURES
Detects bugging devices omitted by standard
RF detectors
Discovers microwave signals in the range
of 4-13 GHz
Detects signals not depending on their
type – video, audio, digital or analogue
Built-in directed antenna
3 working modes: Normal, Vibrating and Audio
16-segment indicator for easy and precise
pinpointing of the bugging device
Sensitivity controlled by attenuator
Antenna's directivity (out-of-direction
attenuation) -6 dBm
Portable and durable duralumin body
Powered by just 1 AA (LR06) battery
Low power indication
Battery resource 12-25 hours
SPECIFICATION
Frequency range
Indicators
Battery resource
Dimensions
Current
consumption
Power source
4000 – 13000 MHz (4-13 GHz)
Power button,
Mode button,
ATT button
16-segment bargraph
Vibration
Battery state (3 colors)
Working mode
ATT state
12 – 25 hours
172 x 19 mm
Normal: 80 mA
Vibrating: 180 mA
Audio: 130 mA
1 x AA battery (LR06)
3
Page 3

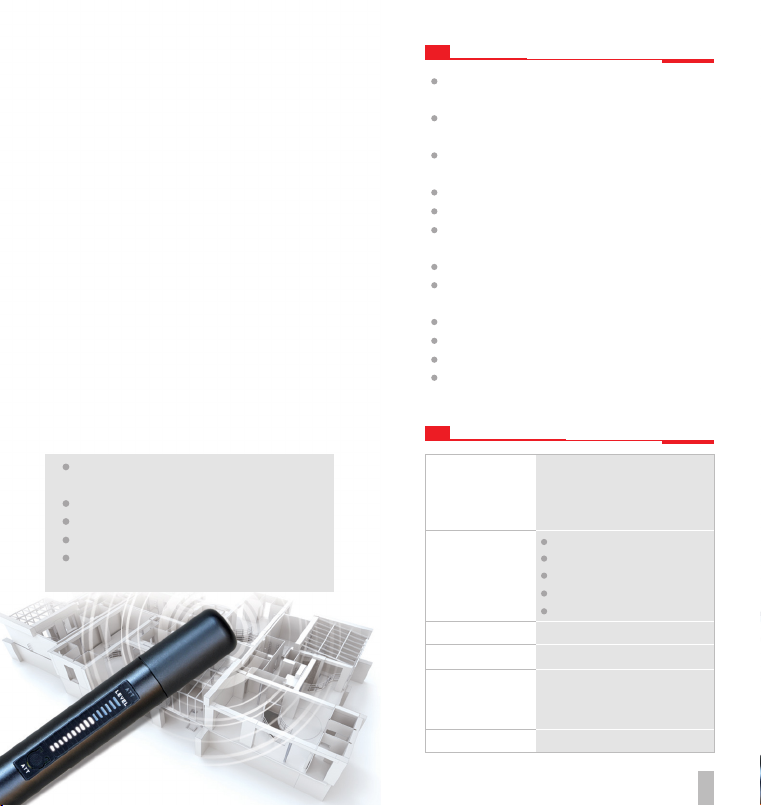
CONTROLS
High-sensitive RF antenna Attenuator function
16-segment bargraph
172 mm
Vibrating and audio modes
PARTS DESCRIPTION
The iProte ct 1 215 mic rowave pointe r ha s
a 16-segment bargraph indicator which allows
the operator to see the slightest changes in the
level and, as such, accurately find the area with
the strongest signal for location.
When it is necessary to decrease the sensitivity,
typically during the location process, the operator
can use the attenuator function ATT.
The iProtect 1215 has a 'physical' (as in professional communications) RF attenuator of a level
up to -20dB. The corresponding indicator will
show the attenuator status.
The working mode (Vibrating/Audio/Normal) can
be selected by the MODE button. The vibrating
mode allows the user to 'feel' the increased level
without actually watching the bargraph. This is
convenient during the process of inspecting hard
to access places like gaps under/behind furniture
and construction. The Audio mode helps the user
to identify signals in many cases.
The power can be turned on and off with the help
of the button on the bottom tip of the detector.
The battery compartment is also situated here.
When the battery becomes low, the power
indicator changes its color from green to orange.
When the battery is about to discharge completely, the power indicator becomes red.
Power on/off
19 mm
4 5
Page 4

SWEEPING
The iProtect 1215 pointer is an auxiliary device
designed to extend the checked frequency range
during the TSCM sweeping procedure. Therefore
it should be used together with a standard RF detector or other equipment in order to perform a
comprehensive check.
To avoid false detections turn off all RF transmitting devices before starting the sweeping
procedure:
Wi-Fi routers and Wi-Fi devices
(printers, video cameras, laptops, etc.)
Cordless phones
Cell phones
Bluetooth devices, etc.
Start with the attenuator turned off. Enter the
room while holding the pointer and start probing
objects and surfaces with its antenna (upper tip).
Since some types of transmitters have extremely
low power, it is recommended to carry out the
inspection at a distance of not less than 10-20 cm
from the object.
Since the pointer's antenna is directed, rotate the
device in different directions during the scan to
maximize the chances of catching a signal.
Move around the room in a selected direction –
clockwise or counter clockwise and probe all the
items/surfaces/gaps, etc. Pay special attention to
the places where electrical wires are present as a
potential bugging device could be powered by
these. Do not forget about any objects situated
in the middle of the room. Open all wardrobes,
cabinets, etc. since a bugging device could be
anywhere; test the ceiling (opening tiles of necessary) and the floor. Use a ladder if necessary to get
as close to high points in the room as possible.
The target zone (the area around the most used
work space in the room being checked) is the
6 7
most important since sound around this area is
clearest; therefore inspect it with as much care as
possible.
An increased RF level on the bargraph and/or
vibration from the 1215 are signs of microwave
signals, which can be produced both by a normal
device like a Wi-Fi router or a real bugging device,
for example by 5 GHz video or audio bugging
device. To avoid false alarms during the sweeping
procedure turn off the 'legal and known' Wi-Fi
routers temporarily. Activate the flight mode on all
mobile phones present in the checked premises.
The task of operator is to find the place with the
maximum RF level and then to trace the transmitter. If it is impossible to find the strongest place
and the signal is similar everywhere (for example
near a window), it may be external interference.
In modern cities there is lot of interference like
communication base stations or broadcasting.
Please remember that interference may also get
into a room from adjacent premises. It can be
a Wi-Fi router in the neighboring flat/office, for
example.
If the RF level is strong, the bargraph may show
the maximum level. The attenuator function will
be useful in this case. Turn it on and continue
searching for the place with the maximum level,
after finishing and returning to the normal sweep
do not forget to turn off the attenuator.
After finding a place with a strong RF level go to
a physical inspection. Disassemble the object and
try to find the transmitter
Do not stop sweeping even if a bugging device is
found. Some other, better hidden, bugging devices may be still present in the room.
DETECTING DISTANCE
Depending o n the transmitter's power and
frequency the distance may vary from 20 cm to
2-3 meters
 Loading...