

KJB C4000B User Manual

Congratulations and thank you for purchasing the
Wireless Air Purifier Camera!
This newly designed fully functional air purifier is wellequipped with a completely undetectable, high quality
camera and selectable 4-channel 2.4 GHZ wireless
transmitter. Also included in this indispensable covert
surveillance system are matching selectable 4-channel
receiver and all necessary power adaptors. Additional
features include:
300 – 700 foot line-of-sight (LOS) approximate range
(LOS is dependant upon, obstructions and interference
from other wireless devices)
High resolution camera
Low light capabilities
Easy installation
User-friendly operation
FCC-approved 2.4 GHz transmitter
Upon reading through these instructions, you will be able to
operate your state-of-the-art Wireless Air Purifier Camera
even if you have never before used a covert video
surveillance system.
NOTICE: In accordance with United States Codes, this unit is not equipped with
audio capabilities. It is illegal for non-authorized persons to own, possess, or
utilize surreptitious listening devices for the purpose of intercepting and/or
recording another person’s oral communications. Any modifications made to this
unit are unauthorized and will immediately void the manufacturer’s warranty.
Air Purifier Installation
Wall
This unit comes equipped with one screw and wall anchor.
1. To attach air purifier to the wall, mark the location and insert
the screw into the wall. Use anchor if necessary.
2. Gently place the air purifier onto the screw, matching the hole
on the rear of the unit with the screw.
Any Stationary and Safe Surface
This unit is equipped with two magnetic strips that can be used to
attach it to metal file cabinets. Simply attach the back of the
unit to a metal surface.
Cleaning the Air Purifier
1. Unplug the air purifier before cleaning. No user serviceable
parts. Do not disassemble.
2. Wipe the surface using a soft, damp cloth.
Important: DO NOT immerse the air purifier in water. DO
NOT use gasoline, paint thinner or other chemicals to clean
the unit. Store the unit in a clean, dry place.
Operation of Air Purifier
Installation/Filter Replacement
1. Turn the air purifier off and unplug it from the outlet.
2. Gently turn the filter lock counterclockwise to unlock the top.
3. Slide the filter cartridge out.
4. When replacing a used filter, remove the fabric filter from the
reusable plastic cartridge and discard.
5. Wrap a new filter around the reusable cartridge, making sure
that the black side of the filter is facing out. Position the seam
of the filter so that it faces the rear of the air purifier. Secure
the filter with fasteners.
6. Slide the filter and cartridge back into the unit.
7. Turn the cartridge clockwise until it drops into position.
8. Plug the unit back into a 120V outlet and turn it back on.
Tip: The air purifier is most effective when the filter is replaced
every three months. Visit www.honeywellconsumerproducts.com
to find a store near you where replacement filters for Model 15100
Series Air Caddy may be purchased.
Controls:
Choose one of the following controls, listed from top to bottom, as
appearing on unit:
1. On/Filtration/Photosensitive Night Light (light will come on as
room darkens)
2. On/Filtration/Night Light On
3. On/Filtration
4. OFF
General Setup
Wireless Covert Camera
1. Make sure the control knob on the air purifier is turned OFF.
2. Open the bottom panel of the air purifier by placing your
thumb on the plastic tab, pushing toward the center of the
unit, and pulling up.
3. Insert the 12V AC adaptor cord into the 12V receptacle
inside the unit.
4. Slide the cord to the edge of the base and replace the bottom
panel door, making sure that the power cord fits through one
of the notches on either side of the unit.
5. Plug the unattached end of the power cord into a 110V wall
outlet. Your wireless covert camera should now be
operating.
6. Place the Air Purifier Camera on a flat surface facing your
target area. When determining the best possible site
selection, pay particular attention to lighting. It is always
best to have the lighting on or in front of your subject instead
of behind it.
2.4 GHz Receiver
1. Position the receiver within 150ft – 300 ft ( see LOS) of the
covert camera. For optimal performance, adjust the 2.4 GHz
antenna on the receiver. Although the units will still work
properly without facing each other, transmission range may
be decreased.
2. Plug the included 9V AC adaptor into a 110V wall outlet.
Plug the 2.5mm male power plug coming from 9V AC
adaptor into the back of the receiver. Red LED will come on
to indicate power.
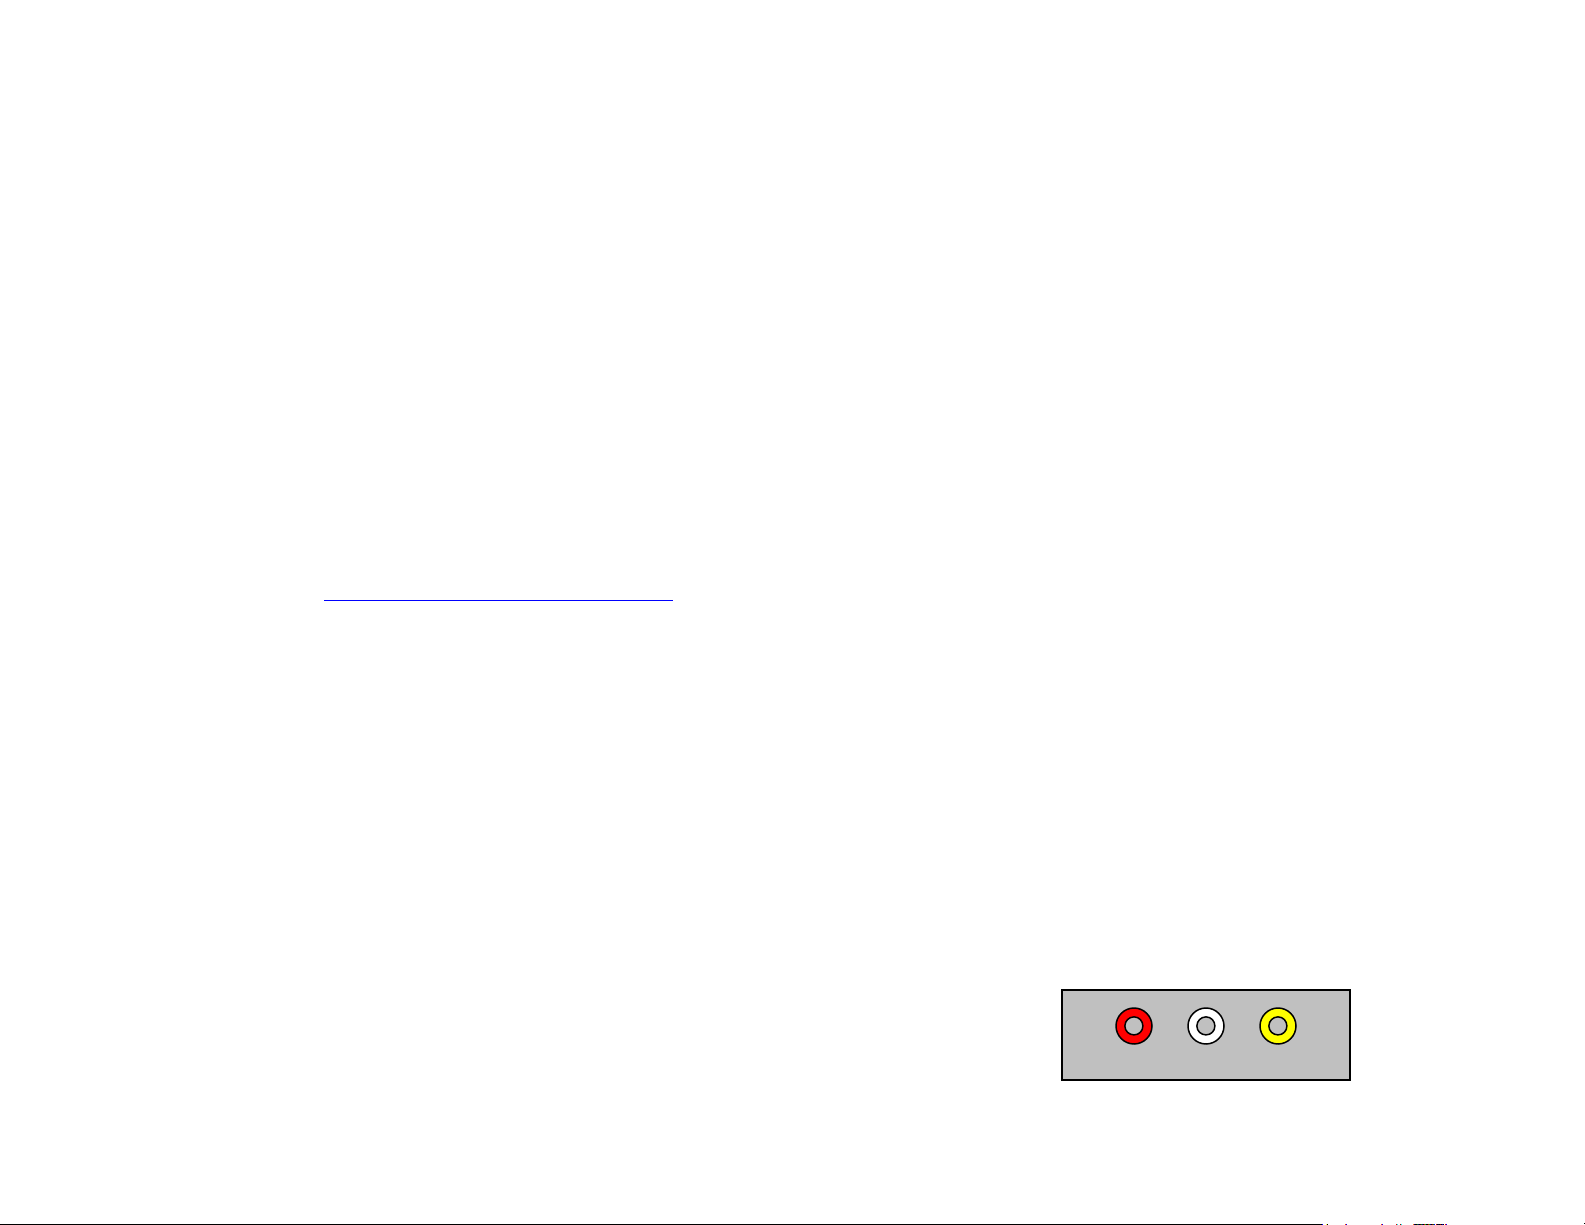
3. Connect the male yellow RCA cable plug into the female
yellow RCA jack located on the front of the receiver. (See
Figure 1)
VIDEO
Figure 1
 Loading...