

Page 1
The material in this document is the intellectual property
of our department .
No part of this manual may be reproduced, copie d,
translated, transmitted, or p ublished in any form or by an y
means without our departme nt prior written permission.
Our products are und er continual improvement and we
reserve the right to make c hanges without notice. But no
guarantee is given as to the correctness of its contents.
We do not undertake any responsibility for the harms
cause by using our product.
The model of the products in t he user's manual only for
recognition, but these name s also perhaps are belong to other
company's registered trad emark or the copyright.
The product picture may differ from the actual product,
only for your reference. The acce ssories will probably be
different according to the different sel ling areas. For details of
accessories, please refer to your local distributor.
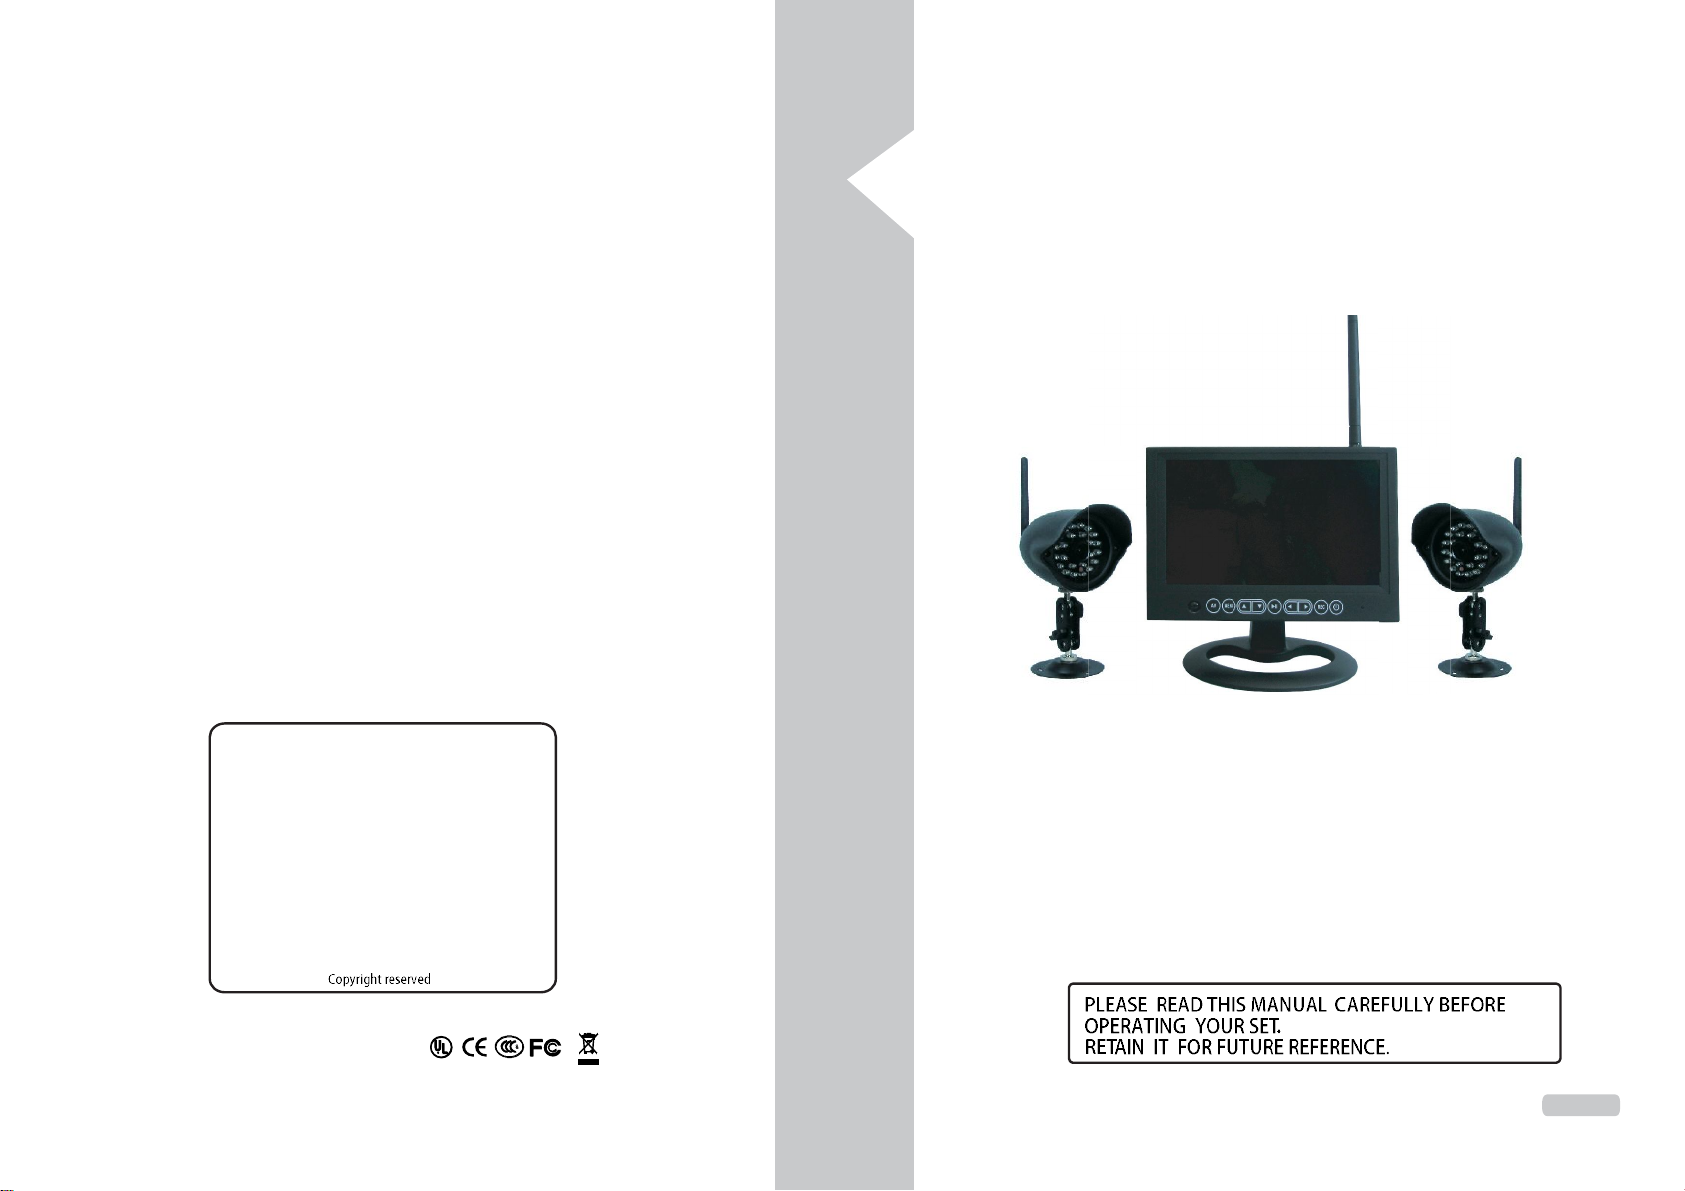
7" DIGITAL WIRELESS
MONITORING & RECORDING SYSTEM
USER'S MANUAL
ISO9001
P/N: 530407100001
ENGLISH
Page 2

Page 3

Page 4

Page 5

Page 6

Page 7

USER'S MANUAL
.
USER'S MANUAL
(1)Press play or p ause the video. “ ”button to
(2 )Press rewin d the video.“ ”bu tton to
(3) Pr e s s fa s t - forwa rd th e vide o .
Th e system comes w ith ca me ra (s ) that have al ready been paired at the fa ct ory.
Pow er on th e re ceiver and ca mer a by connecti ng it to pow er out let wi th sup pli ed
power adap tor re sp ec tively.
Th e pa ir ing fu nc tion assi gns ea ch camer a to a diff erent c hann el o n th e wi re le ss
rec eiv er(u p to 4 cameras ), and is nece ss ar y for co nfiguring add it ion al c am eras .
It is hig hl y reco mm ended to pair the camer as to th e rece iv er b ef or e
per manent ly mounti ng the c ameras .
1. Po wer on the rec eiv er and camer a by conne ct ing it to po we r outlet with suppl ie d
pow er ada pt or.
2. Pres s th e Menu button on the receive r or rem ote control le r to sel ect “
3. Se le ct a cha nnel b y pr es si ng the“ ” button s on the remot e cont ro lle r or pushi ng
upw ards /d ownward s the joys ti ck on th e re ce iv er. Pre ss “ ” bu tt on to co nfirm the
sel ection.
“ ” b u t to n to
Play Back
2 0 1 2 0 5 1 0
2 0 1 2 0 5 0 4
A r e y o u s u r e ? No
F r e e / T o t a l : 1. 4 9 G B / 3 . 6 8 G B
Play Back
A S F 0 5 6 0 0 8 M B
A r e y o u s u r e ? No
F r e e / T o t a l : 1. 4 9 G B / 3 . 6 8 G B
”.
(1). Press “ ”butt on to sele ct the d esir ed folde r.
(2) “ ”button or “D EL ” bu tt on on th e re mo te . Long pr ess
(3). Pr ess“ ”button t o select “ YE S”or “ NO”.
(4). Pr ess “ ”b ut to n to c onfirm.
(1). Press “ ”butt on to sele ct the d esir ed folde r.
(2) “ ”button or “D EL ” bu tt on on th e re mo te . Long pr ess
(3). Pr ess“ ”button t o select “ YES”or “ NO”.
(4). Pr ess “ ”b utton to c onfi rm.
- 11 -
This is a smart 7" wireless monitoring and recording system which with DIY design
and professional features to take care of you and your property.
MPEG4 compression, support VGA , QVGA two kinds of resolution
support SD card capacity 3 G
Multiple recording mode
Up to 300ft wireless transmission range
Support 4channel auto switching
Support QUAD image view
Interference free,secure and private signal
VGA resolution: 640x480
IR LED for night vision
With CDS to control IR LED
Built-in microphone
Power Adaptor(for monitor) User Manual Bracket
Remote Controller Monitor Camera
Power Adaptor(for camera) AV cable
2
- 4 -
Page 8

USER'S MANUAL
USER'S MANUAL
.
Display Screen
Resolution
Video standa rd
Freque ncy Rang e
Auto switch ing dwell time
Rec ei vin g ra nge
Receiv in g sensiti vi ty
Vid eo output
Audio output
Picture comp ression
Recording reso lution
Record ing mo de
Frame r at e
Data stora ge
Mini USB
SD ca rd
Power Sup ply
Power consumptio n
Ope rating T emp er atu re
Ope rating Humi di ty
Atm os phere Press ur e
Dimensio n( W* * )H D
Weight(wit ho ut packag e)
Image Sensor Type
Effictive pixel
Len s
IR LE D
AGC
Electrouic shu tt er
Whit e Balanc e
TX Po we r
Environment Ra ting
Power Supply
Power consum ptio n
Operating Temp era tur e
Dimens ions
Weight
TFT LCD
800(
PAL /NTSC
2.400GHZ~2.483GHZ
5se co nds
Up to 300ft at op en a ir
-85d Bm
1ch CVBS 1.0Vp-p
1ch au dio output imp ed anc e600
MPEG4
VGA /QVG A
Man ual /Sche dule /motion detection
30f ps@QVGA,2 5fps@V GA
24h ours con tin uou s reco rd ing at VGA wi th 16 G SD car d
Reserved
32G max.
100- 240V~ 50/6 0HZ 5V/1A
5W max.
+4
10%~ 90 %
86 kp a~106kpa
182m m×1 22 mm× 30 mm
45 0 kg
color CMOS image sensor
f=4 .3mm
24 , =850nmpcs
Auto
1/60~1 /15,0 00 se c
AUTO
14db m
IP 64
5V/1A
3W max .
+4
95×140mm
20 0g
- 5 -
(1)Press “ ” button to enter VIDEO interface.
(2)Press “ ” button to select the desired folder.
(3)Press “ ”button to enter file list.
(4)Press button to select the desired file.
“ ”
(5)Press " " button to play the file.
Play Back
1 1 C L O C K
1 2 C L O C K
1 4 C L O C K
F r e e / T o t a l : 1. 4 9 G B / 3 . 6 8 G B
Play Back
A S F 0 5 6 0 0 8 M B
F r e e / T o t a l : 1. 4 9 G B / 3 . 6 8 G B
- 10 -
1
SD 1
A S F 0 1 7 3 9
1 2 / 0 5 / 1 2 - 1 1 : 4 5 : 0 2
Play Back
V I D E O
F r e e / T o t a l : 1. 4 9 G B / 3 . 6 8 G B
Play Back
2 0 1 2 0 5 1 0
2 0 1 2 0 5 0 4
F r e e / T o t a l : 1. 4 9 G B / 3 . 6 8 G B
1 2 / 0 5 / 1 2 - 1 2 : 3 0 : 0 2
Page 9

USER'S MANUAL
.
Before recordi ng , yo u ne ed to in se rt a SD ca rd to the SD ca rd slot. The s ys te m ca n su ppor t th e
size of up to 3 2G B SD c ard.
(1). In the live disp la y mod e, pres s “ ” but to n to start re cord in g, a recor d file wil l be
(2) . Pr es s “ ” but ton again to exit the r ecor d mo de .
auto ma tica ll created ever y 2 minutes.
1 SD 1
1 2 / 0 5 / 1 2 - 0 9 : 1 9 : 39
Li ve M ode
1
SD 1
1 2 / 0 5 / 1 2 - 0 9 : 1 9 : 5 6
Af te r Pr es s" "Bu tt on
A S F 0 1 7 3 7
(1). En ter “RECORDE SETU P” menu , th en s et the “Sch edule recordi ng” to “ON”
(2). Set start time on “Start TI ME” it em .
(3). Se t end time on “E nd TIM E” ite m.
(4). Th e sy stem wil l automa tic al ly start and stop recording based on th e ti me s ente re d.
SET TIME: record start time
END TIME:record end time
SCHEDULE RECORD: ON--- valid, OFF---invalid
1 SD 1
A S F 0 1 7 3 8
1 2 / 0 5 / 1 2 - 1 1 : 3 0 : 0 2
Sta r t Re co rd
1 SD 1
1 2 / 0 5 / 1 2 - 1 1 : 4 0 : 0 2
En d Re co rd
(1) Ent er “REC ORD SETUP” menu, then set the “Motion det ection act ivi ty ” to “ON”.
(2) I n th is mod e the receive r starts r ec or di ng whe n motion detected by an y acti va ted ca me ra.
USER'S MANUAL
(1) : Remote cont roller sens or.
(2) :
Pre ss t o togg le b etwe en AV o utput an d LC D di splay.
(3 ) : Pre ss to en te r or exit th e Main-me nu.
(4) /(5)
In the o n- screen m enu , u se the but ton s to sc roll up or down.
In live or pla yba ck mo de, use th e butt ons t o increa se/d ecreas e volu me.
(6)
Play or pause th e selected f il e un der “PLAYBACK /VIDEO
men u.
Pre ss t o sele ct SIN GL E/ QUAD/AUTO disp l ay mo de.
(7) /(8)
In th e on - sc re en m en u, pr ess to sele ct set ti ng ite m.
In playback mode, use the butto ns to fast-f orwar d or r ewind.
In SIN GLE mo de, pr ess bo tt on to se te ct CH1/CH2 /C H3/CH4
In “PLAYB AC K/ VI DE O”menu ,pr es s button t o the delect unnec es sary files.
(9)
Pre ss t o ente r or exi t re co rding mode.
(10) :Long pre ss to turn o n or shutdow n
he Mo nitor.
(11)
The L ED light s with b lu e wh en the p ower i s tu rned ON.
The red LE D will be bl inking when c am era sign al i s re cerv ed.
(12)
(13)
Inser t SD card to this SD card slot for b oth
vid eo a nd audio rec or di ng.
/
(reserved)
Con nect the incl uded A/V cable to view vi deo
fro m th e rece iv er on a TV or m onitor.
:DC 5V/1A
Send s and re ceives signa l s to
or from the Ca me ra.
5
1
2
2 3 4 5 86 7 9 111 10
3
4
- 9 -
- 6 -
Page 10

 Loading...