

KMCOH-3100WPRO
Half Size Convection Oven PRO
This manual contains important information regarding your
KM Kitchen Monkey unit. Please read this manual thoroughly prior to
equipment set-up, operation and maintenance. Failure to comply
with regular maintenance guidelines outlined in this manual may
void the warranty. PLEASE READ!

WARNINGS
• Do not touch any hot surfaces
• Plug only i nt o a 3-hole grounded electrical outlet
• Do not immerse unit, cord or plug in liquid at any time
• Unplug cord from outlet when not in use and before cleaning
• Do not operate unattended
• Do not use thi s unit for anything other than intended use
• Do not use outdoors
• Do not clean unit with a water stream or jet
• Always use on a firm, dry and level surface at least 12” from walls or any other obstruction
• Do not use if unit has a damaged cord or plug, in the event the appliance malfunctions, or has been damaged in any manner
• Keep children and animals away from unit
• Any incorrect installation, alterations, adjustments and/or improper maintenance can lead to property loss and injury.
All repairs should be done by authorized professionals only
• Ensure that the designated power supply is adequate for continual usage and the voltage is correct
BEFORE USE
- Remove all packing and protective plast ic coating from th e side panels
- Operate the oven for 1 hour at 400 degrees F
Baking
1. Turn power on. Once on, the power switch will illuminate.
2. Set thermostat to desired temperature.
3. Once the oven is up to temperature, place product in side oven . Av oid dela y s i n l oading th e oven w ith the door op en a s
this will delay the ovens temperature recovery.
*Note: the ovens fan will switch off and the oven lights will illuminate when the door is opened.
4. Set baking timer by turning the knob clockwise to the required time. The tim e can be adjusted in ei ther direction
throughout baking. For baking less than 10 minutes, first set to greater setting, then turn down to the required time period.
*Not e: This 60 minutes time is completely independent of the oven control.
5. To view the product while baking, press the light switch down on the control panel. The light will stay on while latched in
this position.
6. When the time reached 0 minutes the buzzer w ill sound and the indicator illum in ates. To cancel t he buzzer tu rn the t ime
to the off position.
7. Remove product from ov en.
*Note: The ovens fan will switch off and the oven light will illuminate when the door is opened.
Cook & Hold
1. Turn power on. Once on, the power switch will illuminate.
2. Set thermostat to desired temperature.
3. Once the oven is up to temperature, place product inside oven. Avoid delays in loading the oven with the door open as
this will delay the ovens temperature recovery.
4. Set Cook an d Hold timer to desired time. 3 hour time is electrically driven and is set by turning the timer knob in either
direction to the required time. The time can be set when convenient, but will not start working until the oven control is set
and the Roast ‘n Hold switch is depressed.
5. Depress the Roast ‘n Hold switch. The switch will illuminate and the time will begin to count down.
6. To view the product while baking, press the light switch down on the control panel. The light will stay on while latched in
this position.
7. When the time reached the hold position, th e m ain oven therm ostat is turn ed off an d a pre-set hold thermostat located
behind the control panel will control the oven to keep the food warm at the serving temperature as long as required until
the Roast ‘n Hold switch is turned off.
*Note: The hold light will illuminate when the timer reaches hold until the Cook & Hold switch is turned off. The
hold light may co me on br iefl y w hen th e Cook & Hold control is first switched on until the oven heats up beyond the
pre-set holding temperature.
Grilling / Broiling
1. Turn thermostat fully clockwise until the grill/broil position is reached. The grill/broil indicator will illuminate indicating
that the grill/broil function has been set. The heating indicator will also illuminate whenever the element is on. It is also
recommended that the grill/broil mode is only used with the oven door open as the oven fan is then automatically off. If
however the grill/broil mode is used with the door closed, the elements will cycle on/off when oven temperature rises above
300 degrees C (5 70 de gree s F) to prevent the damage to the oven.
2. Place oven rack normally on the top position. When th e element has reach ed brigh t re d (5 m i nutes ), posi tion th e dis h un der
the grill/broil element. Heat food on one side and then turn on the other side. It is not re commended to close door when
grilling/broiling.
3. Set baking timer by turning the knob clockwise t o th e requ ired t ime. The time can be adjusted in either direction throughout
baking. For baking less than 10 minutes, first set to greater setting, then turn down to the required time period.
Note: This 60 minute oven time is completely independent of the oven control
4. When the timer reaches 0 minutes the bu zzer sounds and indicator illum in ates. To cancel the bu zzer tu rns the timer to the
off position .
5. Remove product from oven. This convecti on oven wi ll cook a greater quan tity of food faster, at a low er temperature an d
more evenly than an ordinary oven. When the door is opened the fan will switch off but elements will remain on to provide
quick heat recovery. A high powered t op element is fitted for toasting or broiling.
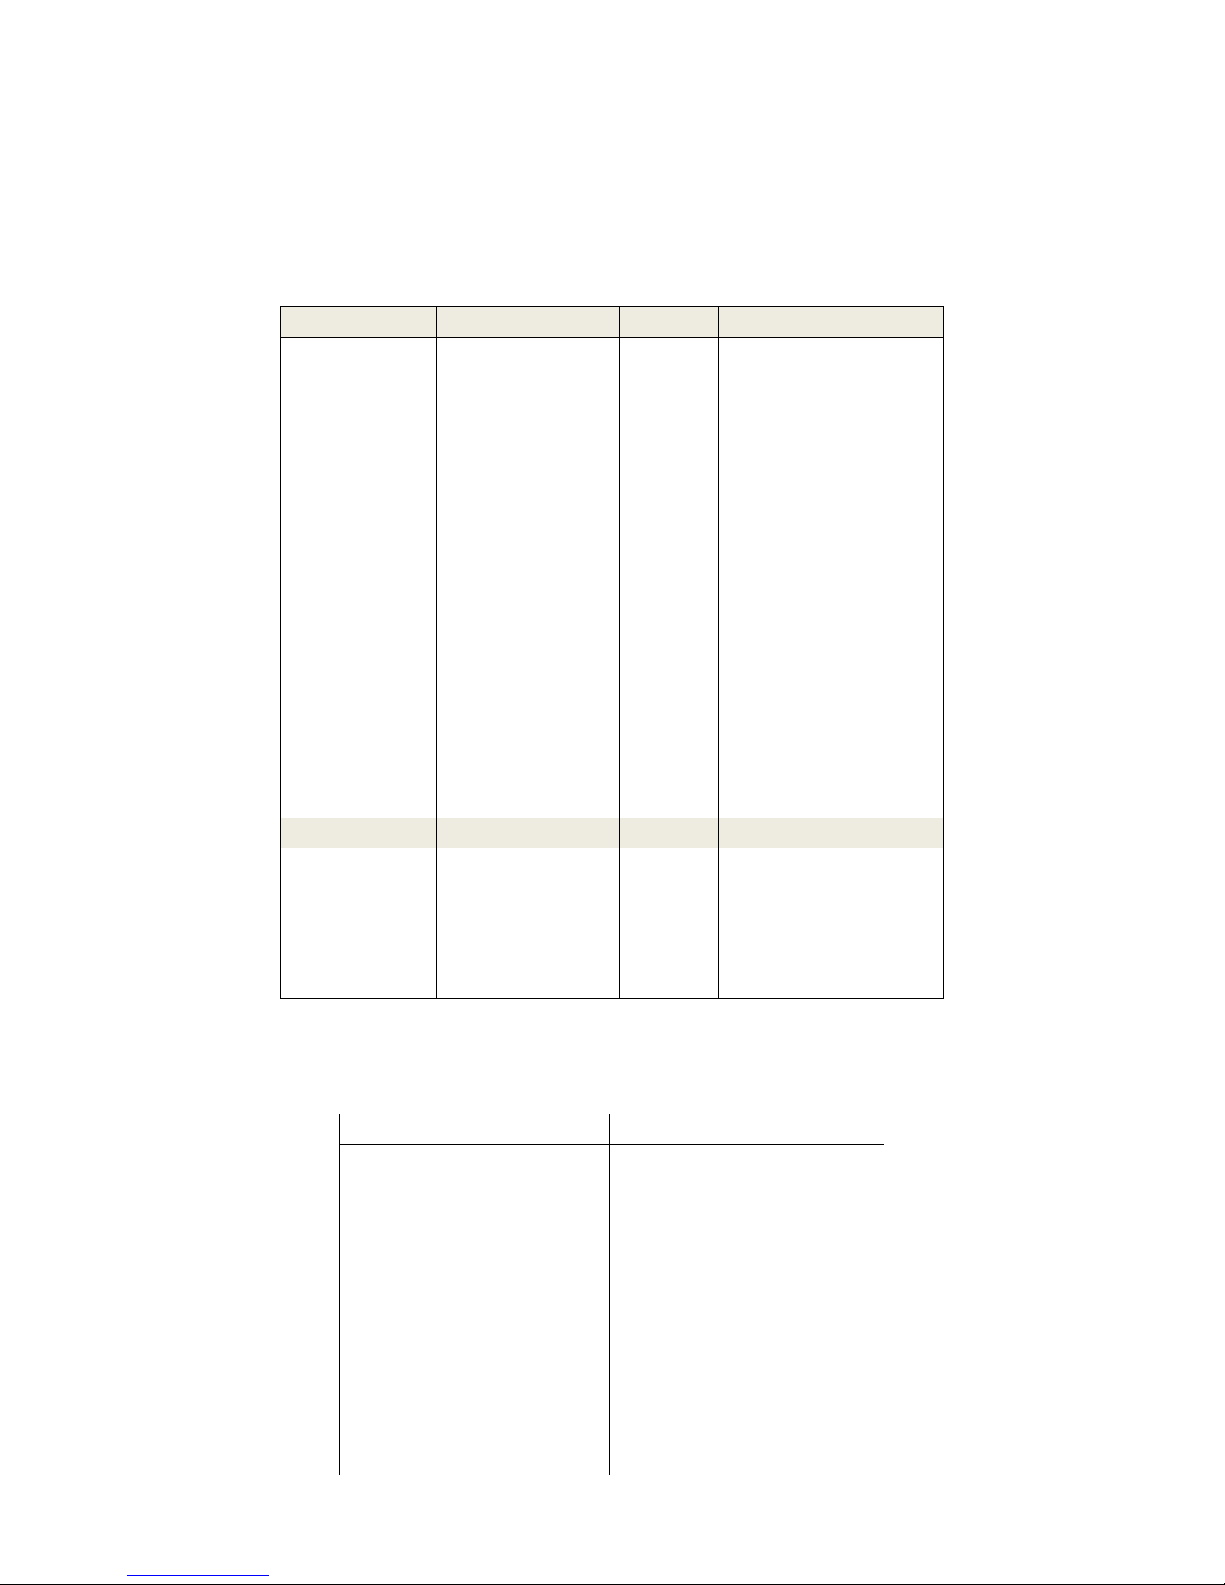
FOOD TEMP C TEMP F TIME
Sponges
Small Cakes
Butter Cakes
Fruit Loaf
Macaroons
Biscuits
Shortbread
Scones
Madeira
Bread
Plain Fruit Cake
Rich Fruit Cake 130 265 2-3 hrs
Gingerbread 140 285 35-50 mins
Baked Custard 130 265 50 mins
Souffle 165 330 25 mins
Rice Pudding 130 265 2-3 hrs
Pastry
Puff 220 430 8-12 mins
Short 175 350 8-12 mins
Flakey 205 400 8-12 mins
Jam 185 365 12-20 mins
Fruit 185 365 35 mins
Roasting
Set the oven temperature to 150-170 degrees C (3 00 degre es F -340 degrees F). The hot air circul ating in the oven reduces
moisture loss and shrinkage. Roasti ng times are reduced by approx imately 10 minutes per kg .
MEAT TIME per kg
Beef - Rare
Beef - Medium 40-50 min
Beef - Well Done 50-60 min
Veal 50-70 min
Lamb 30-40 min
Duck 50 min
Goose 50 min
Turkey 30-40 min
Chicken
-under 1 kg 50-60 min
-over 1 kg 40 min
165 330 10-12 mins
165 330 8-12 mins
160 320 35 mins
150 300 40-50 mins
160 320 15-20 mins
140 285 12-20 mins
130 265 15-20 mins
200 390 10-12 mins
165 330 35-50 mins
175 350 25-35 mins
165 330 1-11/2 hrs
30-40 min

Cook & Hold
This system will automatically cook food for a set time, and then hold the oven at a preset tem perature indef initely t o maintain
food at a serving temperature after cook ing has been completed.
Browning
Different f oods m ay be cook ed t oget her , e.g. baking and roasting may be carried out at the sam e time. Food w hich requi res a
slightly hi gher t em peratu re or m ore b row ni ng s houl d be plac ed a t t he top of the oven so that the broil elemen t may be select ed
(with the door shut) during the last few minutes of cooking. As the top element is quite powerful, keep a close w atch on
browning progre ss .
Grilling/Broiling
Turn the oven thermostat to Grill/Broil. Place an ov en ra ck n or mal ly on th e sec ond pos iti on f rom th e top. Pla ce t he food on a
grill tray. This allows fat to drain, to prevent smoking. When the element has reached a bright red (5 minutes) position the dish
under the grill/broil element. Heat f ood on one si de then tu rn on th e other side. Toast sandw iches, etc. on a scone tray on the
top rack position. It is not recommended to close the door when grilling/broiling.
Troubleshooting
Fault Possible Cause Remedy
The mains isolating switch on the wall, circuit
The oven does not operate / start
breaker or fuses are “off” at the power board.
The power switch on the oven is off.
Bake timer does not time down Bake timer not set correctly
Cook timer does not time down Cook & Hold button not depressed.
Turn on. Depress switch. Switch
will illuminate
For settings less than 10 minutes,
first set the grater setting then
turn back to desired setting
Depress Roast n Hold button
(Roast time only operates when
Roast function is selected)
Oven light not illuminating Blown bulb Replace bulb.
Too high a temperature selected. Oven or racks not level. Insufficient air
Uneven cooking
space around trays or baking tins. Opening oven door unnecessarily.
Faulty thermostat, oven door or restricted oven venting.
Smoking or discoloration around door Oven too hot. Food spillovers not cleaned up. Faulty oven door seal.
CLEANING – NOTE: To maintain cleanliness and increase service life, the oven should be cleaned daily. Do not immerse the
unit in water or any other liquid. If liquid enters the electrical compartment it may cause a short circuit or electrical shock
1. Clean the exterior with a good quality stainless steel compound.
2. To avoid damage, do not use abrasive cleaners or scouring pads.
3. If soap or chemical cleaners are used, be sure they are completely rinsed away with clear water immediately after
cleaning. Chemical residue could damage or corrode the surfaces of the unit.
4. To clean the interior, ensure that the oven chamber is cool.
5. Take care not to damage the fan or the tu be on the rig ht si de of the oven as t his con trols the t hermostat.
6. If soap or chemical cleaners are used, be sure they are completely rinsed away with clear water immediately after
cleaning. Chemical residue could damage or corrode the surfaces of the unit.
7. Clean oven door gl ass w ith conventional glass cleaner.
8. To remove oven racks, slide to the out position, raise the front edge up, and lift out. Different types of food tray s c an be
placed on oven racks.
9. To remove side racks, undo the thumb screws (counter-clockwise rotation) securing rack to the oven wall. Swing the rack
towards the center of the oven to diseng age location pin in th e front and pull th e rack to rem ove. To replace, eng age rack i n
rear holes. Swing towards side of oven to engage in front hole, and replace th umbscrew
10. Lift out the bottom element cover and thoroug hly cl ean once per w eek
11. To remov e the fan baffle, unscrew the oven lamp glass and lift the baffle out . To replace, locate t he bottom edge of the
baffle (over the bottom element term inal plate) an d secure in place w ith the oven lam p glass. DO NOT OVER TIGHTEN
THE LAMP GLASS
12. To remov e the oven seals, hold at the center position and pull forward until the seals unclip. Remove the side seals first,
then the top and finally the bottom . The seals m ay be washed in the sink , but take care n ot to damag e them as they are
fragile. To replace, face the lip tow ards the oven opening. Fir the top and bottom seals first, then the side seals.


COH-3100WPROCOH-3100WPRO
VER811VER811

Pro Half Size Convection Oven - KMCOH-3100WPRO
Reference Number Part Number Description
1 COHP-1 Outer Glass
2 Fixation Bar Under Glass Door
3 Door Handle
4 Rack for Handle
5 Bolt
6 Rack Before Bottom Element
7 Left Support Rack
8 Support Plate for Bottom Element
9 COHP-9 Top Element
10 COHP-10 Wire Rack
11 Right Support Rack
12 COHP-12 Bottom Element
13 COHP-13 Bulb
14 Fan Cover
15 COHP-15 Nut to Fix Fan
16 COHP-16 Motor
17 Screw
18 Front Bottom Strenghten Bar
19 Inner Chamber
20 COHP-20 Red Switch
21 COHP-21 Timer Button
22 COHP-22 Indicator
23 COHP-23 Knob
24 COHP-24 Green Switch
25 COHP-25 Thermostat EGO (194°F)
26 COHP-26 180 Minute Timer
27 COHP-27 Foot
28 Junction Box
29 Earth Screw
30 Plate to Fix Relay
31 COHP-31 Relay
32 COHP-32 Microswitch Stop
33 Plate to Fix Power Cord
34 COHP-34 Power Cord and Strain Relief
36 COHP-36 Microswitch

37 Rear Plate
39 Rear Bottom Housing Boarding
41 COHP-41
Thermostat EGO (608°F)
38 Plate to Fix Motor
40 COHP-40 60 Minute Timer
42 COHP-42 Buzzer
43 Right Fix Bar
44 Rod to Push Toggle Switch
45 Flue
46 Rubber Ring
47 Plate to Fix Flue
48 Top Housing Boarding
49 Decorate Bar on Front Door
50 Door Beam
51 COHP-51 Door Gasket
52 Left Fix Bar
53 COHP-53 Fan
54 Bulb Base
55 Rivet
56 Screw
57 Strengthen Bar for Door Frame
58 COHP-58 Inner Glass
59 Screw
60 COHP-60 Door Latch
66 Rubber to Press Door Glass
67 COHP-67 Door Shaft and Bushing
69 Fix Bar for Door Glass
70 Door Frame

Kitchen Monkey Equipment warrants its equipment against defects in materials and workmanship, subject to the
following conditions:
Kitchen Monkey Equipment is warranted for one year, effective from the date of purchase by the original owner. A copy
of the original receipt or other proof of purchase is required to obtain warranty coverage. This warranty applies to the
original owner only, and is not assignable.
Should any product fail to function in its intended manner under normal use within the limits defined in this warranty, at
Kitchen Monkey Equipment's discretion, such product will be repaired, replaced with a refurbished unit, or replaced
with a new unit by Kitchen Monkey Equipment, after defective unit has been inspected and defect has been confirmed.
Kitchen Monkey Equipment does not assume any liability for extended delays in replacing any item beyond its control.
This warranty does not apply to rubber and non-metallic synthetic parts that may need to be replaced due to normal usage,
wear or lack of preventative maintenance.
This warranty covers products shipped into the 48 contiguous United States, Hawaii, and metropolitan areas of Alaska
and Canada. Warranty coverage on products used outside the 48 contiguous United States, Hawaii and metropolitan
areas of Alaska and Canada may vary.
The following conditions are not covered by warranty:
• Equipment failure relating to improper installation, improper utility connection or supply and problems due to improper
ventilation.
• Equipment that has not properly been maintained, damage from improper cleaning, and water damage to controls.
• Equipment that has not been used in an appropriate manner, or has been subject to misuse, neglect, abuse, accident,
alteration, negligence, damage during transit, delivery or installation, fire, flood, riot, or act of God.
• Equipment that has the model number or serial number removed or altered.
• Equipment on which the security seal has been broken.
Kitchen Monkey Equipment One Year Limited Warranty
If the equipment has been changed, altered, modified, or repaired without express written permission from ACE, then the
manufacturer shall not be liable for any damages to any person or to any property, which may result from the use of this
equipment thereafter.
This equipment is intended for commercial use only and this warranty is void if equipment is used in other than a
commercial application.
For warranty and non-warranty related issues, technical support, purchase replacement parts and warranty registration
visit www.kitchen-monkey.com. Please have your model number, serial number and proof of purchase ready. It is not
necessary to contact the place where you originally purchased your product from.
“THE FOREGOING WARRANTY IS IN LIEU OF ANY AND ALL WARRANTIES EXPRESSED OR IMPLIED
INCLUDING ANY IMPLIED WARRANTY OF MERCHANTABILTY OR FITNESS FOR PARTICULAR
PURPOSES AND CONSTITUES THE ENTIRE LIABILITY OF ACE. IN NO EVENT DOES THE LIMITED
WARRANTY EXTEND BEYOND THE TERMS STATED HEREIN.”
 Loading...