

KitchenAid KUWS246EWH02 Installation Instruction
Installation Instructions
HOME APPLIANCES
Before installing your Wine Cellar...
Important: Observe all governing codes and ordinances.
Check that you have everything necessary for correct
installation. Proper installation is your responsibility.
✔Parts supplied for installation
Check that all parts were included.
• grille • literature package
✔Tools needed for installation
• Phillips screwdriver • level
• 7/32” hex driver and • gloves
rachet wrench
✔Location for proper performance
This appliance may be installed as a freestanding or
built-in unit. The location must provide the following:
• Grounded electrical outlet located within 4 feet of
the lower left rear corner of the wine cellar.
• Sturdy floor
to support the weight of the wine
cellar (110 lb.) and contents.
• Door clearance
large enough for door to open 90°
minimum. (See “Door swing dimensions.”)
• Proper room temperature:
Room temperature
should not fall below 55°F. Do Not install wine
cellar near an oven, radiator, or other heat source.
• Protection from weather, water and direct
sunlight.
• Open space in front of the grille.
Blocking air flow
in front of the wine cellar could cause wine cellar
to malfunction. Do Not install wine cellar in a
closet or behind a cabinet door.
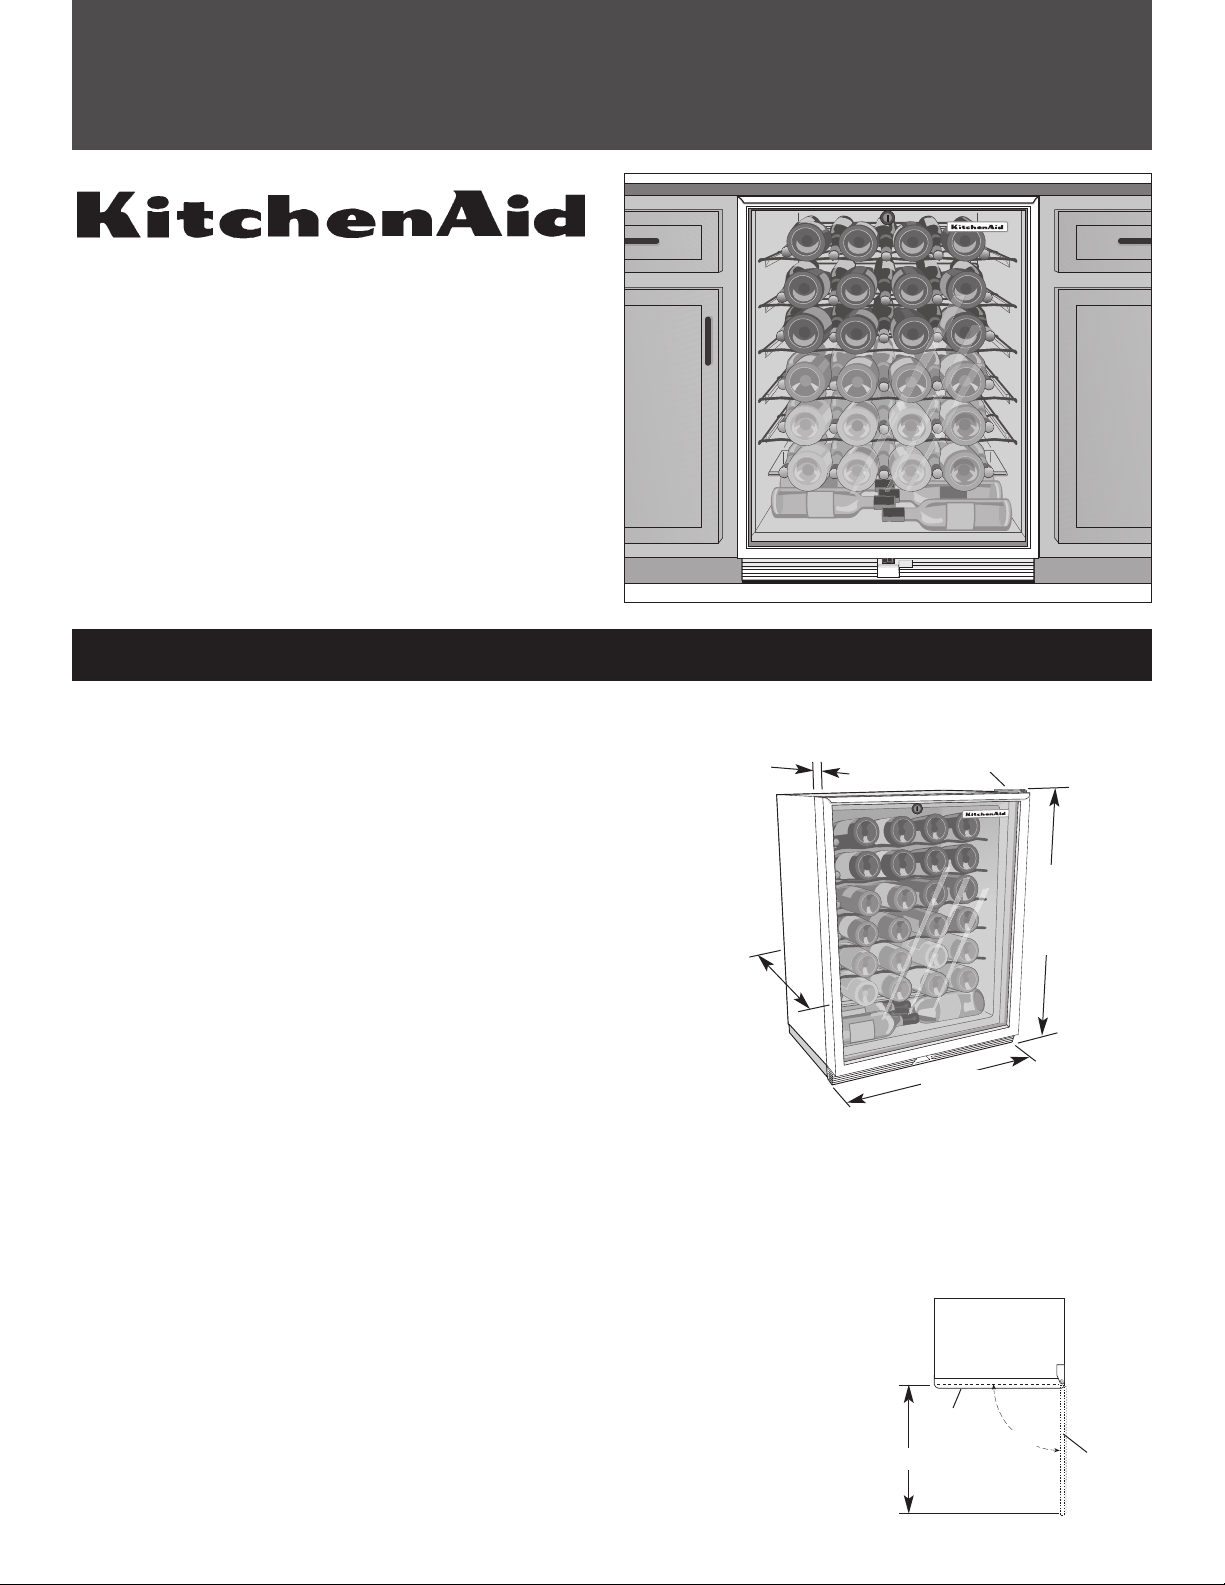
23-7/8”
width
23” overall
depth without
handle
34” min.
height;
35” with
leveling legs
extended 1”
Built-in installation:
Additional clearance is not needed for air
movement. However, a 1/8” minimum clearance on sides,
top and rear of unit is recommended for ease of removal or
servicing.
Keep cardboard shipping piece or plywood under wine cellar
until it is installed in the operating position to prevent
damage to floor covering.
Top front of
wine cellar
handle
door
90°
23-1/4”
Wine Cellar
Refrigerated Wine Storage System
Important:
Read and save these instructions.
• Installer: Leave Installation Instructions
with the homeowner.
• Homeowner: Keep Installation Instructions for
future reference.
• Save these Installation Instructions for the local
electrical inspector’s use.
✔Product dimensions
®
top hinge
2" door
thickness
without
handle
✔Door swing dimensions

Electrical
Requirements
A. Prepare wine cellar
for installation
If codes permit and a separate
grounding wire is used, it
recommended that a qualified
electrician determine that the
grounding path is adequate.
3-prong groundingtype wall receptacle
3-prong
grounding
plug
power
supply cord
grounding
prong
A 120-volt, 60-Hz, AC-only, 15- or 20ampere, fused, electrical supply is
required. A time-delay fuse or circuit is
recommended. It is recommended that
a separate circuit serving only this wine
cellar be provided.
This wine cellar is equipped with a
power supply cord having a 3-prong
grounding plug. To minimize possible
shock hazard, the cord must be plugged
into a mating 3-prong, grounding-type
wall receptacle, grounded in accordance
with all national and local codes and
ordinances.
Now start...
WARNING
Because of the weight and size of
the wine cellar, two or more
people are required to install it.
All four leveling legs must contact
the floor to support and stabilize
the weight of the wine cellar and
contents.
Failure to follow these
instructions could result in injury.
Injury Hazard
WARNING
Electrical Shock Hazard
Electrical ground is required.
Do Not ground to a gas pipe.
Do Not change the power supply
cord plug. If it does not fit the
outlet, have a proper outlet
installed by a qualified electrician.
Do Not have a fuse in the neutral
or grounding circuit.
Do Not use an extension cord.
Check with a qualified electrician if
you are not sure wine cellar is
properly grounded.
It is the customer’s responsibility
to contact a qualified electrical
installer; and to assure that the
electrical installation is adequate
and in conformance with all
national and local codes and
ordinances.
Failure to follow these instructions
could result in death or electrical
shock.
Important: Observe all governing codes
and ordinances.
Do not lift the wine cellar by the door
handle.
Slide wine cellar onto cardboard or
hardboard before moving to prevent
floor damage.
Do Not touch the sharp condenser fins.
1.
Remove tape, grille and
literature/parts packages from wine cellar.
Wipe interior with damp cloth to remove
any dust.
2.
Put on protective gloves.
!
!
 Loading...