

KitchenAid KUCC151JBS0, KUCC151JBL0, KUCC151JAL0, KCCC151JWH0, KCCC151JBL0 Owner’s Manual

Kitchen_kid ®
COMPACTOR
For questions about features, operation/performance, parts accessories or service, call: 1-800-422-1230
In Canada, call for assistance 1-800-461-5681, for installation and service, call: 1-800-807-6777 or visit our website at...
www.kitchenaid.com or www.kitchenaid.com/canada
Table of Contents ........................................................................................................... 2
9871780A

TABLE OF CONTENTS
COMPACTOR SAFETY ............................................................. 3
INSTALLATION INSTRUCTIONS .................................................. 4
Unpacking .................................................................................... 4
Location Requirements ................................................................ 4
Electrical Requirements ............................................................... 5
Freestanding and Undercounter Installation ............................... 5
Changing the Decorative Panel ................................................... 7
COMPACTOR USE......................................................................... 9
How Your Compactor Works ....................................................... 9
Loading ......................................................................................... 9
Star_ing Your Compactor ........................................................... 10
Using Solid (Locked) Cycle ........................................................ 10
Using the Charcoal Air Filter ...................................................... 10
Removing a Filled Bag ............................................................... 10
Installing a New Bag .................................................................. 11
COMPACTOR CARE .................................................................... 11
Changing the Charcoal Air Filter ................................................ 11
Cleaning ...................................................................................... 11
TROUBLESHOOTING .................................................................. 13
ASSISTANCE OR SERVICE ......................................................... 14
In the U.S.A ................................................................................ 14
In Canada ................................................................................... 14
Accessories ................................................................................ 14
WARRANTY .............................................................................. 16
2
COMPACTOR SAFETY
Your safety and the safety of others are very important.
We have provided many important safety messages in thismanual and on your appliance. Always read and obey all
safety messages.
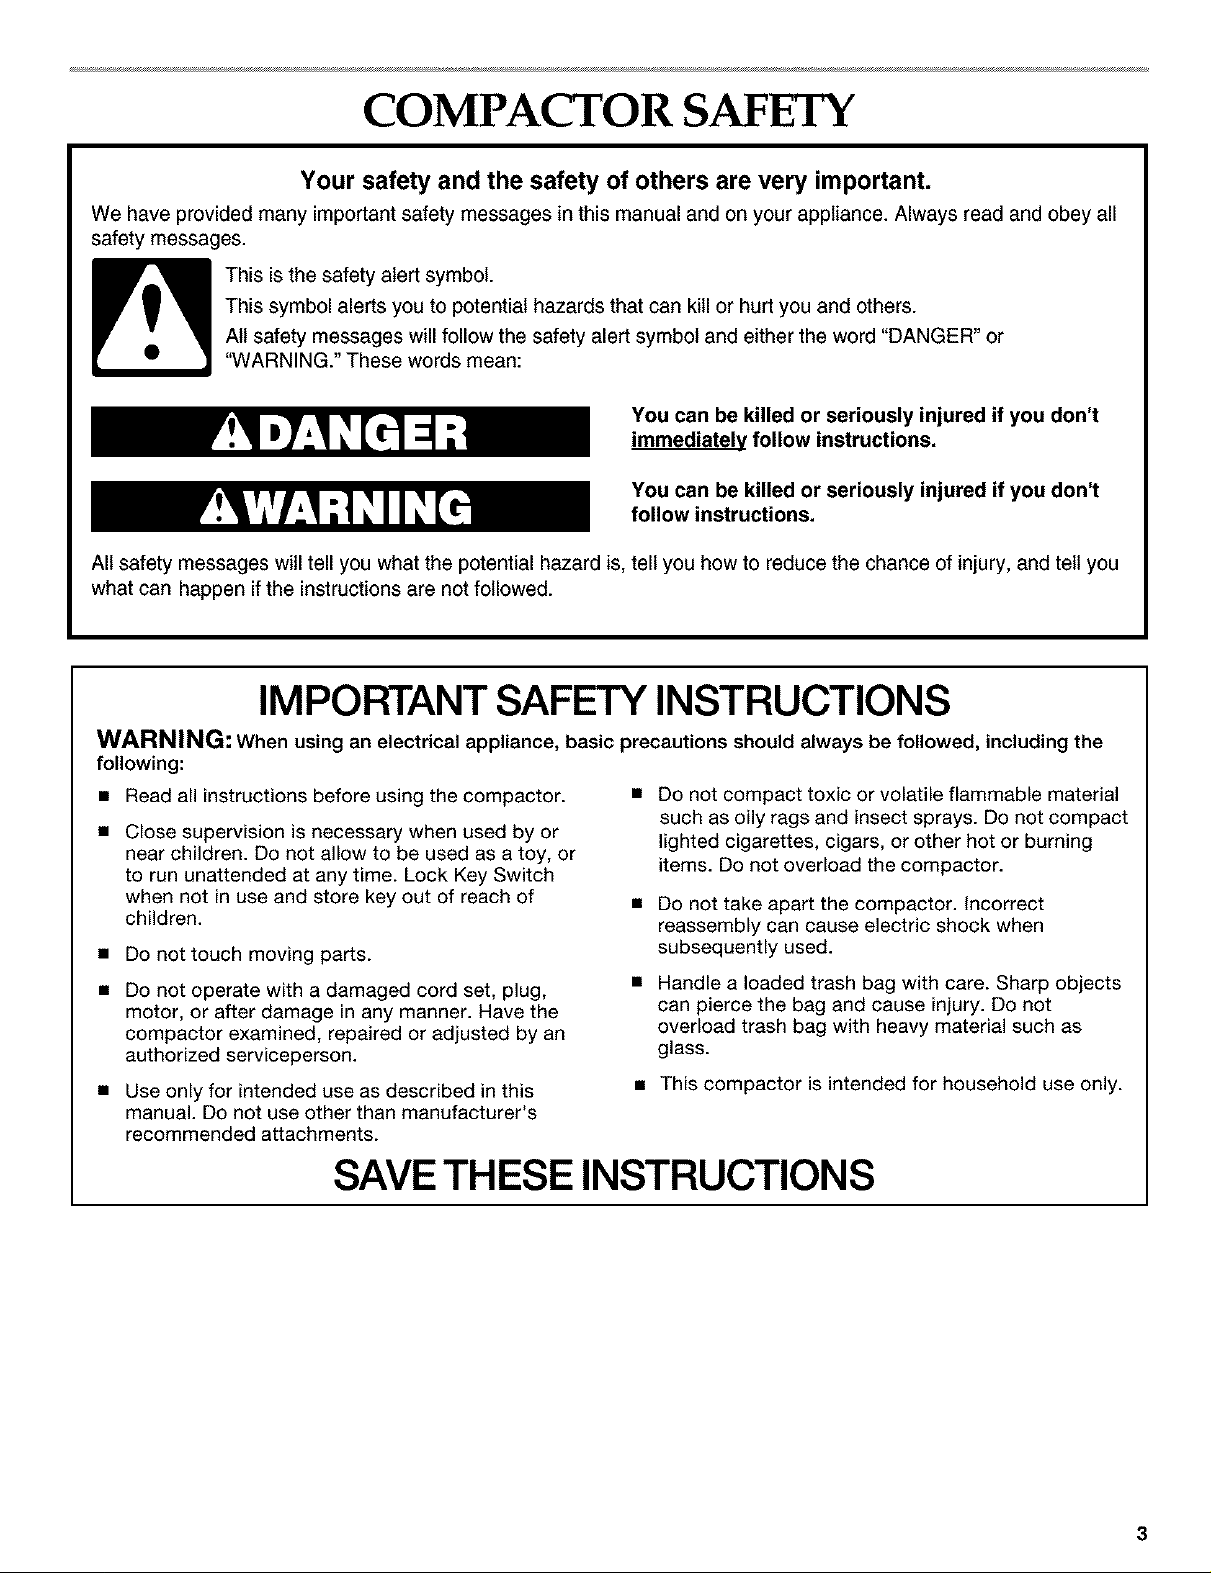
This is the safety alert symbol.
This symbol alerts you to potential hazards that can kill or hurt you and others.
All safety messages will follow the safety alert symbol and either the word "DANGER" or
"WARNING." These words mean:
You can be killed or seriously injured if you don't
immediately follow instructions.
You can be killed or seriously injured if you don't
follow instructions.
All safety messages will tell you what the potential hazard is, tell you how to reduce the chance of injury, and tell you
what can happen if the instructions are not followed.
IMPORTANT SAFETY INSTRUCTIONS
WARNING: When using an electrical appliance, basic precautions should always be followed, including the
following:
• Read all instructions before using the compactor.
• Close supervision is necessary when used by or
near children. Do not allow to be used as a toy, or
to run unattended at any time. Lock Key Switch
when not in use and store key out of reach of
children.
• Do not touch moving parts.
• Do not operate with a damaged cord set, plug,
motor, or after damage in any manner. Have the
compactor examined, repaired or adjusted by an
authorized serviceperson.
• Use only for intended use as described in this
manual. Do not use other than manufacturer's
recommended attachments.
Do not compact toxic or volatile flammable material
such as oily rags and insect sprays. Do not compact
lighted cigarettes, cigars, or other hot or burning
items. Do not overload the compactor.
Do not take apart the compactor. Incorrect
reassembly can cause electric shock when
subsequently used.
Handle a loaded trash bag with care. Sharp objects
can pierce the bag and cause injury. Do not
overload trash bag with heavy material such as
glass.
• This compactor is intended for household use only.
SAVE THESE INSTRUCTIONS
INSTALLATION
INSTRUCTIONS
Installer: Leave Use and Care Guide with the homeowner.
Homeowner: Keep Use & Care Guide for future reference and for
local electrical inspectoCs use, if required.
IMPORTANT:
• Do not grasp console to move compactor.
• Begin in the room where the compactor will be located.
1. Remove compactor from shipping carton. Remove all
protective packaging materials such as tape and shipping
pads. Use a mild solution of liquid household cleaner and
warm water to remove waxy residue caused by protective
shipping material. Dry thoroughly with a soft cloth. For more
information, see the "Cleaning" section.
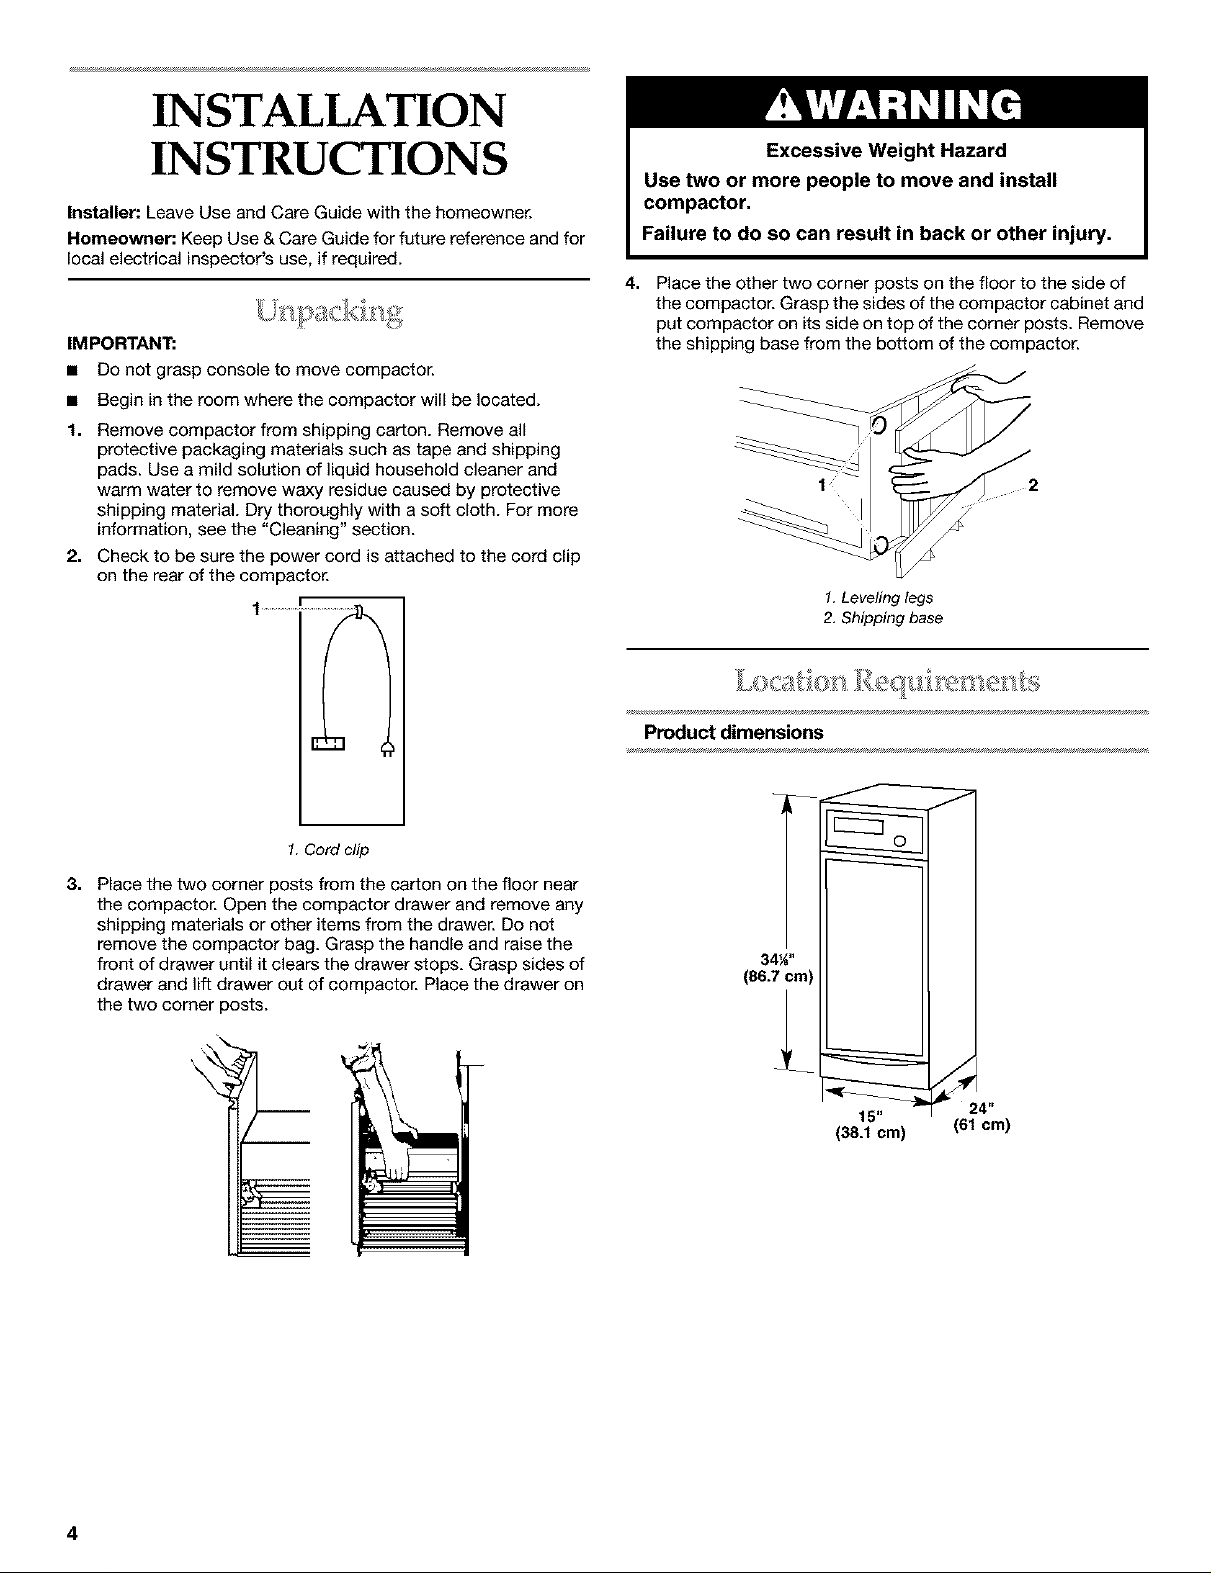
2. Check to be sure the power cord is attached to the cord clip
on the rear of the compactor.
1 r
4.
Place the other two corner posts on the floor to the side of
the compactor. Grasp the sides of the compactor cabinet and
put compactor on its side on top of the corner posts. Remove
the shipping base from the bottom of the compactor.
1. Leveling legs
2. Shipping base
I
1. Cord clip
3.
Place the two corner posts from the carton on the floor near
the compactor. Open the compactor drawer and remove any
shipping materials or other items from the drawer. Do not
remove the compactor bag. Grasp the handle and raise the
front of drawer until it clears the drawer stops. Grasp sides of
drawer and lift drawer out of compactor. Place the drawer on
the two corner posts.
"\
i
Product dimensions
L
34_"
(86.7 cm)
15"
(38.1 cm) (61 cm)
4
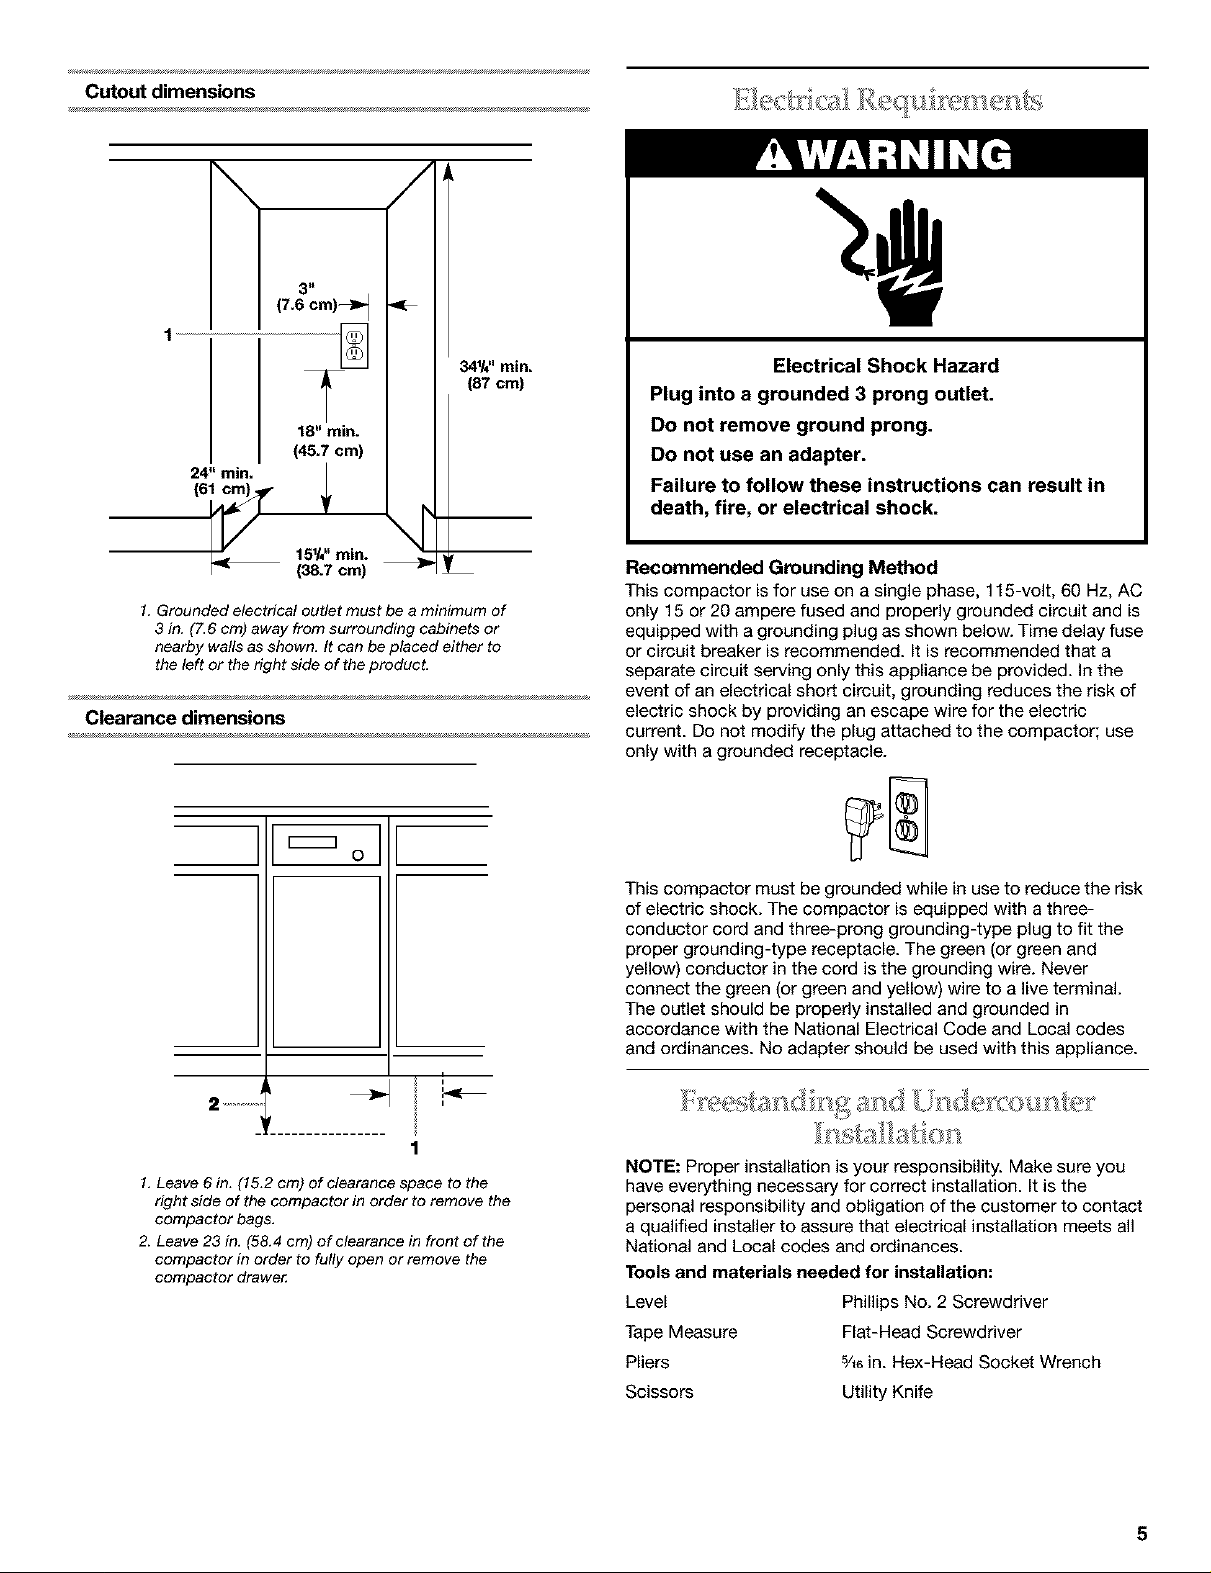
Cutout dimensions
\
(7.6 cm)_
18" min.
145.7cm)
24" rain.
(6_ _1_ 151/4"min.
(38.7 cm)
1. Grounded electrical outlet must be a minimum of
3 in. (7.6 cm) away from surrounding cabinets or
nearby walls as shown. It can be placed either to
the left or the right side of the product.
Clearance dimensions
I
34_h" min.
(87 cm)
Electrical Shock Hazard
Plug into a grounded 3 prong outlet.
Do not remove ground prong.
Do not use an adapter.
Failure to follow these instructions can result in
death, fire, or electrical shock.
Recommended Grounding Method
This compactor is for use on a single phase, 115-volt, 60 Hz, AC
only 15 or 20 ampere fused and properly grounded circuit and is
equipped with a grounding plug as shown below. Time delay fuse
or circuit breaker is recommended. It is recommended that a
separate circuit serving only this appliance be provided. In the
event of an electrical short circuit, grounding reduces the risk of
electric shock by providing an escape wire for the electric
current. Do not modify the plug attached to the compactor; use
only with a grounded receptacle.
This compactor must be grounded while in use to reduce the risk
of electric shock. The compactor is equipped with a three-
conductor cord and three-prong grounding-type plug to fit the
proper grounding-type receptacle. The green (or green and
yellow) conductor in the cord is the grounding wire. Never
connect the green (or green and yellow) wire to a live terminal.
The outlet should be properly installed and grounded in
accordance with the National Electrical Code and Local codes
and ordinances. No adapter should be used with this appliance.
1. Leave 6 in. (15.2 cm) of clearance space to the
right side of the compactor in order to remove the
compactor bags.
2. Leave 23 in, (58.4 cm) of clearance in front of the
compactor in order to fully open or remove the
compactor drawer.
NOTE: Proper installation is your responsibility. Make sure you
have everything necessary for correct installation. It is the
personal responsibility and obligation of the customer to contact
a qualified installer to assure that electrical installation meets all
National and Local codes and ordinances.
Tools and materials needed for installation:
Level Phillips No. 2 Screwdriver
Tape Measure Flat-Head Screwdriver
Pliers 5/16in. Hex-Head Socket Wrench
Scissors Utility Knife
 Loading...