

KitchenAid KPCM100 User Manual

Model KPCM100 Coffee Maker
GUIDE TO
PROFESSIONAL
RESULTS
P RO L INE™S ERIES

MODEL
KPCM100
COFFEE MAKER
Table of Contents ...............................3
Coffee Maker Safety ...........................4
Important Safeguards.........................5
Proof of Purchase & Registration.........6
Electrical Requirements.......................7
Introduction
Section Contents
P RO L INE™S ERIES
1
INTRODUCTION
The KitchenAid®PRO LINE™ Series Dual Carafe Coffee Maker brings
commercial performance to the home, combining outstanding construction and
durability with features that make brewing abundant amounts of
superb coffee easy.
The commercial 1350 watt stainless steel heat pump
brews quickly, providing exceptionally smooth and
flavorful coffee. The elegant die-cast metal housing and
stainless steel brew basket will stand up to the heaviest use.
The front-fill water reservoir and slide-out basket design offer
remarkable convenience.
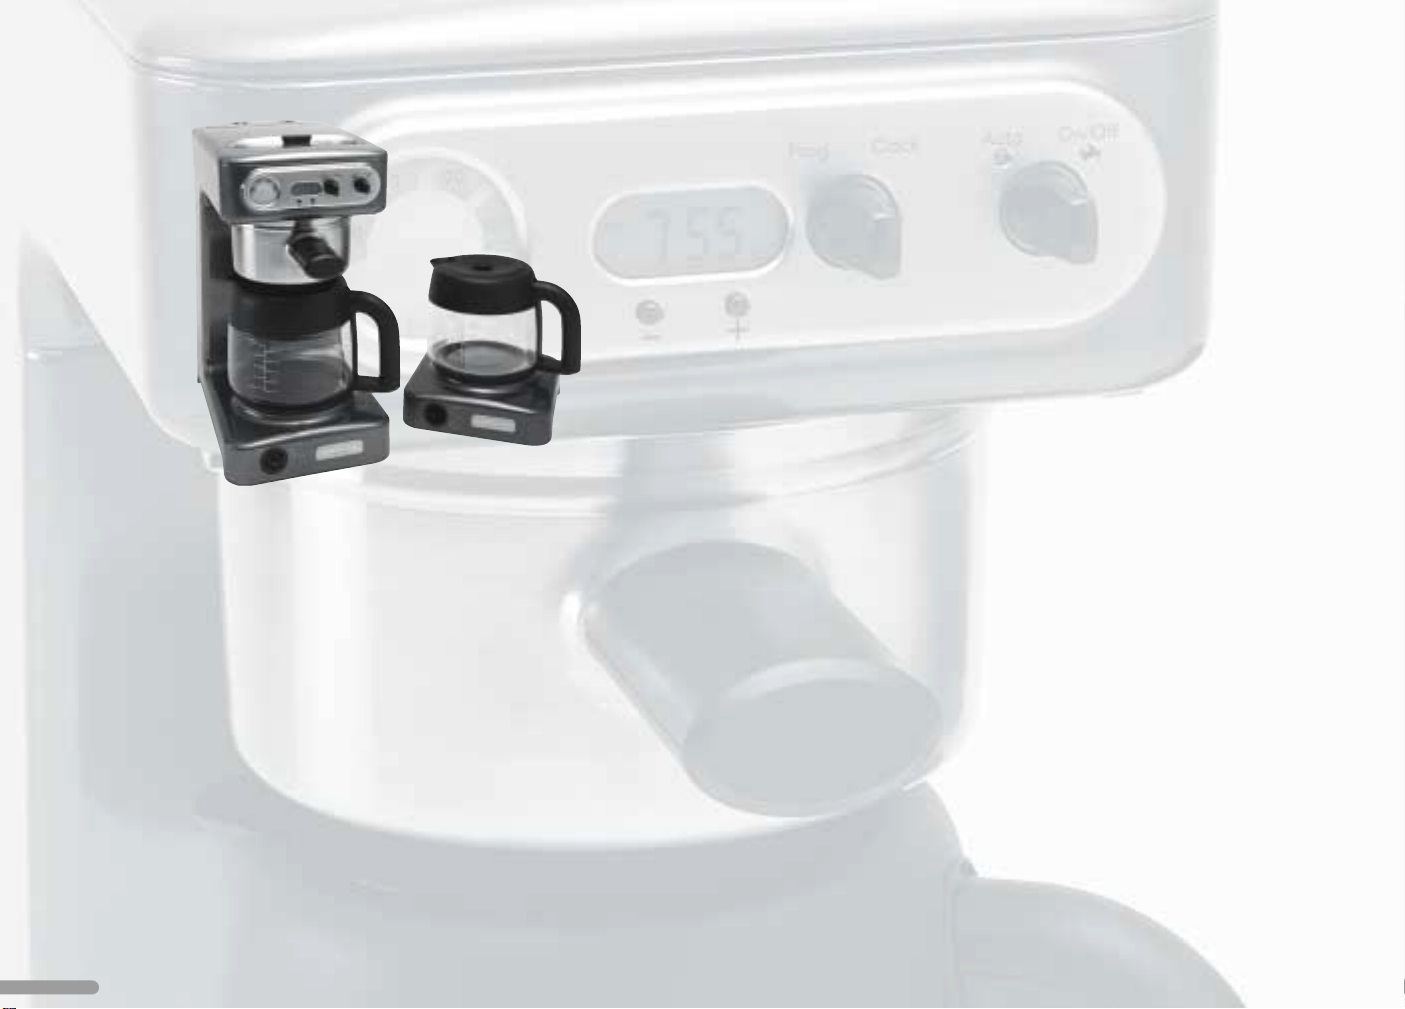
With dual 12-cup carafes and a portable second warming plate, the Coffee Maker features exceptional
capacity and flexibility. The warming plates have two temperature selections: “low” preserves the flavor
of coffee served at a leisurely pace, while “high” keeps coffee piping hot.
An easy-to-set digital brew timer makes waking up to fresh coffee every morning simple. After brewing,
keep an eye on coffee freshness with the handy “Time Since Brewing” display. And don’t worry about
leaving the Coffee Maker on: it automatically shuts off two hours after brewing.
The KitchenAid®PRO LINE™ Series: commercial quality for the discriminating home chef. From the
company distinguished by its legendary craftsmanship.
2

INTRODUCTION
3
TABLE OF CONTENTS
CARE AND CLEANING
Cleaning the Coffee Maker ................................................28
Descaling
............................................................................29
Storing the Coffee Maker
..................................................30
Cleaning the Optional Gold Tone Permanent Filter
..............30
Troubleshooting and Error Codes
......................................31
WARRANTY AND SERVICE INFORMATION
Warranty for the 50 United States & District of Columbia ....34
Warranty for Puerto Rico
....................................................35
Arranging for Hassle-Free Replacement
..............................35
Ordering Accessories and Replacement Parts
......................36
Arranging for Service After the Warranty Expires
................36
Arranging for Service Outside the 50 United States
& Puerto Rico
......................................................................37
INTRODUCTION
Introduction ....................................................................2
Coffee Maker Safety
..........................................................4
Important Safeguards
......................................................5
Proof of Purchase & Product Registration
............................6
Electrical Requirements
....................................................7
FEATURES AND OPERATION
Coffee Maker Features ..........................................................10
Preparing the Coffee Maker For Use
Pre-Use Cleaning ............................................................13
Installing the Water Filter................................................13
Setting the Time-of-Day Clock ........................................14
Brewing Coffee ......................................................................16
Using the Warming Plates
Adjusting the Temperature..............................................19
Turning Off the Warming Plates......................................19
Automatic Shutoff Feature..............................................19
Programming the Automatic Brew Timer ..............................20
Adjusting Message Tone Volume ............................................22
Resetting the Water Filter Icon ..............................................23
Coffee Brewing Suggestions: Advice for Great Taste..............24
4
COFFEE MAKER SAFETY
Your safety and the safety of others are very important.
We have provided many important safety messages in this manual and on your appliance. Always read
and obey all safety messages.
This is the safety alert symbol.
This symbol alerts you to potential hazards that can kill or hurt you and others.
All safety messages will follow the safety alert symbol and either the word “DANGER” or
“WARNING.”These words mean:
You can be killed or seriously injured if you don’t immediatel
y follow instructions.
You can be killed or seriously injured if you don’t follow
instructions.
All safety messages will tell you what the potential hazard is, tell
you how to reduce the chance of injury, and tell you what can
happen if the instructions are not followed.
DANGER
WARNING

INTRODUCTION
5
When using electrical appliances, basic safety precautions
should always be followed, including the following:
1. Read all instructions.
2. Do not touch hot surfaces. Use handles or knobs.
3. To protect against electrical shock, do not immerse cord,
plugs, or Coffee Maker in water or other liquid.
4. Close supervision is necessary when any appliance is used by
or near children.
5. Unplug Coffee Maker from outlet before cleaning. Allow to
cool before putting on or taking off parts, and before
cleaning the appliance.
6. Do not operate any appliance with a damaged cord or plug,
or after the appliance malfunctions or has been damaged in
any manner. Return appliance to the nearest authorized
service facility for examination, repair, or adjustment.
7. The use of accessories not recommended by the appliance
manufacturer may result in fire, shock or injury to persons.
IMPORTANT SAFEGUARDS
8. Do not use outdoors.
9. Do not let cord hang over edge of table or counter, or touch
hot surfaces.
10. Do not place on or near a hot gas or electric burner, or in a
heated oven.
11. Do not use appliance for other than its intended use.
12. Do not use appliance without lid properly placed on container.
13. The container is designed for use with this appliance. It must
never be used on a range top.
14. Do not set a hot container on a wet or cold surface.
15. Do not use a cracked container or a container having a loose
or weakened handle.
16. Do not clean container with cleaners, steel wool pads, or
other abrasive material.
17. This product has been UL Listed for household and
commercial use.
SAVE THESE INSTRUCTIONS

6
Always keep a copy of the sales receipt showing the date of
purchase of your Coffee Maker. Proof of purchase will assure you
of in-warranty service.
Before you use your Coffee Maker, please fill out and mail your
product registration card packed with the unit. This card will
enable us to contact you in the unlikely event of a product
safety notification and assist us in complying with the provisions
of the Consumer Product Safety Act. This card does not verify
your warranty.
PROOF OF PURCHASE
& PRODUCT REGISTRATION
Please complete the following for your personal records:
Model: KPCM100
Serial Number ___________________________________________
Date Purchased__________________________________________
Store Name _____________________________________________
INTRODUCTION
7
Volts: 120 V.A.C. only.
Hertz: 60 Hz
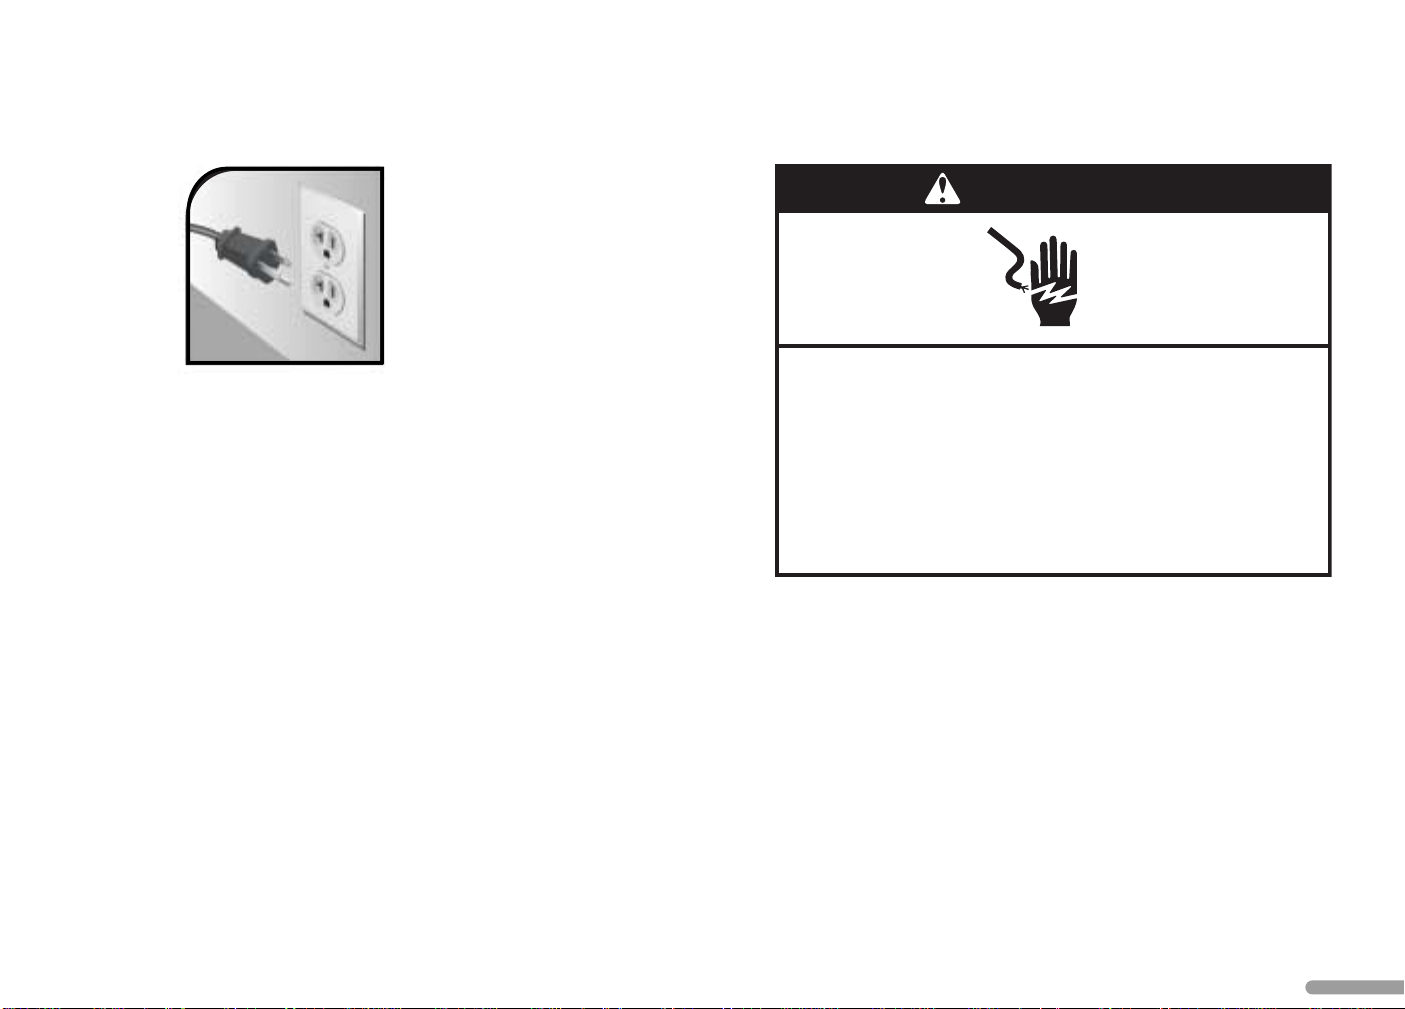
NOTE: Your Coffee Maker has a
3 prong grounded plug. To reduce the
risk of electrical shock, this plug will fit
in an outlet only one way. If the plug
does not fit in the outlet, contact a
qualified electrician. Do not modify the plug in any way.
A short power-supply cord is provided to reduce the risks resulting
from becoming entangled in or tripping over a longer cord.
Do not use an extension cord. If the power supply cord is too
short, have a qualified electrician or serviceman install an outlet
near the appliance.
ELECTRICAL REQUIREMENTS
WARNING
Electrical Shock Hazard
Plug into a grounded 3 prong outlet.
Do not remove ground prong.
Do not use an adapter.
Do not use an extension cord.
Failure to follow these instructions can result in death,
fire, or electrical shock.
FEATURES AND OPERATION
9
Coffee Maker Features......................10
Preparing For Use
Pre-Use Cleaning ..........................13
Installing the Water Filter..............13
Setting the Time-of-Day Clock ......14
Brewing Coffee.................................16
Using the Warming Plates ................19
Programming the Brew Timer ...........20
Adjusting Message Tone Volume ......22
Resetting the Water Filter Icon..........23
Coffee Brewing Suggestions .............24
Features and Operation
Section Contents
FEATURES
AND
OPERATION
P RO L INE™S ERIES
Front-Fill Water Guide
Fill the water reservoir through the convenient
front-fill water guide. A tone sounds to prevent
overfilling when the maximum water level is reached.
Water Guide Cover
Cover prevents debris from falling into the
water guide.
Water Filter Access Cover
Cover snaps in and out for convenient access to the
water reservoir and filter.
Stainless Steel Brew Basket
Durable basket slides in and out from the front for
easy access.
Brew Basket Insert
Insert removes from the brew basket for easy cleaning.
MODEL KPCM100
COFFEE MAKER FEATURES
10
Model KPCM100
Dual Carafe
Coffee Maker
FEATURES AND OPERATION
11
Continued…
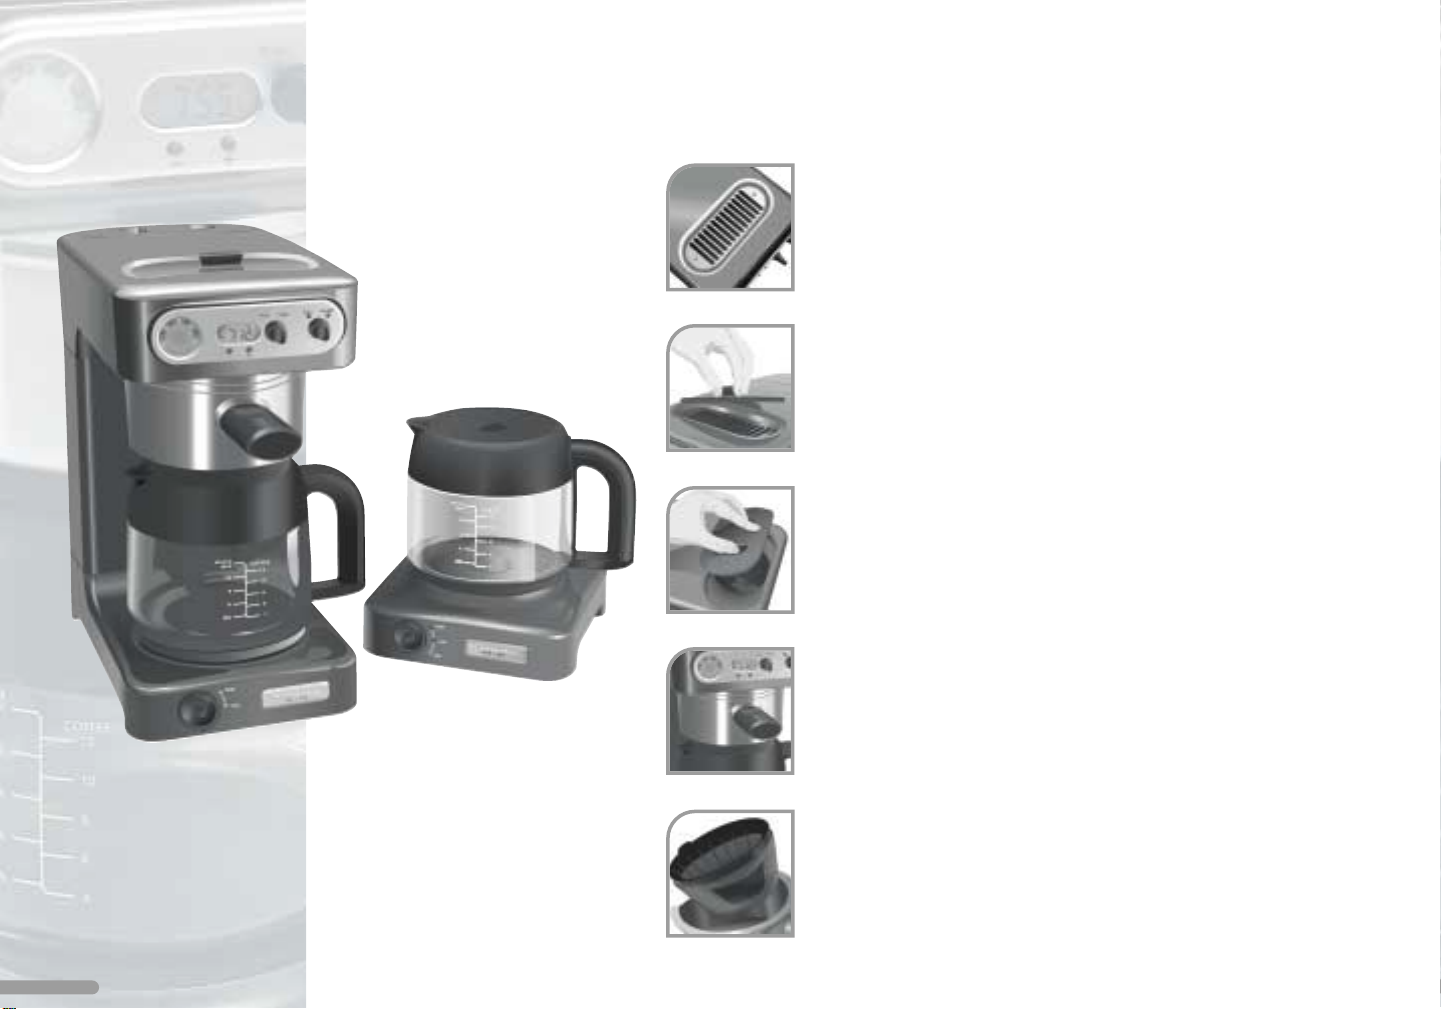
12-Cup Glass Carafes
Carafes feature drip-free pouring, comfortable
handles, and removable lids that snap in and out.
Orange and black lids can be alternated to indicate
regular or decaffeinated coffee.
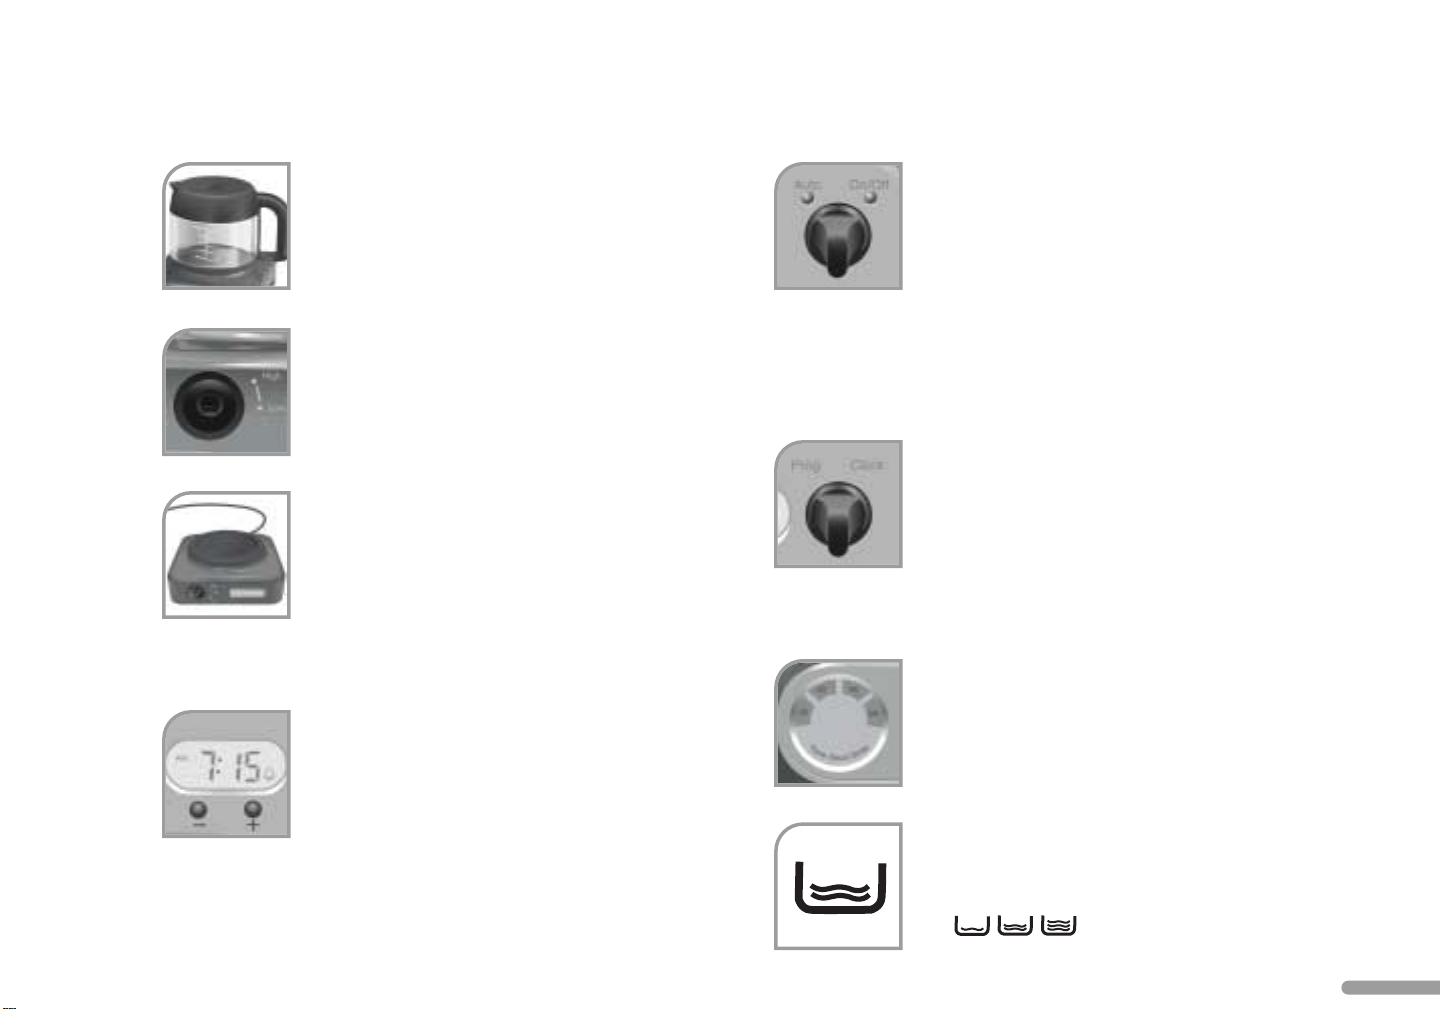
Warming Plate Temperature Switch
Keep coffee heated to taste: “low” preserves the
flavor of coffee served at a leisurely pace, while
“high” keeps coffee piping hot.
Portable Warming Plate
The portable warming plate can be used
next to the coffee maker or moved to a separate
serving location. Select “low” or “high” warming
temperatures with the front-mounted switch;
indicator lights show temperature selected. The switch also turns
the warming plate off.
Brew Timer Display and
Timer Adjustment Buttons
Digital display shows the AM or PM time-of-day
along with the water level, sound, and filter icons.
The easy-to-set brew timer will brew coffee at the
selected time, day or night. “Flicker protection” ensures that the
timer and clock will maintain settings during a momentary power
outage. The “+” and “–” timer adjustment buttons set the brew
timer and clock.
Auto-On/Off Switch
To switch the coffee maker on or off, turn
the auto-on/off switch momentarily to the “On/Off”
position. To activate or deactivate the automatic brew
timer, turn the switch momentarily to the “Auto”
position. Indicator lights show when the coffee maker is on or the
brew timer is activated. The coffee maker or brew timer cannot be
switched on if there are fewer than 4 cups (17 oz.) of brew water in
the reservoir.
Program-Clock Switch
The program-clock switch is used with the timer
adjustment buttons to program the brew timer and
set the time-of-day clock. To enter the clock-setting
mode, turn the program-clock switch momentarily
to the “Clock” position. To program the brew timer, turn the
program-clock switch momentarily to the “Prog” position.
Time Since Brewing Display
Display shows coffee freshness at a glance. 30, 60,
90, and 120-minute quadrants light up to indicate
the time elapsed since the last carafe was brewed.
Water Level Icons
Icons on the brew timer display show whether the
water reservoir is low, medium, or full.

12
Water Filter Icon
Icon appears on the brew timer display when the
water filter needs to be replaced.
Sound Level Icon
Icon is displayed when message tones are enabled.
Message Tones
Convenient message tones instantly communicate coffee maker
status. The coffee maker will beep three times when a brewing
cycle is complete. If the coffee maker is turned on or the brew
timer is activated without sufficient water in the reservoir, the
coffee maker will beep once; it will also beep once when the
reservoir is near full during filling. Message tone volume can be
set high or low, or turned off for silent operation.
Automatic Shutoff
Coffee maker shuts off two hours after the last carafe is brewed.
Stainless Steel Heat Pump
The 1350 watt heat pump brews quickly, providing exceptionally
smooth and flavorful coffee. The commercial stainless steel
construction minimizes calcium build-up for maximum durability.
Advanced Ion-Exchange Water Filter
Replaceable filter reduces chlorine and other
contaminants which impair coffee flavor. Filter
also softens the water, which extends the time
between descalings.
Quiet Finish™ Brewing
The advanced brew system design reduces noisy hissing and
gurgling throughout the brewing cycle.
Optional Gold Tone Permanent Filter
The gold tone filter eliminates the need for paper coffee filters. The
fine, gold tone metal screen delivers exceptional brewing performance.
 Loading...