

KitchenAid KFPM770EAC, KFPM770ENK, KFPM770EOB, KFPM770EWH User Manual
English
1
Model 5KFPM770
Food Processor
FOOD PROCESSOR
INSTRUCTIONS AND RECIPES
FOOD PROCESSOR
INSTRUCTIONS AND RECIPES
FOOD PROCESSOR
INSTRUCTIONS AND RECIPES
FOOD PROCESSOR
INSTRUCTIONS AND RECIPES
FOOD PROCESSOR
INSTRUCTIONS AND RECIPES
FOOD PROCESSOR
INSTRUCTIONS AND RECIPES
FOOD PROCESSOR
INSTRUCTIONS AND RECIPES
FOOD PROCESSOR
INSTRUCTIONS AND RECIPES
FOOD PROCESSOR
INSTRUCTIONS AND RECIPES
FOOD PROCESSOR
INSTRUKTIONER OG OPSKRIFTER
FOOD PROCESSOR
INSTRUCTIONS AND RECIPES
FOOD PROCESSOR
INSTRUCTIONS AND RECIPES
FOOD PROCESSOR
INSTRUCTIONS AND RECIPES

English
2
Table of Contents
Food Processor Safety....................................................................................3
Electrical Requirements..................................................................................3
Important Safeguards....................................................................................4
Food Processor Features ...............................................................................5
Preparing the Food Processor for Use
Before First Use.......................................................................................7
Work Bowl Assembly .............................................................................7
Multipurpose Blade & Dough Blade Assembly ........................................8
Slicing & Shredding Disc Assembly .........................................................8
Mini Bowl Assembly................................................................................9
Chef’s Bowl Assembly ............................................................................9
Egg Whip Assembly & Use....................................................................10
Citrus Press Assembly & Use..................................................................10
Using the Food Processor
Before Use ............................................................................................12
Food Pusher Interlock ..........................................................................12
Maximum Liquid Level .........................................................................12
Turning the Food Processor On and Off ...............................................12
Using the Pulse Control .......................................................................13
2-Piece Food Pusher .............................................................................13
Disassembling the Food Processor ..............................................................13
Care and Cleaning.......................................................................................15
Troubleshooting .........................................................................................16
Food Processing Tips ...................................................................................17
Using the Multipurpose Blade...............................................................17
Using a Slicing or Shredding Disc..........................................................18
Using the Dough Blade.........................................................................19
Using the Egg Whip..............................................................................19
Helpful Hints.........................................................................................20
Recipes........................................................................................................22
Warranty and Service Information
Household KitchenAid
®
Food Processor Warranty for Europe ................27
Service Centers......................................................................................27
Customer Service ..................................................................................28
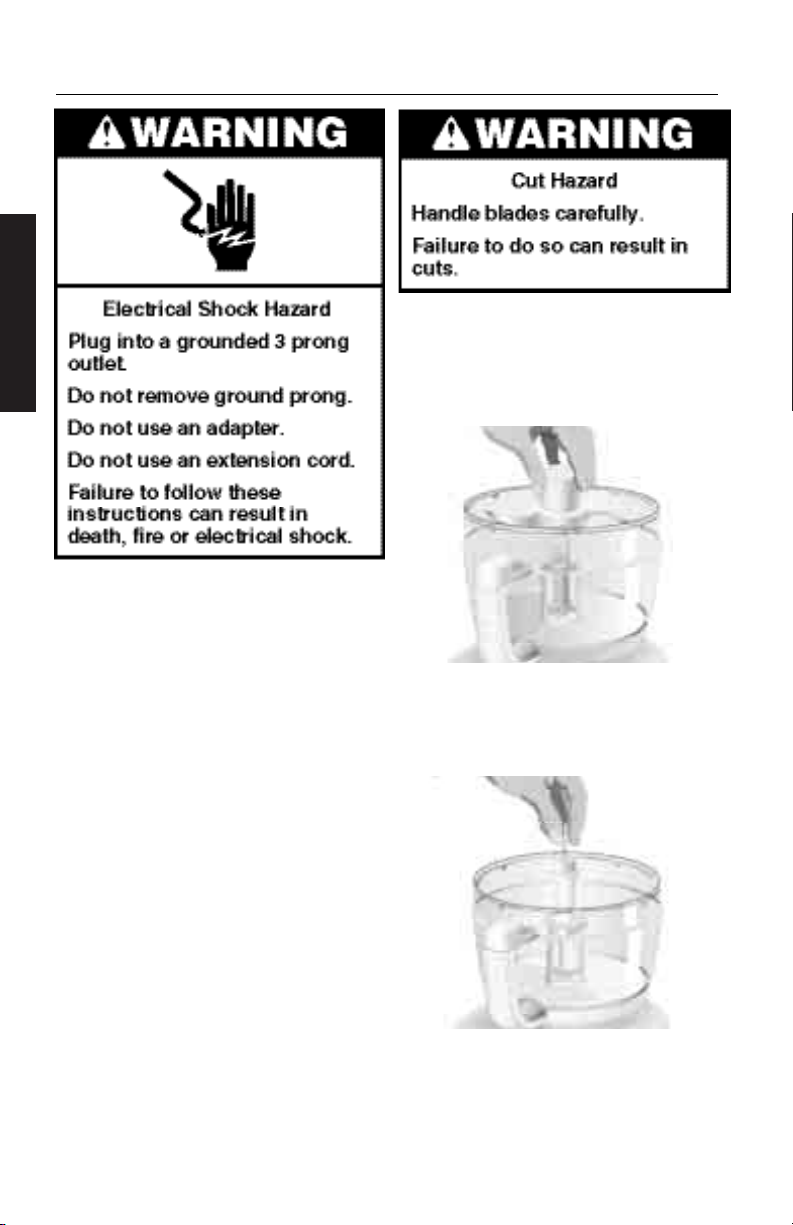
Model 5KFPM770:
220-240 Volts A.C.
Hertz: 50/60 Hz
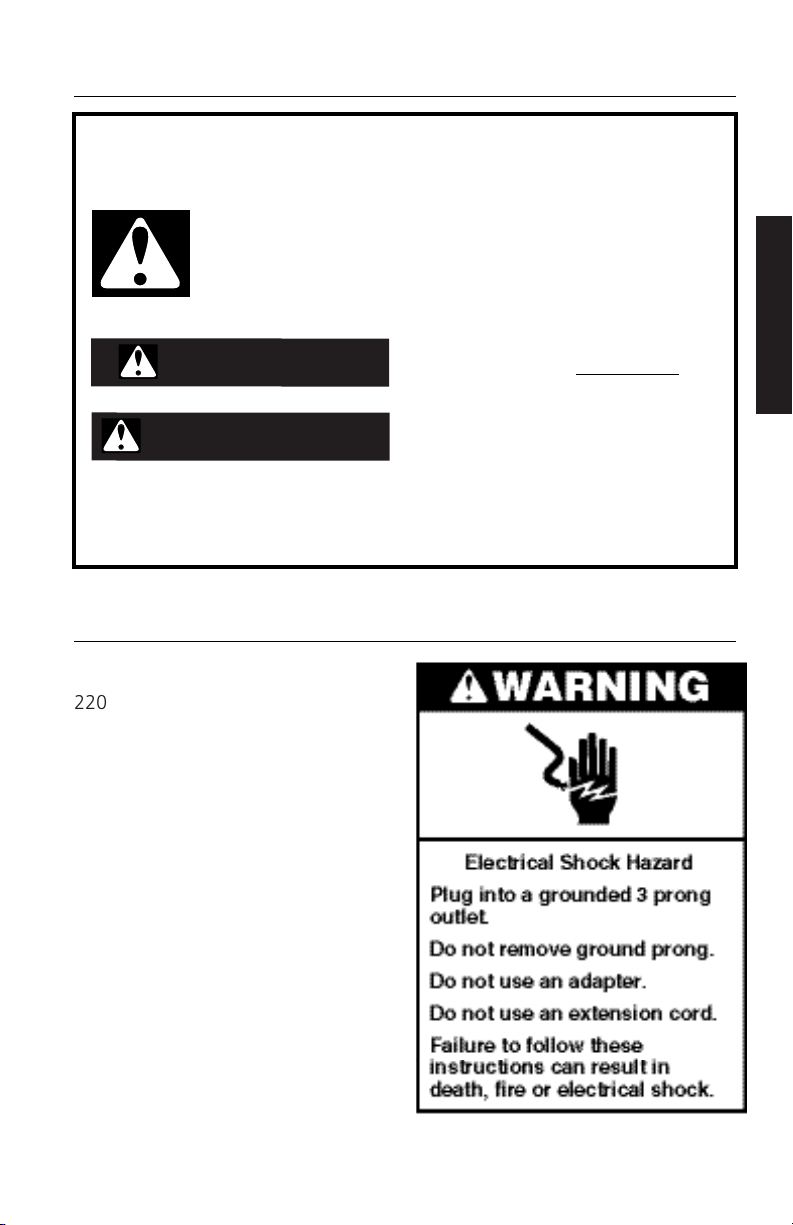
NOTE: Model 5KFPM770 has a
grounded plug. To reduce the risk of
electrical shock, this plug will fit in
an outlet only one way. If the plug
does not fit in the outlet, contact a
qualified electrician. Do not modify
the plug in any way.
Do not use an extension cord. If the
power supply cord is too short, have
a qualified electrician or serviceman
install an outlet near the appliance.
English
Your safety and the safety of others are very important.
We have provided many impor tant safety messages in this manual and on
your appliance.Always read and obey all safety messages.
This is the safety alert symbol.
This symbol alerts you to potential hazards that can kill or hurt
you and others.
All safety messages will follow the safety alert symbol and either
the word “DANGER” or “WARNING.”These words mean:
You can be killed or seriously
injured if you don’t immediatel
y
follow instructions.
You can be killed or seriously
injured if you don’t follow
instructions.
All safety messages will tell you what the potential hazard is, tell you how to
reduce the chance of injury, and tell you what can happen if the instructions
are not followed.
Food Processor Safety
Electrical Requirements
3
DANGER
WARNING

English
4
IMPORTANT SAFEGUARDS
When using electrical appliances, basic safety precautions should always be
followed, including the following:
1. Read all instructions.
2. To protect against risk of electrical shock do not put Food Processor in
water or other liquid.
3. Close supervision is necessary when any appliance is used by or near
children.
4. Unplug from the outlet when not in use, before putting on or taking off
parts, and before cleaning.
5. Avoid contacting moving parts.
6. Do not operate any appliance with a damaged cord or plug, or after the
appliance malfunctions, or is dropped or damaged in any manner. Return
appliance to the nearest Authorized Service Facility for examination,
repair, or electrical or mechanical adjustment.
7. The use of attachments not recommended or sold by the manufacturer
may cause fire, electric shock or injury.
8. Do not use outdoors.
9. Do not let cord hang over edge of table or counter.
10. Keep hands and utensils away from moving blades or discs while
processing food to reduce the risk of severe injury to persons or damage
to the Food Processor. A scraper may be used but must be used only
when the Food Processor is not running.
11. Blades are sharp. Handle carefully.
12. To reduce the risk of injury, never place cutting blade or discs on base
without first putting bowl properly in place.
13. Be certain cover is securely locked in place before operating appliance.
14. Never feed food by hand. Always use the food pusher.
15. Do not attempt to defeat the cover interlock mechanism.
16. This product is designed for household use only.
SAVE THESE INSTRUCTIONS
English
5
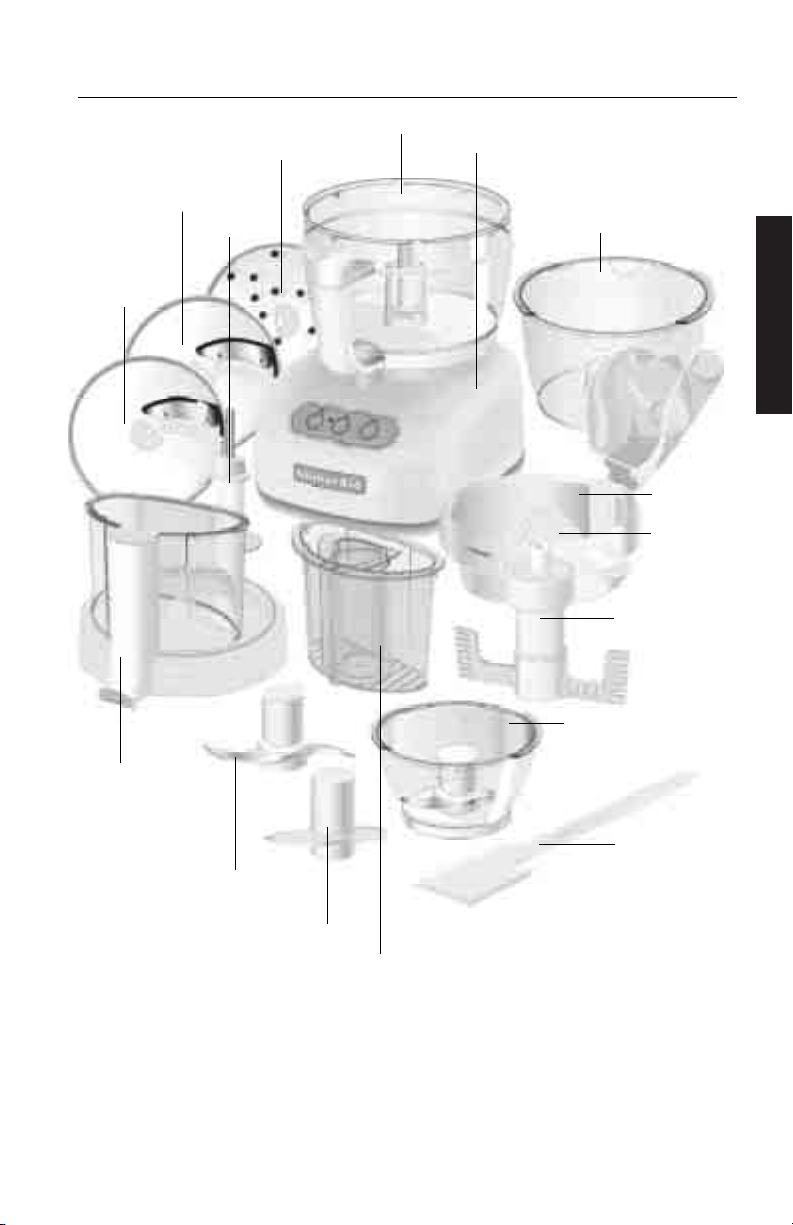
Food Processor Features
Medium (4 mm)
Shredding Disc
Fine (2 mm)
Slicing Disc
Stainless Steel
Multipurpose Blade
Dough Blade
Die-Cast Metal Base
2-Piece
Food Pusher
Work Bowl Cover
with Ultra Wide
Mouth Feed Tube
Work Bowl
950 ml (4 cup)
Mini Bowl and
Mini Blade
Medium (4 mm)
Slicing Disc
Spatula/
Cleaning
Tool
2.4 liters (10 cup)
Chef's Bowl
Citrus
Press
2-Piece
Cone
Disc Stem
Egg Whip
English
6
Food Processor Features
Work Bowl Cover with
Ultra Wide Mouth Feed Tube
One of the industry’s largest, the
Ultra Wide Mouth feed tube
accommodates large items –
like tomatoes, cucumbers, and
potatoes – with a minimum of
sectioning or slicing.
2-Piece Food Pusher
For smaller items, remove the small
pusher from the central tube in the
large pusher. The small pusher and
feed tube make it easy to process
herbs, nuts, single carrots and celery.
The small pusher can also be used as
a convenient 115 g measuring cup.
2.8 Liters Work Bowl
The tough polycarbonate bowl
provides capacity for large jobs.
Chef’s Bowl
Place the 2.4 liters Chef’s Bowl
inside the Work Bowl, and slice or
shred a food item while keeping the
Work Bowl clean for another
ingredient.
Mini Bowl and Mini Blade
950 ml bowl and stainless steel
blade are perfect for small chopping
and mixing jobs.
Fine (2 mm) Slicing Disc
Disc produces approximately
1.6 mm slices of most foods, from
delicate strawberries to partially
frozen meats.
Medium (4 mm) Slicing Disc
Disc produces approximately
3.2 mm slices slices of most foods.
Medium (4 mm) Shredding Disc
Disc produces approximately
3.2 mm shreds of most firm fruits,
vegetables, and cheese.
Disc Stem
Stem fits over the power shaft on
the base and into the bottom of a
slicing or shredding disc.
Stainless Steel
Multipurpose Blade
Versatile blade chops, minces,
blends, mixes, and emulsifies in a
matter of seconds.
Dough Blade
The dough blade is specially
designed for mixing and kneading
yeast dough.
Egg Whip
The egg whip will quickly whip
cream and egg whites for
meringues, mousses, soufflés, and
desserts.
Citrus Press
Press consists of a
Strainer Basket,
2-Piece Cone, and
Lever Arm. Use the
removable outer cone for
larger items, such as
grapefruit, and the inner cone for
lemons and limes.
Heavy-Duty Base
The base features the “O”, “I”, and
Pulse Buttons along with the power
shaft, which rotates the blades and
discs.
Spatula/Cleaning Tool
Special shape facilitates food
removal from bowls, discs, and
blades.
Chef’s Accessory
Case
Stylish and durable
slim-line case
organizes and protects
blades, discs, and accessories.
English
7
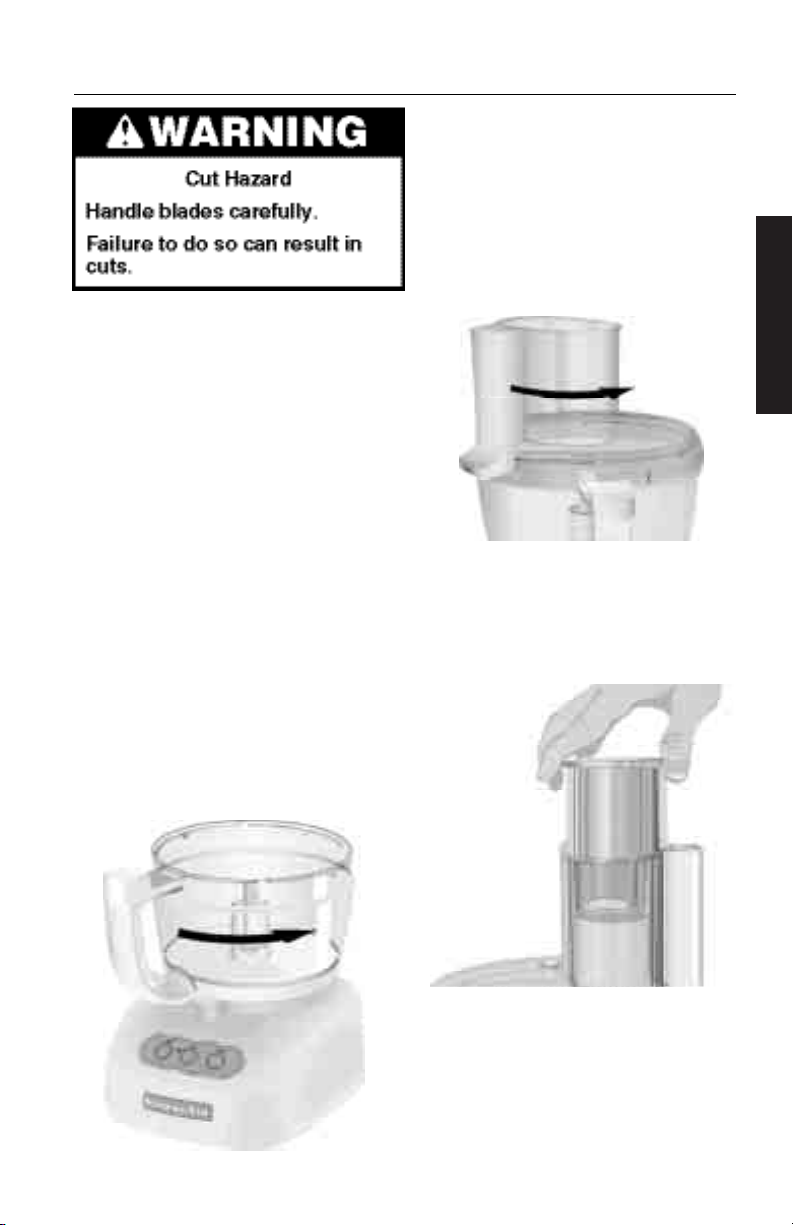
Preparing the Food Processor for Use
Before First Use
Before using your Food Processor for
the first time, wash the work bowl,
work bowl cover, chef’s bowl, mini
bowl, feed tube pusher, discs, and
blades either by hand or in the
dishwasher (see “Care and Cleaning”
on page 15).
Work Bowl Assembly
1. Place the Food Processor base on
a dry, level countertop with the
controls facing forward. Do not
plug in the unit until it is
completely assembled.
2. With the handle just to the left of
center, place the work bowl on
the base, fitting the center
opening over the power shaft.
3. Grasp the work bowl handle and
turn the bowl to the right until it
locks into position.
4. Insert the desired accessory into
the work bowl. See pages 7–11
for accessory instructions.
5. Place the work bowl cover on the
work bowl with the feed tube
just to the left of the work bowl
handle. Grasp the feed tube and
turn the cover to the right until it
locks into place.
NOTE: Do not attach the cover to
the work bowl before the work bowl
is locked on the base. Damage to
the work bowl may result.
6. Fit the 2-piece food pusher into
the feed tube.
Continued on next page
English
8
Preparing the Food Processor for Use
7. Plug into a proper electrical outlet
(see “Electrical Requirements” on
page 3).
NOTE: Your Food Processor will not
operate unless the work bowl and
work bowl cover are properly locked
on the base, and the pusher is
inserted to the maximum fill line on
the feed tube.
Do not remove the work bowl
from the base without first removing
the work bowl cover. Damage to the
work bowl may result.
Multipurpose Blade and
Dough Blade Assembly
Place the blade on the power shaft.
Rotate the blade so it falls into place
on the shaft.
Slicing and Shredding Disc
Assembly
1. Place the disc stem on the power
shaft.
English
9
Preparing the Food Processor for Use
2. Fit the disc over the metal pin
on the disc stem, then rotate
the disc until it falls fully onto
the stem.
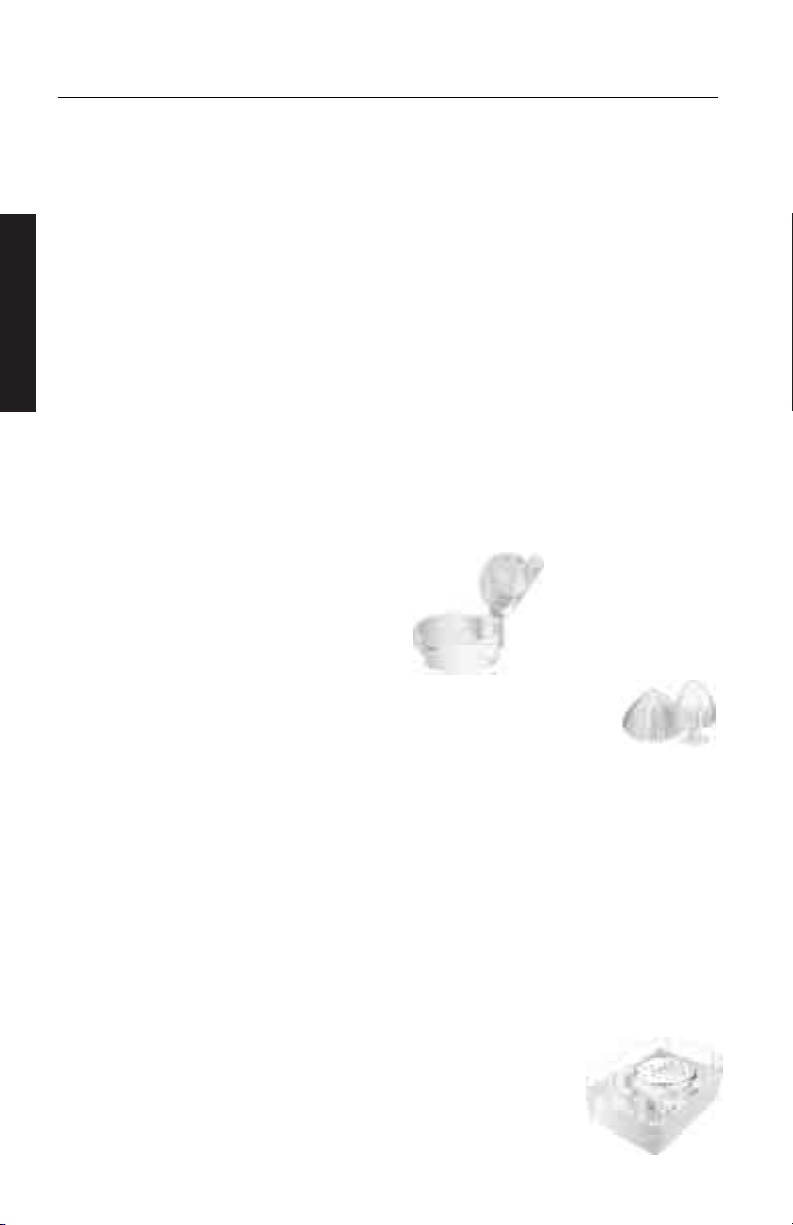
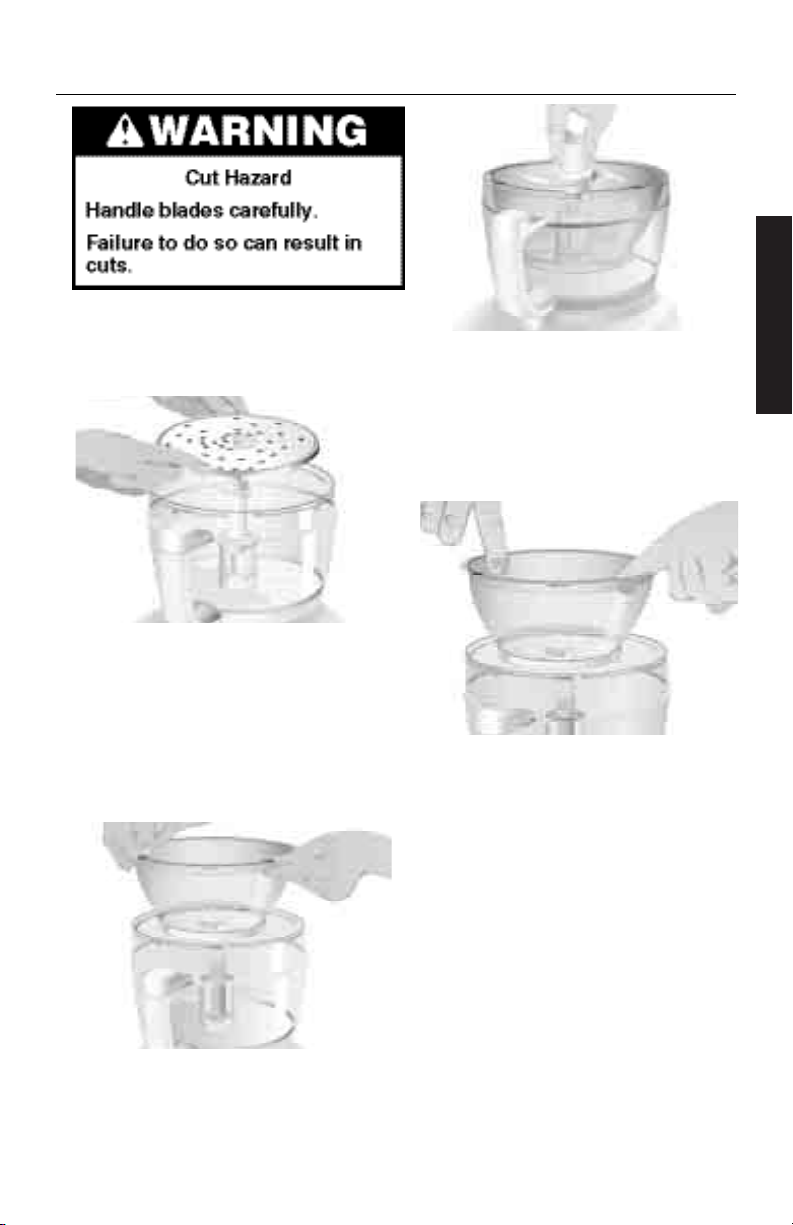
Mini Bowl Assembly
1. Place the mini bowl inside the
work bowl over the power shaft.
Rotate the mini bowl until it falls
into place. When properly seated
in the work bowl, the mini bowl
cannot be rotated.
2. Fit the mini blade on the power
shaft. It may be necessary to
rotate the blade until it falls into
place.
The mini bowl can also be placed
in the chef’s bowl in a similar
manner.
3. To remove the mini bowl after
processing, lift the bowl using
the two finger grips located
along the top edge of the bowl.
Chef’s Bowl Assembly
Place the chef’s bowl inside the
work bowl over the power shaft.
Rotate the chef’s bowl until it falls
into place. When properly seated in
the work bowl, the chef’s bowl
cannot be rotated.
The chef’s bowl can only be used
with the slicing and shredding discs
– the multipurpose blade cannot be
used. To remove the chef’s bowl
after processing, lift the bowl using
the two finger grips located along
the top edge of the bowl.
Continued on next page
 Loading...