

Page 1
Part No.4452828
Installation Instructions
IMPORTANT:
Installer: Leave Installation
Instructions with the homeowner.
Homeowner: Keep Installation
Instructions for future reference.
Save Installation Instructions for local
electrical inspector’s use.
Write down the model and serial numbers
before installing warming oven.
Both numbers are on the model/serial
rating plate, located on the upper left front
corner of the oven cavity.
Model #___________________________
Serial # ___________________________
Questions regarding features, operation,
performance, parts or service? Call
1-800-422-1230 or visit our web site at
www.kitchenaid.com.
IMPORTANT:
Read and save these
instructions.
27" and 30" Electric Warming Oven
Call when you:
嘼 Have questions about warming oven
installation or operation.
嘼 Need to obtain the name and number
of an authorized service
company.
When you call, you will need:
嘼 The warming oven model number.
嘼 The warming oven serial number.
Both numbers are listed on the
model/serial rating plate, located on the
upper left front corner of the oven cavity.
For the way it’s made
®
®
Page 2
Before you start...
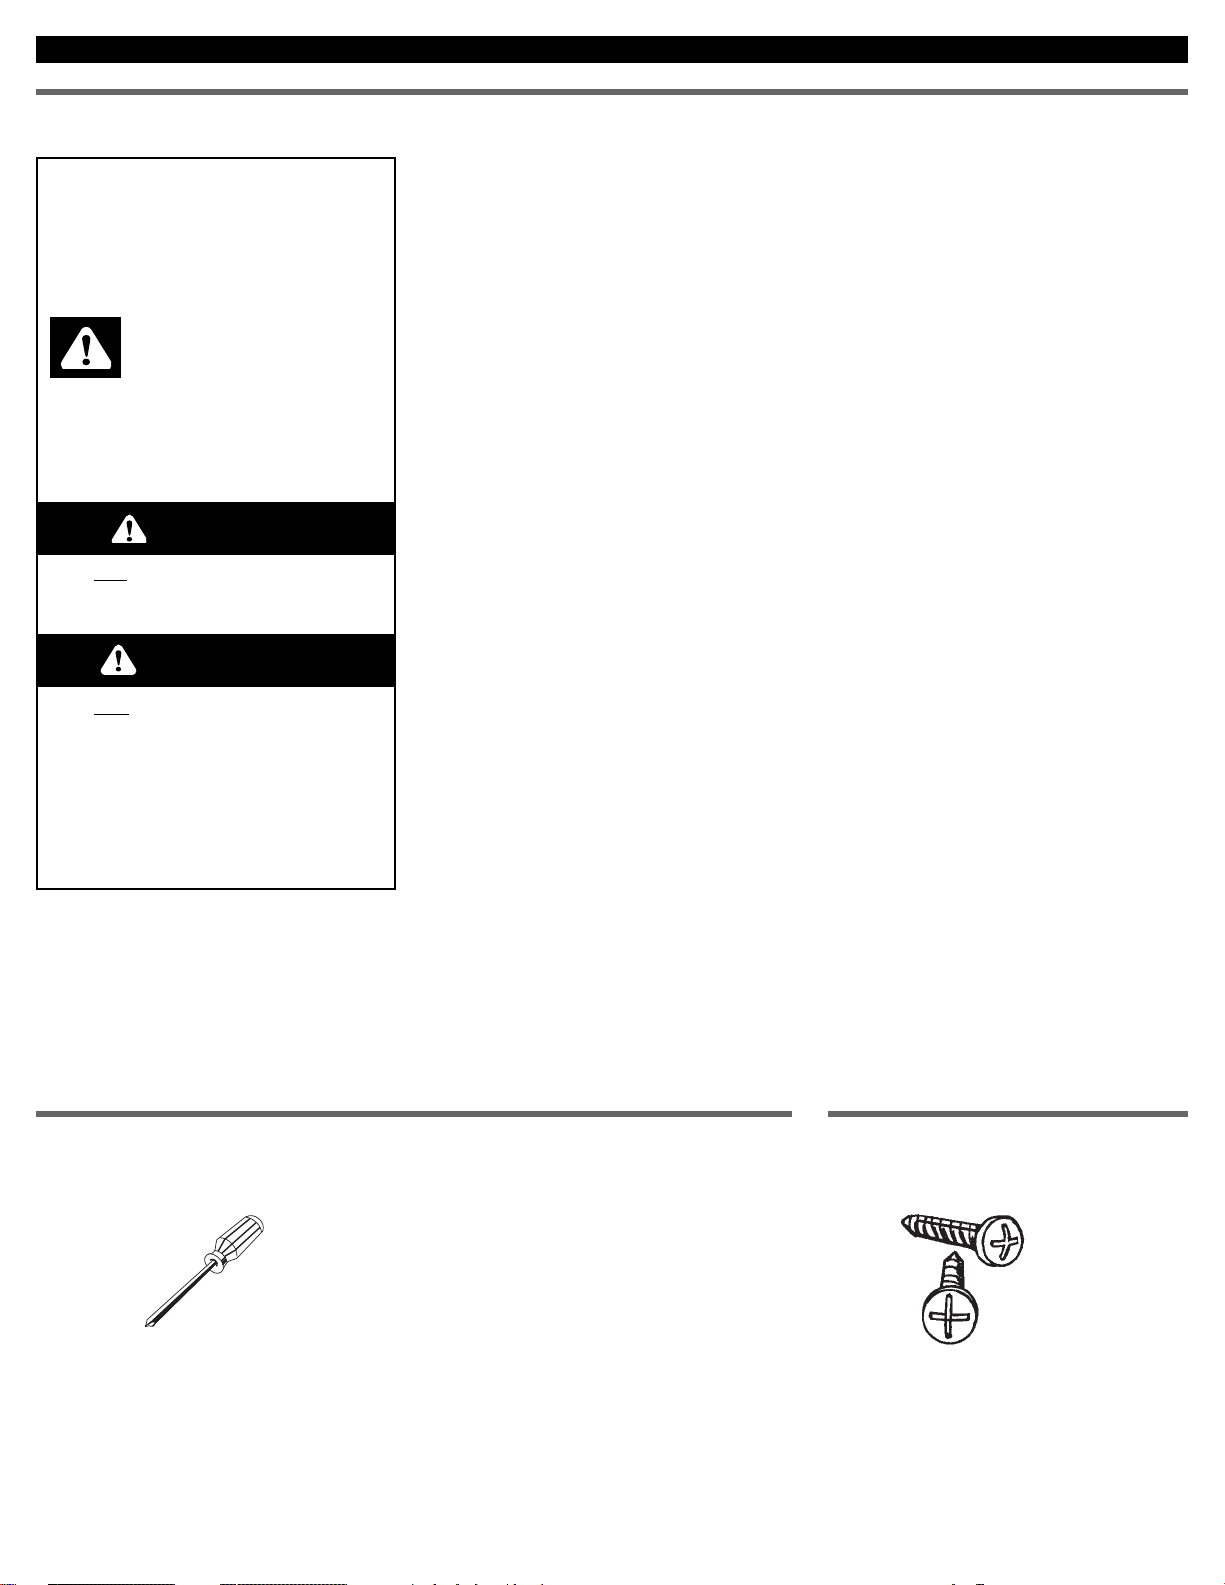
Tools needed for installation:
This is the safety alert
symbol.This symbol alerts
you to hazards that can kill
or hurt you and others. All safety
messages will be preceded by the
safety alert symbol and the word
“DANGER” or “WARNING”.These
words mean:
You can be killed or seriously
injured if you don’t follow
instructions.
DANGER
Your safety and the safety of
others is very important.
We have provided many important
safety messages in this manual and
on your appliance.Always read and
obey all safety messages.
All safety messages will identify the
hazard, tell you how to reduce the
chance of injury, and tell you what
can happen if the instructions are
not followed.
You will be killed or seriously
injured if you don’t follow
instructions.
Parts supplied:
WARNING
2
Important: Observe all governing
codes and ordinances.
Proper installation is your responsibility.
Have a qualified technician install this
oven.
Oven location should be away from
strong draft areas, such as windows,
doors and strong heating vents.
Cabinet opening dimensions that are
shown must be used. Given dimensions
provide minimum clearance.
Recessed installation area must provide
complete enclosure around the recessed
portion of the oven.
Electrical ground is required.See
“Electrical requirements.”
Electrical supply outlet should be
located in the rear wall on the lower right
side of the cutout or in an adjacent
cabinet.The outlet must be recessed. If
the electrical outlet is located in an
adjacent cabinet, provide a 1-3/8" dia.
minimum power supply cord plug
clearance hole in the back of the cutout or
support surface.
Oven support surface MUST be solid,
level and flush with bottom of cabinet
cutout.
There is no provision to level the oven
after it has been installed. If the
installation is not level, the door may
slide open or not seal tightly allowing
heat to escape resulting in poor oven
performance.
Phillips
screwdriver
Copies of the standards listed may be obtained
from:
* National Fire Protection Association
One Batterymarch Park
Quincy, Massachusetts 02269
It is the customer’s responsibility:
To contact a qualified electrical installer.
To assure that the electrical installation is
adequate and in conformance with
National Electrical Code, ANSI/NFPA 70
— latest edition*, and all local codes and
ordinances.
2 screws
Page 3

3
Product Dimensions
Cutout Dimensions
22-3/4"
max.
recessed
depth
A
10-1/4"
overall
height
B
Overall Recessed
Oven Size Width Width
27" 26-3/4" 25-1/4"
30" 29-3/4" 28-1/4"
BA
Warming
oven front
22-3/4"
recessed
oven depth
24" min.
cutout depth
Support surface must
be solid, level, and
flush with bottom of
cabinet cutout.
3 ft. long power supply
cord located on the back,
upper right hand side of
oven.
Single oven
cutout
Warming
oven cutouts
120-volt
grounded outlet
(or located in
adjacent cabinet)
Toe kick
cutout width
A
min. cabinet width
B
Oven Size
27" 25-1/2" 27"
30" 28-1/2" 30"
BA
Support
surface
2-1/2" min.
2-1/2" min.
4"
9-1/8"
9-1/8"
Recommended 4-1/4"
Minimum 1"
Warming oven can be installed as a
single or double installation or
installed under a single oven.Two
warming ovens under a single oven
are shown.
9" recessed height
Page 4

4
Electrical requirements
Electrical Shock Hazard
Plug into a grounded 3-prong outlet.
Do not remove ground prong.
Do not use an adapter.
Do not use an extension cord.
Failure to follow these instructions can
result in death, fire, or electrical shock.
Important: Observe all governing
codes and ordinances.
It is the customer's responsibility:
To contact a qualified electrical
installer.
To assure that the electrical
installation is adequate and in
conformance with National Electrical
Code, ANSI/NFPA 70 — latest edition*,
and all local codes and ordinances.
You must have:
嘼
120-volt, 60Hz, AC-only, 15- or 20-
amp., fused electrical supply.
嘼
outlet located in the cabinet as close
as possible to the warming oven.
We recommend:
嘼
a time-delay fuse or circuit breaker.
嘼
a separate circuit serving this
appliance only.
If codes permit and a separate ground
wire is used, it is recommended that a
qualified electrician determine that the
ground path is adequate.
3-prong
ground plug
power supply
cord
ground prong
3-prong
ground-type
outlet
For your personal safety, this appliance
must be grounded.This appliance is
equipped with a power supply cord
having 3-prong ground plug.To minimize
possible shock hazard, the cord must be
plugged into a mating 3-prong groundtype outlet, grounded in accordance with
local codes and ordinances. See
Figure 1. If a mating outlet is not
available, it is the personal responsibility
and obligation of the customer to have a
properly grounded 3-prong outlet installed
by a qualified electrician.
Warning — Improper connection of the
equipment-grounding conductor can
result in a risk of electric shock. Check
with a qualified electrician or serviceman
if you are in doubt as to whether the
appliance is properly grounded. Do not
modify the plug provided with the
appliance - if it will not fit the outlet, have
a proper outlet installed by a qualified
electrician.
Figure 1
WARNING
Page 5

5
Installation
1.Turn power supply off.Move oven
close to final position.
• Remove and discard shipping materials,
tape and protective film from the oven.
• Remove and set aside racks and other
parts from inside oven.
Important: Use both hands to remove oven
drawer.
Do Not use handle or drawer slides for
lifting.
Excessive Weight Hazard
Use two or more people to move and
install oven.
Failure to follow this instruction can
result in back or other injury.
WARNING
2.Remove the drawer:
• Pull drawer to its full open position.
• Press tab down on right and lift tab
upward on left, then slide drawer out
about 1 inch.
• Carefully remove the drawer from the
slides holding on to the sides, not the
drawer front.
• Set drawer aside on protected surface.
3.Carefully support the oven in front
of the cutout. Make sure the power to the
outlet is turned off and that the warming
oven power switch is set to the "OFF"
position.
• Plug the power supply cord into the
grounded outlet.
• Slide the oven into the cutout.
• Carefully push against the seal area of
the oven front frame and slide the oven
completely into the cabinet until the
front frame is positioned flush against
the cabinet face.
4.Use two (2) screws provided to
secure the warming oven frame to the
cabinet.
2 screws
5.Replace the drawer:
• Align the drawer guides with the
receiving slides.
• Push drawer in completely. Gently open
and close drawer to ensure it is seated
properly on the slides.
receiving slides
6.Refer to the "Use and Care
Guide," turn the oven on and check the
oven's operation.
Page 6

6
If you need
assistance:
The KitchenAid Consumer Assistance
Center will answer any questions about
operating or maintaining your warming
oven not covered in the Installation
Instructions.The KitchenAid Consumer
Assistance Center is open 24 hours a
day, 7 days a week.Just dial 1-800-4221230 — the call is free within the
continental United States, or visit our web
site at www.kitchenaid.com.
When you call, you will need the warming
oven model number and serial number.
Both numbers can be found on the
model/serial rating plate located on the
upper left front corner of the oven cavity.
If you need
service:
In the event that your KitchenAid
appliance should need service, call
the dealer from whom you
purchased the appliance or a
KitchenAid-designated service
company. A KitchenAid-designated
service company is listed in the
Yellow Pages of your telephone
directory under “Appliances —
Household — Major — Service and
Repair.”
You can also obtain the service
company's name and number by
dialing, free within the continental
United States, the KitchenAid
Consumer Assistance Center
telephone number, 1-800-422-1230. A
special operator will tell you the
name of your nearest KitchenAiddesignated service company.
Maintain the quality built into your
KitchenAid appliance — call a
KitchenAid-designated service
company.
If warming oven
does not operate:
嘼
Check that the circuit breaker is not
tripped or the house fuse blown.
嘼
Check that the power supply cord is
plugged into the outlet.
 Loading...