

KitchenAid 3955871 User Manual

WASHER
User Instructions
For questions about features, operation/performance, parts accessories or service, call: 1-800-422-1230
In Canada, call for assistance 1-800-461-5681, for installation and service, call: 1-800-807-6777 or visit our website at...
www.kitchenaid.com or www.KitchenAid.ca
LAVEUSE
Instructionspourl’utilisateur
Au Canada, pour assistance composez le 1-800-461-5681, pour installation ou service composez le 1-800-807-6777 ou visitez notre site web à...
www.KitchenAid.ca
Table of Contents/Table des matières.............................................................................2
3955871
Table of Contents / Tabledes Matières
ASSISTANCE OR SERVICE ............................ 2
WASHER SAFETY............................................ 2
WASHER USE ..................................................3
WASHER CARE................................................ 5
TROUBLESHOOTING......................................6
WARRANTY ................................................... 8
Assistance orService
If you need assistance or service, first see the “Troubleshooting”
section. Additional help is available by calling our Customer
Interaction Center at 1-800-422-1230 from anywhere in the
U.S.A., or write:
KitchenAid Brand Home Appliances
Customer Interaction Center
553 Benson Road
Benton Harbor, MI 49022-2692
In Canada, for installation and service call, 1-800-807-6777.
For assistance call 1-800-461-5681 Monday to Friday 8:00 a.m. 6:00 p.m. (EST). Saturday 8:30 a.m. - 4:30 p.m. (EST), or write:
Customer Interaction Center
KitchenAid Canada
1901 Minnesota Court
Mississauga, Ontario L5N 3A7
Information may also be obtained by visiting our website at
www.KitchenAid.com.
In Canada, visit www.kitchenaid.ca.
Please include a daytime phone number in your correspondence.
ASSISTANCE OU SERVICE.............................9
SÉCURITÉ DE LA LAVEUSE ...........................9
UTILISATION DE LA LAVEUSE.....................10
ENTRETIEN DE LA LAVEUSE.......................13
DÉPANNAGE ..................................................13
GARANTIE.......................................................16
Keep this book and your sales slip together for future
reference. You must provide proof of purchase or installation
date for in-warranty service.
Write down the following information about your appliance to help
you obtain assistance or service if you ever need it. You will need
to know your complete model number and serial number. You can
find this information on the model and serial number label, located
under the washer lid.
Dealer name____________________________________________________
Serial number __________________________________________________
Address ________________________________________________________
Phone number __________________________________________________
Model number __________________________________________________
Purchase date __________________________________________________
WASHER SAFETY
Your safety and the safety of others are very important.
We have provided many important safety messages in this manual and on your appliance. Always read and obey all safety
messages.
This is the safety alert symbol.
This symbol alerts you to potential hazards that can kill or hurt you and others.
All safety messages will follow the safety alert symbol and either the word “DANGER” or “WARNING.”
These words mean:
You can be killed or seriously injured if you don't immediately
DANGER
WARNING
All safety messages will tell you what the potential hazard is, tell you how to reduce the chance of injury, and tell you what can
happen if the instructions are not followed.
follow instructions.
can be killed or seriously injured if you don't
You
instructions.
follow
2
IMPORTANT SAFETY INSTRUCTIONS
WARNING: To reduce the risk of fire, electric shock, or injury to persons when using the washer, follow basic precautions,
including the following:
■ Read all instructions before using the washer.
■
Do not wash articles that have been previously cleaned
in, washed in, soaked in, or spotted with gasoline, drycleaning solvents, other flammable, or explosive
substances as they give off vapors that could ignite or
explode.
■ Do not add gasoline, dry-cleaning solvents, or other
flammable, or explosive substances to the wash water.
These substances give off vapors that could ignite or
explode.
■ Under certain conditions, hydrogen gas may be
produced in a hot water system that has not been used
for 2 weeks or more. HYDROGEN GAS IS
If the hot water system has not been used for such a
period, before using the washing machine, turn on all hot
water faucets and let the water flow from each for several minutes. This will release any accumulated hydrogen
gas. As the gas is flammable, do not smoke or use an
open flame during this time.
EXPLOSIVE.
SAVE THESE INSTRUCTIONS
■
Do not allow children to play on or in the washer. Close
supervision of children is necessary when the washer is used
near children.
■ Before the washer is removed from service or
remove the door or lid.
■ Do not reach into the washer if the drum, tub or agitator is
moving.
■ Do not install or store the washer where it will be exposed to
the weather.
■ Do not tamper with controls.
■ Do not repair or replace any part of the washer or attempt any
servicing unless specifically recommended in this manual or in
published user-repair instructions that you understand and
have the skills to carry out.
■ See “Electrical Requirements” for grounding instructions.
discarded,
WAS HE R US E
Loading
For these suggested full-sized loads, set the LOAD SIZE selector to the highest load size setting.
SUPER CAPACITY and SUPER CAPACITY PLUS WASHERS
Heavy Work Clothes
3 pair pants
3 shirts
4 pair jeans
1 coverall
1 overall
Mixed Load
3 double sheets
4 pillowcases
8 T-shirts
6 pair shorts
2 shirts
2 blouses
8 handkerchiefs
Towels
10 bath towels
10 hand towels
14 washcloths
1 bath mat
Delicates
3 camisoles
1 quilted robe
4 slips
4 panties
2 bras
2 nighties
1 baby’s dress
3
StartingYour Washer
WARNING
Fire Hazard
Never place items in the washer that are dampened
with gasoline or other flammable fluids.
No washer can completely remove oil.
Do not dry anything that has ever had any type of oil on
it (including cooking oils).
Doing so can result in death, explosion, or fire.
1. Drop a load of sorted clothes loosely into the washer.
■
Load evenly to maintain washer balance. Mix large and
small items. Items should move easily through the wash
water. Overloading can cause poor cleaning.
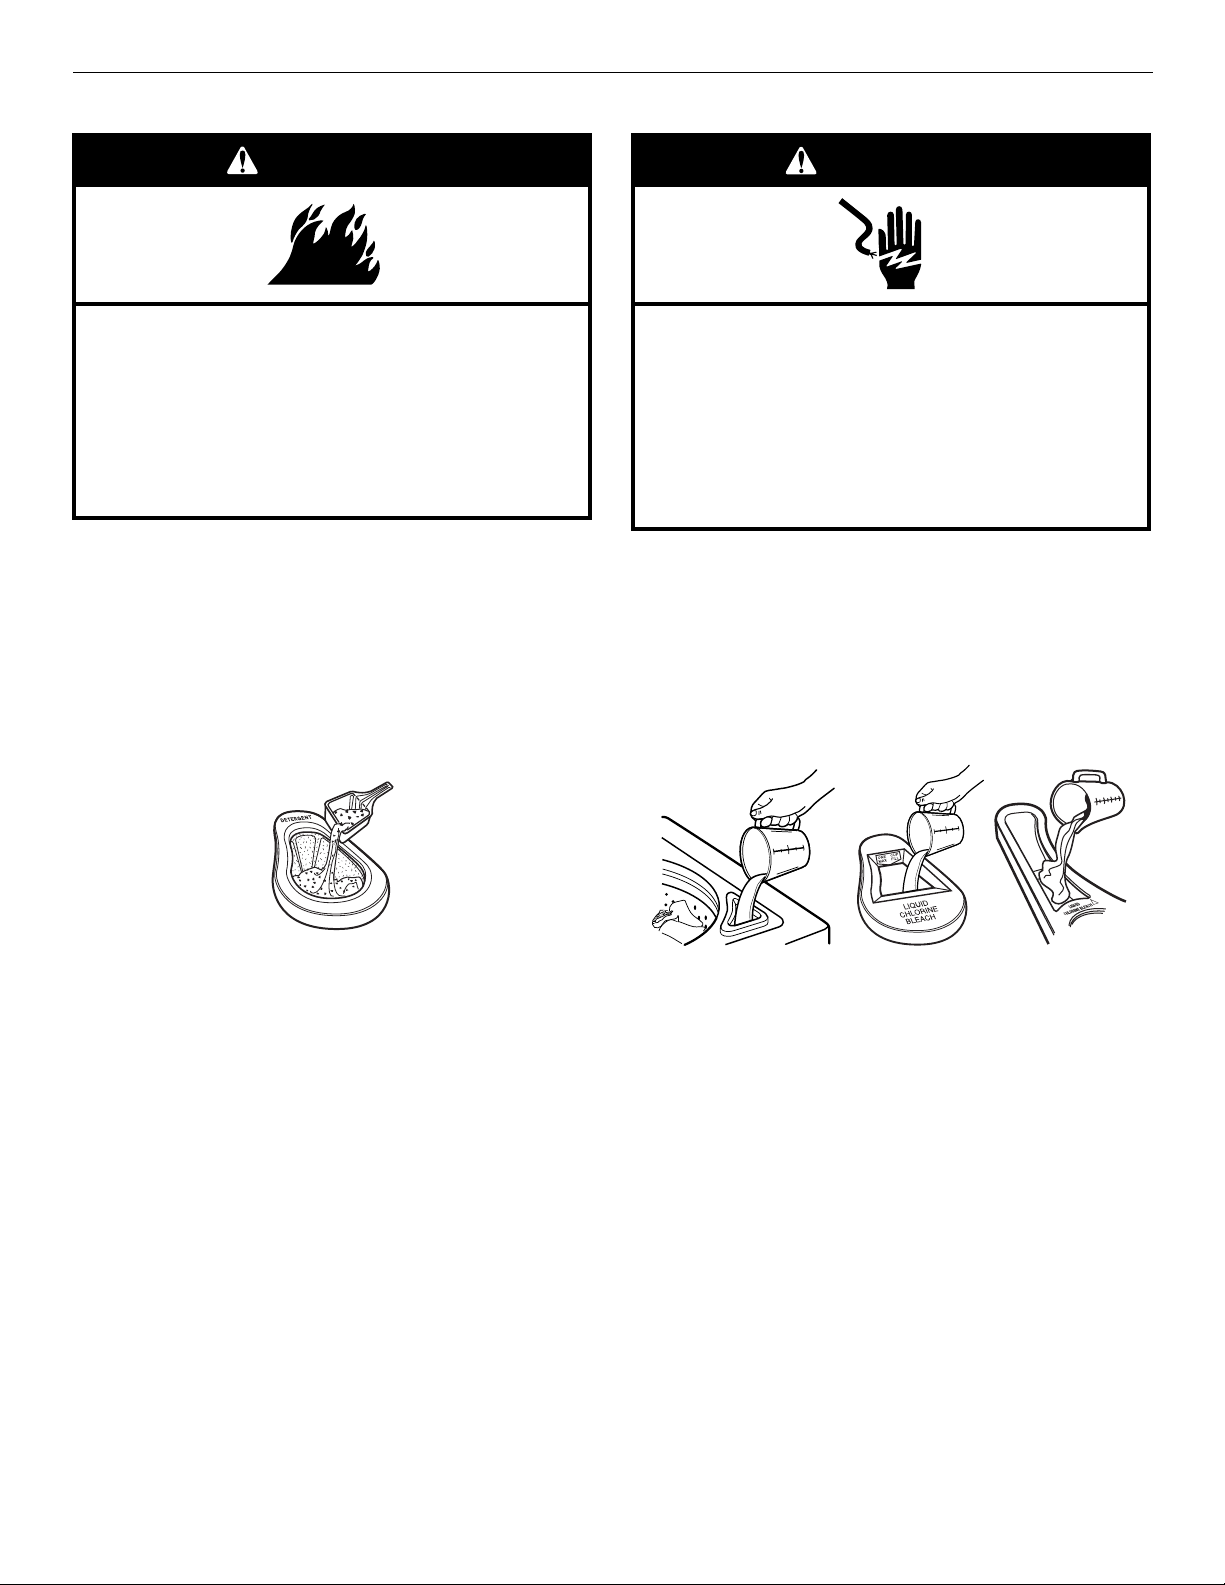
2. Style 1: Without Detergent Dispenser (on some models)
■
Measure detergent and pour it into the washer. If desired,
add powdered or liquid color safe bleach.
Style 2: With Detergent Dispenser (on some models)
■
Pour measured powdered or liquid detergent into the
detergent dispenser (on some models).
WARNING
Electrical Shock Hazard
Plug into a grounded 3 prong outlet.
Do not remove ground prong.
Do not use an adapter.
Do not use an extension cord.
Failure to follow these instructions can result in death,
fire, or electrical shock.
Style 2: With Chlorine Bleach Dispenser (on some models)
■
Use only liquid chlorine bleach in this dispenser. Pour
measured liquid chlorine bleach into the liquid chlorine
bleach dispenser. Bleach is immediately fed into washer
and diluted automatically during the wash part of the
cycle. The Timed Bleach and Triple Dispenser models
automatically dilute and add the bleach to the load at the
right time.
NOTE: Do not add powder or liquid color-safe bleach to
these dispensers.
Detergent Dispenser
3. (OPTIONAL) Add Liquid Chlorine Bleach.
NOTE: Follow the manufacturer’s directions for safe use.
Undiluted bleach will damage any fabric it touches. The
damage appears as rips, holes, tears, or color loss and may
not show up until several washings later. To avoid spilling, use
a cup with a pouring spout. Do not let bleach splash, drip, or
run down into the washer basket. Always measure liquid
chlorine bleach. Do not guess. Never use more than the
manufacturer’s recommended amount for a full load. Use less
with a smaller load size.
Style 1: Without Chlorine Bleach Dispenser (on some models)
■
Let the washer fill and begin agitating the load.
■
Add bleach 5 minutes into the wash cycle for best
cleaning and so that bleach can be removed in the rinse
cycle. Pour bleach around the agitator, not directly onto
the load.
123
1. Bleach Dispenser
2. Timed Bleach Dispenser
3. Bleach Dispenser on
Triple Dispenser models
4. (OPTIONAL) Add Liquid Fabric Softener.
NOTE: Do not spill or drip any fabric softener onto the clothes.
Undiluted fabric softener can stain fabrics. Always dilute fabric
softener with warm water. Too much fabric softener can make
some items (diapers and towels) nonabsorbent. If this
happens, do not use it in every load, or use less of it in each
load.
Style 1: Without Liquid Fabric Softener Dispenser (on some
models)
■
In the final rinse ONLY, add fabric softener that has been
diluted with ¹⁄₂ to 1 cup (125 to 250 mL) warm water.
4
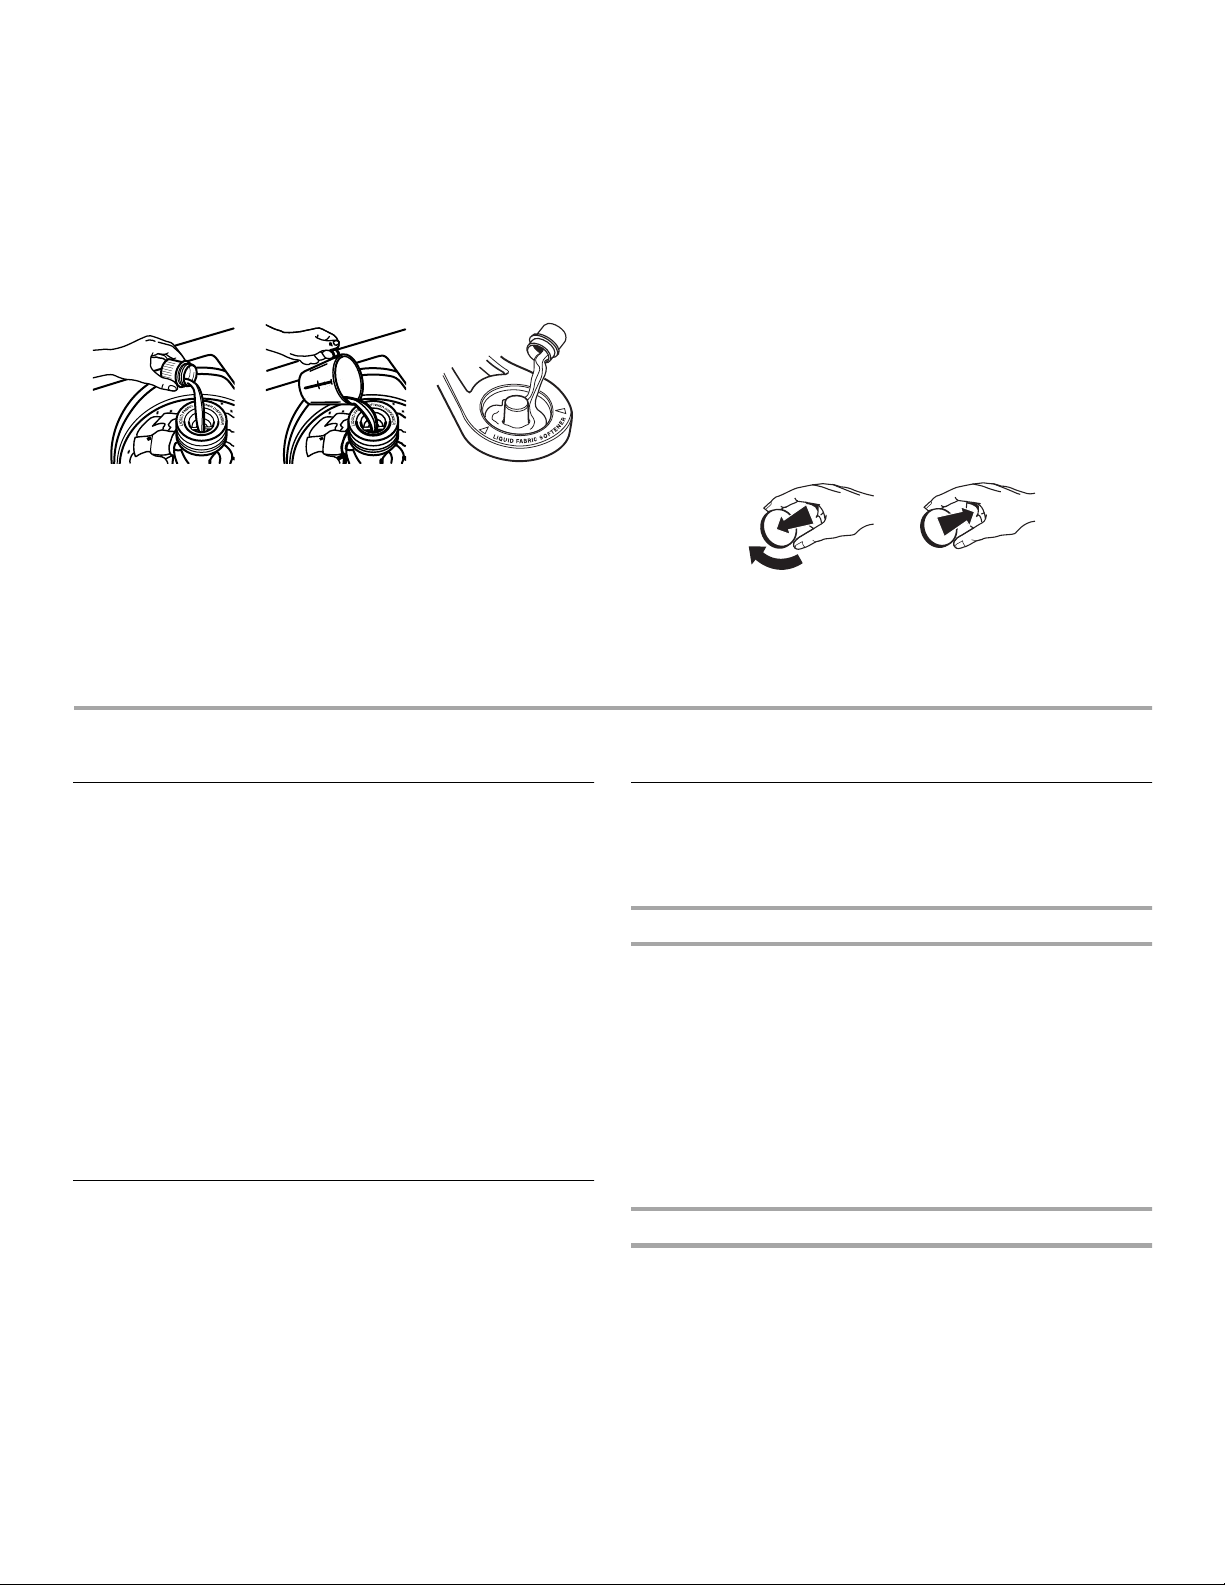
Style 2: With Liquid Fabric Softener Dispenser (on some
models)
■
Use only liquid fabric softener in this dispenser. Pour
measured liquid fabric softener into the dispenser.
Softener is added automatically during the rinse portion of
the cycle. Dilute liquid fabric softener by filling the
dispenser with warm water until liquid reaches the
crossbar in the dispenser opening (agitator mount
dispensers). Triple Dispenser models hold 3 oz (94 mL), or
about a standard capful of fabric softener. These models
automatically dilute the softener before adding it to the
rinse cycle.
123
1 & 2. Agitator mounted Fabric Softener Dispenser -
Pour in Fabric Softener and then dilute
3. Triple Dispenser models Fabric Softener is diluted automatically
5. Close the washer lid.
6. Turn the LOAD SIZE selector to the correct setting for your
wash load and the type of fabric being washed. You may
change the load size selection after the washer has started
filling by turning the selector to a different setting.
7. Set the TEMPERATURE selector to the correct setting for the
type of fabric and soils being washed. Use the warmest water
safe for fabric. Follow garment label instructions.
NOTE: In wash water temperatures colder than 70ºF (21ºC),
detergents do not dissolve well. Soils can be difficult to
remove. Some fabrics can retain wear wrinkles and have
increased pilling (the formation of small lint-like balls on the
surface of garments).
8. (OPTIONAL) EXTRA RINSE selector (on some models). For an
additional rinse and spin at the end of the NORMAL cycle, set
the EXTRA RINSE selector to ON.
9. Push in the Cycle Control knob and turn it clockwise to the
wash cycle you want. Reduce the wash time when using a
small load size setting. Pull out the Cycle Control knob to start
the washer.
To stop or restart your washer:
■
To stop the washer at any time, push in the Cycle Control
knob.
■
To restart the washer, close the lid (if open) and pull out the
Cycle Control knob.
WASHER CARE
CleaningYour Washer
Use a soft, damp cloth or sponge to wipe up any spills such as
detergent or bleach from the outside of your washer.
Clean your washer interior by mixing 1 cup (250 mL) of chlorine
bleach and 2 cups (500 mL) of detergent. Pour this mixture into
your washer and run it through a complete cycle using hot water.
Repeat this process if necessary.
Remove any hard water deposits using only cleaners labeled as
washer safe.
Cleaning the liquid fabric softener dispenser (on some
models):
1. Remove dispenser by grasping top with both hands and
squeezing, while pushing upward with thumbs.
2. Rinse dispenser under a water faucet, then replace it.
NOTE: If your model has a liquid fabric softener dispenser, do not
wash clothes with this dispenser removed. Do not add detergent
or bleach to this dispenser; it is for liquid fabric softener only.
Wat er I nle t Hos es
Replace inlet hoses after 5 years of use to reduce the risk of hose
failure. Periodically inspect and replace inlet hoses if bulges,
kinks, cuts, wear or leaks are found.
When replacing your inlet hoses, mark the date of replacement on
the label with a permanent marker.
Moving &Storage
Because some water may stay in the hoses, freezing can damage
your washer. If storing or moving your washer during freezing
weather, winterize it.
Winterizing your washer
1. Shut off both water faucets. Disconnect and drain water inlet
hoses. Pour 1 qt (1 L) of R.V.-type antifreeze in the basket.
2. Run washer on a drain and spin setting for about 30 seconds
to mix the antifreeze and water.
3. Unplug washer or disconnect power.
To use washer again
1. Flush water pipes and hoses. Reconnect water inlet hoses.
Turn on both water faucets.
2. Plug in washer or reconnect power.
3. Run the washer through a complete cycle with 1 cup (250 mL)
of detergent to clean out antifreeze.
Storage, non-use or vacation care
Operate your washer only when you are at home. If you will be on
vacation or not using your washer for an extended period of time,
you should:
1. Unplug washer or disconnect power.
2. Turn off the water supply to the washer. This helps avoid
accidental flooding (due to a water pressure surge) while you
are away.
5
 Loading...