

Kiramek 1460 series Owner's Manual
© 2015 KIRAMEK, INC., Aichi Japan
Ver. 1.1, Aug. 2015
FACTORY KEYL ESS UPGRADE SECURITY
1460
series

Thank you for purchasing this VISION
1460 Vehicle Security System. The 1460
is a state of the art device that will provide you with years of trouble free service if used properly. Please familiarize
yourself with the content of this Owner’s
Guide to get the most out of your new
system. We trust you will enjoy using the
product.

© 2015 KIRAMEK, INC.
NOTICE! Although reasonable efforts have been taken to ensure accuracy in this
Owner’s Guide, Kiramek Inc. shall not be held liable for any errors, omissions, property damage, or injury resulting from the use of this information.
All product specifications and features are subject to change without notice.
TA B L E O F C ON T E NT S
Limited Lifetime Warranty ................................... 1
Included Items ............................................ 2
Arming & Disarming ....................................... 3
Arming ................................................ 3
Confirmation Chirps .................................... 3
Disarming ............................................. 4
Manual Disarming ...................................... 5
Main Features ............................................ 6
Trunk Release Bypass .................................... 6
Door Trigger ........................................... 6
2-Stage Shock Sensor ................................... 6
Ignition Trigger ......................................... 7
(+)12v Trigger .......................................... 8
Error Chirp ............................................. 8
GWA (Ground When Armed) ............................. 8
SBS (Sector Bypass System) ............................... 8
Status LED (Trigger Memory) .............................. 9
Light Flash ............................................ 10
Resume .............................................. 10
Valet Mode........................................... 10
Programmable Features ................................... 11
Reset to Factory Defaults ............................... 13
Troubleshooting .......................................... 14
Options ................................................. 16

1
© 2015 KIRAMEK, INC.
Limited Lifetime Warranty
The VISION 1460 Control Module is backed by a limited lifetime war-
ranty against defective components and/or improper product assembly
to the original purchaser for as long the vehicle is owned by that same
purchaser, contingent upon installation by an Authorized VISION Dealer. All product warranties become void if the VISION 1460 system was
not sold and installed by an Authorized VISION Dealer or the system
is moved to another vehicle. All other parts and/or accessories that
connect to VISION 1460 systems, including but not limited to the Siren,
Shock Sensor and LED Program Switch, are warranted for one (1) year
from the original date of purchase.
During the warranty period, Kiramek Inc. will repair or replace, at its
sole discretion, any system component that is found defective in material or assembly during the warranty period, provided that the product
is returned to Kiramek Inc. by an Authorized VISION Dealer and is accompanied by a clear and legible copy of the original purchaser’s receipt.
Any damage to your VISION 1460 system that results from normal
wear-and-tear, accidents, improper use, neglect, faulty wiring, incorrect
installation, modication, removal or defacement of the product serial
number, alteration or repair outside Kiramek Inc or its Authorized VISION Dealers immediately voids this warranty.
This warranty is limited to defective parts only and does not provide
any compensation whatsoever for damages associated with the VISION
1460 system or its accessories. This warranty does not cover installation labor, product removal and/or reinstallation fees. This warranty
is valid for the original purchaser only and may not be transferred to
another party. Kiramek Inc makes no warranty against theft or vandalism of the vehicle in which the VISION 1460 system was installed. This
warranty shall not be interpreted as an insurance policy against loss,
nor shall Kiramek Inc be liable any in way for such loss, nancial or
otherwise.
WARNING! DO NOT ATTEMPT TO INSTALL THIS VISION 1460 PRODUCT YOURSELF BECAUSE SUCH WILL IMMEDIATELY VOID THE WARRANTY. THIS SECURITY SYSTEM MUST BE PROFESSIONALLY INSTALLED BY YOUR AUTHORIZED
VISION DEALER TO VALIDATE YOUR WARRANTY.
KIRAMEK may opt to validate the above Warranty, in writing, for shipments outside Japan, in cases where there is no local VISION Dealer available to perform the install.
2
VISION 1460 OWNER’S GUIDE
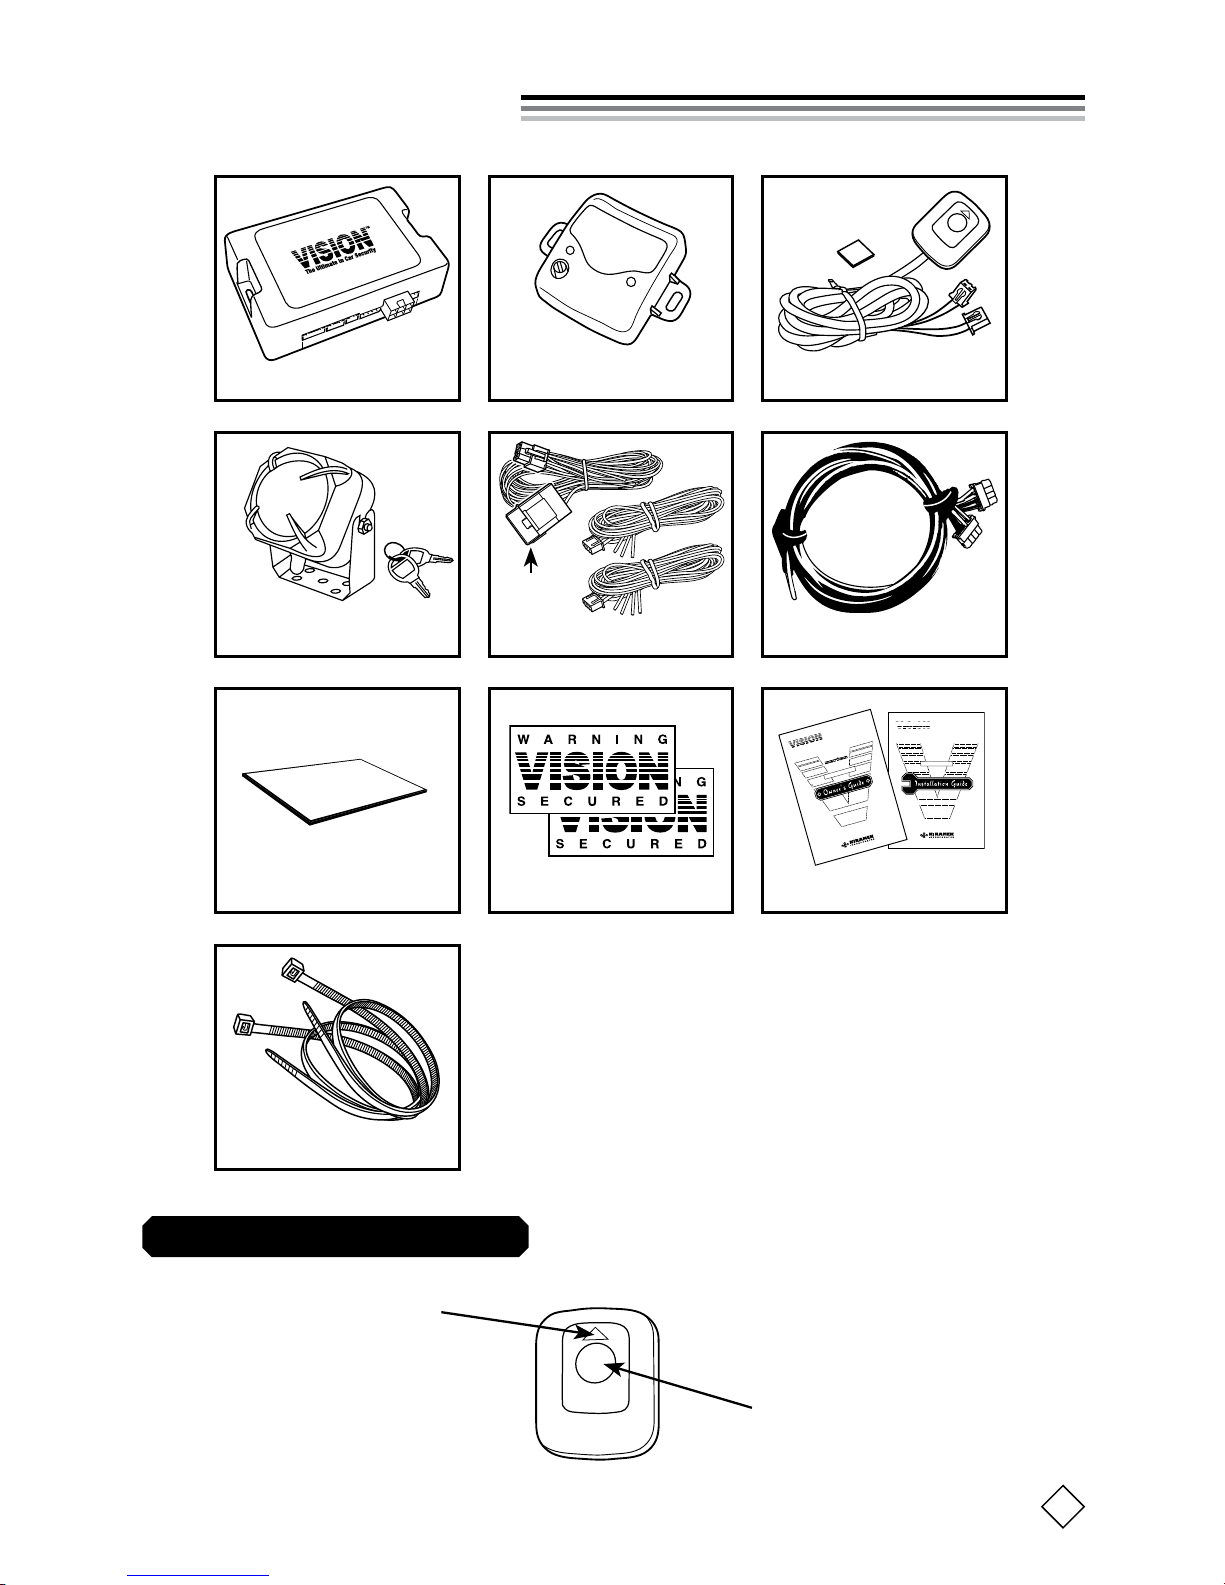
INCLUDED ITEMS
LED Program Switch Parts
Status LED
Program Switch
Control Module (1pc)
Shock Sensor (1pc)
LED Program Sw. (1pc)
Siren (1pc)
Sensor Harness (1pc)
Sensor Tape (1pc)
Window Decals (2pc) Guides (2pc)
VISION
IR SHOCK SENSOR
Only 1460B includes keys.
25cm Wire Ties (2pcs)
F
A
C
T
O
R
Y
K
E
Y
L
E
S
S
U
P
G
R
A
D
E
S
E
C
U
R
I
T
Y
1
4
6
0
D
I
G
I
L
I
N
K
∞
S
M
A
R
T
F
A
C
T
O
R
Y
K
E
Y
L
E
S
S
U
P
G
R
A
D
E
S
E
C
U
R
I
T
Y
1
4
6
0
s
e
r
i
e
s
D
I
G
I
L
I
N
K
∞
S
M
A
R
T
Control Mod. Harnesses (3pcs)
Main
Harness
VISION 1460 OWNER’S GUIDE
3
Arming & disarming
ARMING
CONFIRMATION CHIRPS
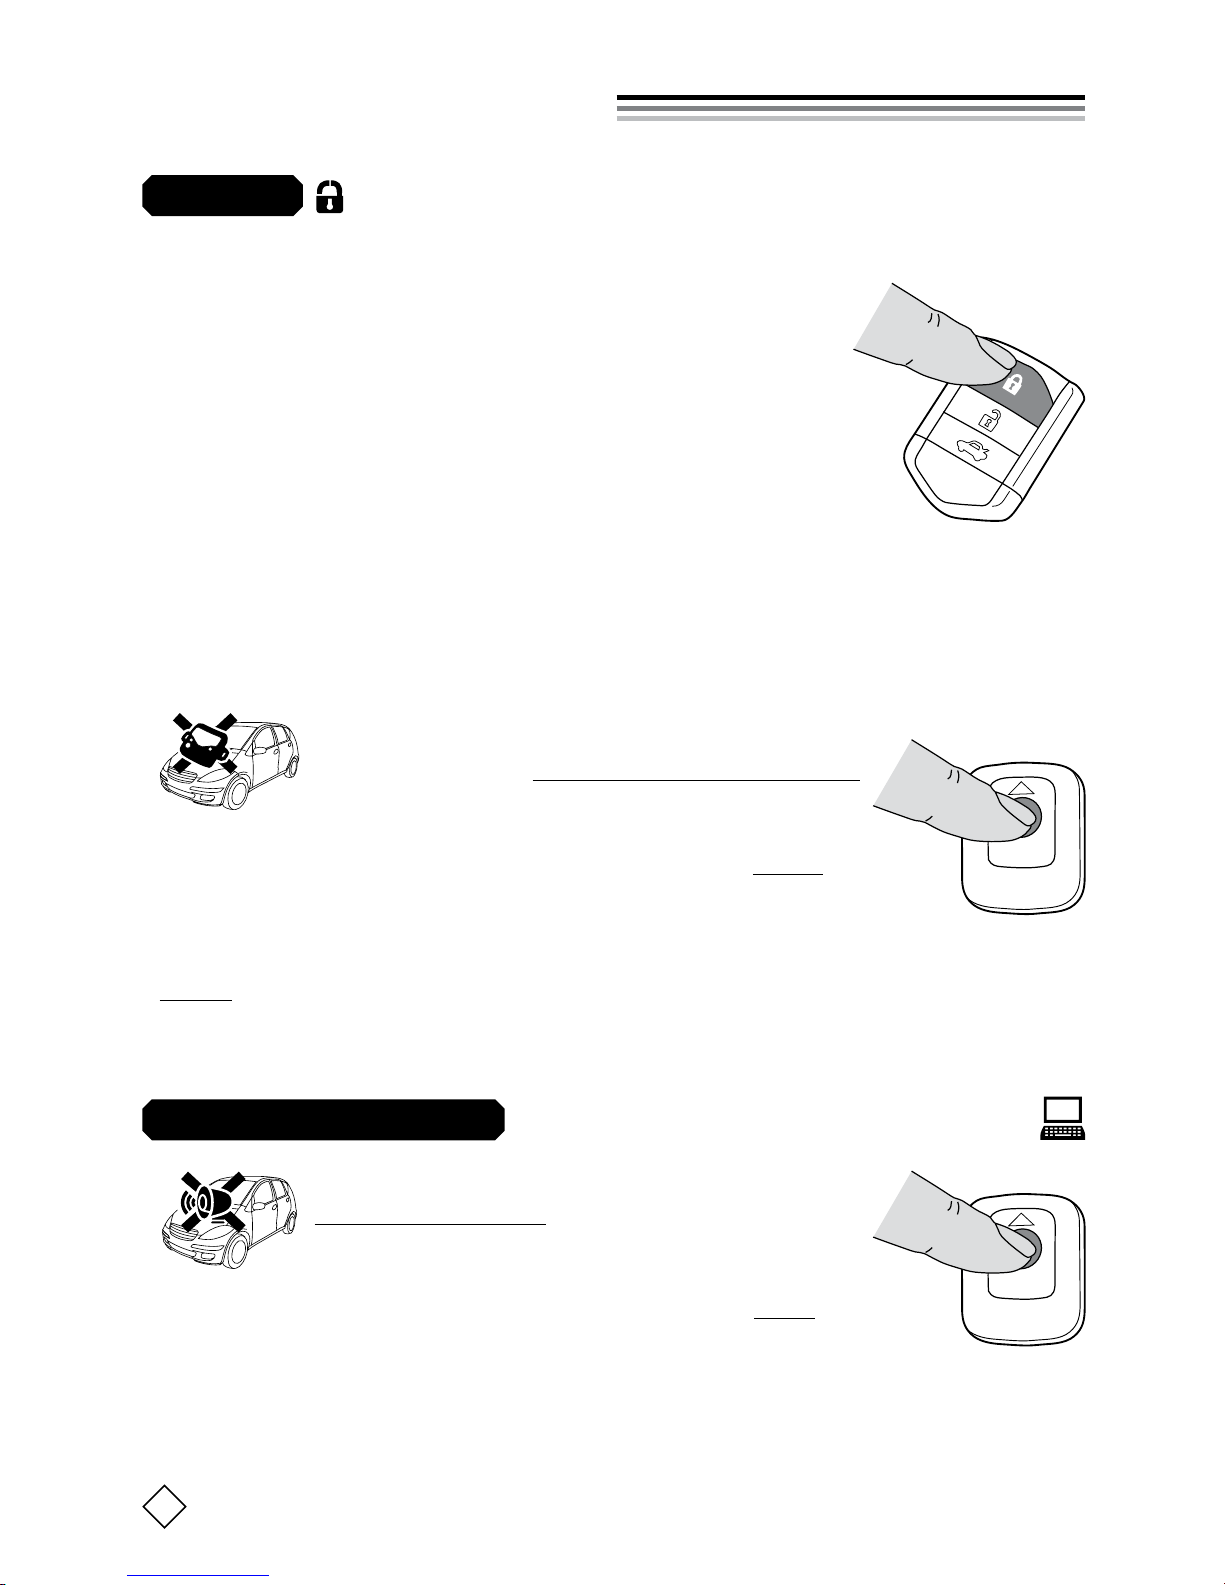
NORMAL ARMING
Close all doors and then LOCK by your factory
keyless remote or by SmartKey door handle
touch. Hazard lights will ash, doors will lock, and
the siren will chirp 1 time (if Conrmation Chirps are
ON). The Status LED will light for 5s, during which
time all triggers are disabled. Then the Status LED
will start ashing and Ignition, Door, Trunk and Hood
triggers become enabled. The Shock Sensor (and any other external sen-
sor) is enabled 5s after the LED starts ashing (10s after you Lock).
SENSOR BYPASS ARMING
This procedure lets you temporarily disable
the Shock Sensor for a single Arming session:
1) With Ignition OFF, press the Program Switch twice.
2) Within 20s, press LOCK on the factory remote to Arm.
The system is now Armed in Sensor Bypass Mode, and all triggers are active
except the shock sensor and any other external sensors. Note that when you
Disarm and then Arm again normally, the shock sensor will be enabled.
(ON by default)
This procedure lets you enable or disable the
Arm/Disarm chirps. (Note that the siren will
still go off when the 1460 is triggered.)
1) With Ignition OFF, press the Program Switch once.
2) Within 20s, press LOCK on the factory remote to Arm.
The conrmation chirp state has now toggled and the system is Armed. Repeat the above procedure to toggle the conrmation chirp state back again.
PROGRAMMABLE
OFF
OFF
LOCK
2 Pushes
1 Push
© 2015 KIRAMEK, INC.
4
arming & disarming
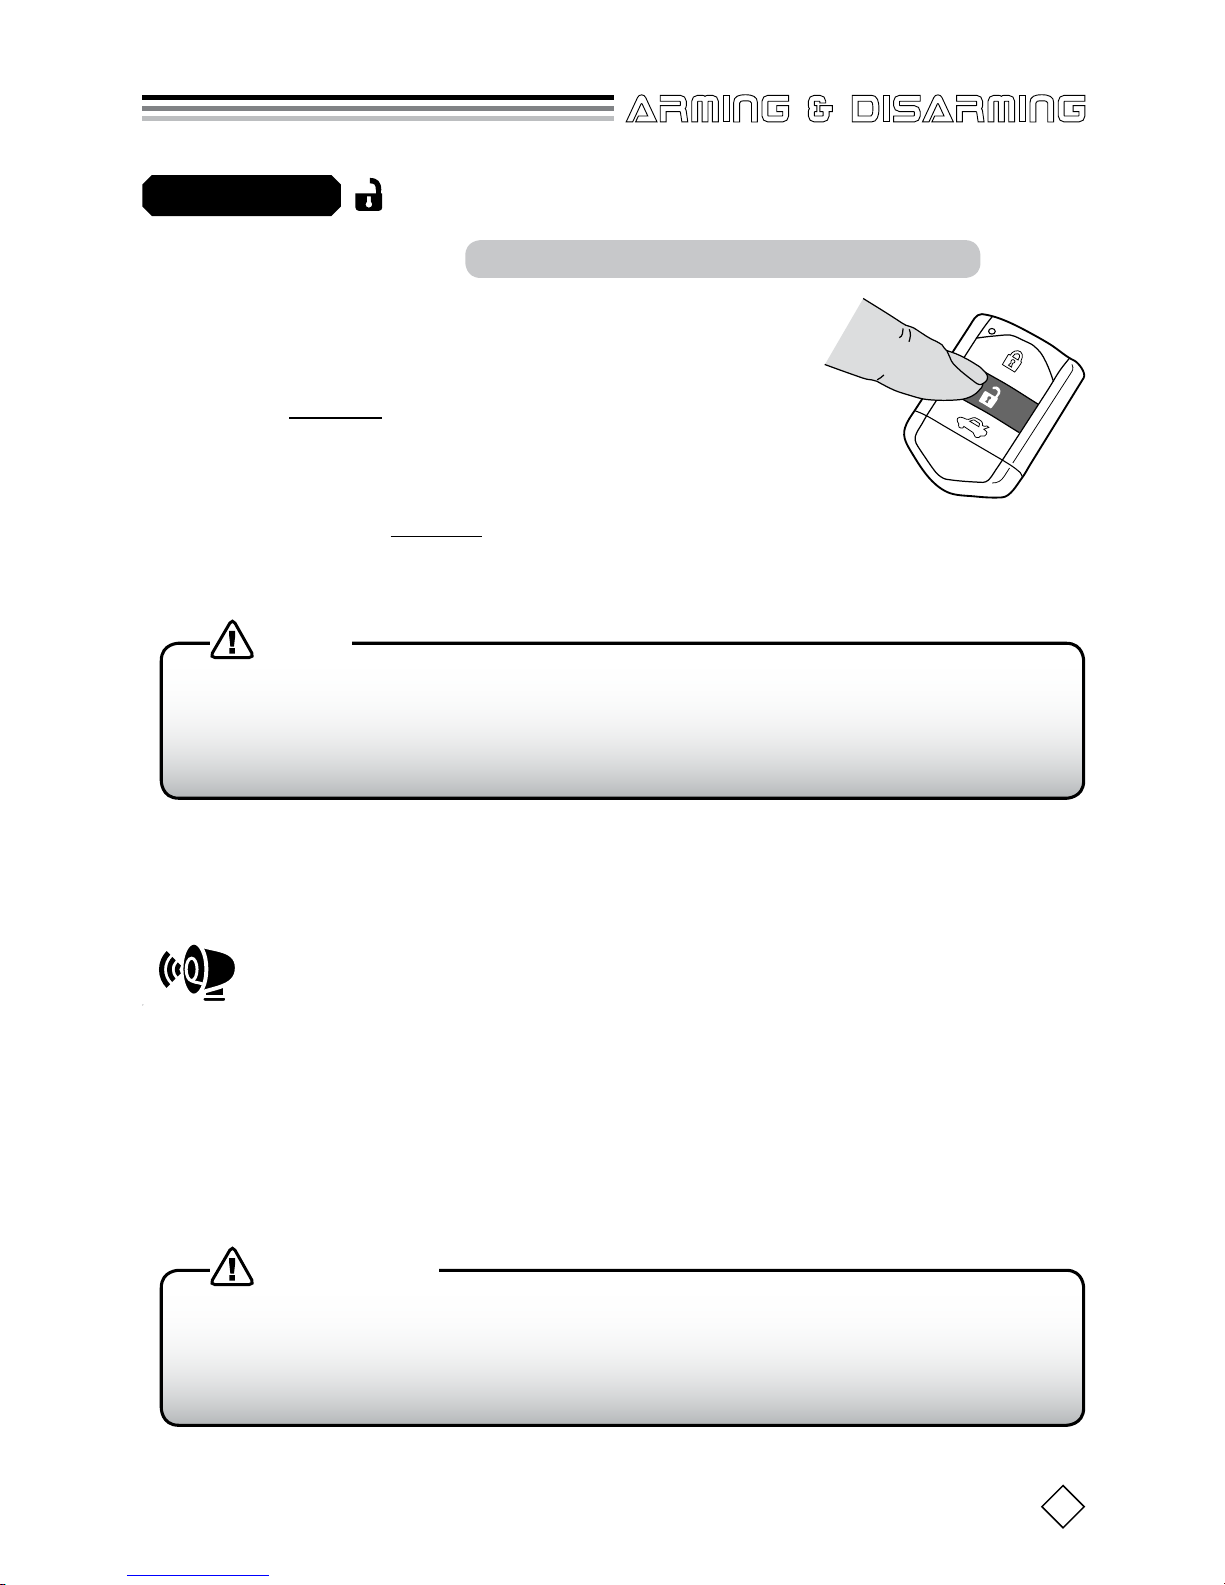
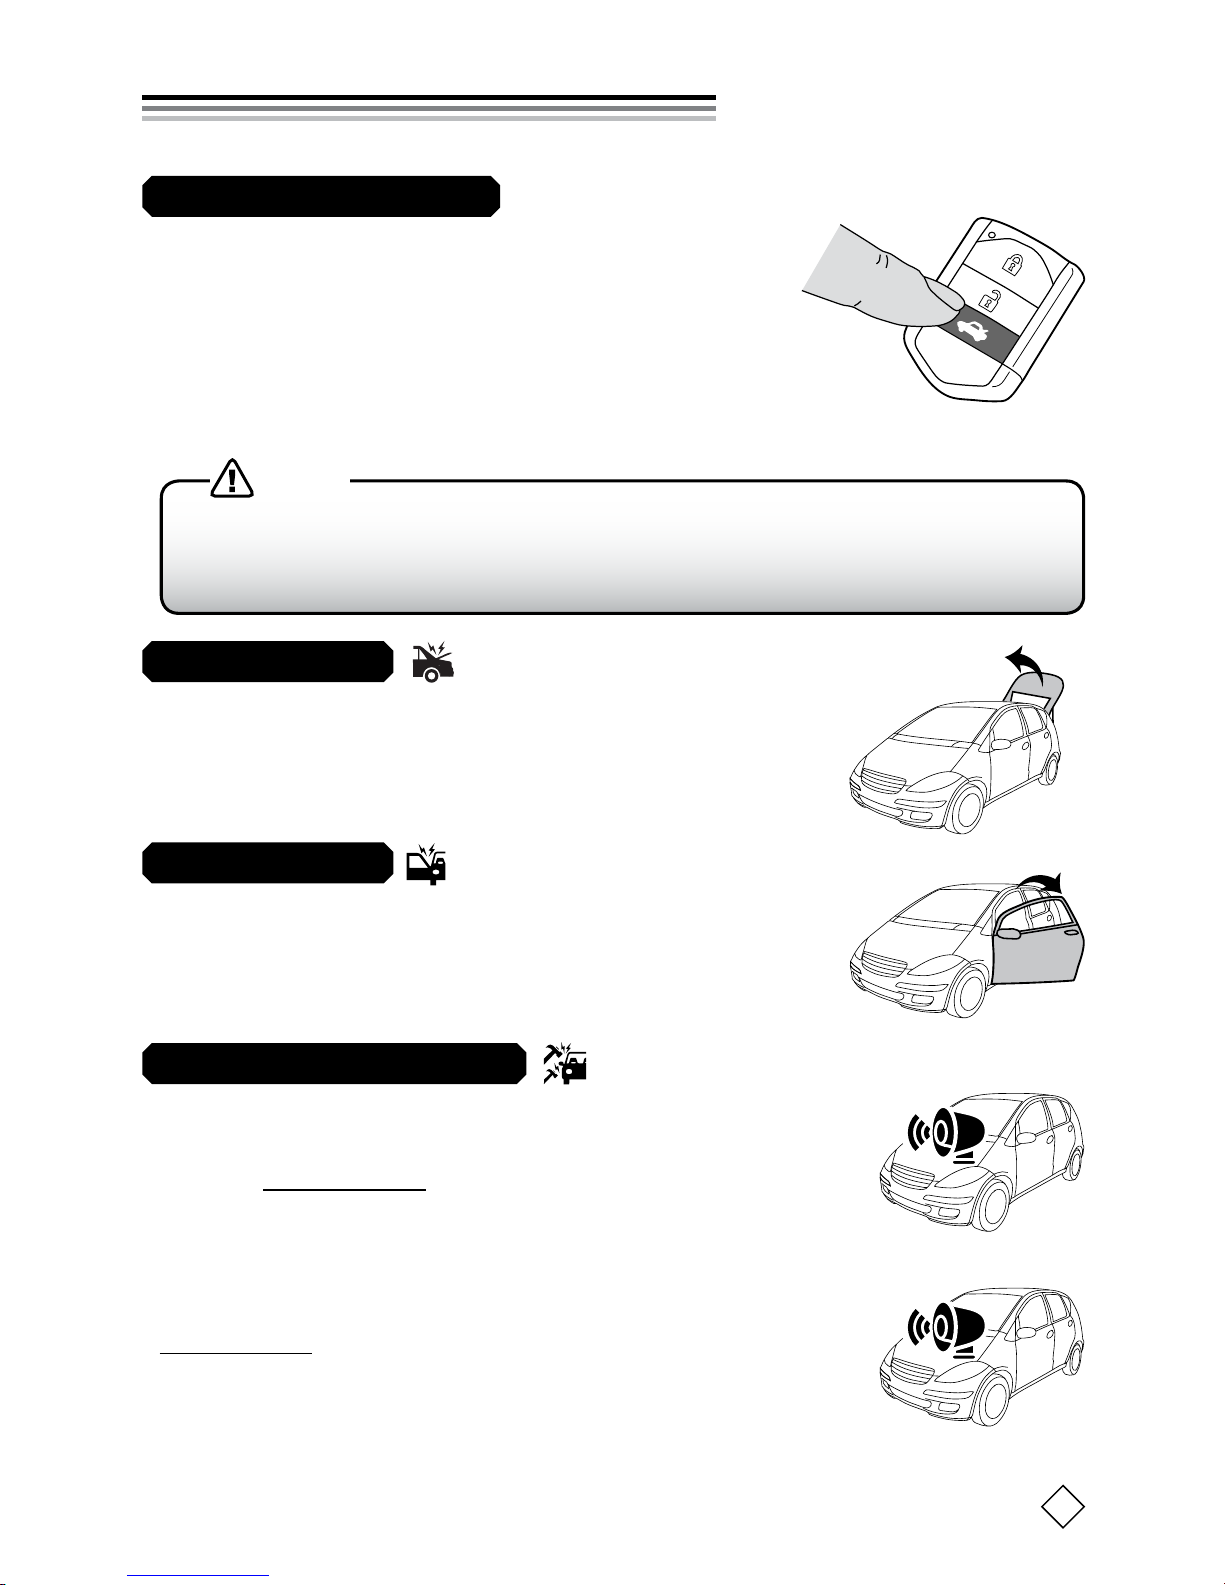
DISARMING
NORMAL DISARMING
UNLOCK by your factory keyless remote or by
SmartKey door handle touch. Vehicle hazard
lights will then ash, doors will unlock, the siren
will chirp 3 times (if Conrmation Chirps are ON),
and the Status LED will turn off. The 1460 is now
Disarmed and you may enter the vehicle.
If the siren chirps 4 times when you Disarm, it means something had triggered while you were away from the vehicle. In this case, the Status LED
will ash to tell you what caused the trigger (see Trigger Memory, page 9).
Some vehicles equipped with remote engine starters do not allow you to
Unlock while the engine is running. In such a case, you will not be able
to Disarm the 1460 until you shut off the engine.
NOTE
You cannot Disarm simply by pressing UNLOCK in cases where the
1460’s siren was triggered by the opening of a door or the trunk or the
hood or the Ignition ON. You must follow the above 4-step procedure!
IMPORTANT!
DISARMING AFTER A DOOR/HOOD/TRUNK/IGNITION TRIGGER
If the siren is triggered by the opening of a Door or the back hatch
(Trunk) or the Hood or by the Ignition being switched ON, you
must perform the following procedure to Disarm:
1) UNLOCK with factory keyless (with doors/hood/trunk closed).
2) Open the driver’s side door, enter the car, then close the door.
(The siren will blast when you do this, if it is not already blasting.)
3) Ensure the Ignition is OFF, then switch the Ignition ON then OFF.
4) UNLOCK again with factory keyless. The system should Disarm.
Shock Sensor Triggered or Nothing Triggered.
UNLOCK
5
© 2015 KIRAMEK, INC.
arming & disarming
MANUAL DISARMING
You can manually Disarm using a secure code in the event your
factory remote’s battery dies (see Note 2 below). The factory
code is “6”, but you can change this code to another number of
your choosing for greater security (see the bottom of this page).
1) Enter the car. (The siren will blast. You can leave the door open or closed.)
2) Turn ON the Ignition.
3) Within 30s, press the Program Switch the same number of times as
your Disarm Code. (Factory Default Code = 6)
4) Turn OFF the Ignition. (The 1460 should Disarm and the siren should
stop.)
1) If the 1460 won’t Disarm in Step-4 above, you entered the code incorrectly. Start over from Step-2.
2) Many Push Start cars don’t allow the Ignition to be switched on in
the absence of the Factory Remote. So if you lose or destroy your car’s
remote, you may not be able to Manually Disarm the 1460. But if your
factory remote merely has a dead battery, you will be able to switch on
the Ignition and Manually Disarm using the 4 steps above.
NOTES
MANUAL DISARM CODE MODIFICATION
The factory code is “6” but you should change it to another number between 1 & 30:
1) With the 1460 Disarmed, switch ON the Ignition.
2) Press the Program Switch for 6s, until the siren will chirp 3 times.
3) Release the Program Switch after you hear the 3 chirps, then turn OFF
the Ignition. The Status LED will light for 5s.
4) Quickly switch ON the Ignition again (while the LED is lit for 5s).
5) When the LED turns off, wait about 5s and you will see the LED start to
ash.
Take note of the ashes as the number of ashes will be the num-
ber of your Disarm Code.
Turn OFF the Ignition to program your code.
The LED will then ash the same number of times as your Disarm Code.
If you added any optional VISION transmitters, you must relearn them.
PROGRAMMABLE
6
VISION 1460 OWNER’S GUIDE
MAIN FEATURES
Some cars don’t support the automatic trigger bypass feature of the
1460. In that case you will need to rst Unlock/Disarm before you can
use your factory Trunk Release feature (otherwise the siren will trigger).
NOTE
If you have a Trunk Release button on your
factory remote, pressing it while the 1460 is
Armed will bypass the doors/trunk for 5 seconds. The Shock Sensor will be bypassed until you
close the trunk. The Ignition switch is never bypassed. Five(5) seconds after you close the trunk,
the shock sensor will be automatically re-activated.
TRUNK RELEASE BYPASS
The siren will blast for 30s when any door is opened
while the system is Armed. Vehicle hazard lights may
also ash. See bottom half of page 4 on how to Disarm
in this case. Also see Table-1, pg.9.
2-STAGE SHOCK SENSOR
1st Stage (“Warning Chirps”). Each time the Shock
Sensor detects a light impact to the vehicle body, the siren will chirp 5 times. The Shock Sensor will not trigger
the siren while in Sensor Bypass Mode.
2nd Stage (“Full Trigger”). When the Shock Sensor de-
tects a hard impact to the vehicle body, the siren will
blast for 30s (or until Disarmed with the factory remote).
The Shock Sensor will not trigger the siren while in Sensor Bypass Mode. Also see Table-1, pg.9.
See page 15 for common shock sensor problems and solutions.
5 Chirps
30s Blast
The siren will blast for 30s when the trunk is opened
(without the remote) while the system is Armed. Ve-
hicle parking lights may also ash. See bottom half of
pg.4 on Disarming in this case. Also see Table-1, pg.9.
TRUNK TRIGGER
DOOR TRIGGER
TRUNK
7
© 2015 KIRAMEK, INC.
main features
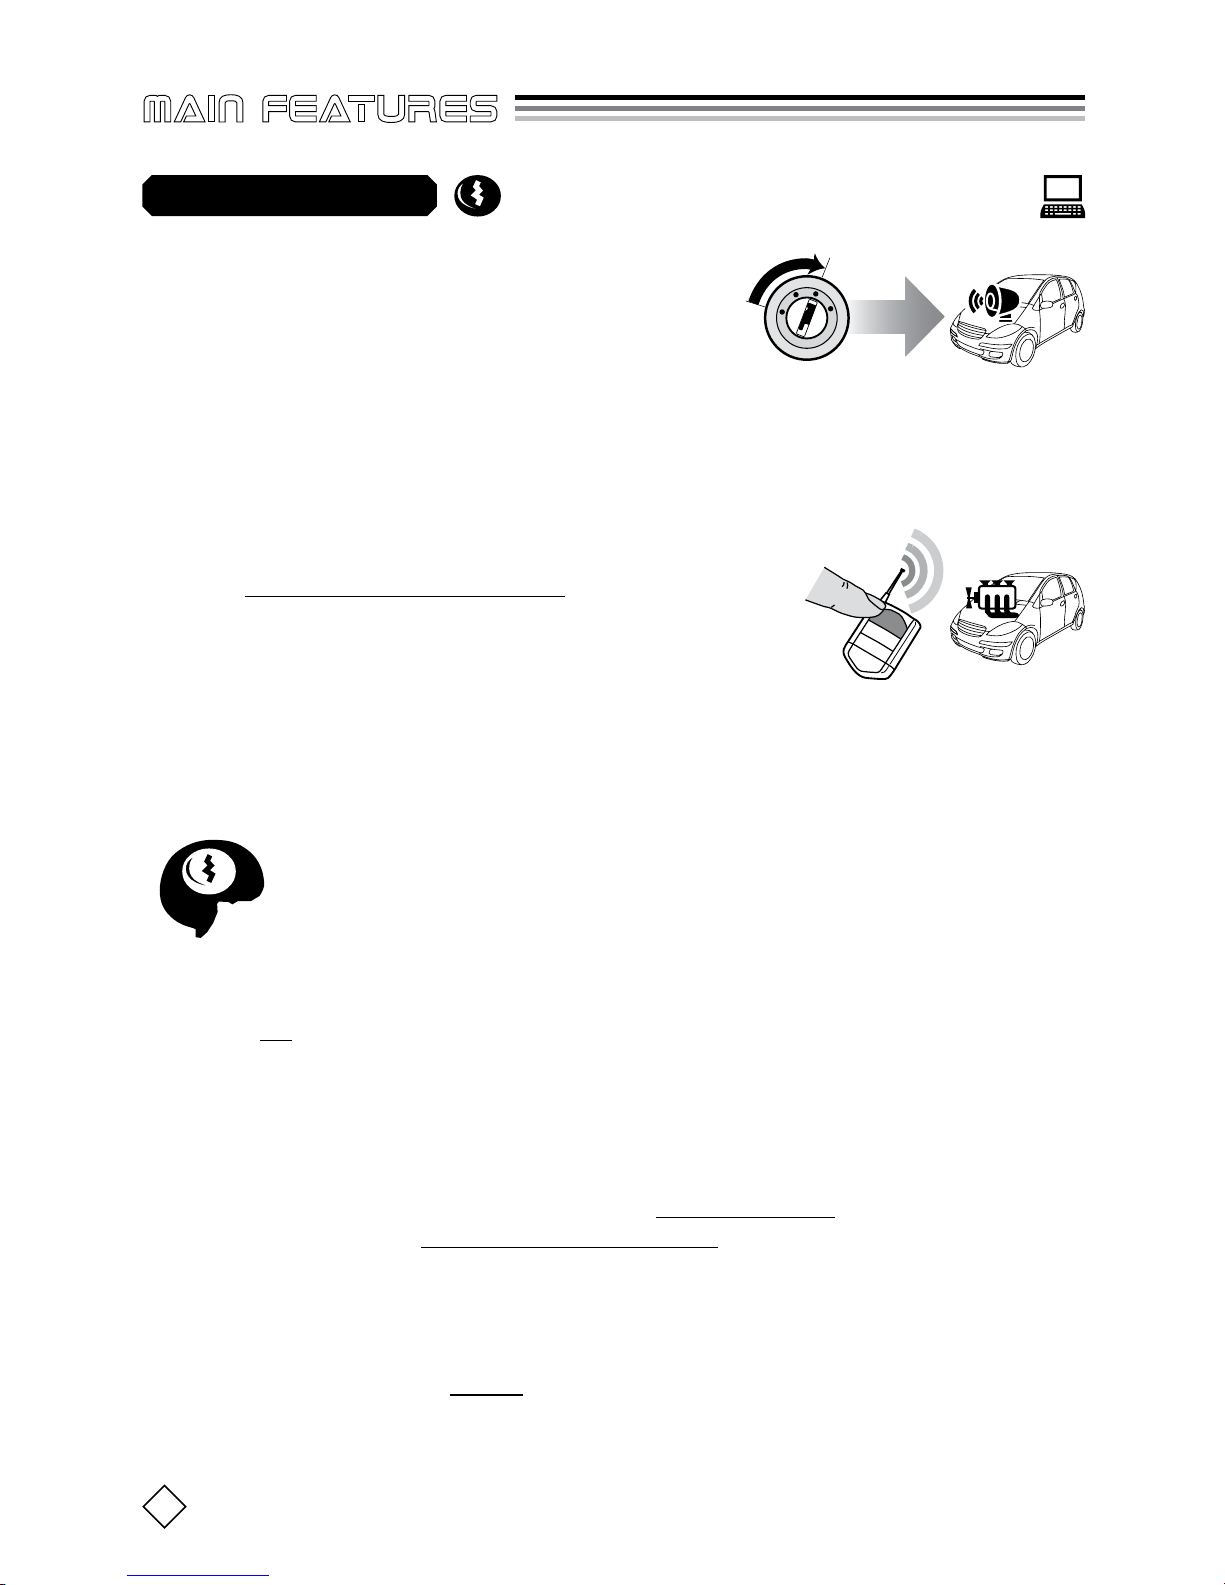
IGNITION TRIGGER
IG PROTECT MODE (default)
The siren will blast for 30 seconds when the
Ignition (IG) is switched ON while the system
is Armed. Vehicle parking lights may ash. See bottom half of page 4 on
how to Disarm in this case. Also see Table-1, pg.9.
REMOTE START COMPATIBILITY MODE (RSCM) (user-programmable)
When the Ignition switches ON while Armed in this
mode, the siren will not trigger. Instead, Shock
Sensor and Ignition triggers are bypassed, while
Door, Hood & Trunk triggers remain active. This
allows 3rd party remote starters to start the engine without triggering the siren. The vehicle is still protected though, and
any attempt to open a door or the trunk will trigger the siren. And when the
remote starter stops the engine (i.e., Ignition turns off), Sensor and Ignition
triggers are automatically re-activated.
(See page 11 to program.)
IIP (Intelligent Ignition Protect)
IIP activates when you program RSCM. The function of IIP is to
temporarily switch back to IG Protect Mode after a siren trigger.
Purpose. Most “remote start / turbo timer” compatible car alarms by-
pass all trigger inputs after the Ignition is switched ON. So if a thief
opens a door the siren will trigger; but the thief can then close the door,
turn on the Ignition, wait until the siren stops, then drive away in silence because the Ignition-ON state prevents the siren from triggering
again! And other car alarms that always trigger the siren when the Ignition turns on offer no remote start or turbo timer compatibility at all.
IIP solves this problem by offering compatibility with Remote Start
& Turbo Timers, with complete security.
How it works. Normally, if the Ignition is turned ON while in RSCM,
the system automatically bypasses the Sensor & Ignition triggers but
keeps Door, Hood and Trunk triggers active. But if the 1460 is triggered
by a Door or Sensor before the Ignition is turned ON, IIP automatically
switches back to IG Protect Mode, and the siren will be triggered if the
Ignition is turned on. Disarming and Arming again will revert to RSCM.
PROGRAMMABLE
IG ON
IG ON
L
O
C
K
A
C
C
O
N
S
T
A
R
T
S
T
ART
S
T
OP
8
VISION 1460 OWNER’S GUIDE
main features
GWA (Ground When Armed)
The 1460 feeds a (–) Ground output while the system is Armed.
Optional devices can be activated by this control line, such as
a Starter Kill Immobilizer Relay or LED scanners. When the
system is Disarmed, GWA is switched OFF and all attached devices turn
off. See the Installation Guide for electrical specications.
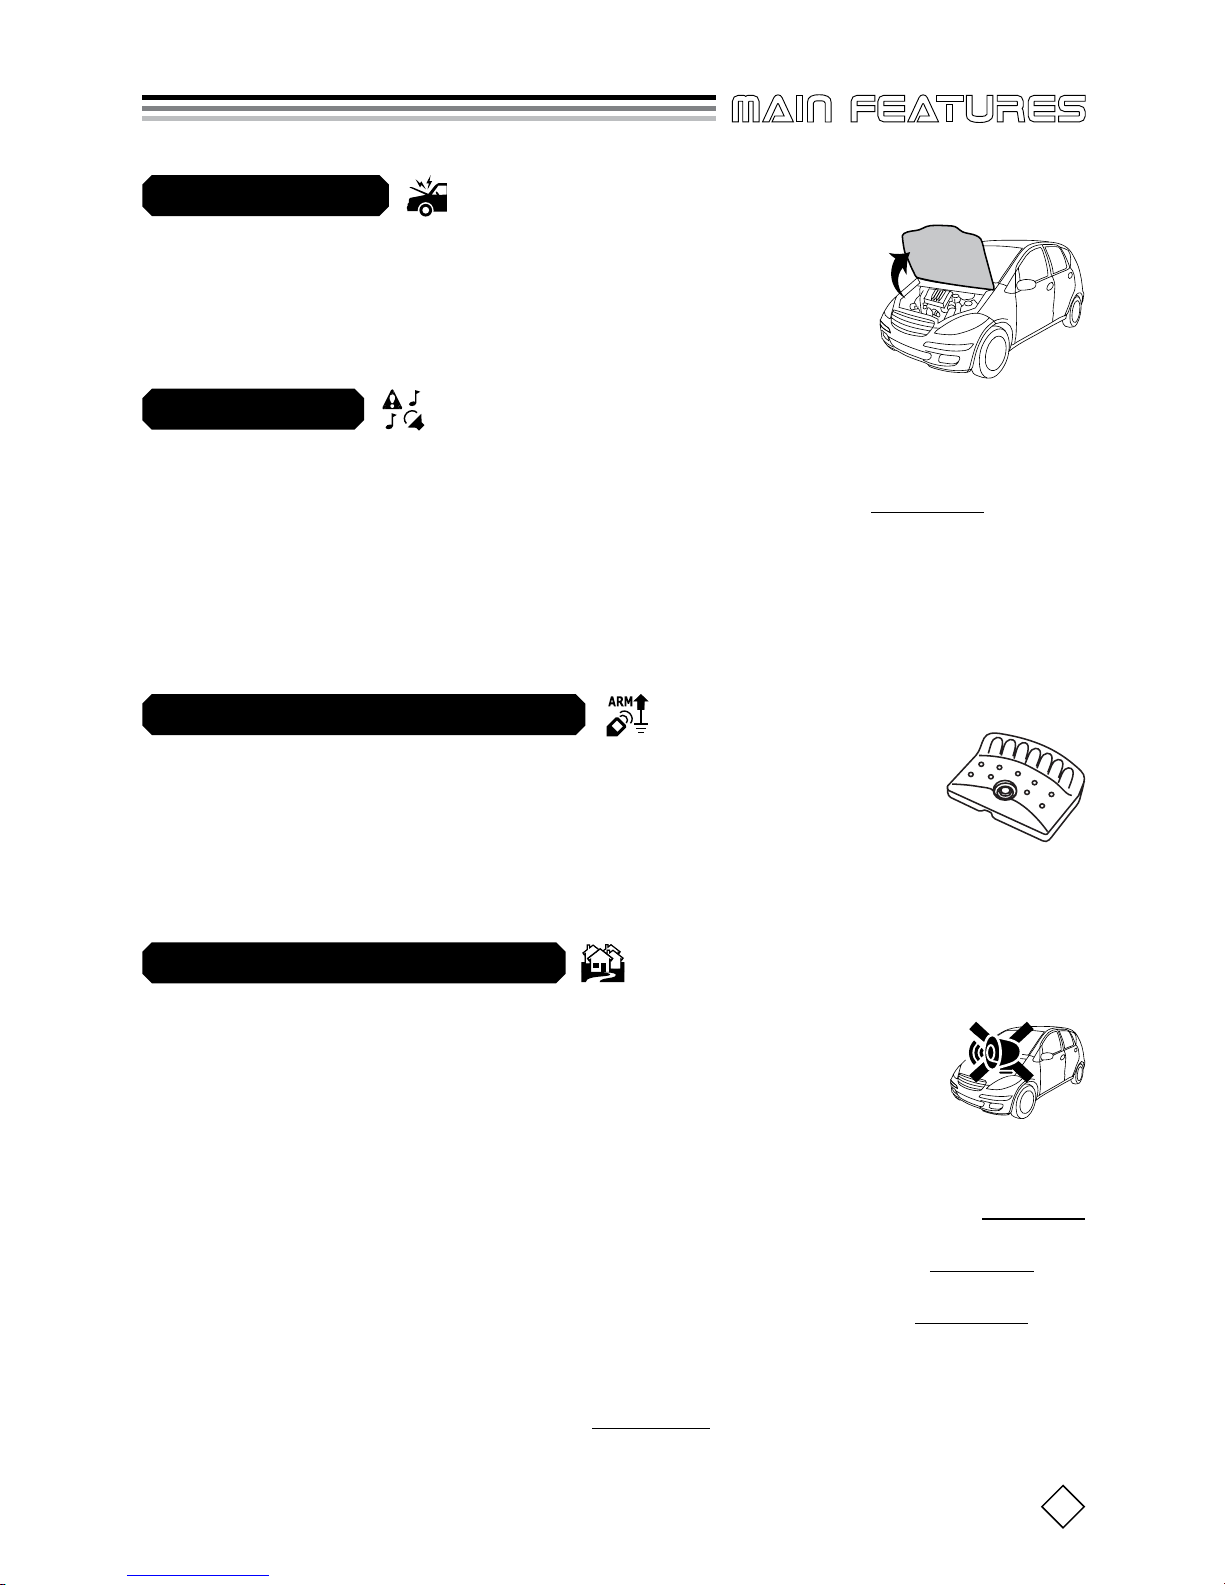
A “sector” is the Ignition, Hood, any Door, or attached Sensors.
When a sector triggers the siren a certain number of times (see
below), that sector is bypassed (disabled) until you Disarm and
Arm again. This limits noise pollution caused by multiple siren
triggers in a short period of time (such as when you park near
construction sites or if animals jump on the vehicle repeatedly).
DOOR/TRUNK/HOOD — If left OPEN, the siren blasts up to 5 times
(30s each time), then the Doors/Trunk/Hood are bypassed until closed. (The
(+)12v Trigger WHT/BLK input is bypassed after triggering 10 times).
IGNITION — If the Ignition is left ON, the siren blasts up to 10 times (30s
each time) and then the Ignition is bypassed until you Disarm & Arm again.
SENSOR — Warning triggers (5 chirps) and Full Triggers (30s siren)
are independently bypassed after 10 times. You must Disarm and then
Arm again to re-activate.
SBS (Sector Bypass System)
HOOD TRIGGER
On compatible vehicles (or on any vehicle when the optional analog Hood input is connected), the siren will
blast for 30 seconds when the hood is opened while
Armed. See bottom half of page 4 on how to Disarm.
ERROR CHIRP
If a Door or the Hood or Trunk is open when you Lock/Arm, you will hear
1 chirp (if Conrmation Chirps are enabled) followed by 2 chirps (even if
Conrmation Chirps are disabled). The 2 chirps are Error Chirps that no-
tify you the doors/trunk/hood will be bypassed (they won’t trigger the siren)
because they are open. But 5s after you close the door/trunk/hood, they
will then trigger the siren if later opened. You will only hear Error Chirps
on cars that allow Lock/Unlock when the doors/trunk/hood are open.
OFF
VISION 1460 OWNER’S GUIDE
9
main features
The Status LED ashes slowly about once per second while the system is
Armed, acting as a visual theft deterrent. The LED turns off when the
system is Disarmed, unless there was a siren trigger.
TRIGGER MEMORY
The LED ashes rapidly while the full siren blast is going off and
keeps ashing rapidly even after the siren stops. When you Disarm, the Status LED will change its ashing pattern according to
Table-1 below, showing you what triggered the siren.
If the siren triggered more than once, the LED will show you what caused
the last 3 triggers. Trigger Memory will displayed repeatedly on the LED
until the Ignition is switched ON or until you Arm again.
STATUS LED
TABLE-1 Status LED Trigger Memory
LED Flashes What Triggered the Siren
2
Door or Trunk (or Hood)
3
(+)12v Trigger (see NOTE below)
6
Ignition
7
Sensor (Full Trigger only)
There are no LED Flashes if the power is cut and then restored.
Three (3) ashes are reported on the Status LED only if the 1460’s
WHT/BLK (+) Hood input is connected. This is optional connection
behaves exactly like the (–) Door/Trunk/Hood trigger input, but the
polarity is (+) postive instead of (–) negative. It’s used in cases where
you wish to connect to a “(+) positive controlled” switch or device in the
car that you want to trigger the 1460’s siren (while Armed).
Also note that if the optional TR537S Paging System is installed,
(+)12v triggers on the WHT/BLK wire (while Armed) will cause the
Pager’s “Trunk” icon to ash, even if you’ve connected to something
other than the trunk.
(+)12v Trigger NOTE

© 2015 KIRAMEK, INC.
10
Valet mode shuts down all functions of the security system, ensuring the
siren will never trigger. Valet Mode is useful when you must hand over
your car keys to a valet or car maintenance technician, so there is no worry
they will trigger the siren by accident.
Activation:
With the Ignition switched OFF and the 1460
Disarmed, press and hold the Program Switch for more
than 6s, until the Status LED turns OFF. (When the LED
turns OFF, release the Program Switch.)
Deactivation:
Press and hold the Program Switch again
for 6s, until the LED turns OFF. Security features are now restored. (You may
hear 2 quick chirps the rst time you Arm, to inform you that you have just exited
Valet Mode.)
main features
LIGHT FLASH
When so installed, vehicle Parking lights will ash continuously for the
entire 30s duration of full siren triggers, and will ash 5 times when shock
sensor Warning Chirps are triggered. But note that some cars do not sup-
port Parking light ash unless an optional relay is installed.
When you activate Valet Mode, the Status LED will not blink and you
will not receive any indication of being in Valet Mode. The security
system will be completely turned off. This also means that someone
could break into your car. Our company accepts no liability whatsoever
if your car is stolen or vandalized or its contents stolen due to your having entered Valet Mode. You use this feature at your own security risk.
CAUTION!
Valet Mode
PROGRAMMABLE
RESUME
RESUME is a form of State Memory that remembers if the system was
Armed or Disarmed when the main power is cut. When power is restored,
the 1460 will power-up Disarmed if it was disarmed in its previous state. If
originally Armed, it will power-up Armed and with the siren blaring.
Push 6s
11
© 2015 KIRAMEK, INC.
11
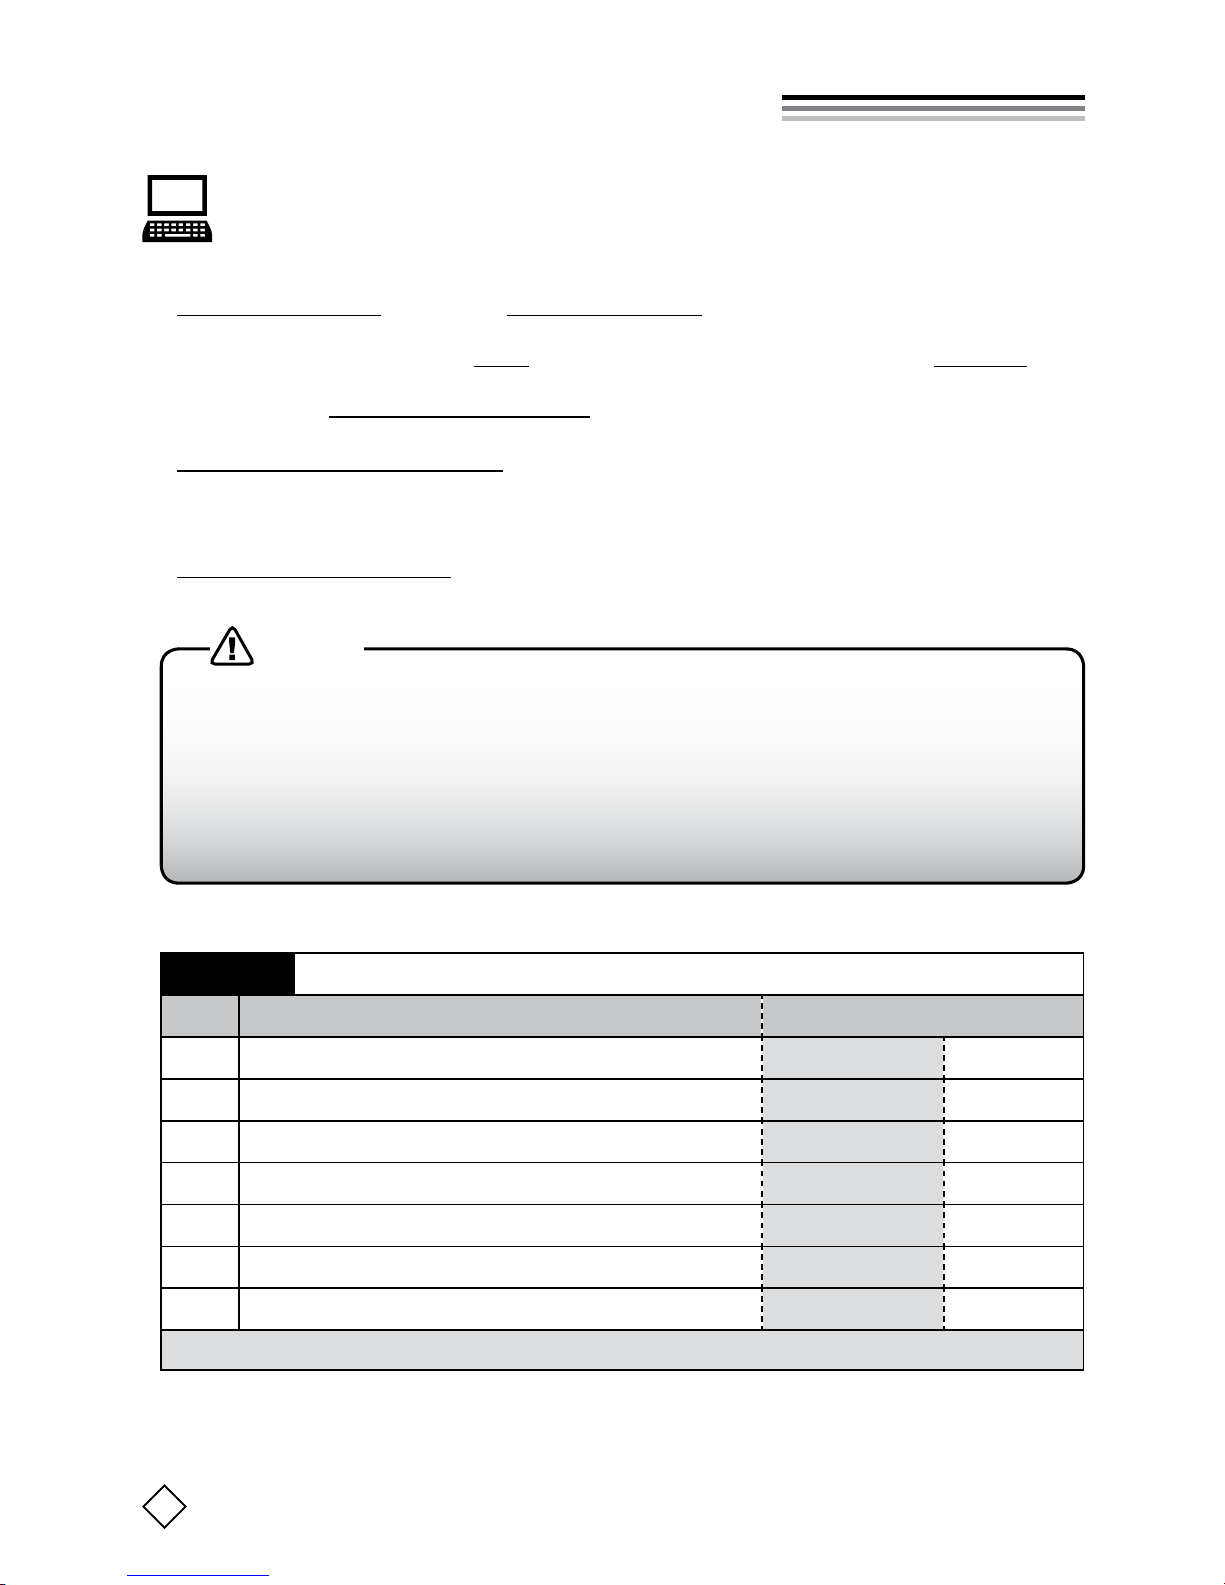
PROGRAMMABLE FEATURES
You can change some features of the 1460 by using the Program
Switch. Perform the following 4-step procedure to change the features shown in Table-2:
1. Start the engine and then Stop the engine. (Only required for Hybrid cars.)
2. With the Ignition OFF, Arm the 1460 and then immediately Disarm.
3. Within 20s, turn ON the Ignition.
4. Press the Program Switch the same number of times as the feature you
want to program — refer to the “No.” column in Table-2 below. (For
example, to change “Auto Arm,” push the Program Switch 8 times.)
5. Turn OFF the Ignition.
TABLE-2 Feature Selection Menu
No. Feature Description Toggle Settings
3 Ignition Trigger
IG Protect
RSCM
4 Safety Lights During Remote Start
OFF
ON
7 Safety Lights: Flashing or Solid-ON
Solid-ON
Flashing
8 Auto Arm
OFF
ON
9 Siren Output
Continuous
Pulsed
10 Auto Rearm
OFF
ON
17 Exterior Illumination
OFF
ON
FACTORY DEFAULT SETTINGS SHOWN IN BOLD TEXT ABOVE
1) After you complete Step-5 above, the Status LED will ash the same
number of times as the feature you just programmed. Because the settings merely “toggle,” there will not be any indication of the “Toggle
Setting” you just programmed. Test your 1460 system to conrm your
programmed settings. To program another setting, repeat the steps.
2) To Reset to Factory Defaults, see method on page 13.
NOTES
 Loading...