

Kino Flo S10 DMX, S6 DMX User Manual
Operation Manual
Imara S10 & S6 DMX
®
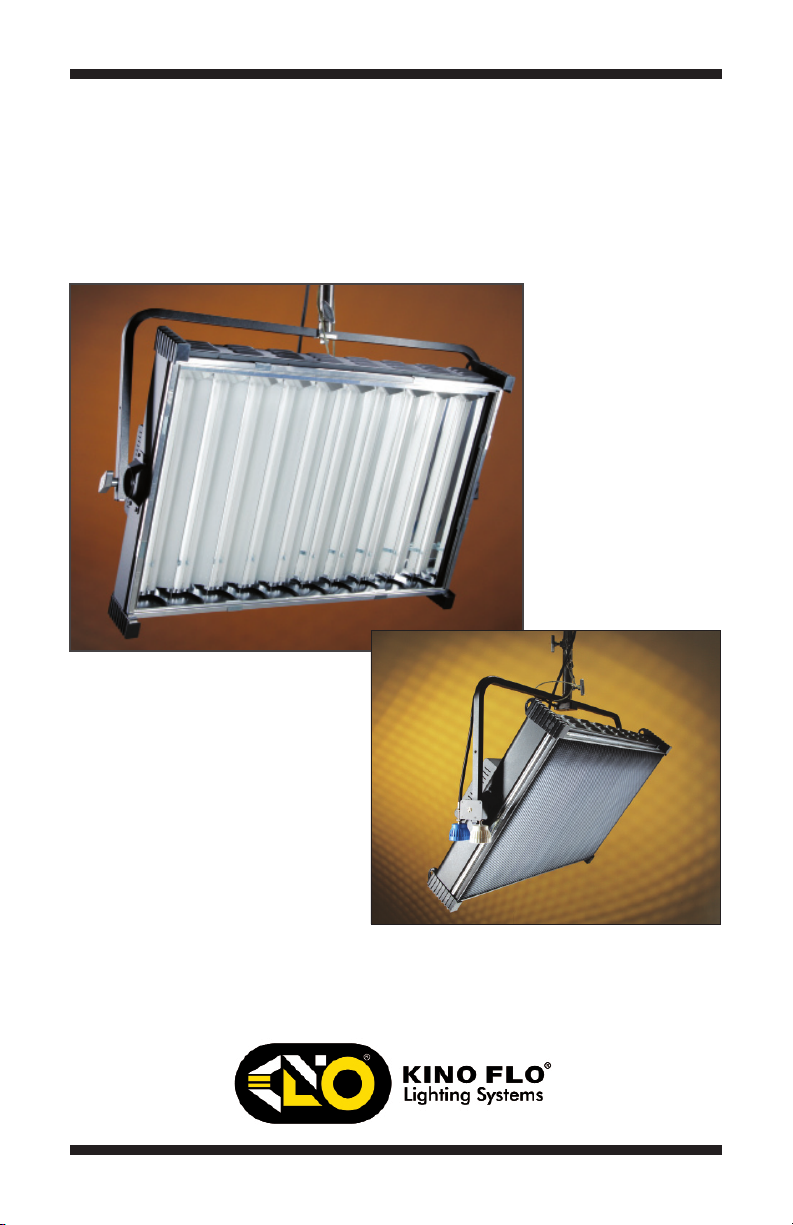
Imara S10 DMX Yoke Mount
Imara S10 DMX Pole-Op
Part No. 3100051 Rev B 07-19-2012
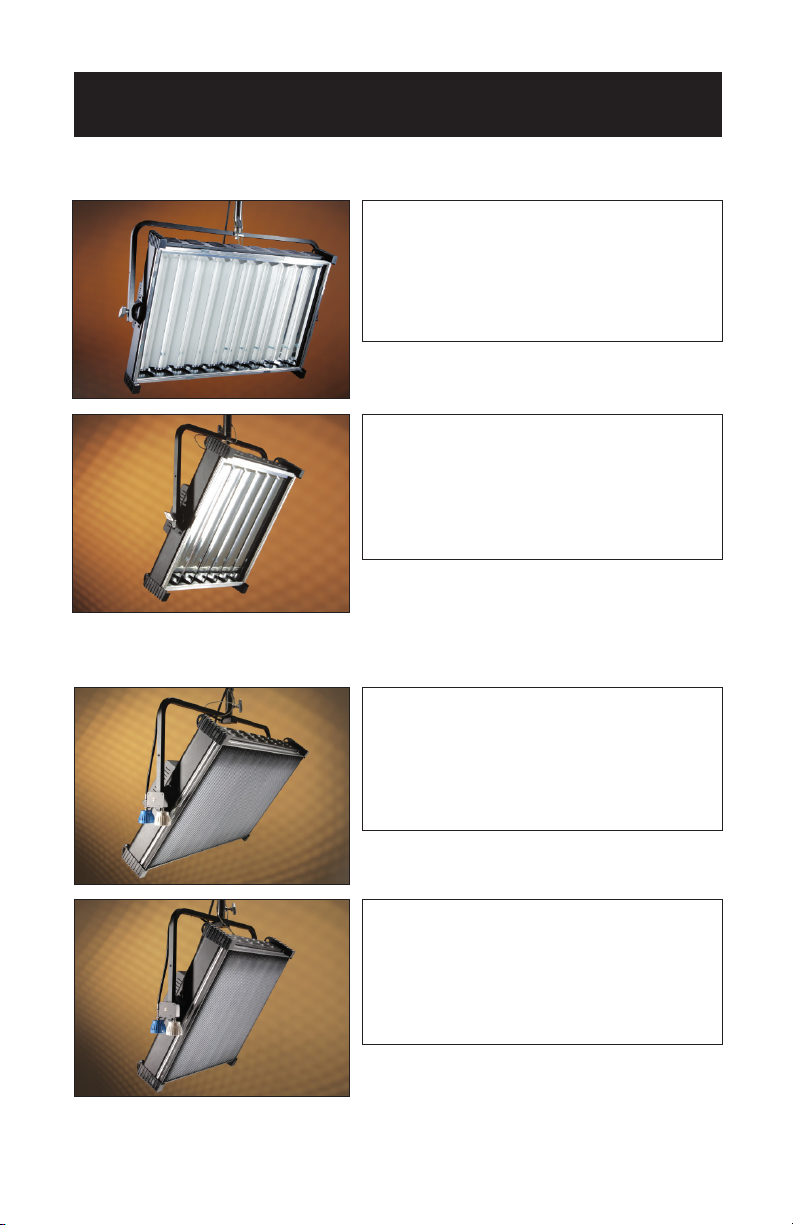
Imara Fixtures
Imara DMX Yoke Mount
Imara DMX Pole-Op
IMR-S10-120
Imara S10 DMX Yoke Mount, 120VAC
IMR-S10-230
Imara S10 DMX Yoke Mount, 230VAC
IMR-S6-120
Imara S6 DMX Yoke Mount, 120VAC
IMR-S6-230
Imara S6 DMX Yoke Mount, 230VAC
IMR-S10-P120
Imara S10 DMX Pole-Op, 120VAC
IMR-S10-P230
Imara S10 DMX Pole-Op, 230VAC
IMR-S6-P120
Imara S6 DMX Pole-Op, 120VAC
IMR-S6-P230
Imara S6 DMX Pole-Op, 230VAC
2
Included w/ all Imara Fixtures
GFR-IM10
Imara S10 Gel Frame (Included)
GFR-IM6
Imara S6 Gel Frame (Included)
LVR-IM1090
Imara S10 Louver, 90° (Included)
LVR-IM690
Imara S6 Louver, 90° (Included)
True Match Lamps
Imara S10 uses 10 x 55W Compact Lamps.
Imara S6 uses 6 x 55W Compact Lamps.
55C-K32 55W Kino KF32 Compact
55C-K55 55W Kino KF55 Compact
®
3
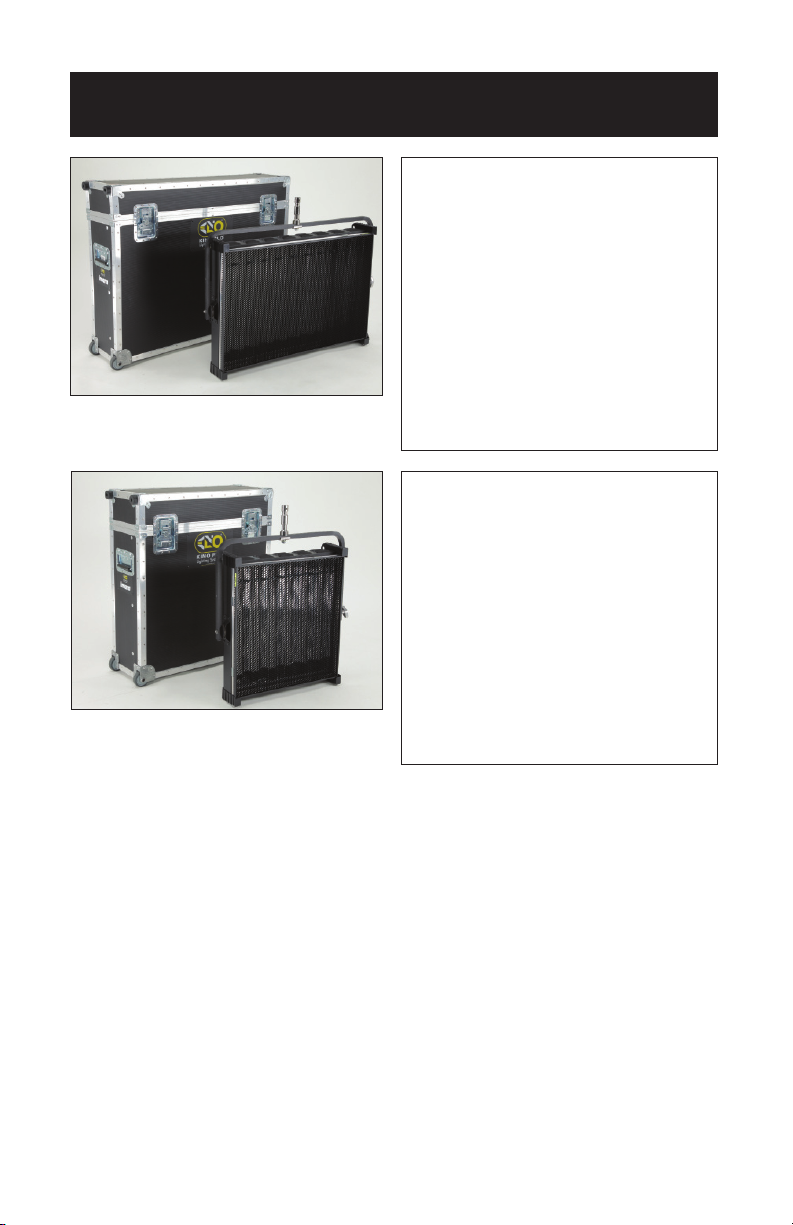
Imara DMX Yoke Mount Kits
KIT-IM10-1/120
Imara S10 DMX Kit, 120VAC
KIT-IM10-1/230
Imara S10 DMX Kit, 230VAC
Kit Contents:
1 Imara S10 DMX Yoke
1 Junior Pin (28mm)
1 Ship Case
Dimensions: Weight:
Imara S10 Kit
44.5 x 10.5 x 35.5” 62 lb
(113 x 27 x 90cm) (28kg)
KIT-IM6-1/120
Imara S6 DMX Kit, 120VAC
KIT-IM6-1/230
Imara S6 DMX Kit, 230VAC
Kit Contents:
1 Imara S6 DMX Yoke
1 Junior Pin (28mm)
1 Ship Case
Dimensions: Weight:
Imara S6 Kit
31 x 10.5 x 35.5” 46 lb
(79 x 27 x 90cm) (21kg)
4
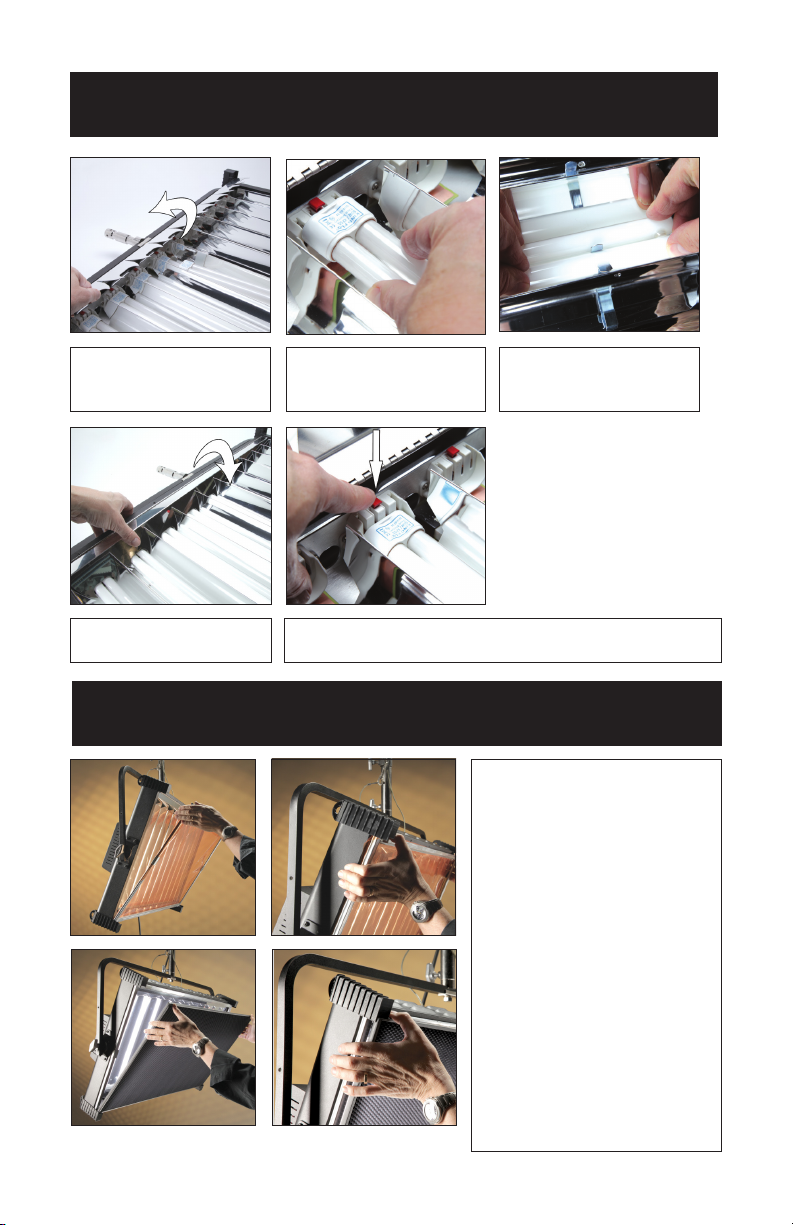
Inserting Lamps
Open hinged reector
door.
Close reector door.
Insert lamp base into
lamp connector.
To release lamps, press red button and lift lamp base out.
Insert lamp tip into lamp
clip.
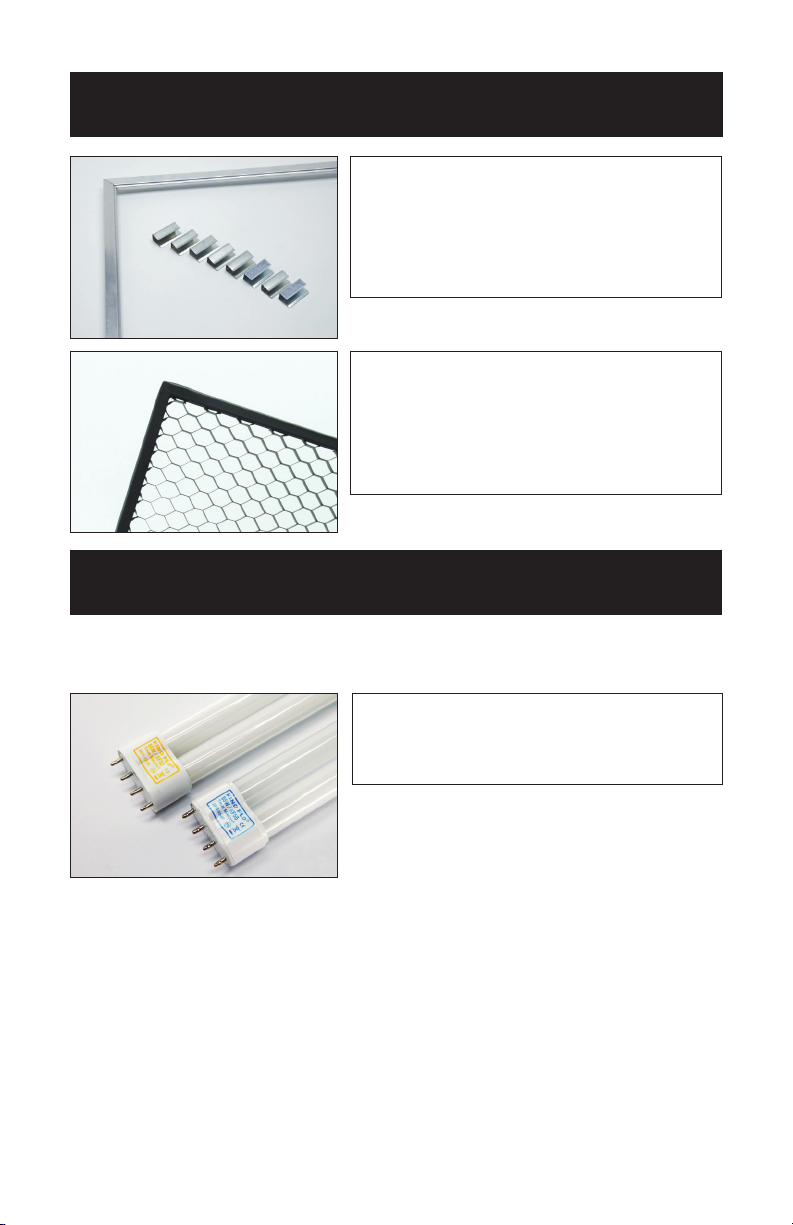
Inserting Louver or Gel Frame
The Imara includes spring
loaded accessory holders and
two channels to hold the
Gel Frame and Honeycomb
Louver.
Place the long edge of the
Gel Frame Louver into the
lower channel. Press down
on the left and right corners
and slip the upper edge into
the upper channel. To remove,
reverse the procedure.
Note: Do not press down
along the top center portion
of the Gel Frame or Louver.
Doing so may deform the
Gel Frame or Louver over
repeated usage.
5
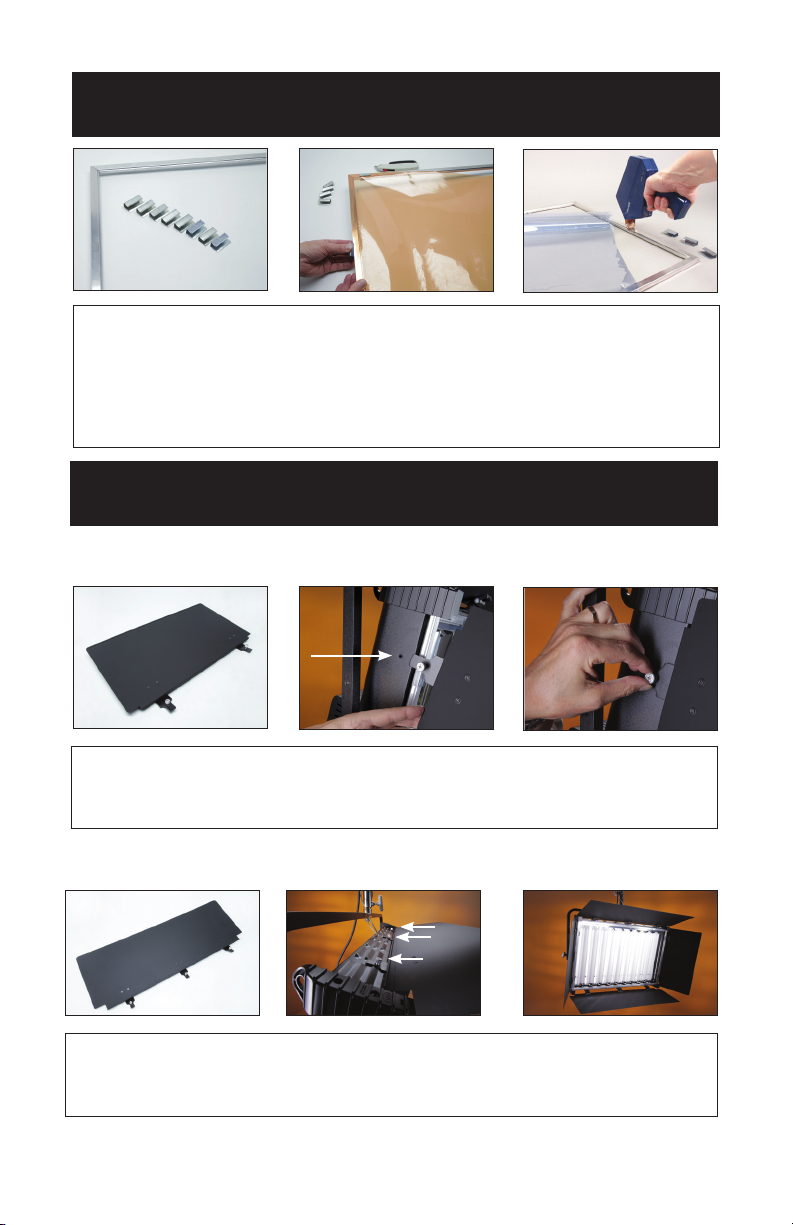
Applying Gel to Frame
Option 1 – The Gel Frame comes with Gel Clips. Cut the gel to size and use the
Clips to fasten the gel to the Frame. Note: It is recommended to attach one clip
on all four sides and two clips near all four corners of the Gel Frame.
Option 2 – Apply transfer tape directly to the Gel Frame. The clips are not necessary when taping the gel.
Mounting Barndoors
Side Doors
Position the Side barndoors alongside the side edge of the xture. Align the
thumbscrew with the receptacle hole in the xture and insert into place. Lock the
barndoors by turning the silver thumbscrew. To remove, reverse the procedure.
Top & Bottom Doors
Position the Top and Bottom Doors. Align the three thumbscrews with the
receptacle holes in the xture and insert into place. Lock the barndoors by
turning the silver thumbscrew. To remove, reverse the procedure.
6
 Loading...