

Kino Flo Image L40 Retrofit, Image L80 Retrofit Instructions Manual
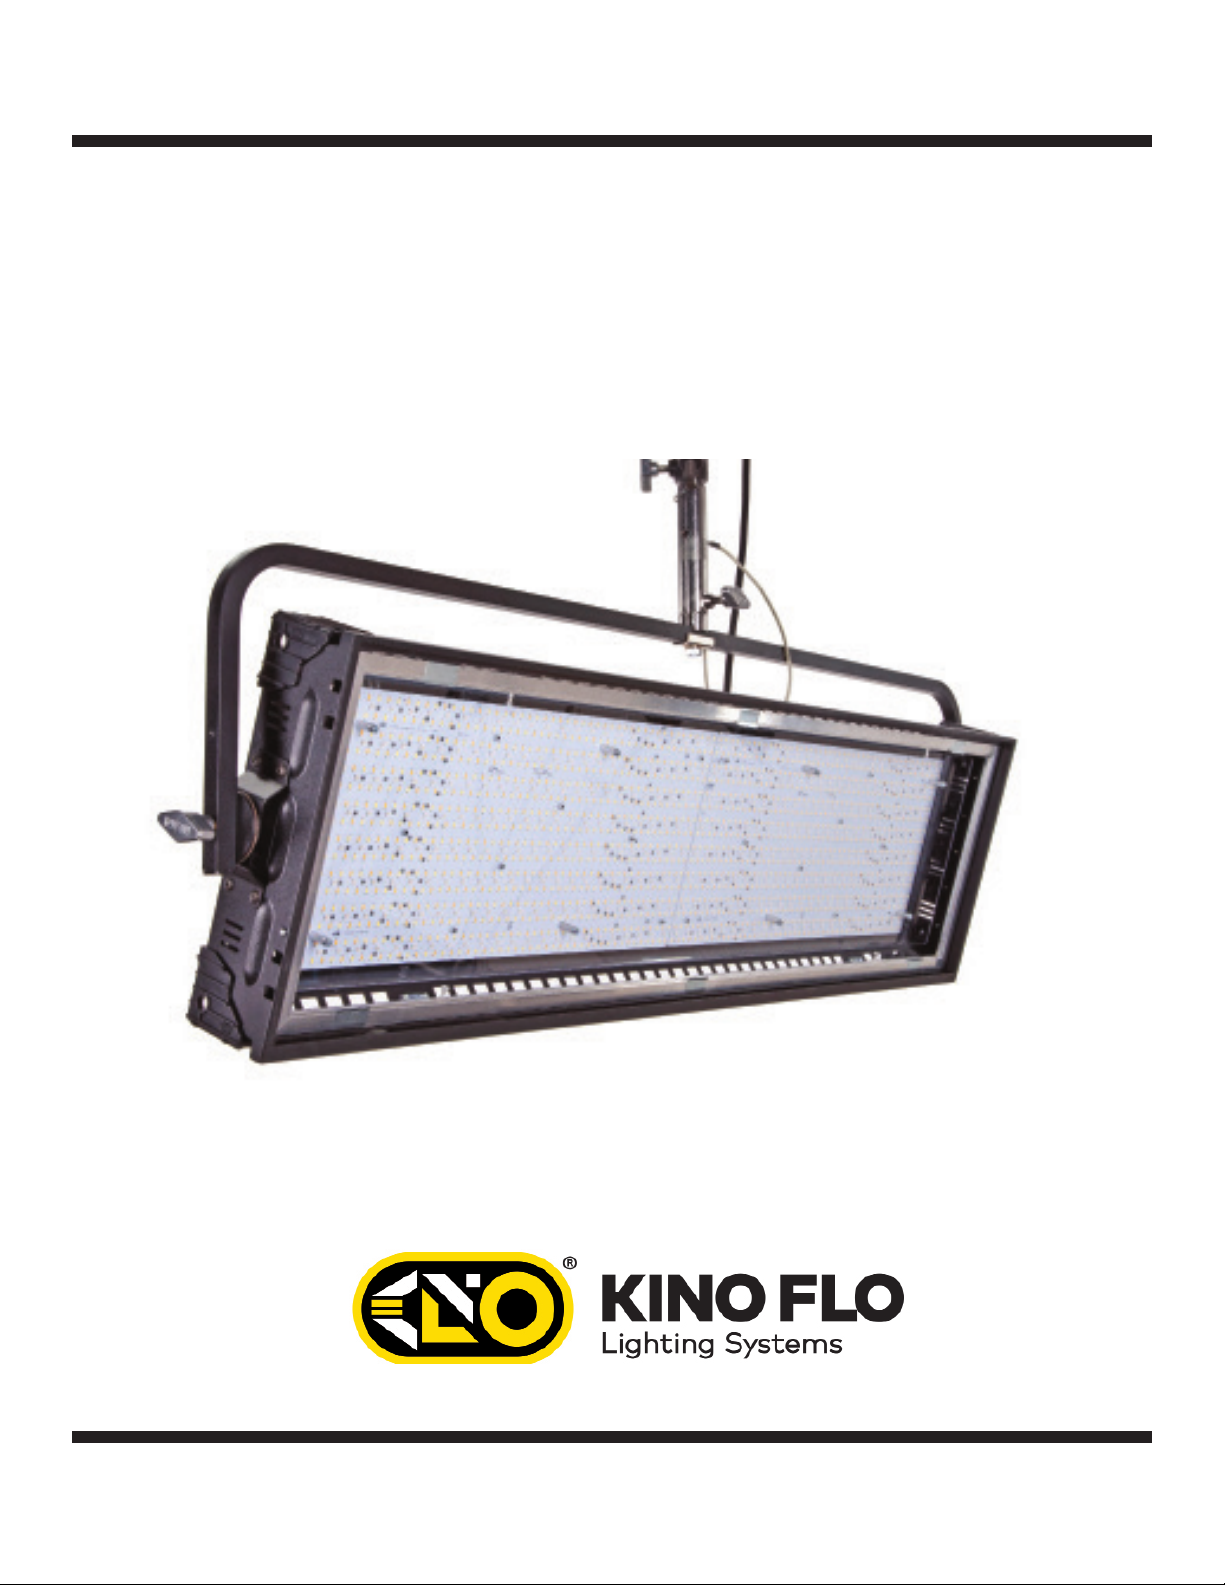
Image L40 Retroit
Instructions
Part No. 3100116 03-21-2019
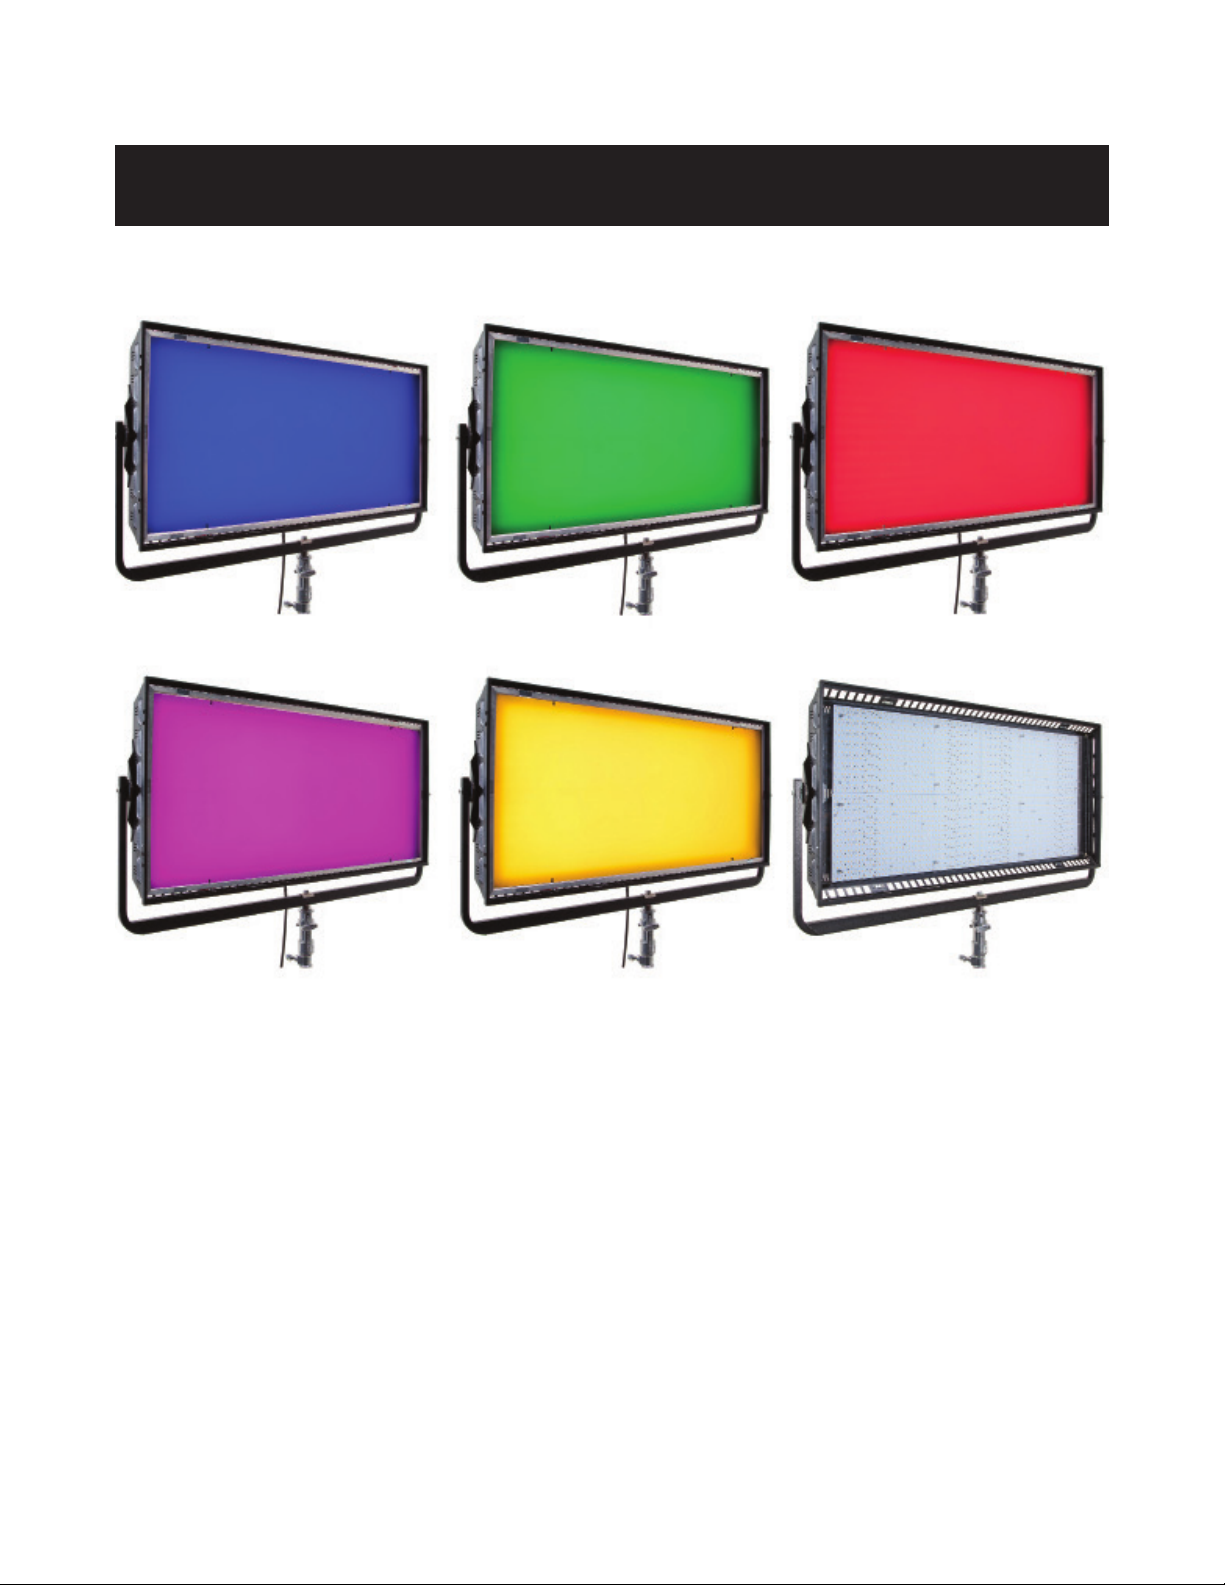
Image L40 Retrofit
This instruction sheet is to be used with the Image L40 LED 120V or 230V
upgrade kit (L40-120U or L40-230U) to upgrade prior luorescent products:
IMG-40X, IMG-45X, IMG-47X models. Upgrade includes latest LED technology that
comes standard on Kino Flo’s Celeb, FreeStyle and Diva-Lite LED’s.
The Gel Frame and Silver Louver can be repurposed once completed.
The new LED conforms to ETL electrical standards.
Instructions for the Image L80 and L40 and latest LED software can be found on
Kino Flo’s website www.kinolo.com.
2
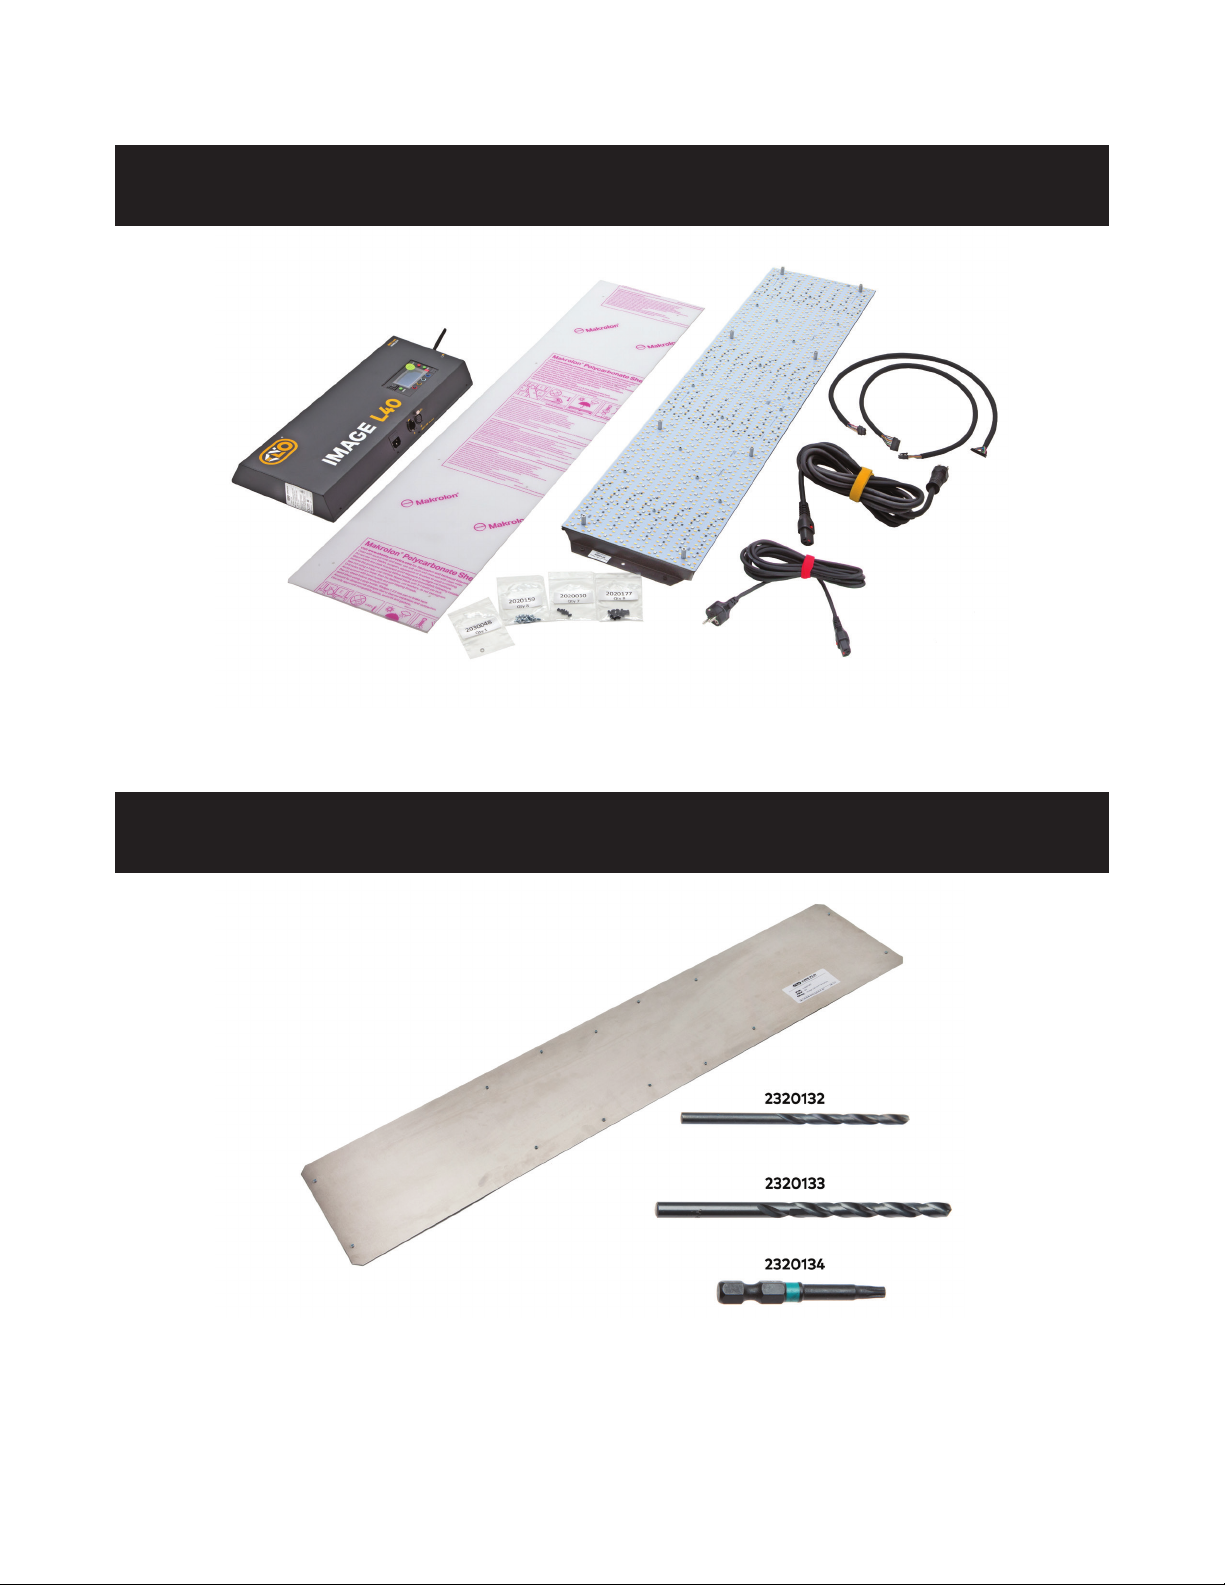
L40 LED DMX Upgrade Assembly
L40U Image L40 LED DMX Upgrade Assembly, Univ
L40T
L40T Image L40 LED Upgrade Drill Template
3
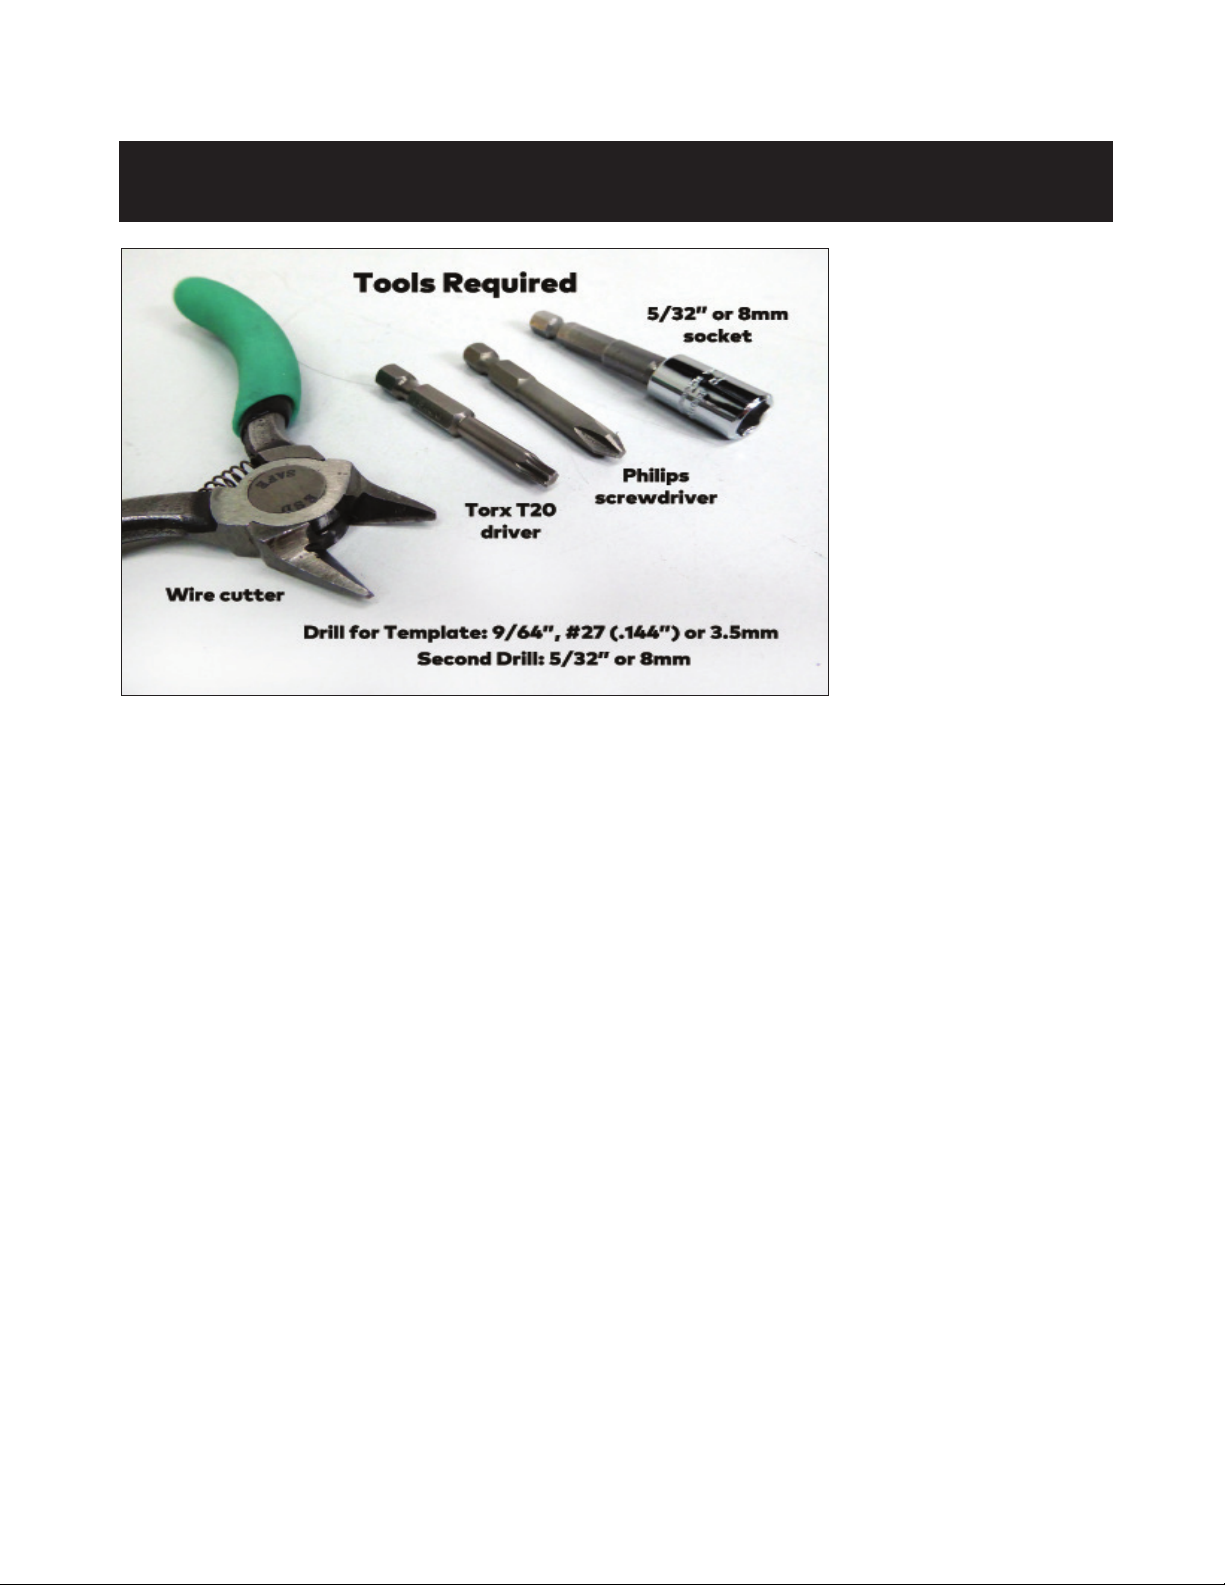
Tools required:
Required Tools
Drill
Drill bits for Template starter holes: 9/64” (3.5mm), #9 (5mm) (included with L40T)
Torx bit T20 2” (included with L40T)
Socket for Base: 5/32” or 8mm
Phillips Screwdriver
Wire Cutter
Torx T20 Driver
4
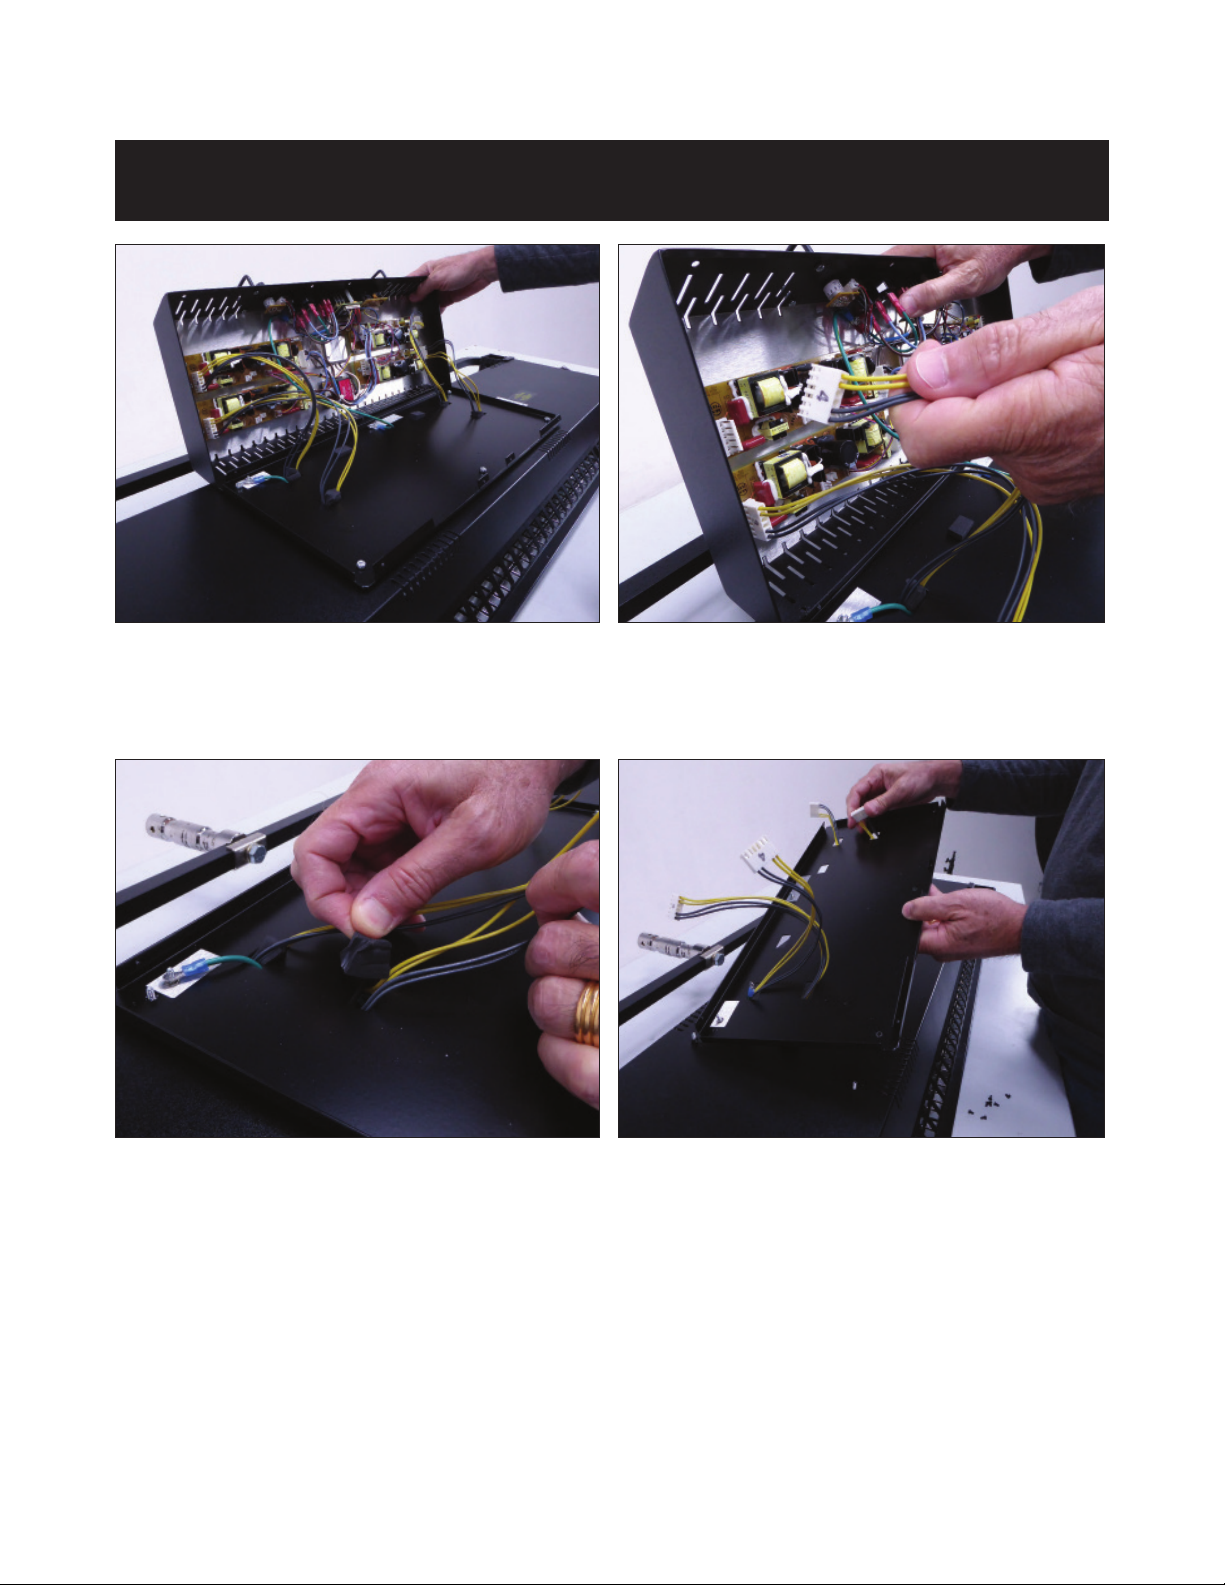
Disassembly
Unscrew lid and disconnect all the cables from the ballasts.
Remove the lid assembly.
Remove rubber plugs and disconnect ground wire.
Important note: Remove and keep the base and nuts as they will be re-used.
5
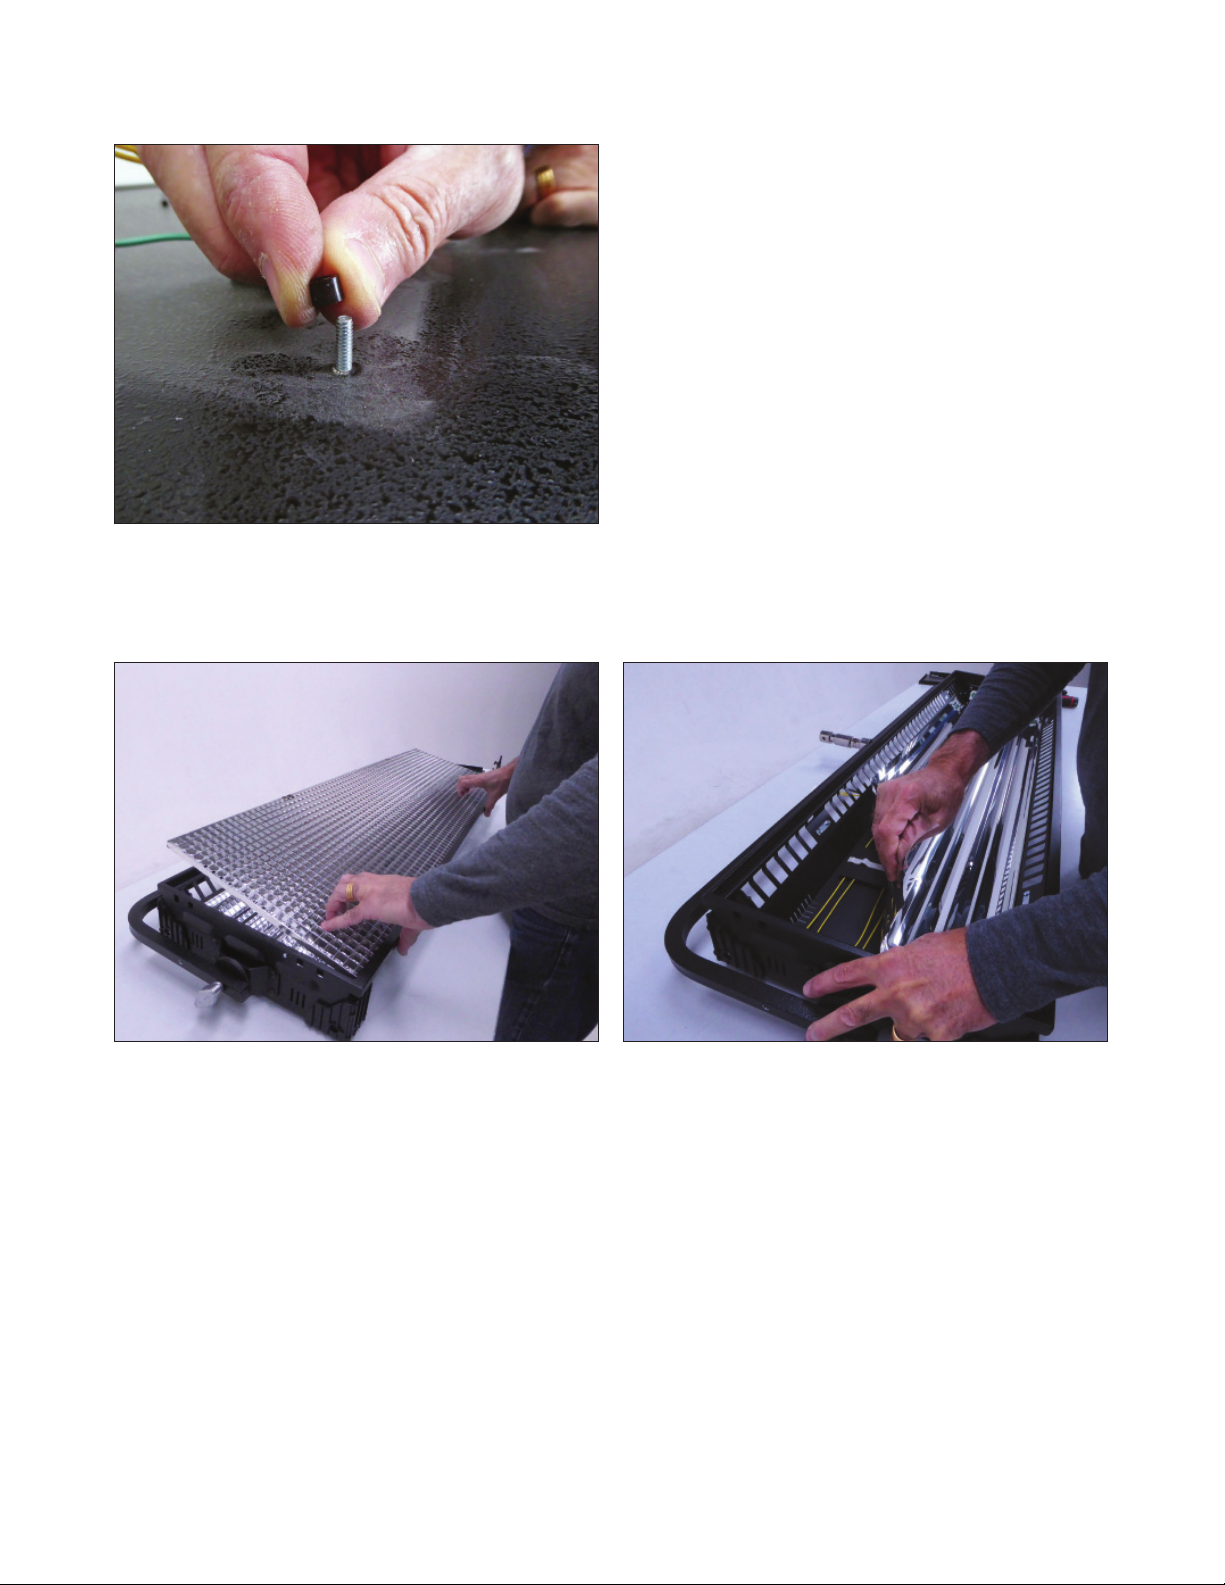
Important note: Remove and keep black nylon stand-offs as they will be reused.
Turn the ixture over.
Remove louver, gel frame and relector. The relector is held down by double-sided
tape. It is not necessary to remove all the tape.
6
 Loading...