

Kino Flo CEL-401Y-120U, CEL-401P-120U, CEL-401C-120U User manual
Operation Manual
®
Celeb 401 DMX LED
Part No. 3100085 Rev 01 07-24-2015
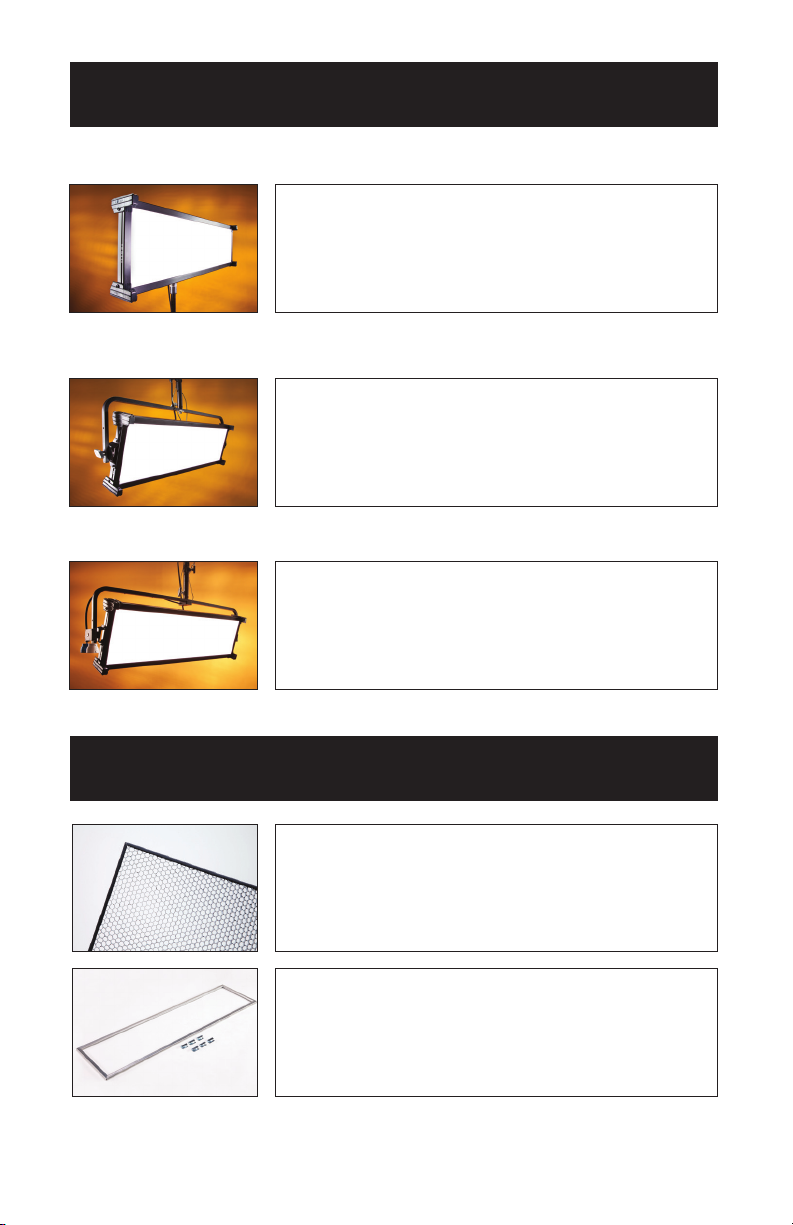
Celeb 401 DMX LED Fixtures
Celeb 401 Center Mount
Celeb 401 Yoke Mount
Celeb 401 Pole-Op
CEL-401C-120U
Celeb 401 DMX Center Mount, Univ 120U
CEL-401C-230U
Celeb 401 DMX Center Mount, Univ 230U
CEL-401Y-120U
Celeb 401 DMX Yoke Mount, Univ 120U
CEL-401Y-230U
Celeb 401 DMX Yoke Mount, Univ 230U
CEL-401P-120U
Celeb 401 DMX Pole-Op, Univ 120U
CEL-401P-230U
Celeb 401 DMX Pole-Op, Univ 230U
Included w/ all Celeb 401 Models
LVR-CE490-P
Celeb 401 Louver/HP, 90° (Included)
GFR-CE4
Celeb 401 Gel Frame (Included)
2
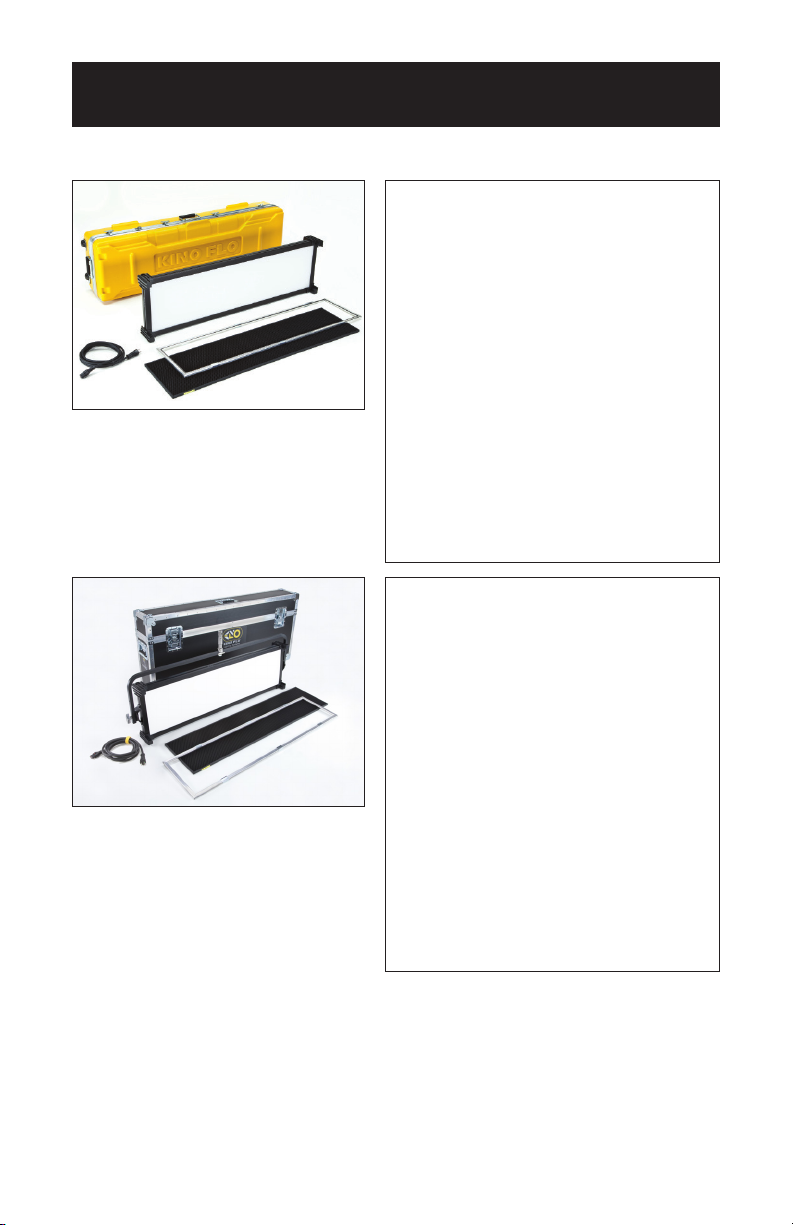
Celeb 401 DMX LED Kits
Celeb 401 Center Mount Kit
KIT-C401-120U
Celeb 401 DMX Center Mount Kit,
Univ 120U
KIT-C401-230U
Celeb 401 DMX Center Mount Kit,
Univ 230U
Kit Contents:
1 Celeb 401 DMX Center Mount
1 Flight Case
Weight: 52.5 lb (24kg)
Dimensions: 53.5 x 11 x 16.5”
(136 x 28 x 42cm)
KIT-C401Y-120U
Celeb 401 DMX Yoke Mount Kit,
Univ 120U
Celeb 401 Yoke Mount Kit
KIT-C401Y-230U
Celeb 401 DMX Yoke Mount Kit,
Univ 230U
Kit Contents:
1 Celeb 401 DMX Yoke Mount
1 Jr. Pin
1 Ship Case
Weight: 57 lb (26kg)
Dimensions: 54.5 x 9.5 x 25”
(138.5 x 24 x 63.5cm)
3
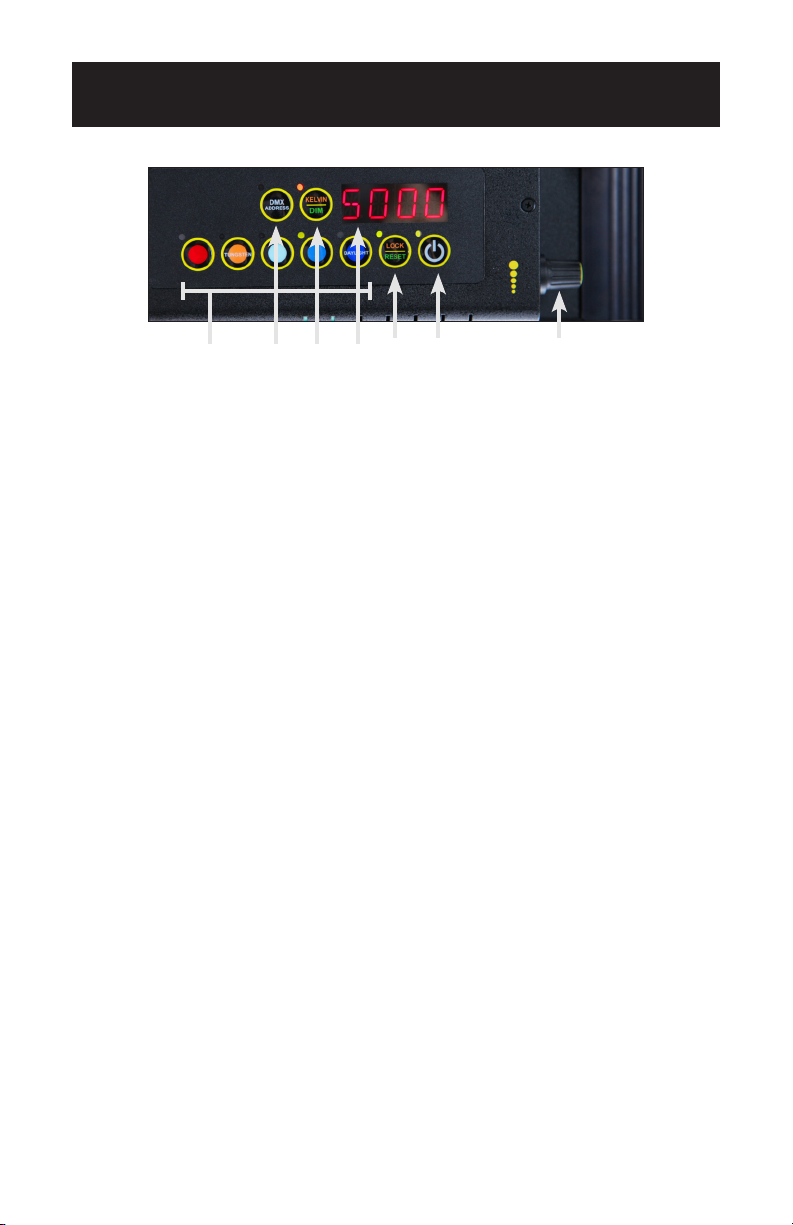
Celeb 401 DMX Control Panel
F
A B C D
A) Kelvin Preset Buttons: Kelvin buttons come preset at the factory.
Factory defaults left to right are: 2700K, 3200K, 4500K, 5500K, 6500K.
User can also use these preset buttons to store custom Kelvin settings.
B) DMX ADDRESS – Use to set DMX address. The Celeb 401 automatically
assigns 2 channels. First Channel controls Dimming; Second Channel
controls Kelvin.
C) KELVIN / DIM: In KELVIN mode, an amber light appears to the left of
the button and Kelvin is displayed. Press the button again to change to
DIM mode. In DIM mode, a green light will appear to the left of the button
and Dim level is displayed.
E
G
D) Display: Provides Kelvin, Dim level and software revision data.
E) LOCK / RESET: In LOCK mode, an amber light is displayed to the left
of the button. In RESET mode, the indicator light is green. To reset to
factory presets, hold the LOCK / RESET button for 5 seconds.
F) On / Off: On = Green light displayed. Off = Amber light displayed.
G) Kelvin / Dimmer Knob: Manually adjusts Kelvin or Dim levels.
Press the knob to toggle between ne and coarse adjustments.
Note: Each Celeb 401 DMX xture has an “AUTO TERMINATE” feature.
The last xture that does not have an XLR cable attached to the
DMX “Out” port will automatically terminate.
4
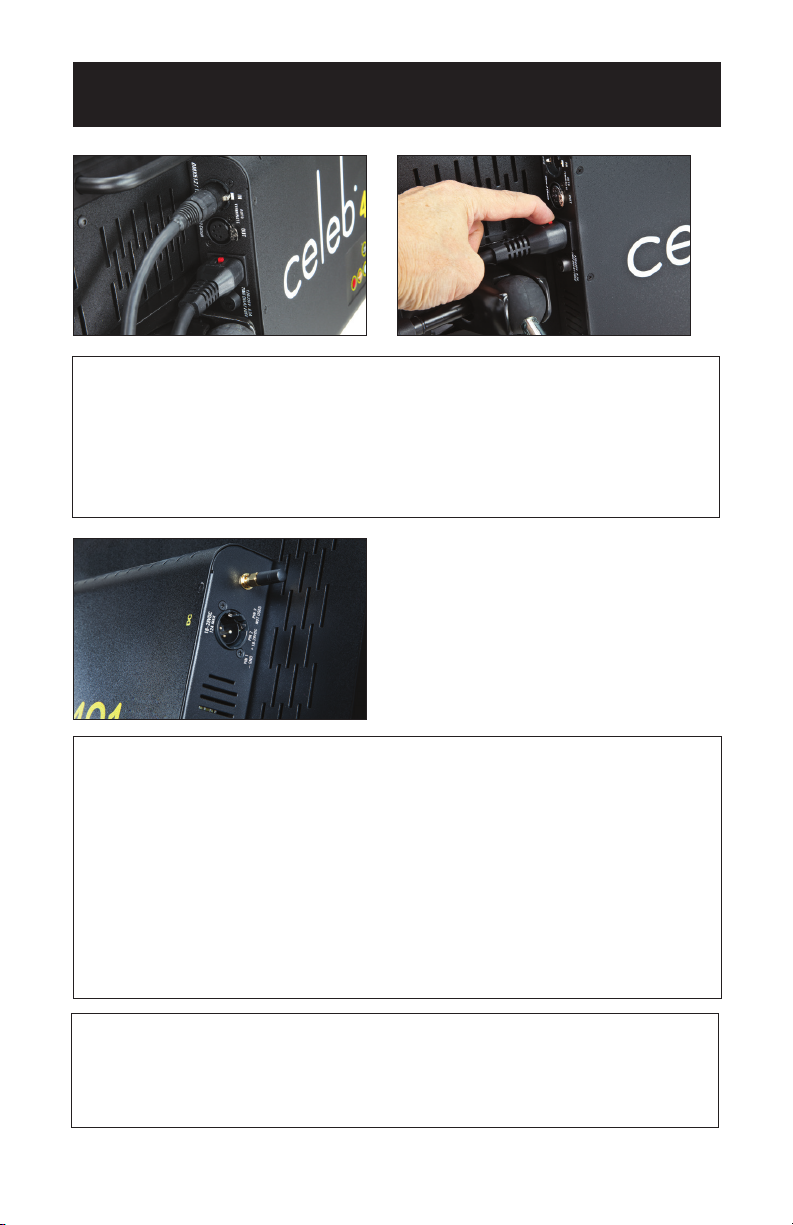
Fixture Power
AC Input
The Celeb is powered AC and includes an IEC connection. A locking
power cord is included with the xture. To remove the plug, move the red tab
to release. The ballast has a built-in power supply with universal input from
100-240VAC.
DC Input
The Celeb can also be operated on 24VDC (input range 18-28VDC) through
a 3-Pin XLR. A low voltage warning will display “LPWR” when the battery is
running low.
The pin polarity is:
Pin #1 – Ground
Pin #2 + 18-28VDC
Pin #3 not used
Ambient Operating Temperature
The Celeb is designed to operate at temperatures from 14°F to 104°F
(-10°C to 40°C).
5
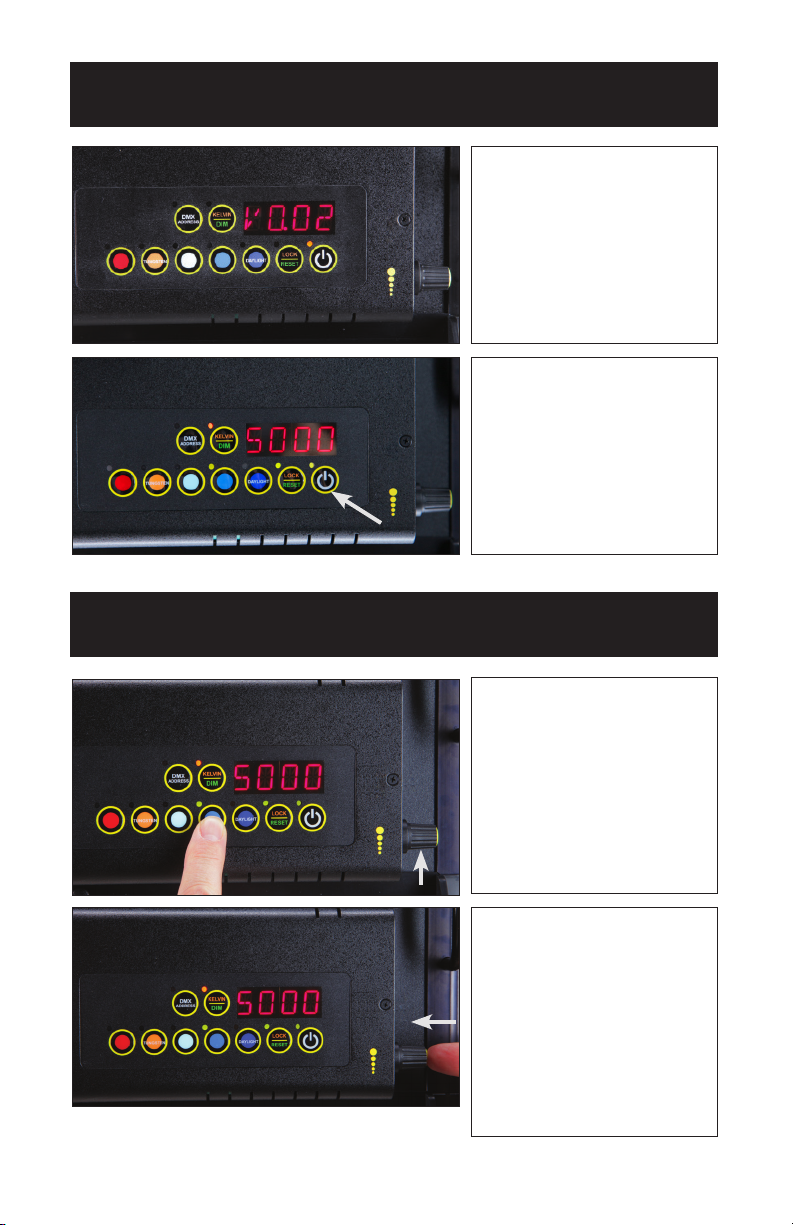
Start Up
When power is rst applied to
the xture, the alphanumeric
display shows the current
software version.
Press the On/Off button
to turn on the xture.
The display will show its last
setting.
Kelvin Selection
There are 5 Kelvin factory
preset buttons. Left to right
they display 2700K, 3200K,
4500K, 5500K and 6500K.
A green indicator will light to
the left of the active button.
Rotating the adjustment knob
will change the Kelvin.
Press the rotating knob once
to shift the Kelvin prole from
Coarse to Fine increments.
In the Coarse mode,
the xture can be adjusted in
one rotation of the knob.
In Fine mode, it will require
8 rotations for full range of
adjustment.
6
 Loading...