

Kino Flo 80DMX, 40DMX, 20 DMX User Manual
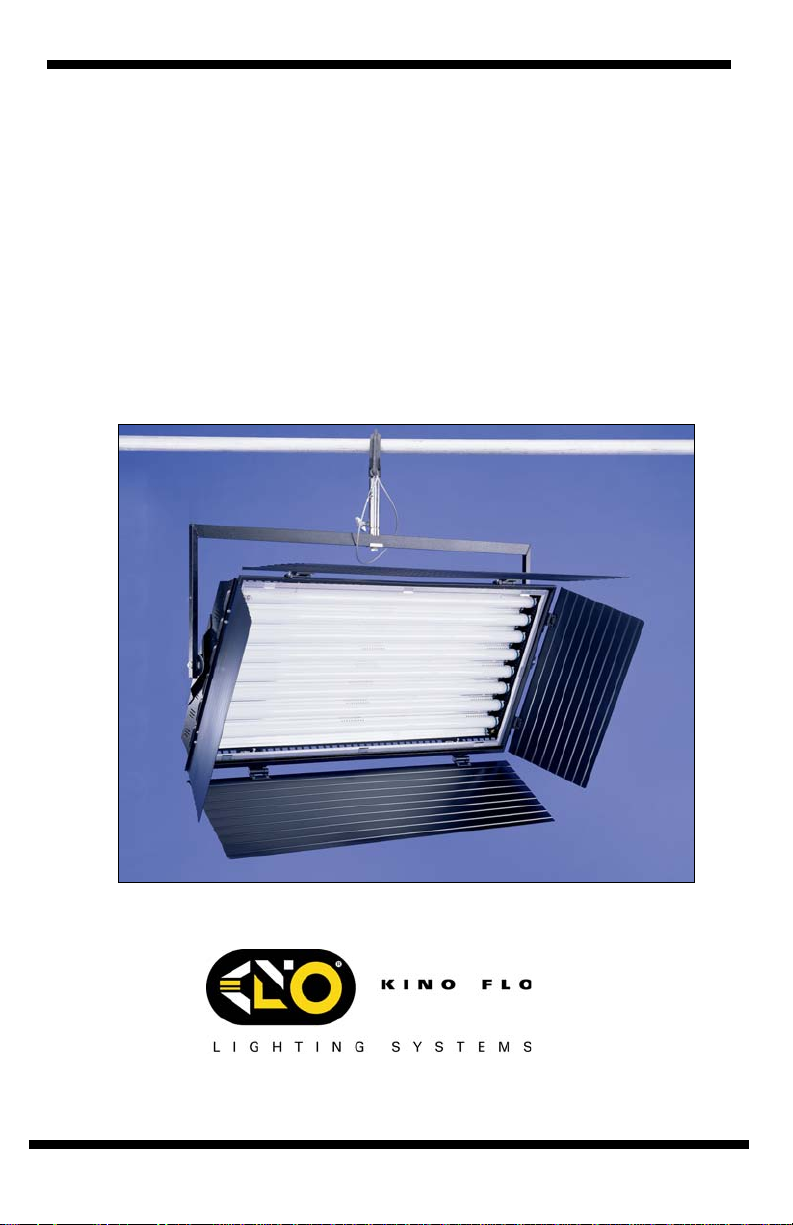
Operation Manual
DMX Image
80, 40, 20
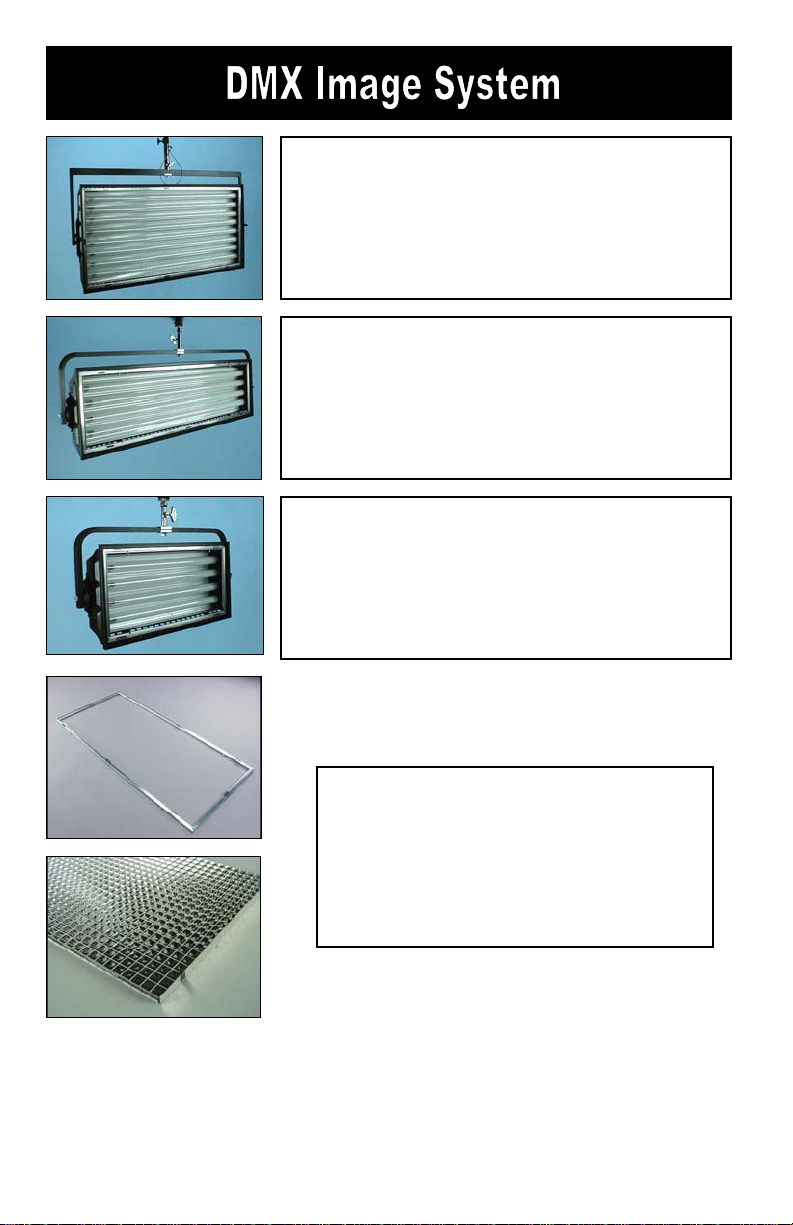
DMX Image 80
• 8 x 4ft lamps
• DMX and Manual on/off
switching control
• Switches one lamp at a time
DMX Image 40
• 4 x 4ft lamps
• DMX and Manual on/off
switching control
• Switches one lamp at a time
DMX Image 20
• 4 x 2ft lamps
• DMX and Manual on/off
switching control
• Switches two lamps at a time
Each System Includes:
1 DMX Image Fixture
1 Silver Louver
1 Gel Frame
2
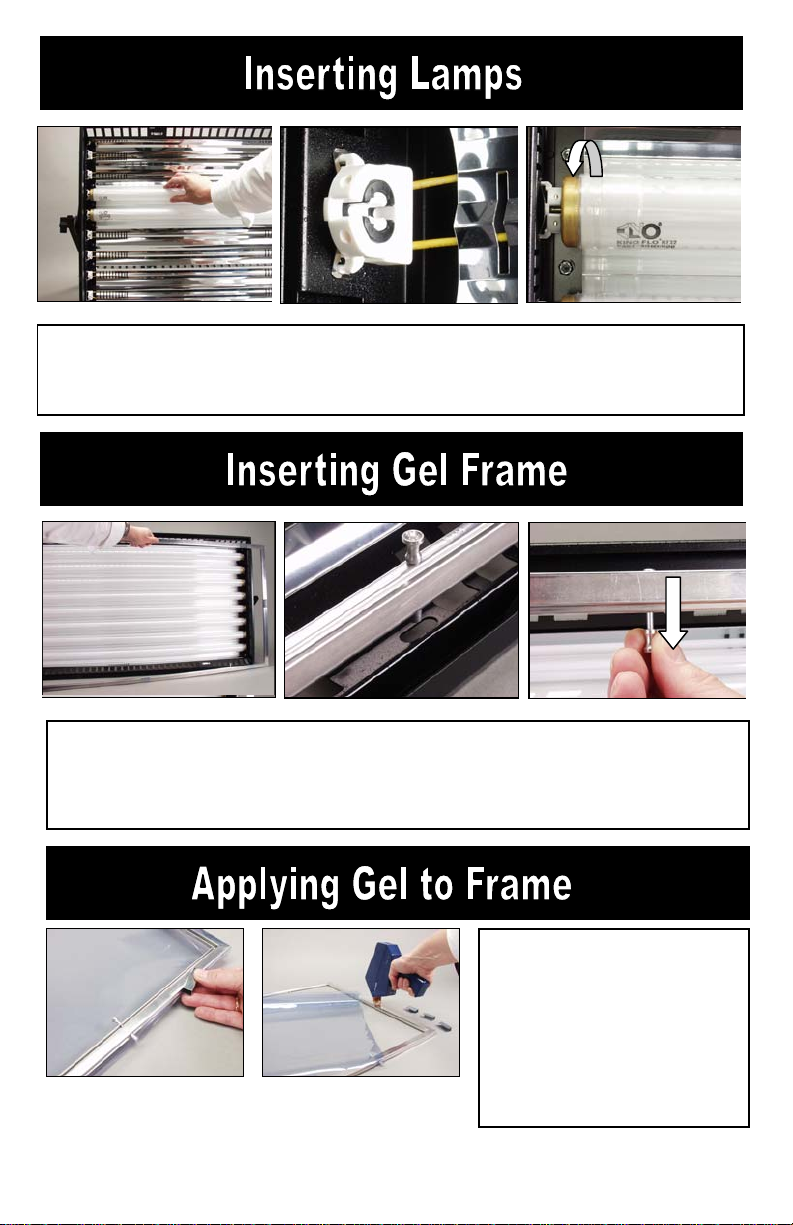
Insert lamps into both lamp holders. Twist ¼ turn to make
electrical contact.
The gel frame is secured to the fixture by 4 spring-loaded pins. Align the
pins of the gel frame with the oval receptacle holes on the edge of the
fixture. Pull back the pins and release into the receptacles to properly
secure the gel frame.
(A) (B)
A) The Gel Frame comes with
Gel Clips. Cut the gel to size and
use the Clips to fasten the gel to
the Frame.
B) Another method is to apply
transfer tape directly to the gel
frame. The clips are not
necessary when taping the gel.
3
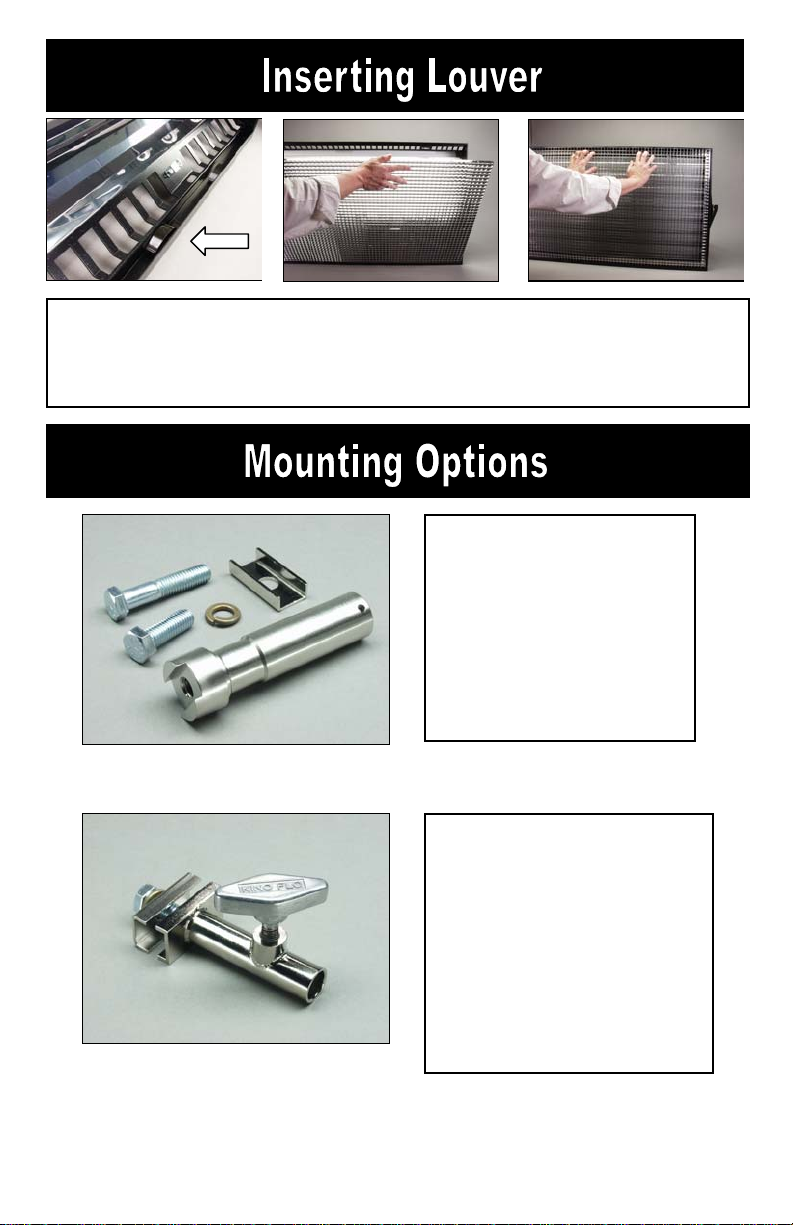
Place the long edge of the Louver into the lower channel containing a set of
leaf springs. Press down on the Louver and slip the upper edge of the
louver into the upper channel of the fixture. To remove reverse the
procedure.
The Image 80 requires a
Junior Pin assembly or
any other clamping device
that uses a ½ inch bolt.
The Image 80 uses the
longer bolt. The Image 40
or 20 require the shorter
bolt.
Junior Pin Assembly
The Baby Receiver is for use
only on the Image 40 and
Image 20.
Do Not use the Baby
Receiver on the Image 80.
This receptacle is not strong
enough to safely hold the
greater weight of the Image
80.
Baby Receiver Assembly
4
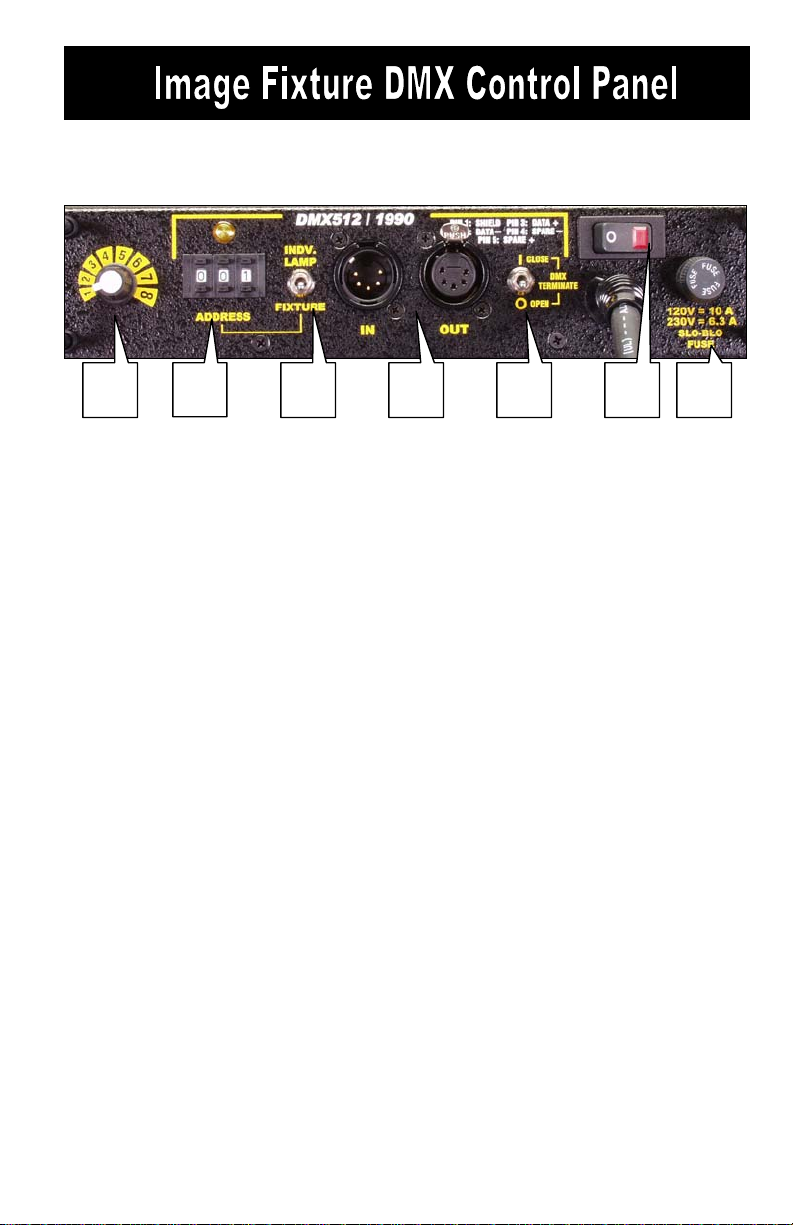
A C B
The Image 80 Fixture is used for example purposes throughout these
instructions.
E
F E D
A) Manual Selector Dial: Turns lamps on and off manually without
connecting DMX Cable to Fixture.
B) DMX Address: Sets DMX Address of Fixture.
C) Individual Lamp / Fixture Switch: Converts between
INDIVIDUAL LAMP and FIXTURE methods of DMX control.
D) DMX-In & DMX-Out: DMX-IN receives DMX signals from Dimmer
Board, DMX-OUT relays DMX signal through to other Fixtures or
Instruments.
E) DMX TERMINATE Switch: Terminates DMX signal at the end of
Fixture series.
F) Power Switch: Has a built-in indicator light, which can detect if AC
power is present in power cord. "O" = OFF position
G) Fuse: Provides circuit protection. Note: If Fuse is "blown" or
"open" replace with same type of fuse rating as marked.
IMPORTANT!
The dimmer board/light console should have its channel set to
LINEAR light output response. (LINEAR response is the default
setting on most dimmer boards.)
G
5
 Loading...