

Kino Flo 600 DMX, 300 DMX User Manual
Operation Manual
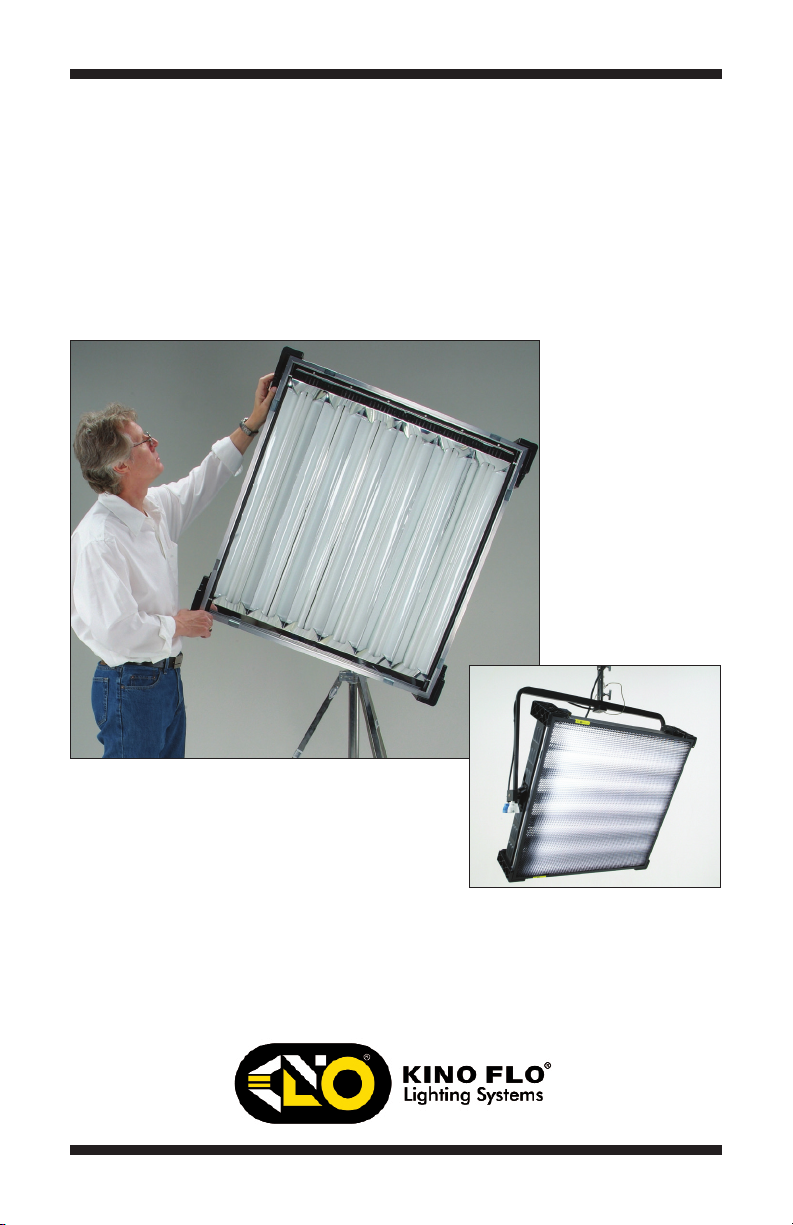
VistaBeam 610 & 310 DMX
®
VistaBeam 610 Center
VistaBeam 610 Pole-Op
Part No. 3100058 Rev A 09-24-2013
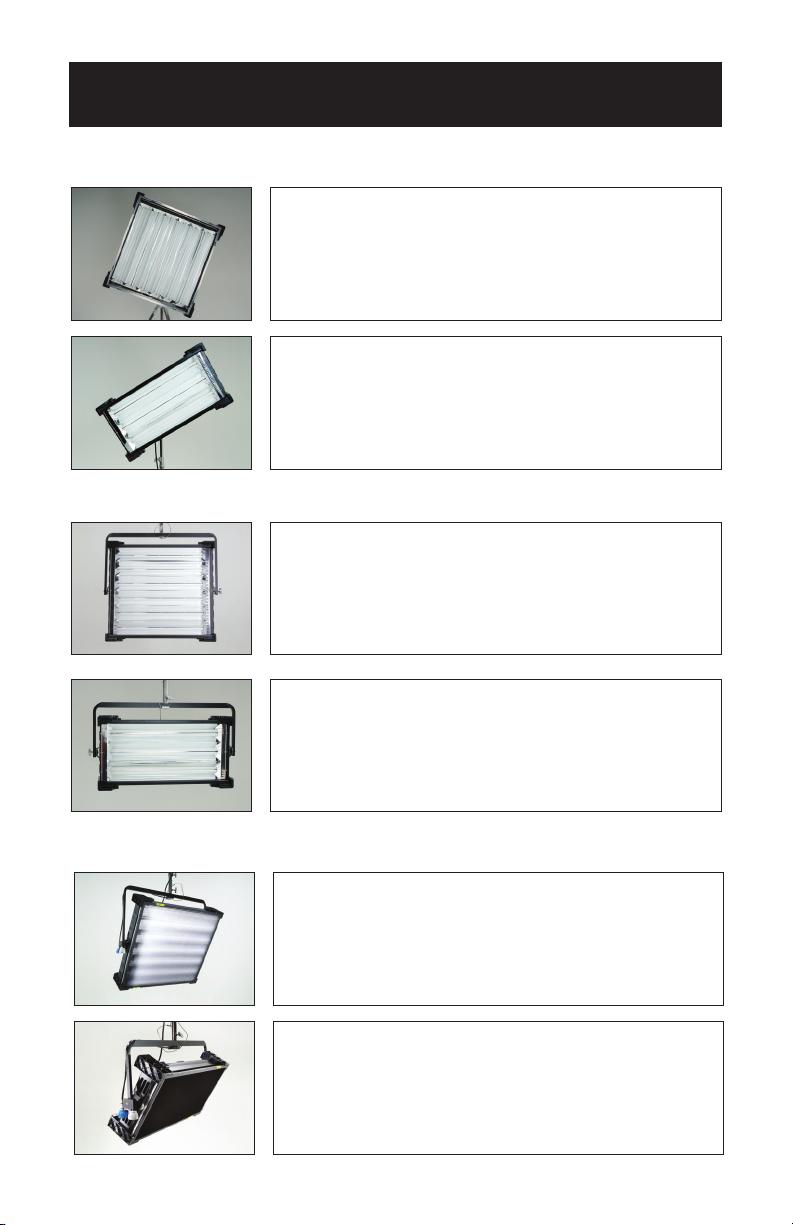
VistaBeam Fixture Styles and Features
VistaBeam Center Mount
VIS-610C-120
VistaBeam 610 DMX Center Mount, 120VAC
VIS-610C-230
VistaBeam 610 DMX Center Mount, 230VAC
VIS-310C-120
VistaBeam 310 DMX Center Mount, 120VAC
VIS-310C-230
VistaBeam 310 DMX Center Mount, 230VAC
VistaBeam Yoke Mount
VIS-610Y-120
VistaBeam 610 DMX Yoke Mount, 120VAC
VIS-610Y-230
VistaBeam 610 DMX Yoke Mount, 230VAC
VIS-310Y-120
VistaBeam 310 DMX Yoke Mount, 120VAC
VIS-310Y-230
VistaBeam 310 DMX Yoke Mount, 230VAC
VistaBeam Pole-Op Mount
VIS-610P-120
VistaBeam 610 DMX Pole-Op, 120VAC
VIS-610P-230
VistaBeam 610 DMX Pole-Op, 230VAC
VIS-310P-120
VistaBeam 310 DMX Pole-Op, 120VAC
VIS-310P-230
VistaBeam 310 DMX Pole-Op, 230VAC
2
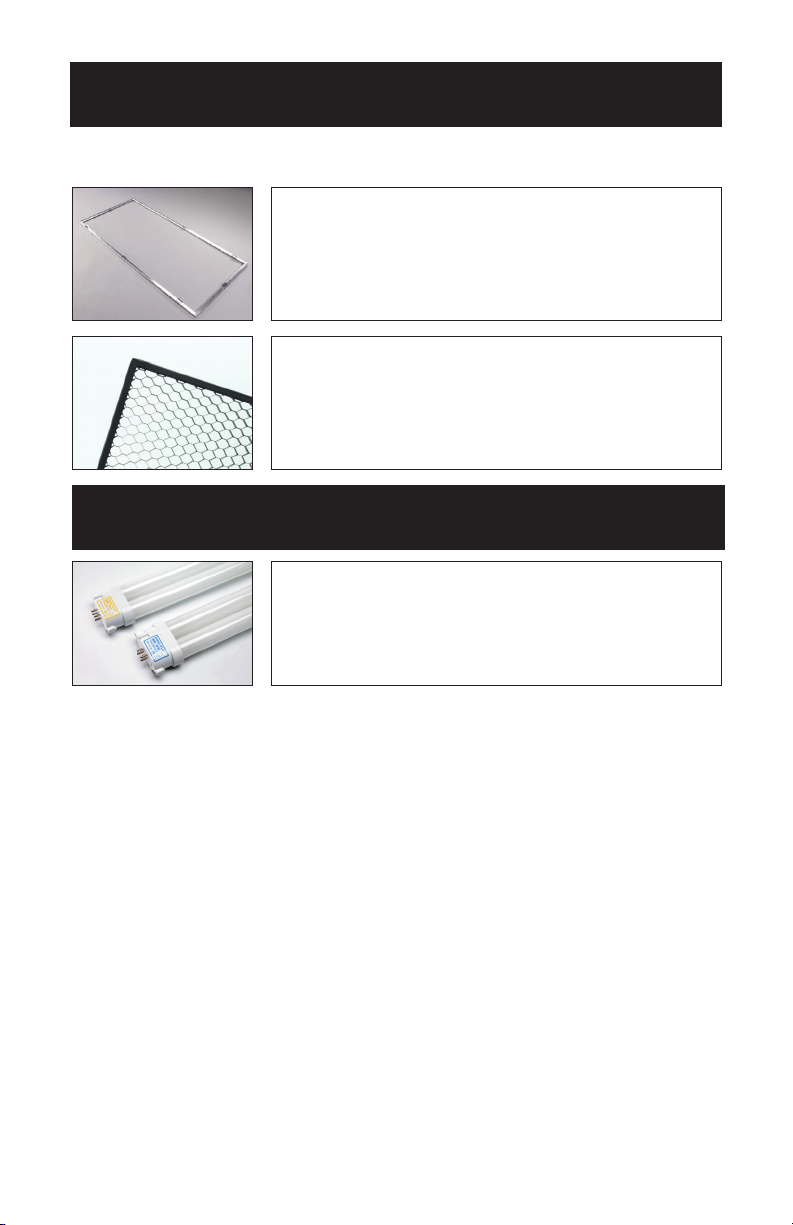
Included w/ all VistaBeam Models
GFR-V6
VistaBeam 610 Gel Frame (Included)
GFR-V3
VistaBeam 310 Gel Frame (Included)
LVR-V690
VistaBeam 610 Louver 90° (Included)
LVR-V390
VistaBeam 310 Louver 90° (Included)
True Match Lamps
964-K32 96W Kino KF32 Twin
964-K55 96W Kino KF55 Twin
®
3
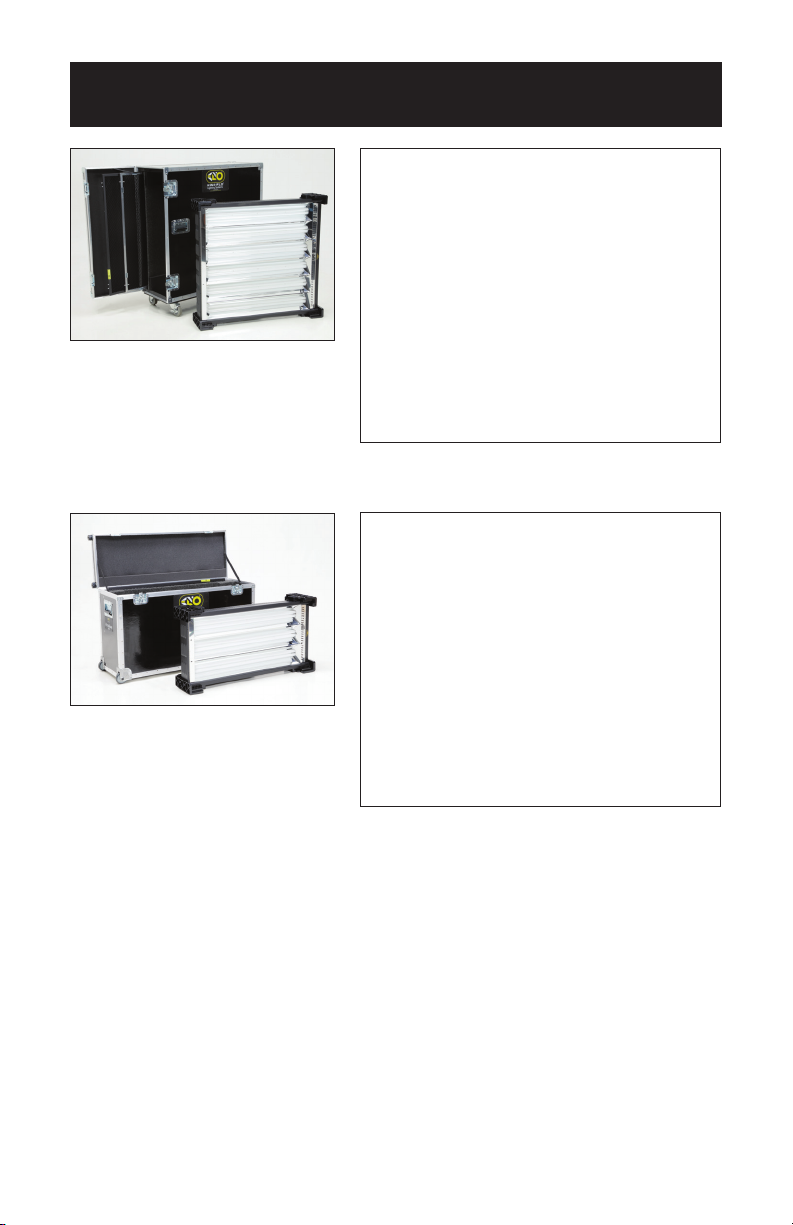
VistaBeam Center Mount Kits
KIT-V6C-120
VistaBeam 610 Center Mount Kit, 120VAC
KIT-V6C-230
VistaBeam 610 Center Mount Kit, 230VAC
Kit Contents:
1 VistaBeam 610 Center Mount
1 Ship Case
Dimensions Weight
41.5 x 15.5 x 44” 135 lb
(105.5 x 39.5 x 112cm) (61kg)
KIT-V3C-120
VistaBeam 310 Center Mount Kit, 120VAC
KIT-V3C-230
VistaBeam 310 Center Mount Kit, 230VAC
Kit Contents:
1 VistaBeam 310 Center Mount
1 Ship Case
Dimensions Weight
42 x 14.5 x 25.5” 79.5 lb
(107 x 37 x 65cm) (36kg)
4
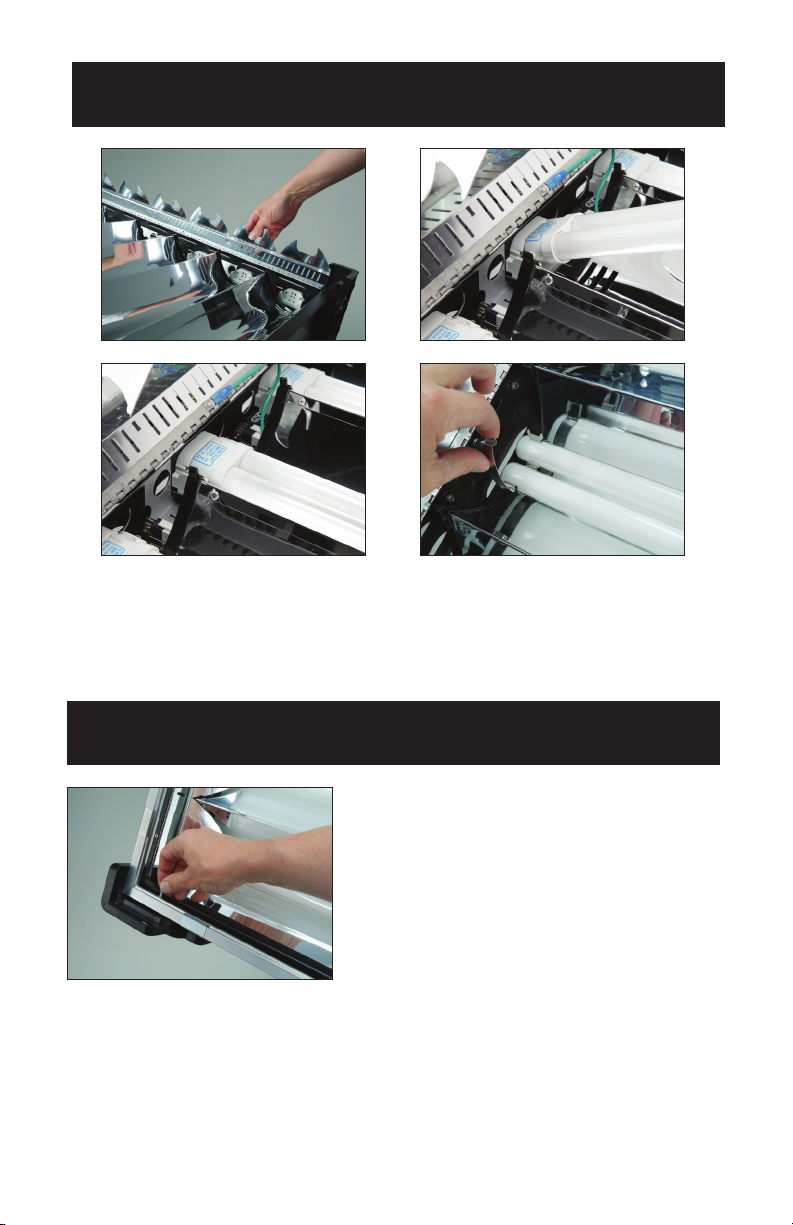
Inserting Lamps
1
2
3 4
1) Open the two hinged reector panels.
2 & 3) Insert the lamp base into the lamp connector.
4) Insert the lamp tip into the lamp clip. Close the reector panels.
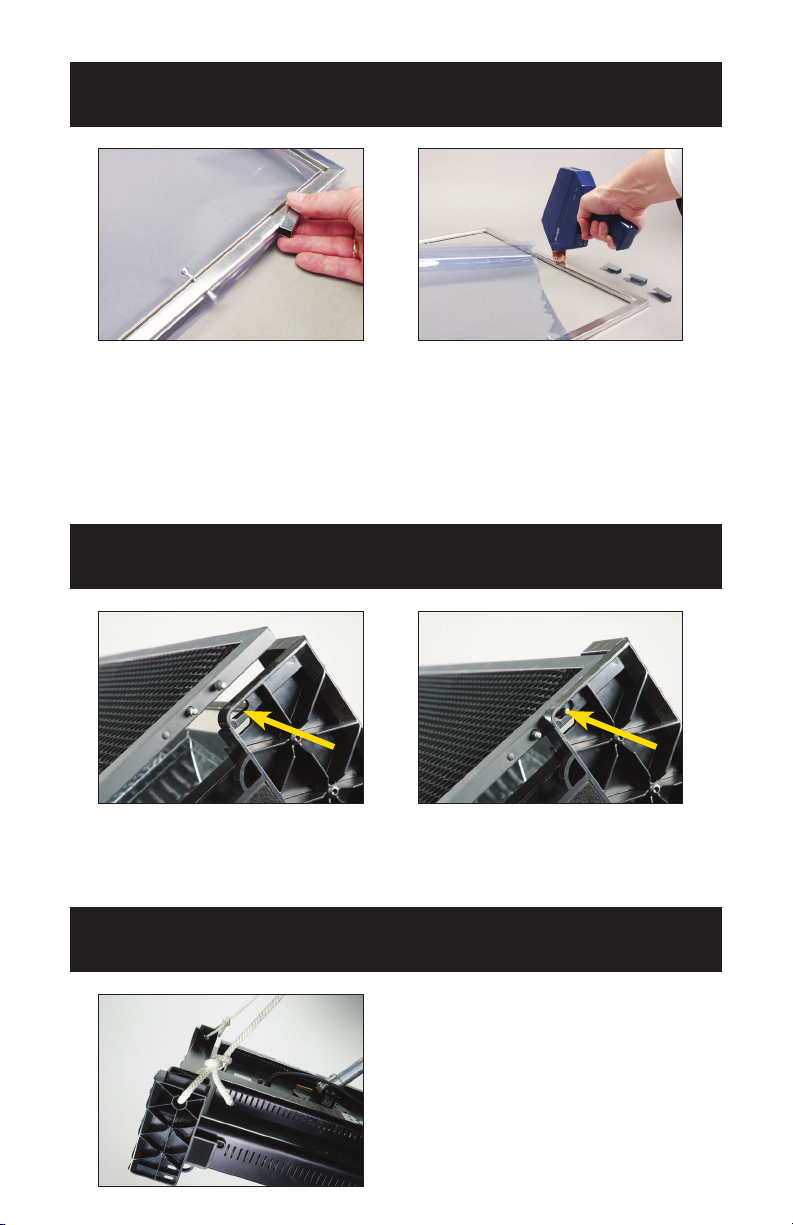
Inserting Gel Frame
Align the pins of the Gel Frame with
the inner (closest to lamps) holes of the
Accessory Holder. Pull back the pins and
release into the holes to secure the gel
frame.
5
Applying Gel to Frame
A B
A) The Gel Frame comes with Gel clips. Cut the gel to size and use the clips to
fasten the gel to the frame. Note: It is recommended to attach one clip on all four
sides and two clips near all four corners of the Gel Frame.
B) Another method is to apply transfer tape directly to the gel frame. The clips are
not necessary when taping the gel.
Inserting Louver
Align the pins of the louver with the outer (farthest from lamps) receptacle holes
on the Accessory Holder. Pull back the pins and release into the hole to secure
the louver.
Mount Option / Rope Hang
The large holes on the Accessory
Holder can be used as rigging points,
for example, a 4-point rope hang.
6
 Loading...