

King Pigeon K6 User Manual
The daily use:
2) Input “room number#”, e.g. “0101#”, Alternate display . , Wait for a call or open the door.
Advantages:
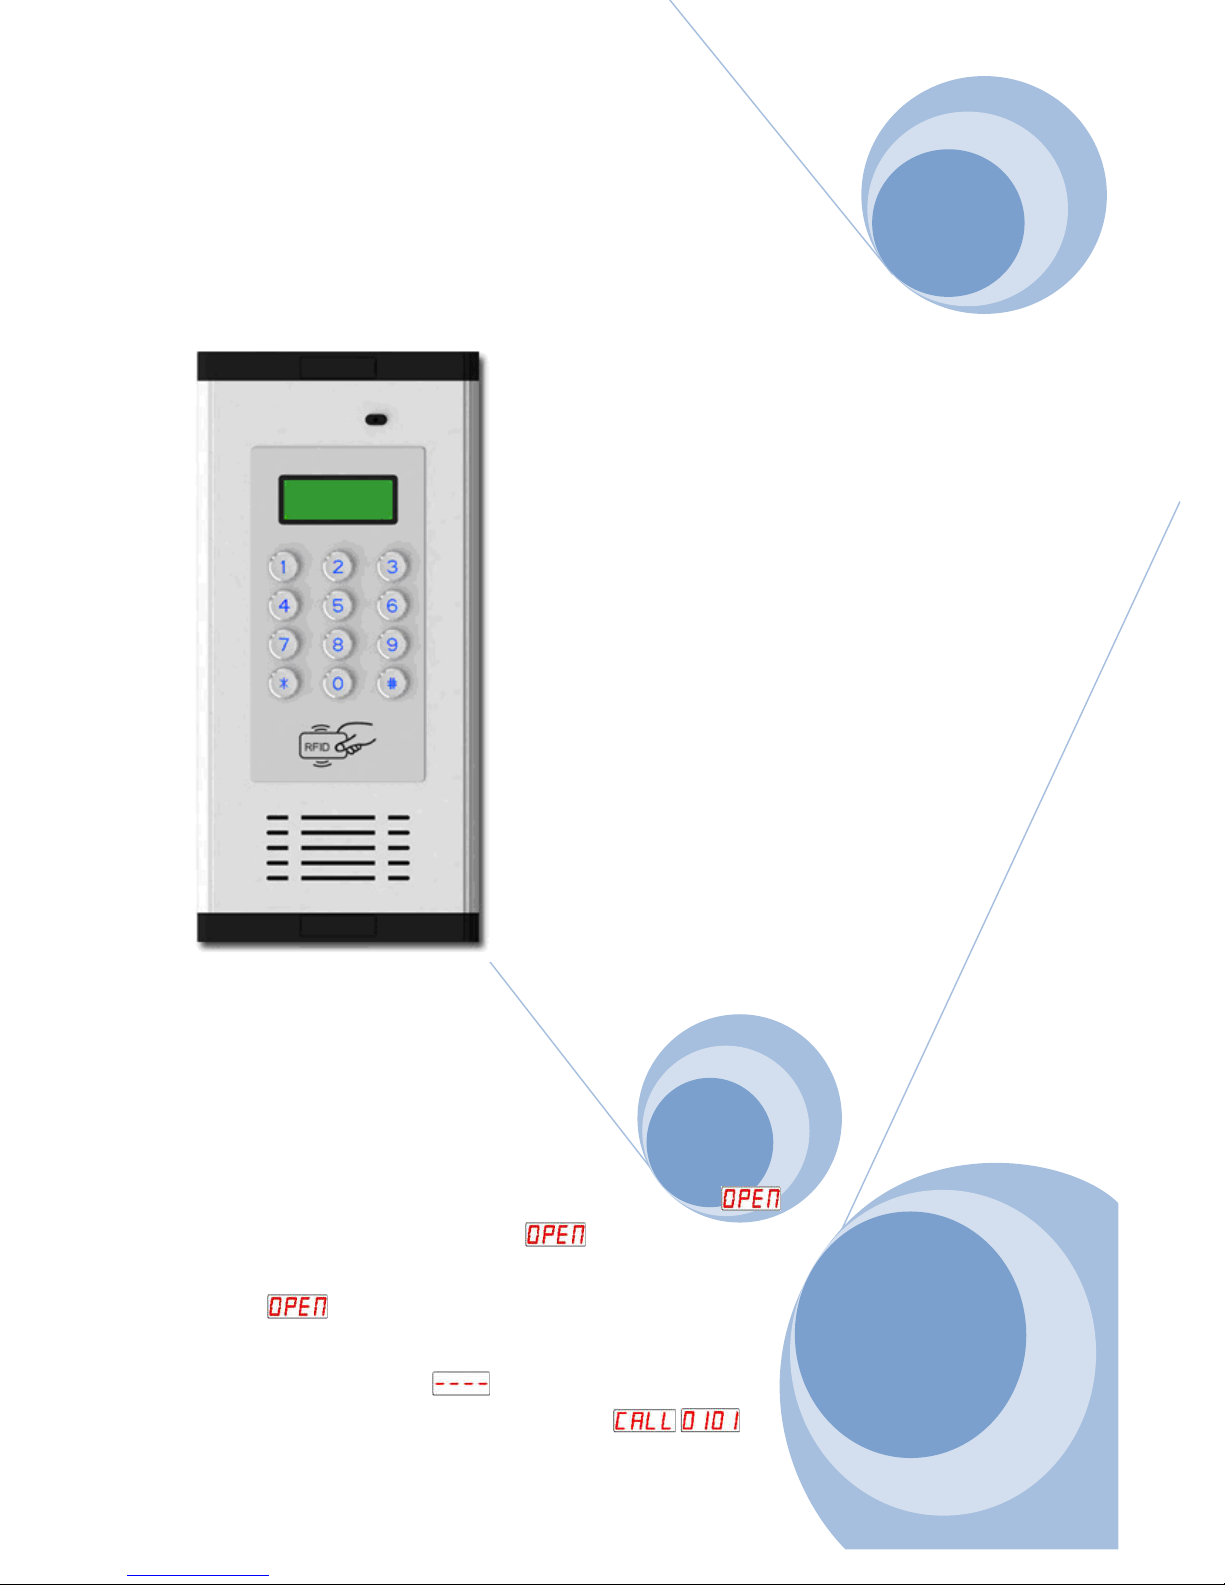
User Friendly Design, LED Screen, Alloy Shell and
Wireless Apartment Intercom System
Version:3.0
Revise Date: Oct. 25th 2017
Open the gate with a FREE call from authorized
phones;
Each room has an opening door password and 5
authorized phone numbers and 10 IC card;
Inbuilt Quad-band 850/900/1800/1900Mhz GSM
module, 3G is optional;
keypad, Easy for installation;
Authorized 200 households open the gate, designed
for large apartment;
High quality two-way communication, or carries out
the open door action on the first 'ring' (Be
switchable);
Nice price, Functional and practical, No indoor
extension, No cabling cost, lower maintenance costs
later;
2 Relay Outputs (NC/NO), compatible with
Owner:
1) Directly press password on the host to open the gate, Screen display
2) Use IC card to open the gate, Screen display
3) Use an authorized phone to call the host, and the host automatically refuses to answer and open the gate,
Electronic Locks and CCTV Camera;
12V DC Power supply, Relay working time is
programmable (1~300 seconds), when it is 0 second,
indicating no action.
Screen display
Visitor:
1) In standby mode, Screen display
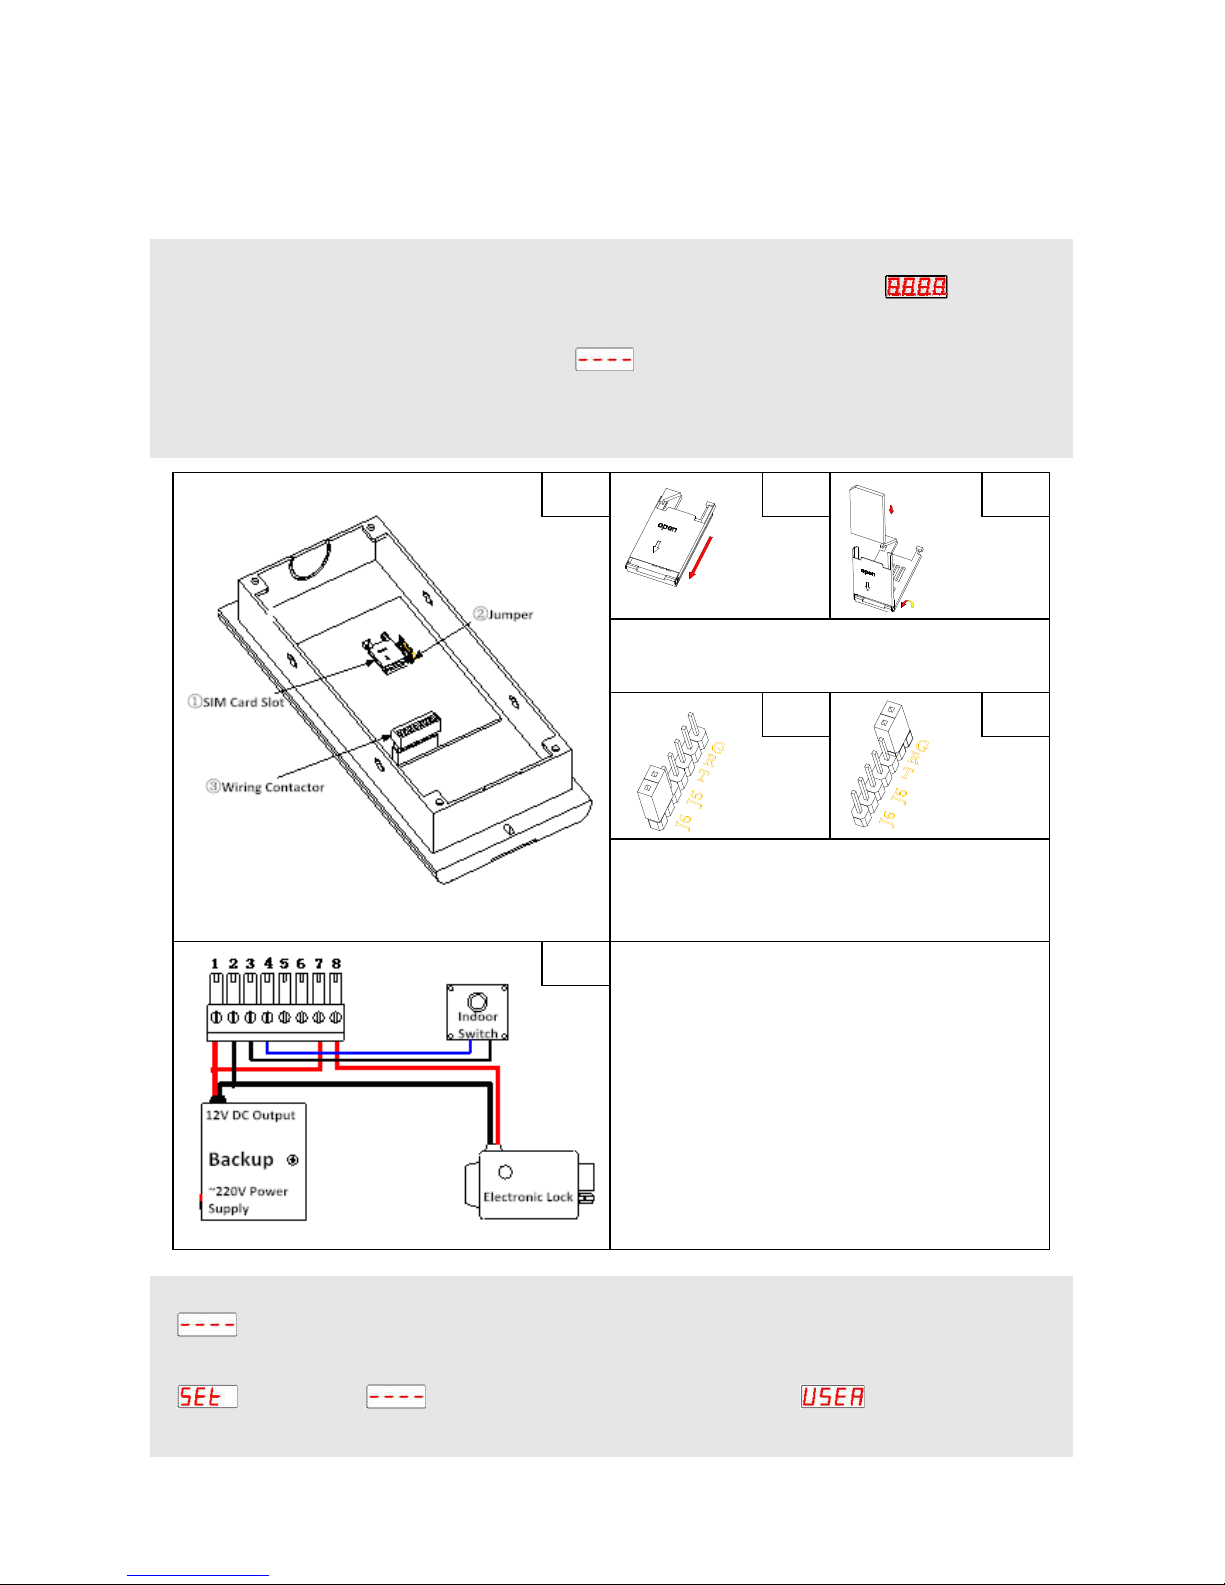
Open the SIM card slot (B1). Put the SIM card in
If you RESET the device, remove the jumper from
1: DC power supply +12V
D1
System configuration:
1) Open the unit’s back cover and insert the SIM card (B1, B2).
2) Wiring connect refer to the figure (D1). Then switch on the device, LED screen displays .
3) When the host receives the signal, the buzzer keep a long sound (No signal, the buzzer keep a short sound
twice). Enters the standby mode, screen display .
4) RESET (Caution): ①Short connect the ‘G’ and ‘R’ in ‘J8’ by the jumper (C2); ②Power on the device; ③After 3
seconds, put out the jumper and removed it to ‘J6’(C1).
A1 B1
S
I
M
C
A
R
D
the slot and close it (B2).
C1 C2
J6 (C1) to GR (C2), and plug it back to J6 after reset
successfully.
2: DC power supply -
3: Connect to the indoor switch
4: Connect to the indoor switch
5: Backup relay
6: Backup relay
7: Main relay
8: Main relay
Note: Port 5/6 used as a backup relay for connect
other devices. Port 7/8 used for control electronic
lock, wiring connection refer to (D1).
B2
Mode description:
1. Standby Mode: The host is generally in standby mode. In other mode, press * to return to standby, or
no operation for 1 minute will automatically return to standby.
2. Setting Mode: In the standby mode, press # button display , enter the current 6 bit
administrator password (factory default 123456). Then press # button to confirm it. If the password is correct,
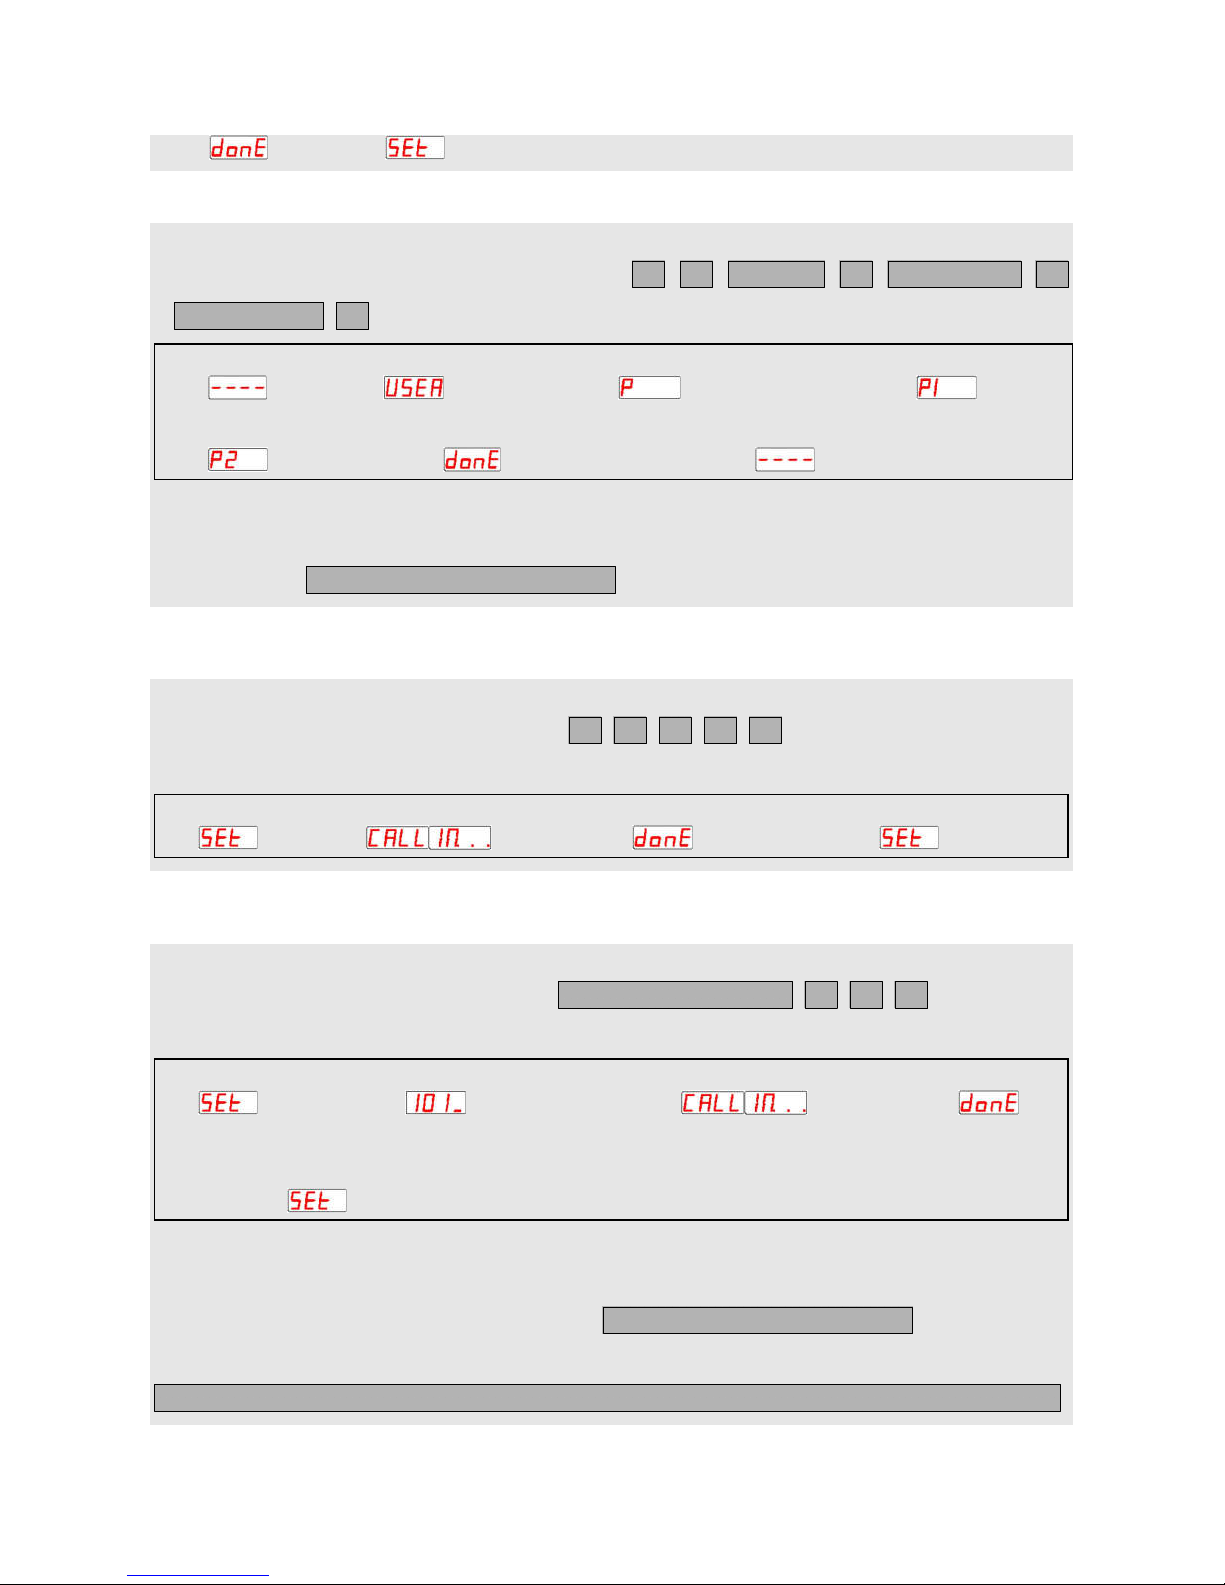
setting mode press room number#, e.g. 0101# Press 1# alternate display call the host
setting mode press 0000# alternate display call the host automatically return to setting mode
# # 1
#
Password
# # New password
#
Verify password
#
# current password # new password
0 0 0 0
Room number (four digits)
# room number # 1 # phone number # room number # 1 # phone number # room number # 1 # phone number
display . When display , indicate to enter setting mode.
Basic settings:
√ Set administrator password
1. Use the host to set: In the standby mode, press
standby mode press # display press # display again input current password #
→ → → →
new password # verify password # automatically return to standby
→ →
2. Use SMS to set (If no special instructions, administrator’s phone number should be used to edit the SMS and
send to the host):
√ Set administrator phone number
Use the host to set: In the setting mode, press , then use administrator’s phone
number to call the host.
→ → →
√ Set home owner phone number
1. Use the host to set: In the setting mode, press , then use home
owner’s phone number to call the host.
→ → →
→
automatically return to setting mode
#
2. Use SMS to set:
1) Authorize to individual home owner phone number:
2) Authorize to multiple home owners phone number:
# room number # 1 # phone number
 Loading...