

Page 1
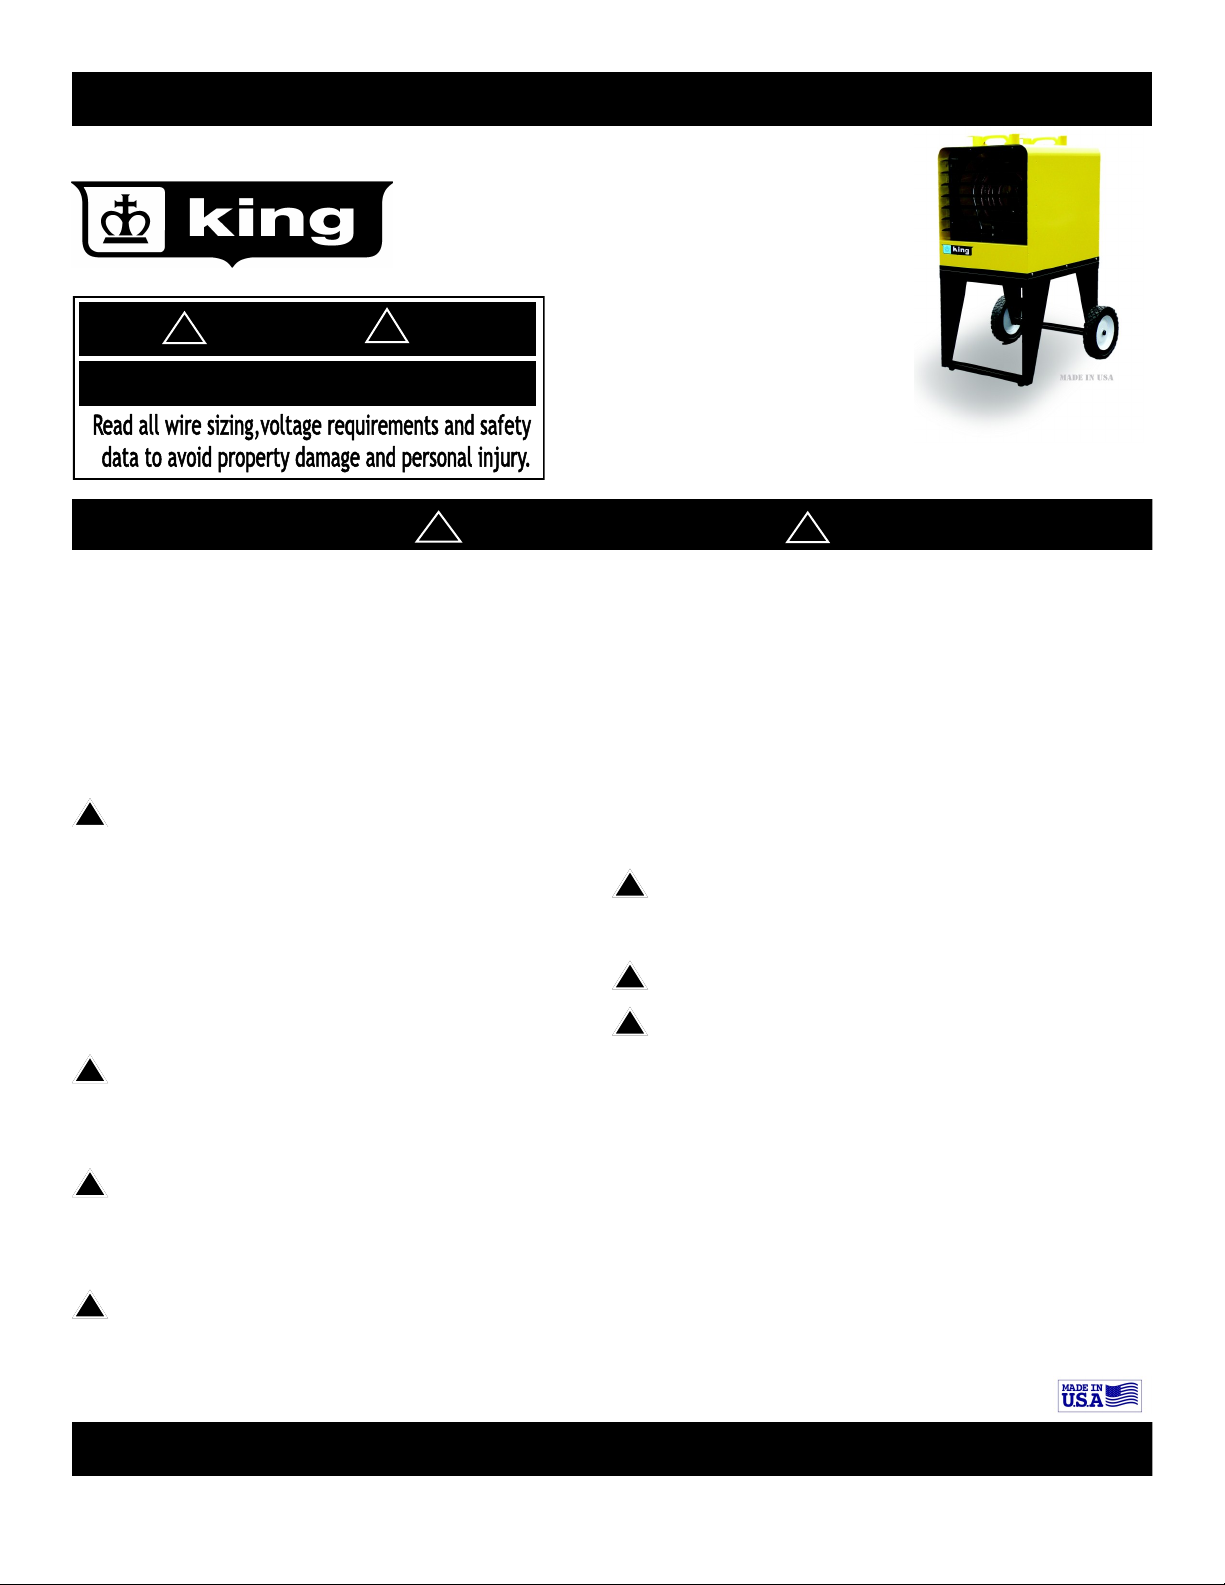
IMPORTANT INSTRUCTIONS
PKB Series Portable
Heaters
!
DANGER
!
ELECTRIC SHOCK OR FIRE HAZARD
Figure 1
Instructions include all units in the PKB Series
!
WARNING
Read Carefully - These instructions are written in an effort to prevent potential difficulties that might arise during
installation. Studying the instructions first may save you considerable time and money later. Observing the following
procedures will keep installation time to a minimum. Save these instructions for future use.
!
IMPORTANT INSTRUCTIONS
When using electrical heating appliances, basic precautions should always be followed to reduce the risk of fire, electric
shock and injury to persons, including the following:
1. Read all instructions before using this heater.
2. WARNING: This heater is hot when in use. To
!
avoid burns, do not let bare skin touch hot
surfaces. Keep combustible materials, such as
furniture, pillows, bedding, papers, clothes, etc.
and curtains at least 3 feet (0.9 m) from the
front of the heater and keep them away from the
sides and rear.
3. Extreme caution is necessary when heater is used
by or near children or invalids and whenever the
heater is left operating and unattended.
4. Always unplug heater when not in use.
5. WARNING: Do not operate heater with damaged
!
cord or plug, after it malfunctions, has been
dropped, or damaged in any manner. Discard
heater or return to authorized service facility for
examination and/or repair.
!
6. WARNING: Do not use outdoors.
7. This heater is not intended for use in bathrooms,
laundry and similar indoor areas. Never locate
heater where it can fall into a bathtub or other
water container.
8. WARNING: Do not run cord under carpeting. Do
!
not cover cord with throw rugs, runners, or
similar coverings. Do not route cord under
furniture or appliances. Arrange cord away from
Figure 2
!
!
!
traffic area and where it will not be tripped over.
9. To disconnect heater, turn controls to off, then
remove plug from outlet.
10. Connect to properly grounded outlets only.
11. WARNING: Do not insert or allow foreign objects
to enter any ventilation or exhaust opening as this
may cause an electric shock or fire, or damage
the heater.
12. WARNING: To prevent a possible fire, do not block
air intakes or exhaust in any manner.
13. WARNING: A heater has hot and arcing or sparking
parts inside. Do not use it in areas where gasoline,
paint, or flammable vapors or liquids are used or
stored.
14. Use this heater only as described in this manual.
Any other use not recommended by the
manufacturer may cause fire, electric shock, or
injury to persons.
15. Always plug heater into a wall outlet or
receptacle. Never use with an extension cord or
relocatable power tap, outlet, or power strip
SAVE THESE INSTRUCTIONS
King Electrical Mfg. Co. 9131 10th Ave So. Seattle, WA 98108 206-762-0400 www.king-electric.com
1
Page 2
PKB SETUP INSTRUCTIONS
CAUTION!
Remove power by unplugging the Heater while
setting up or placing.
Figure 2
!
DANGER
!
ELECTRIC SHOCK OR FIRE HAZARD
Figure 3
1. Setting up Your Heater:
2. Unpack and inspect your heater for any damage. Any
damage discard heater or return to authorized
service facility immediately.
1/4" Hex Driver
Shoulder Bolt
Figure 4
Weld Nut
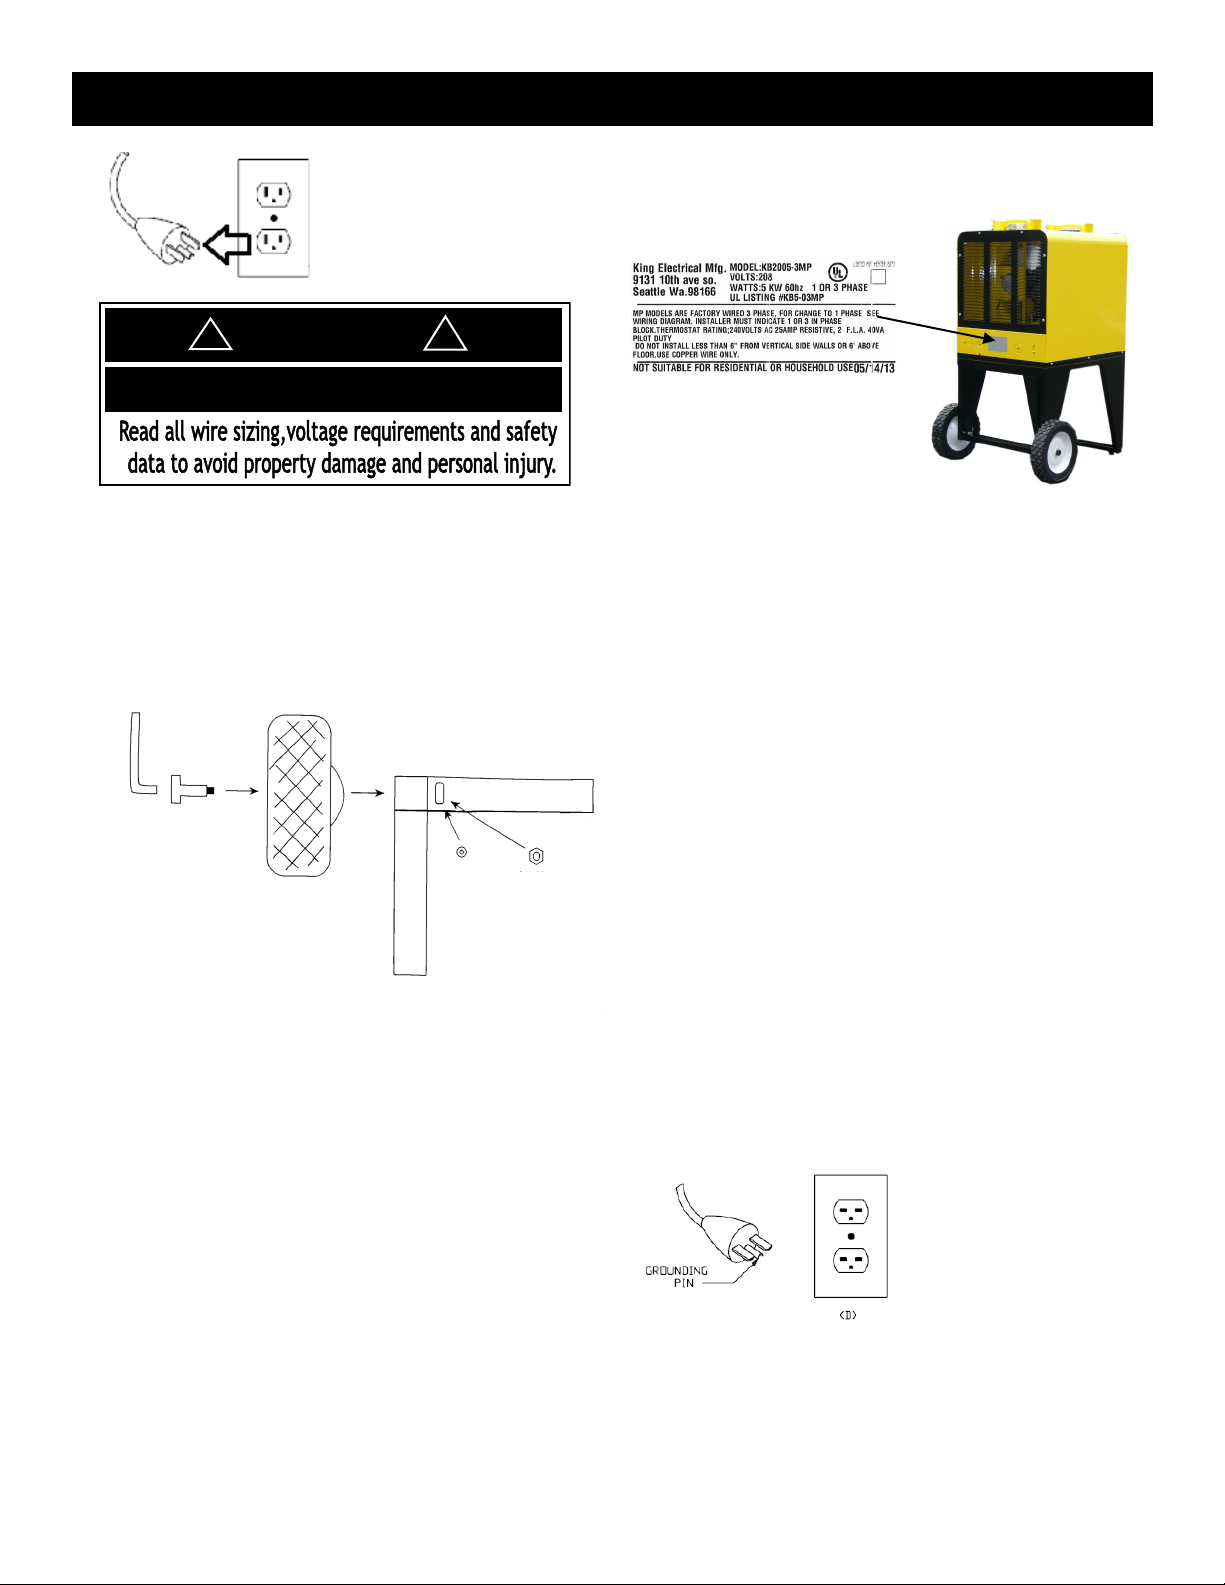
Rating Label Location
7. Adjust the louvers to the desired
position. The louvers are designed so the cannot be
completely closed. Do not attempt this feature this
may damage the heater.
8. WARNING: This heater is floor ONLY and should not
be tipped on side, placed upside down, mounted on
or inserted into a wall. A tip over auto disconnect
switch will activate when tipped more then 30°.
9. DO NOT use heater in areas where gasoline, paint,
Figure 5
Figure 6
Lock Washer
Wheel
9/16" Nut
Wheel install Diagram
3. Place heater at least 6" (15cm) away from vertical
surfaces and keep the intake clear of obstructions.
Keep all combustible materials, such as furniture,
papers, clothes, drapes, and curtains at least 3 feet
(0.9 m) from the front of the heater and keep them
away from the sides and rear.
4. Route power cord away from traffic areas to avoid
tripping. NEVER rout power cord under carpets,
rugs, drops furniture or other equipment.
5. Plug power cord into a grounded wall outlet only DO
NOT use an extension cord or power strip.
or other flammable liquids are used.
10. DO NOT use heater outdoors or in wet or moist
indoor areas such as bath or laundry rooms.
11. Store unplugged and in a dry indoor location.
12. This heater is for use on 240 (or 208) volts. The cord
has a plug as shown in D in Figure 65.1. No adapter
is available for this blade configuration, and none
should be used. The type outlet is a 240 (or 208) volt
grounding outlet. When properly installed, it
provides a ground
connection through the
cord to the heater to
protect the operator from
electric shock.
6. Wiring diagram located in wiring housing.
2
Page 3

Unit or Series
OPERATING INSTRUCTIONS
General information and Guidelines:
This heater must be properly placed before it is used.
DO NOT tamper with or change the operating of this
heater. All service should be preformed by a authorized
service representative. Only replace components with
King approved replacement parts.
Operation:
1. After the electric heater has been completely
placed, all thermostats should be turned to LOW or
NO HEAT. Plug unit into grounded outlet, no
extension cords, wait 3 to 5 minutes and check to
see that the heaters are not operating. If operating,
disconnect power and check for improper wiring. If
none are operating then turn thermostats to highest
position and wait 3 to 5 minutes. Check to see that
all heaters are operating. Should any not be
operating, disconnect power and check wiring.
2. Allow entire system to operate steadily for 1/2 hour.
This should remove oily residue from manufacturing.
(Some smoking may occur).
3. Select the setting for comfort on all thermostats.
4. A safety limit control is provided to turn off the
heater automatically if it is blocked or otherwise
overheats due to an abnormal condition. DO NOT
bypass or remove this safety device from the
electrical circuit. During normal use, this safety
control should not operate. If you find that this
control is operating, make sure the heater is not
being blocked. If it continues to cycle the heater
off, disconnect power to heater and have it checked
and repaired by a qualified electrician.
Table 3
Troubleshooting Chart for Electric Heaters
SYMPTOM PROBLEM SOLUTION
Breaker Trips 1. Short Circuit
2. Overloaded Circuit
3. Improper Voltage
Heater not working 1. No Power
2. Loose Connections
3. Defective Limit
Heater Smokes 1. Oil on Element
2. Needs Cleaning
Room Temperature
does not match
thermostat setting
Room Temperature
swings from too hot
to too cold
1. Thermostat affected
by another heat
source.
2. Improper calibration
1. Defective or low
quality thermostat
1.
Find source of short. Trace heater circuit and verify the heater is wire properly.
2.
Reduce wattage in circuit. Refer to circuit sizing table for maximum wattage.
3. Verify the heater voltage matches the supply voltage.
1. Turn Breaker ON, turn thermostat ON, check that the breaker is position
properly on panel bus-bar. A 2-Pole breaker must be connected to both busbars (A&B phase) to produce 240V power.
2. Tighten wire connections.
3. By-pass the limit to test. If heater works, replace the limit.
1. It is normal for the element to burn off some light finishing oil used in the
manufacturing process when first energized. Open windows and allow room
to vent until it stops, usually within a few minutes.
2. Remove any dust or dirt accumulations.
1. Sunlight or other heat sources can affect the thermostat. Move the thermo
stat to another location or remove the heat source.
2. Remove cover and adjust calibration screw.
1. Replace with a better quality thermostat. Anticipated thermostats are fair-
ly accurate; an electronic thermostat is best.
SAVE THESE INSTRUCTIONS
3
Page 4

Maintenance & Warranty
Cleaning instructions
Before cleaning this heater, the heating element of the heater must be cool.
1. Before removing grille, turn the electrical power OFF by unplugging it. If it isn't unplugged electricity may still
be flowing to the heater, even if the heater does not appear to be working. If you are uncomfortable working
with electrical appliances, unable to follow these guidelines, or do not have the necessary equipment, consult a
qualified electrician. Once you verify the power is off completely, proceed to the next step.
2. Remove 4 Phillips head screws located behind the louvers in the corners of the louver housing. Wipe louver hous-
ing with a soft cloth or brush.
3. Using a hair dryer or vacuum on blow cycle, blow debris back through the element. Do not touch element.
Vacuum lose debris without touching the elements.
4. Replace louver housing and secure with screws.
5. To clean the fan and motor remove the safety grill from the rear of the heater. This provides access to the fan
and motor. Wash Grill with hot soapy water and dry immediately
6. Wipe the fan and motor with a soft cloth or brush. The fan motor does not require lubrication.
7. Replace safety grill.
8. Plug the unit back in
Warranty Information
King Electrical Manufacturing Company will repair or replace, without charge to the original owner, any PKB Series portable heater found to be defective or malfunctioning within 1 year of installation. If the product becomes
defective, contact King at 206-762-0400 for instructions on how to replace heater. Do not return the heater to
the store. All returned goods require a Returned Goods Authorization. This warranty requires the owner or his
agent install the heater in accordance with these instruction, the National Electrical Code and any other applicable heating or electrical codes. It further requires that reasonable and necessary maintenance be performed on
the unit. The company is not liable for abuse or misuse of product. King Electrical Manufacturing Company is not
responsible for replacement of discolored flooring material due to hot air from this heater. Suitable installation
and placement selection for this heater is the responsibility of the installer and the end user.
King Electrical Mfg. Co. 9131 10th Ave So. Seattle, WA 98108 206-762-0400 www.king-electric.com
pkb_install_2012.pu
4
 Loading...