

Page 1
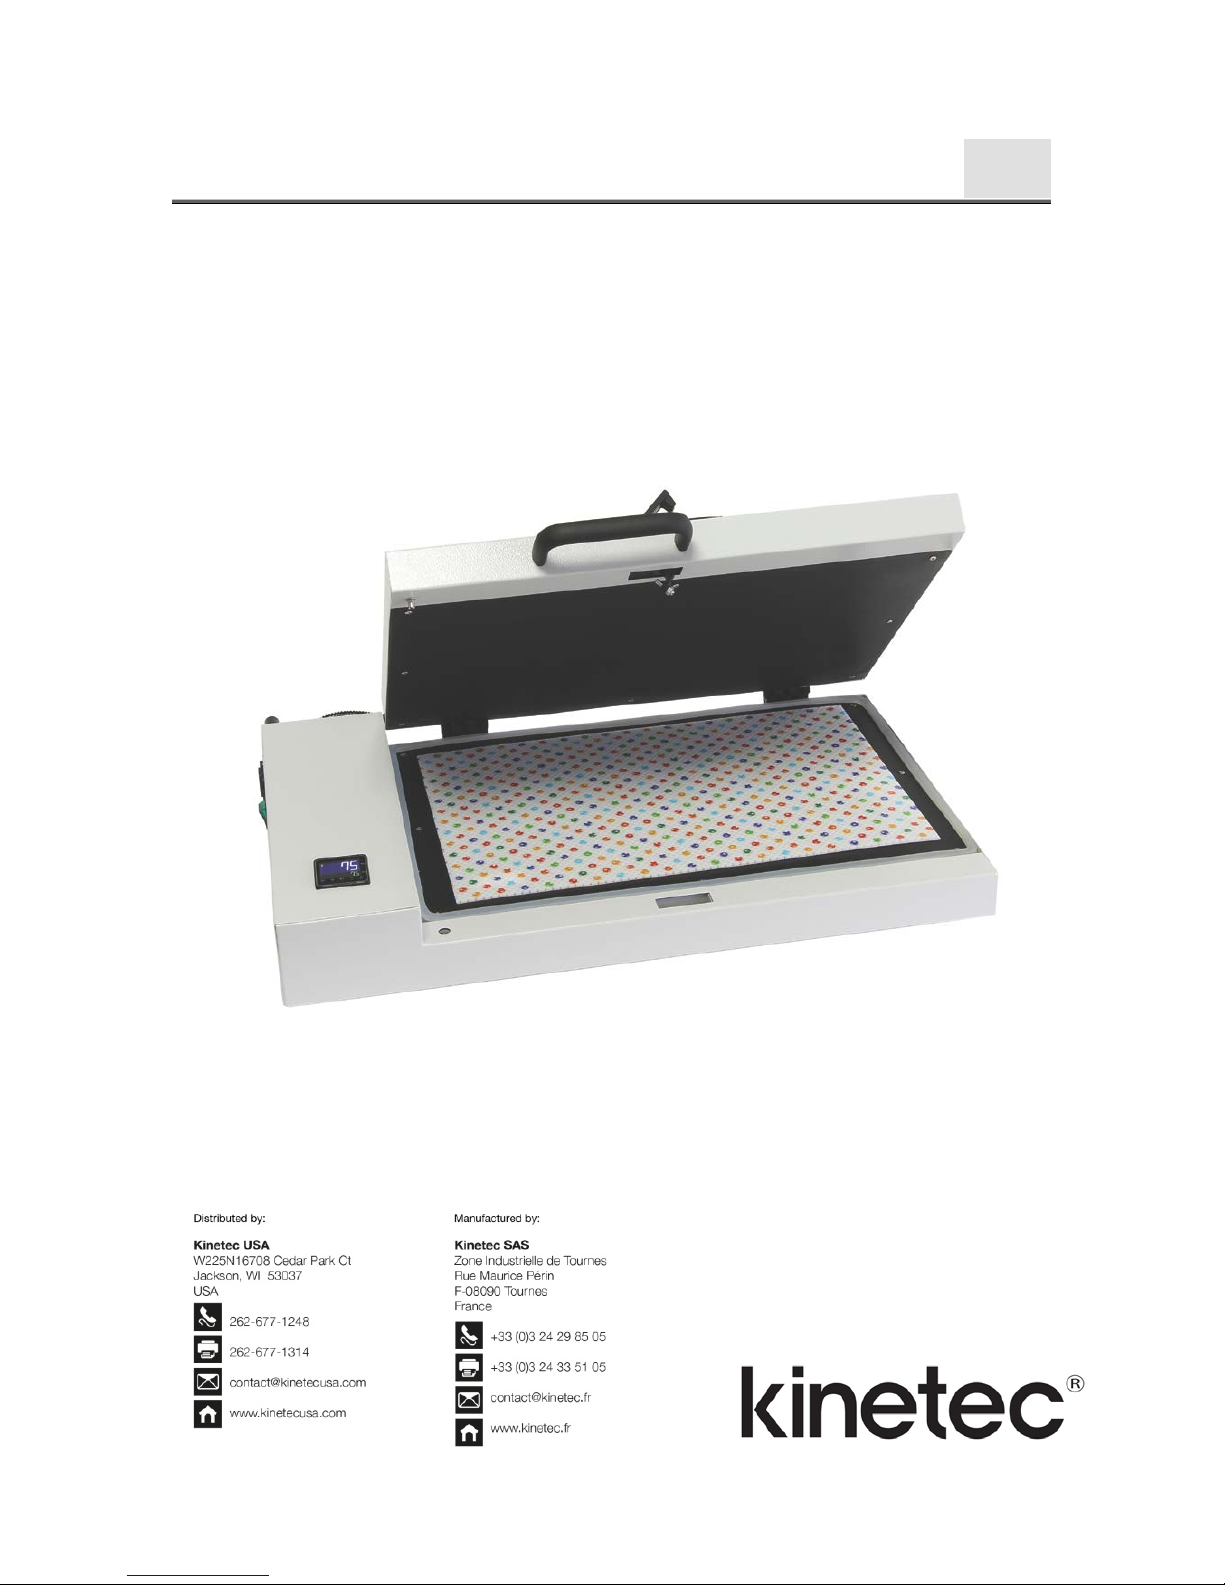
Manosplint® Dry Heat Oven
User manual
Before use, please read this document.
Kinetec SAS reserves the right to effect technical modifications.
The English version is a translation of the original in French. In case of a discrepancy, the
French original will prevail.
EN
IFU-Dry-Heat-Oven-467896391-1
10/2017
Série 1
Notice Originale
Page 2

Page 3

EN 1/12
Summary
Preamble .................................................................................................................................................... 2
Important safety instructions .................................................................................................................... 2
Introduction ............................................................................................................................................... 3
Conformity ................................................................................................................................................. 3
Unpacking .................................................................................................................................................. 3
Installing the device ................................................................................................................................... 3
Description ................................................................................................................................................. 4
Electrical connection .................................................................................................................................. 5
Manual ....................................................................................................................................................... 5
Cleaning.................................................................................................................................................... 11
Disposal and recycling .............................................................................................................................. 11
Guide de dépannage ................................................................................................................................ 11
Technical specifications ........................................................................................................................... 12
Symbols used ........................................................................................................................................... 12
Page 4
EN 2/12
Preamble
Before using this device, please read this manual carefully and keep it for future reference.
Important safety instructions
• Before connecting the device, check that the mains voltage matches the marking plate (8) (100-120V~
or 220-240V~ 50-60Hz) on the side of the device.
• To avoid a risk of electric shock, the device must only be connected to a power supply network
equipped with a protective earth.
• The device must be installed in a room that meets the installation standards in force in the country.
• Make sure that the power cord cannot be walked on or pinched particularly at plug, connector, and
the point where they exit from the apparatus.
• Unplug the device during lightning storms or when unused for long period of time.
• Only use the original cable supplied with the device.
• In case of replacement of the power cord, use a power cord with the same characteristics assigned and
meets the standards in force in the country.
• The power cord is intended for use only with this device and must not be used with any other
electrical appliance.
• Before any intervention, switch OFF the unit by disconnecting the power cord.
• Dangerous voltages remain in the device even after switching off the switch, the mains cable serves as
a disconnection. Disconnect the unit with the power cord before doing any work.
• The female connector on the power cord is used for disconnection, and must always be easily
accessible.
• To reduce the risk of fire or electric shock,
- Do not expose the unit to rain or moisture;
- Do not place objects filled with liquids (vases, etc.) on or near the device;
- Do not place the device near other sources of heat.
• Before transporting or storing, check that the device is cold.
• Non-stick surfaces become hot during operation. Never touch hot parts. Keep children away.
• For assistance in mounting, operating or maintaining the device, contact your KINETEC® distributor.
• Modifying the device in any way is strictly forbidden.
• If the device is used in a manner not specified in this user manual, the protection provided by the
device may be compromised.
• Before use, check that the device is not damaged particularly the non-stick surfaces. In the event of
chock or trace of impact, contact your KINETEC® distributor.
Page 5
EN 3/12
Introduction
The Manosplint® dry heat oven is designed to heat thermoplastic materials at low temperature.
Its compact design and waterless rapid heating technology make it the ideal companion for therapists who need a
fast, hygienic and efficient method of heating.
Equipped with non-stick surfaces, the thermoplastic materials can be positioned in direct contact with the heating
surfaces. No additional consumables are required.
Conformity
The Manosplint® dry heat oven meets the requirements of the Machinery Directive 2006/42 CE and is CE marked.
The Manosplint® dry heat oven complies with current standards:
- EN 61326-1; EN62311:2008; EN 61000-6-3:2007/A1:2011 about electromagnetic compatibility.
- ICES-001 issue 4, June 2006; FCC 47 CFR Part 15:2016 about electromagnetic compatibility for US and
Canadian markets.
- EN/CEI 61010-2-010:2015; EN/CEI 61010-1:2010 + US and Canadian deviations about electrical safety.
Unpacking
When unpacking, we draw your attention to the fact that you may need to repack your device. We advise you to
keep stalls, cartons and plastic bags.
Contents:
- Manosplint® dry heat oven
- Power cord
- User manual
Installing the device
The Manosplint® dry heat oven must be installed on a flat surface and wide enough to accommodate the unit.
• To reduce the risk of fire or electric shock,
- Do not expose the unit to rain or moisture;
- Do not place objects filled with liquids (vases, etc.) on or near the device;
- Do not place the device near other sources of heat.
• Make sure that the power cord cannot be walked on or pinched particularly at plug, connector, and
the point where they exit from the apparatus.
• Before use, check that the device is not damaged particularly the non-stick surfaces and protective
housings.
Page 6

EN 4/12
Description
The Manosplint® dry heat oven is composed of:
1. Display of the current temperature and
setting of the target temperature
2. Handle for transporting and opening the
top cover
3. Locking system of the top cover
4. Top cover
5. IEC connector
6. Fuses
7. ON/OFF switch
8. Marking plate
9. Temperature unit (Celsius or Fahrenheit)
10. Heating indicator
11. Not used
12. Validation of the target temperature
13. Setting of the target temperature digit by
digit
14. Decrease of the target temperature degree
by degree
15. Increase of the target temperature degree
by degree
16. Display of the target temperature
17. Display of the current temperature
2 3 1
4 6 7
5 8 17
16
11
12
13
14
15 9 10
Page 7

EN 5/12
Electrical connection
Connect the power supply cable into the IEC connector (5).
• Before connecting the device, check that the mains voltage matches the marking plate (8) (100-120V~
or 220-240V~ 50-60Hz) on the side of the device.
• Only use the original cable supplied with the device.
• To avoid a risk of electric shock, the device must only be connected to a power supply network
equipped with a protective earth.
Manual
1. Press the ON/OFF switch (7).
The display illuminates, the Manosplint® dry heat oven performs a self-diagnosis.
2. Set the desired target temperature by pressing keys (12) to increase the temperature or (13) to decrease
the temperature degree by degree.
7
12
13
Page 8

EN 6/12
It is possible to set the target temperature digit by digit. See method below.
- Press the key (11), the rightmost digit flashes,
- Press the keys (12) or (13) to change the value,
- Press the key (11), the next digit flashes,
- Press the keys (12) or (13) to change the value,
- To memorize the new target temperature, press the key (10) or wait a few moment.
Note: We recommend setting the target temperature between 75°C and 85°C (167°F and 185°F).
3. Unlock the top cover by pressing the button (16).
Top cover locked Top cover unlocked
10
11
12
13
16
Page 9

EN 7/12
4. Open the top cover using the handle (2).
Note: the Manosplint® dry heat oven is equipped with hinges with stops to keep the top cover in the open
position.
5. Place the thermoplastic material in the center of the unit and close the top cover.
Note: the Manosplint® dry heat oven is equipped with an opening cover detection system. For safety reasons,
when the top cover is opened, the Manosplint® dry heat oven stops heating.
2
Page 10

EN 8/12
6. Close the top cover using the handle (2) then lock the cover by pressing the lever (17).
7. Wait a few minutes for the thermoplastic material to be ready for use.
Heating time: between 2 and 6 minutes depending on thickness and size of the thermoplastic material.
Note: Manosplint® Ohio and Manosplint® Ohio S materials become translucent when ready.
8. Unlock the top cover by pressing the button (16).
Top cover locked Top cover unlocked
17
16
Page 11

EN 9/12
9. Open the top cover using the handle (2).
10. Carefully remove the thermoplastic material.
Notes:
- We recommend wearing gloves to remove the thermoplastic material after heating.
- Place the materials on a wet towel for about 20 seconds before the next step to avoid burning patients.
11. Apply the thermoplastic material to the patient.
Note: you have a molding work time of 2 to 4 minutes depending on the thickness and the degree of stretching
of the thermoplastic material.
2
Page 12

EN 10/12
12. After use, turn off the power using the ON/OFF switch (7) and unplug the power cord.
13. Leave the Manosplint® dry heat oven in the open position for a few minutes to allow the unit to cool down.
• Before transporting or storing, check that the device is cold.
14. Close the top cover using the handle (2) then lock the cover by pressing the lever (17).
17
Page 13

EN 11/12
Cleaning
• Before any intervention, switch OFF the unit by disconnecting the power cord.
• Before cleaning the heating surfaces, make sure that the appliance is cold.
Use a disinfectant (alcohol-free solution or <5% alcohol) in wipes or spray.
• If in doubt about the compatibility of cleaning agents with the parts of the device or with the
material inside, contact your Kinetec® distributor.
Notes:
- Residues of thermoplastic material may remain stuck on the non-stick surfaces.
- Once the device is cold, the residues must be removed with a dry cloth.
- We recommend cleaning the heating surfaces daily.
Do not scrape the heating surfaces with pointed or sharped objects, risk of irreversible damage to the nonstick surface.
Disposal and recycling
• Packaging: The packaging must be separated into plastic and paper / cardboard components and taken to
special recycling sites.
• Device: It contains electronic components, cables, aluminium, steel and plastic parts. When the machine is no
longer operational, disassemble it, separate it into different types of material and take these to authorized
recycling centers or return the machine to Kinetec SAS for destruction. Or contact the local authorities to
determine the appropriate method of disposal for parts and accessories that are potentially hazardous to the
environment.
Guide de dépannage
After connecting the power cord to an electrical socket and after turning on the power:
• The ON/OFF switch (7) and/or the display are not lit:
- Check that the electrical socket is live using another device or a voltmeter.
- Replace the fuse(s) of the IEC connector (5) with fuses of the same type and calibre: see "Technical
specifications".
- Contact your Kinetec® specialist.
• The non-stick surfaces do not heat, the current temperature indication on the display does not change:
- Check that the top cover is closed and locked.
- If the problem persists, the top cover locking system or the top cover opening detection system is out of
adjustment. Contact your Kinetec® specialist and ask for the procedure for adjusting the closing systems
of the top cover.
• Cannot set the target temperature below 50°C (122°F) or above 90°C (194°F):
- For safety reason, the setting of the target temperature is limited between 50°C and 90°C (122°F/194°F).
Page 14

EN 12/12
Technical specifications
Device
Dimensions:
650 x 475 x 90mm
Dimensions of the heating surface:
480 x 320mm
Weight:
10,6kg
Electricity
Power supply:
100-120V~ ±10% or 220-240V~ ±10%
Surge category:
2
Frequency:
50-60Hz
Fuses:
T 16A – 250V – 6,3x32mm (VDE)
T 16A – 500V – 6,3x32mm (USA / Canada)
Power:
1500W
Environment
Storage/transport conditions:
Ambient temperature: -25°C to +70°C (-13°F to 158°F)
Relative humidity: up to 93% without condensation
Operating conditions:
Indoor use only
Ambient temperature: +5°C to +40°C (41°F to 104°F)
Relative humidity: 15% to 93% without condensation
Atmospheric pressure: 700 hPa to 1060 hPa
Altitude: ≤2000m
Temperature regulator
Control mode:
Digital
Temperature range:
50°C to 90°C (122°F to 194°F)
Resolution:
1°C (1°F)
Accuracy:
±2%
Thermal circuit breaker:
119°C (246°F)
Symbols used
Follow the instruction for use
No
t used
OFF
(
power off)
Validation of
the target temperature
ON
(
power on)
Setting of the target temperature
digit by digit
D
angerous voltage
In
crease of the target temperature
degree by degree
Hot surface
Decrease of the target temperature
degree by degree
A
lternating current
Page 15

Page 16

Manufactured by:
Kinetec SAS
Zone Industrielle de Tournes
Rue Maurice Périn
F-08090 Tournes
France
+33 (0)3 24 29 85 05
+33 (0)3 24 33 51 05
contact@kinetec.fr
www.kinetec.fr
Distributed by:
Kinetec USA
W225N16708 Cedar Park Ct
Jackson, WI 53037
USA
262-677-1248
262-677-1314
contact@kinetecusa.com
www.kinetecusa.com
 Loading...