

Page 1
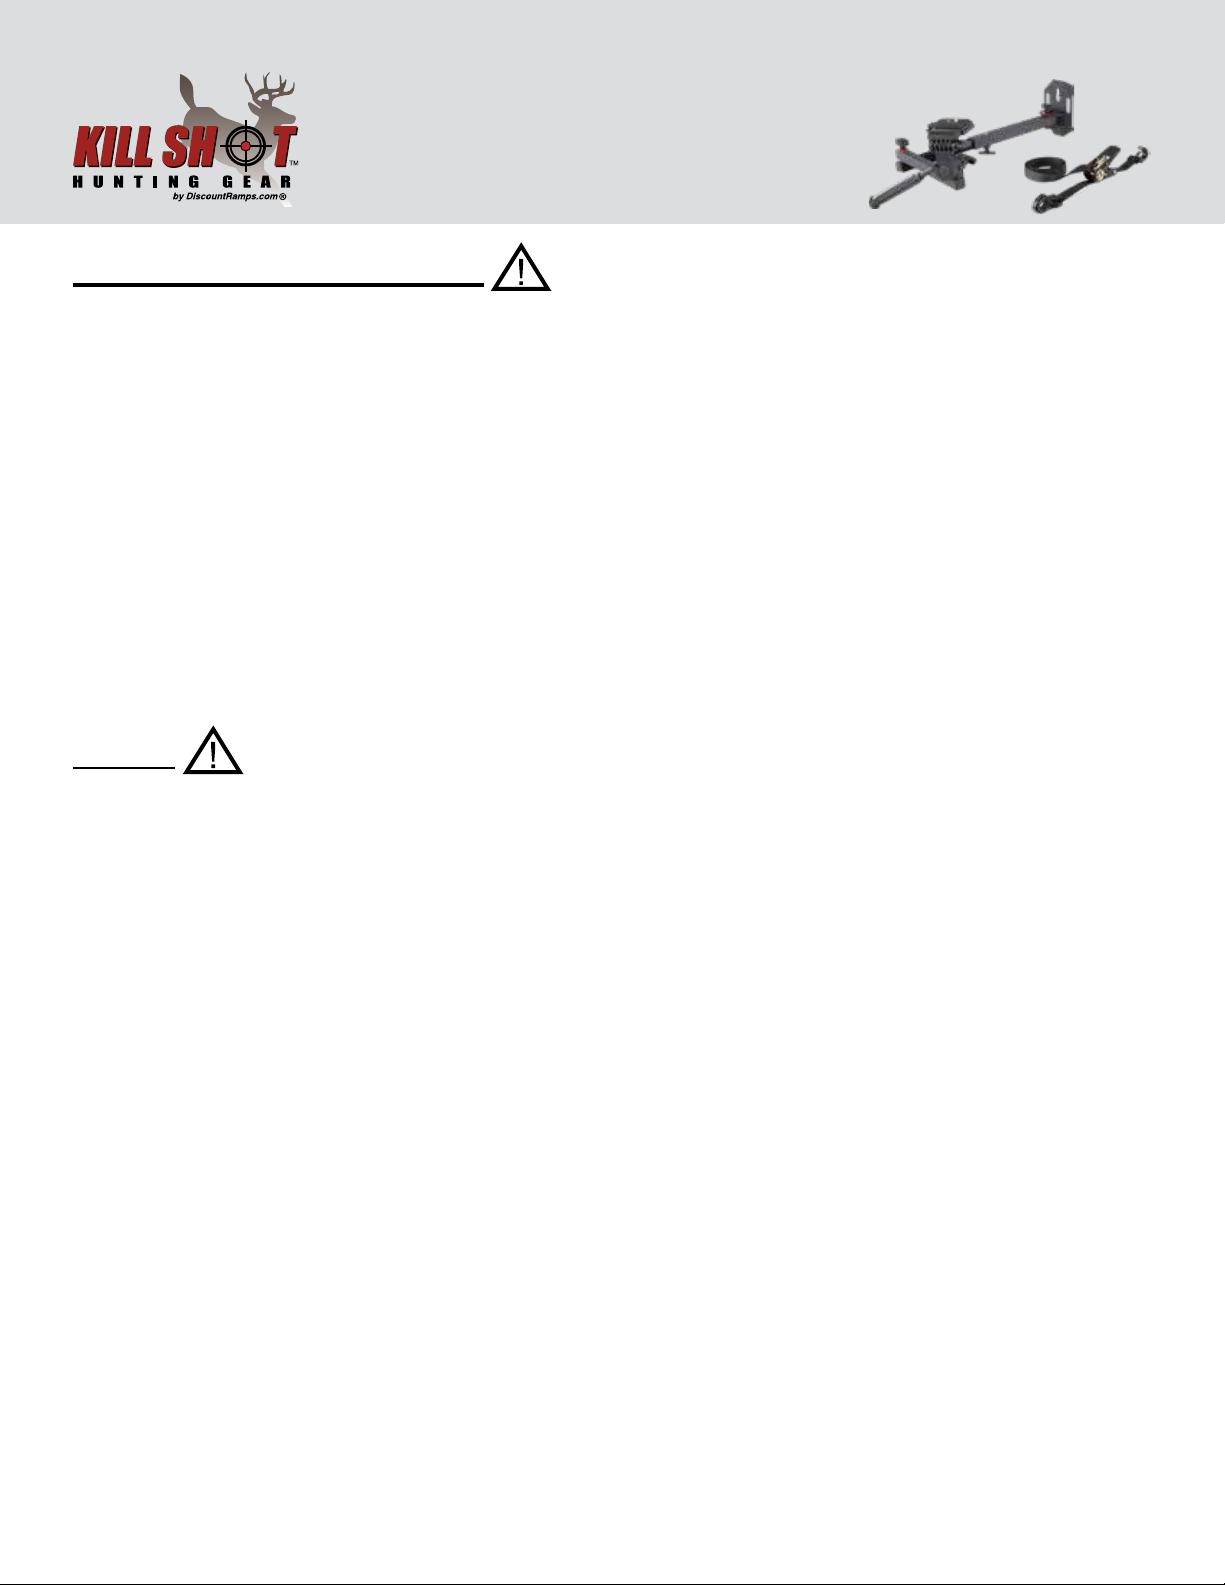
Strap-On Camera Arm
Instructions for Part # CM-HLDR
General Guidelines
• For use with cameras having 1/4-20 UNC mounting threads.
• It is the user’s responsibility to read and follow all instructions.
• Keep these instructions with the product at all times and review before each use.
• It is the responsibility of this product’s owner to furnish the instructions to any person that borrows
or purchases the product.
• Inspect the product before use to ensure it is assembled properly and all parts are in safe working
order and free of defects.
• Never modify this product in any way.
• All circumstances cannot be addressed in these instructions. Please use common sense and
practice general safety measures when using this product.
• Parts and/or instructions are subject to change without notice.
Safety
• The camera arm is designed only as a support mount for cameras weighing up to 4 lbs.
• Do NOT use the product for anything other than its intended purpose of supporting a camera.
• Do NOT use this product as a step or climbing aid.
• You must stay connected to the tree with your safety harness at all times when installing the camera arm above ground level.
• Attach camera arm to attachment devices at ground level. Never attempt to make such attachment
at height.
DiscountRamps.com • 1-888-651-3431
Page 1Rev. 062518
Page 2
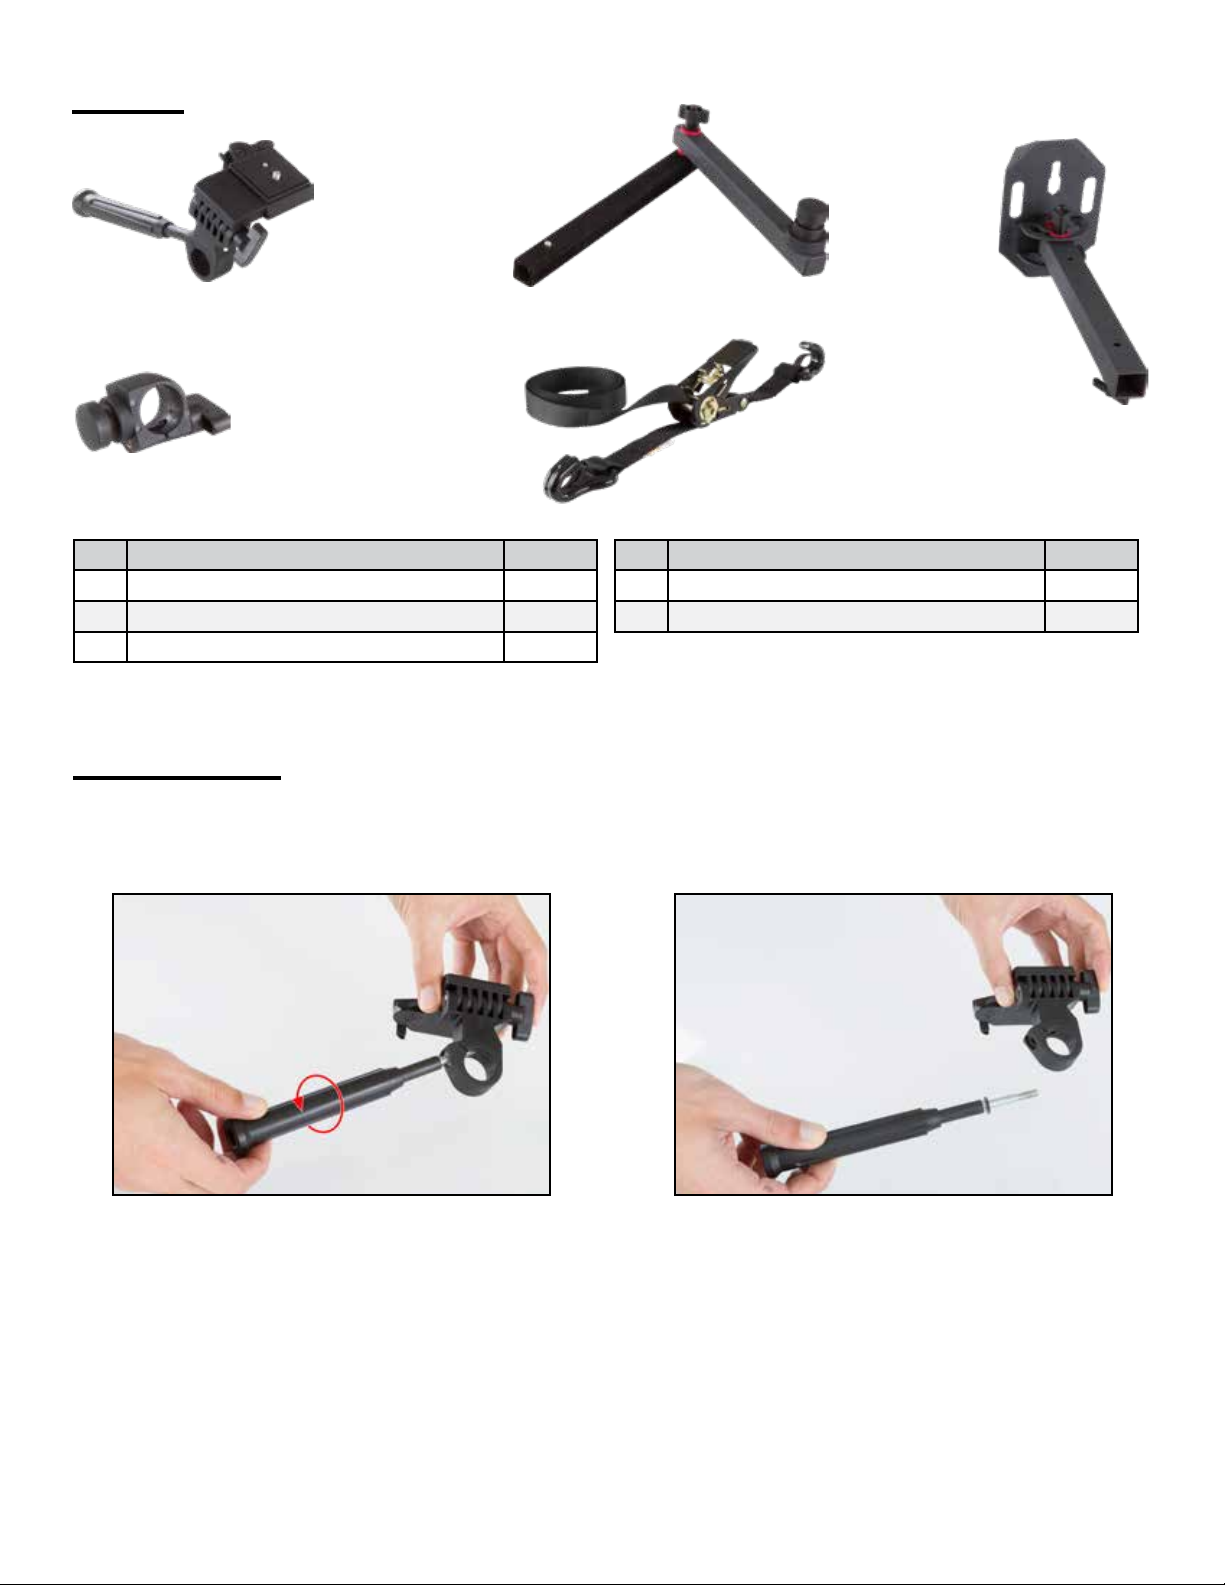
Parts
B
A
E
D
Part Description Quantity
A Head Assembly with Handle 1
B Extension Arm Assembly 1
C Base 1
C
Part Description Quantity
D Attachment Knuckle 1
E Ratchet Strap 1
Assembly
Step 1. Remove camera arm handle from head assembly (A) by turning counter-clockwise. Be sure
not to lose the 10mm nut that secures the handle to the head assembly.
Fig. 1a Fig. 2a
DiscountRamps.com • 1-888-651-3431
Page 2Rev. 062518
Page 3

Step 2. Place attachment knuckle (D) into hole on the head assembly (A) with the head assembly
opposite of the camera arm. Replace nut and handle. Turn handle clockwise to tighten. Loosening the
handle will allow the head assembly to rotate on the knuckle.
Fig. 2a
Fig. 2c
Fig. 2b
Fig. 2d
Step 3. Remove T-bolt from knuckle and slide the knuckle onto the extension arm (B). Replace T-bolt
into the knuckle and turn clockwise until snug. Loosening the T-bolt will allow 360° lateral rotation of
the assembled camera arm head.
Fig. 3a
DiscountRamps.com • 1-888-651-3431
Fig. 3b
Page 3Rev. 062518
Page 4

Fig. 3c
Fig. 3d
Fig. 3e
Step 4. With the button facing upward, depress the button and insert the extension arm assembly (B)
into the base (C) until the button seats itself into one of the two drilled adjustment holes in the base.
Fig. 4a
Fig. 3f
Fig. 4b
Step 5. Use attached T-bolt on the bottom of the base to secure extension arm once it is seated into
the base. The adjustment bolt at the camera arm base will allow increased lateral adjustment.
DiscountRamps.com • 1-888-651-3431
Page 4Rev. 062518
Page 5

Step 6. Using the provided ratchet strap (E), snap hook in place making sure that the at (backside)
of the ratchet is against the tree and the strap is not twisted. Wrap strap around tree and snap second hook into camera arm base. Pull excess strap tight and ratchet until the camera arm base is tight
against the tree. Close ratchet handle completely to the locked position.
Fig. 6a
Step 7. Remove the portable camera mount on
the head assembly by releasing the spring-loaded
locking tab. Secure the camera mount to camera
and reassemble. Make sure the locking tab is tight
against the camera mount.
Fig. 6b
DiscountRamps.com • 1-888-651-3431
Page 5Rev. 062518
Page 6

Product Warranty and Liability
GENERAL PRODUCT WARRANTY: Products purchased from the Authorized Dealer (original place
of purchase) or Merchant (“Dealer”) will be free of defects in material and workmanship at the time of
receipt, and will meet the specications stated at the place of purchase transaction or online at the
Dealer’s website, under normal use and service when correctly installed, operated and maintained.
This product warranty is eective for the period of time stated below, unless otherwise stated in the
product instructions or depicted in the product advertisement. All Authorized Dealer warranties are
NON-TRANSFERABLE and cover only the original end purchaser. This limited warranty does not
cover products purchased through non-authorized dealers. Non-authorized dealer receipts are not
accepted for warranty verication.
***Warranty claims must be made directly to the original place of purchase.***
WARRANTY PERIOD: This warranty remains in force for one year from the date of the product’s
accepted delivery. The Authorized Dealer oers a one year manufacturer’s warranty for most products
unless otherwise specied on the product advertisement.
WARRANTY SERVICE: The Authorized Dealer will replace any defective or malfunctioning part at
no charge, including payment of the shipping costs of parts or replacement product to and from the
manufacturer. The purchaser is responsible for labor charges. If the product does not meet specications as depicted in the advertisement, the Authorized Dealer will refund the full purchase price of the
product.
Questions regarding the warranty on a specic product and warranty claims should be directed to the
Authorized Dealer with whom the purchase transaction was made.
WARRANTY LIMITATIONS: The above warranty does not apply to products that are repaired, modi-
ed or altered by any party other than the Authorized Dealer; are subjected to unusual physical stress
or conditions (such as overloaded ramps or corrosion), natural disaster, governmental actions, wars,
strikes, labor disputes, riots, theft, vandalism, terrorism or any reason beyond reasonable control; are
damaged due to improper installation, misuse, abuse, accident or negligence in use, storage, trans-
portation or handling, or tampering; or to products that are considered consumable items or items
requiring repair or replacement due to normal wear and tear.
Product should be inspected prior to signing for delivery. Product damage incurred during shipping,
unless noted on the Bill of Lading at the time of delivery, renders this warranty void.
LIMITED LIABILITY: In no event shall THE AUTHORIZED DEALER be liable to the purchaser or any
third party for any indirect, incidental, consequential, special, exemplary or punitive damages arising
out of the use of the product, including, without limitation, property damage, loss of value of the product or any third party products that are used in or with the product, or loss of use of the product or any
third party products that are used in or with the product.
DiscountRamps.com • 1-888-651-3431
Page 6Rev. 062518
 Loading...