

KidWind Project Solar Car Instructions Manual
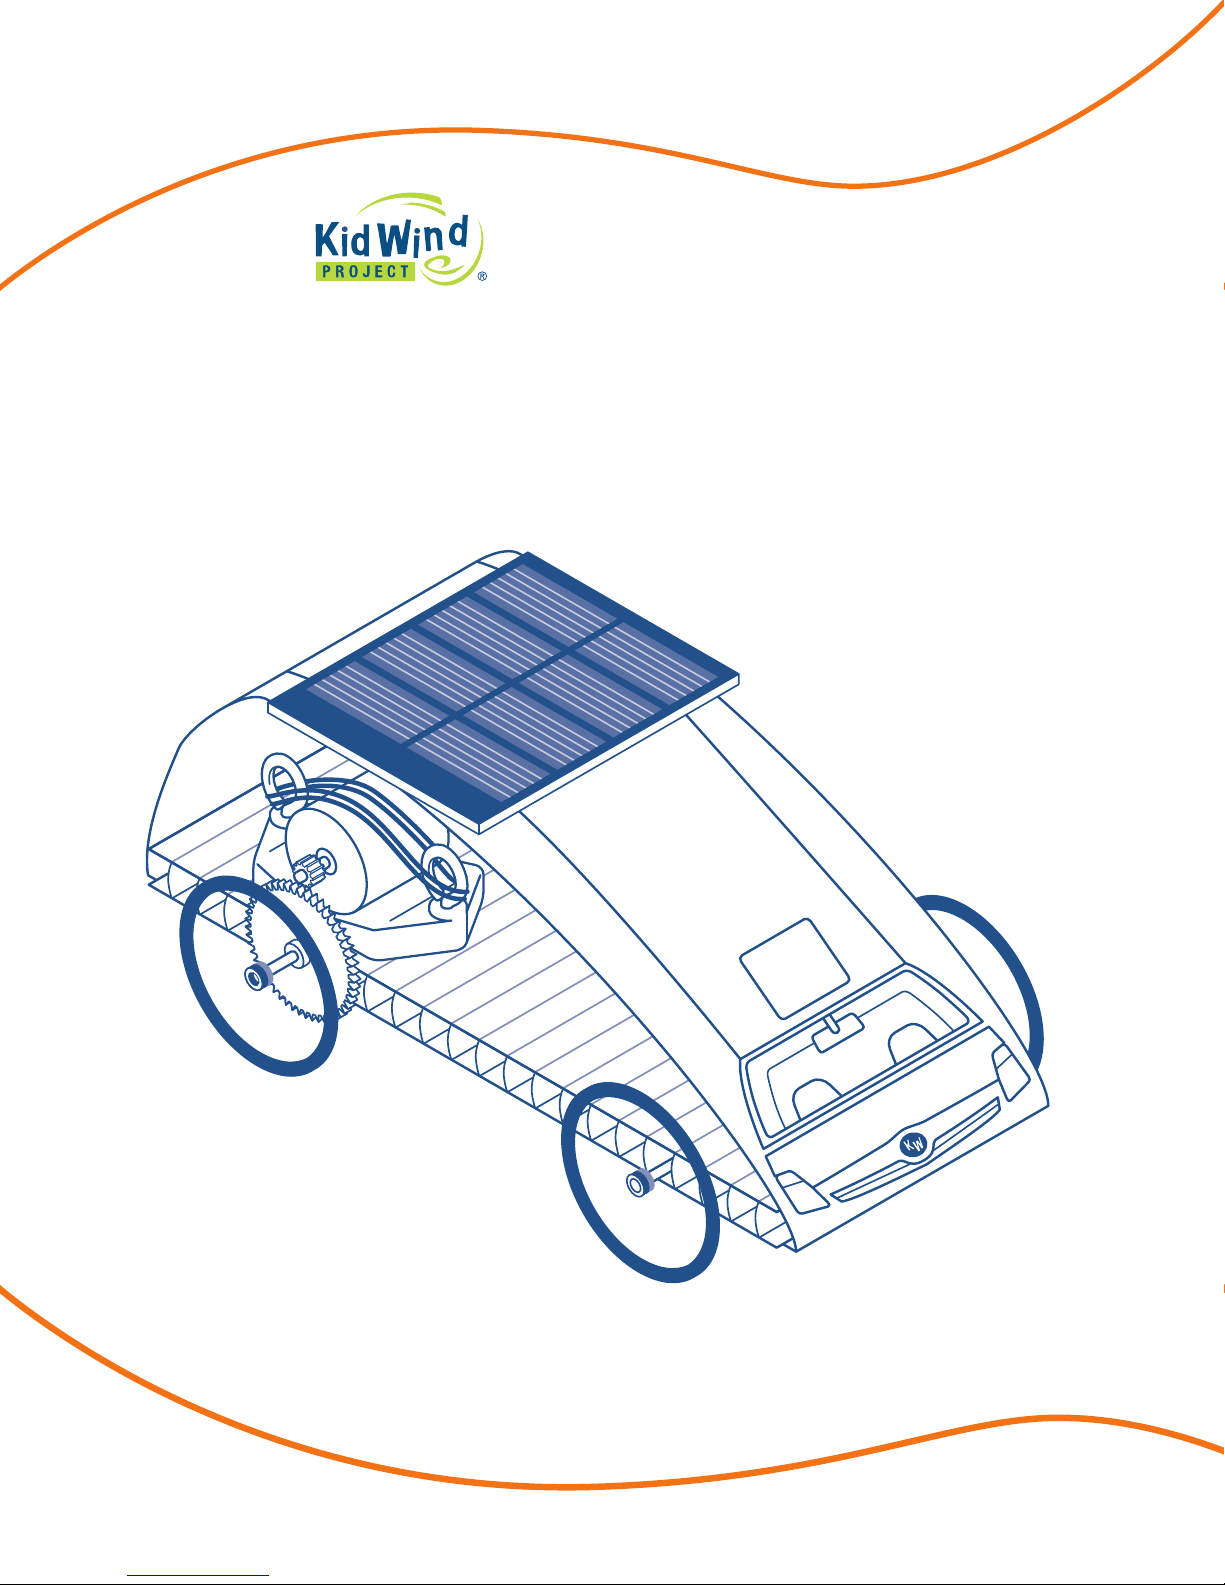
Solar Car
c
u
t
r
t
s
n
i
i
o
n
s
About KidWind
The KidWind Project is a team of teachers, students, engineers, and prac-
titioners exploring the science behind wind energy in classrooms around
the US. Our goal is to introduce as many people as possible to the
elegance of renewable energy through hands-on science activities which
are challenging, engaging, and teach basic science principles.
While improving science education is our main goal, we also aim to help
schools become important resources for both students and the general
public, to learn about and see renewable energy in action.
Thanks to …
We would like to thank the Wright Center for Science Education at Tufts
University for giving us the time and space to develop this idea into a useful project for thousands of teachers.
We would also like to thank Trudy Forsyth at the National Wind Technology Center and Richard Michaud at the Boston Office of the Department
of Energy for having the vision and foresight to help establish the KidWind Project in 2004. Lastly, we would like to thank all the teachers for
their keen insight and feedback on making our kits and materials first rate!
Our plastic components
are made from recycled
resins.
We source domestically
whenever possible, and
assemble and pack our
kits in St. Paul, MN.
Proceeds from your
purchase help us train
and supply teachers.
Wind for All
At KidWind, we strongly believe that K–12 education is an important
foundation for promoting a more robust understanding of the opportunities and challenges that emerging clean energy technologies present.
The Wind for All program seeks to support teachers and students all over
the globe who do not have the financial capacity to access our training
programs and equipment. We believe that all teachers and students—regardless of where they live or what school they attend—must be part of
the clean energy future.
A Note on Reproduction
This work may not be reproduced by mechanical or electronic means
without written permission from KidWind, except for educational uses
by teachers in a classroom situation or a teacher training workshop. For
permission to copy portions or all of this material for other purposes, such
as for inclusion in other documents, please contact Michael Arquin at
KidWind: michael@KidWind.org
2
V1.0
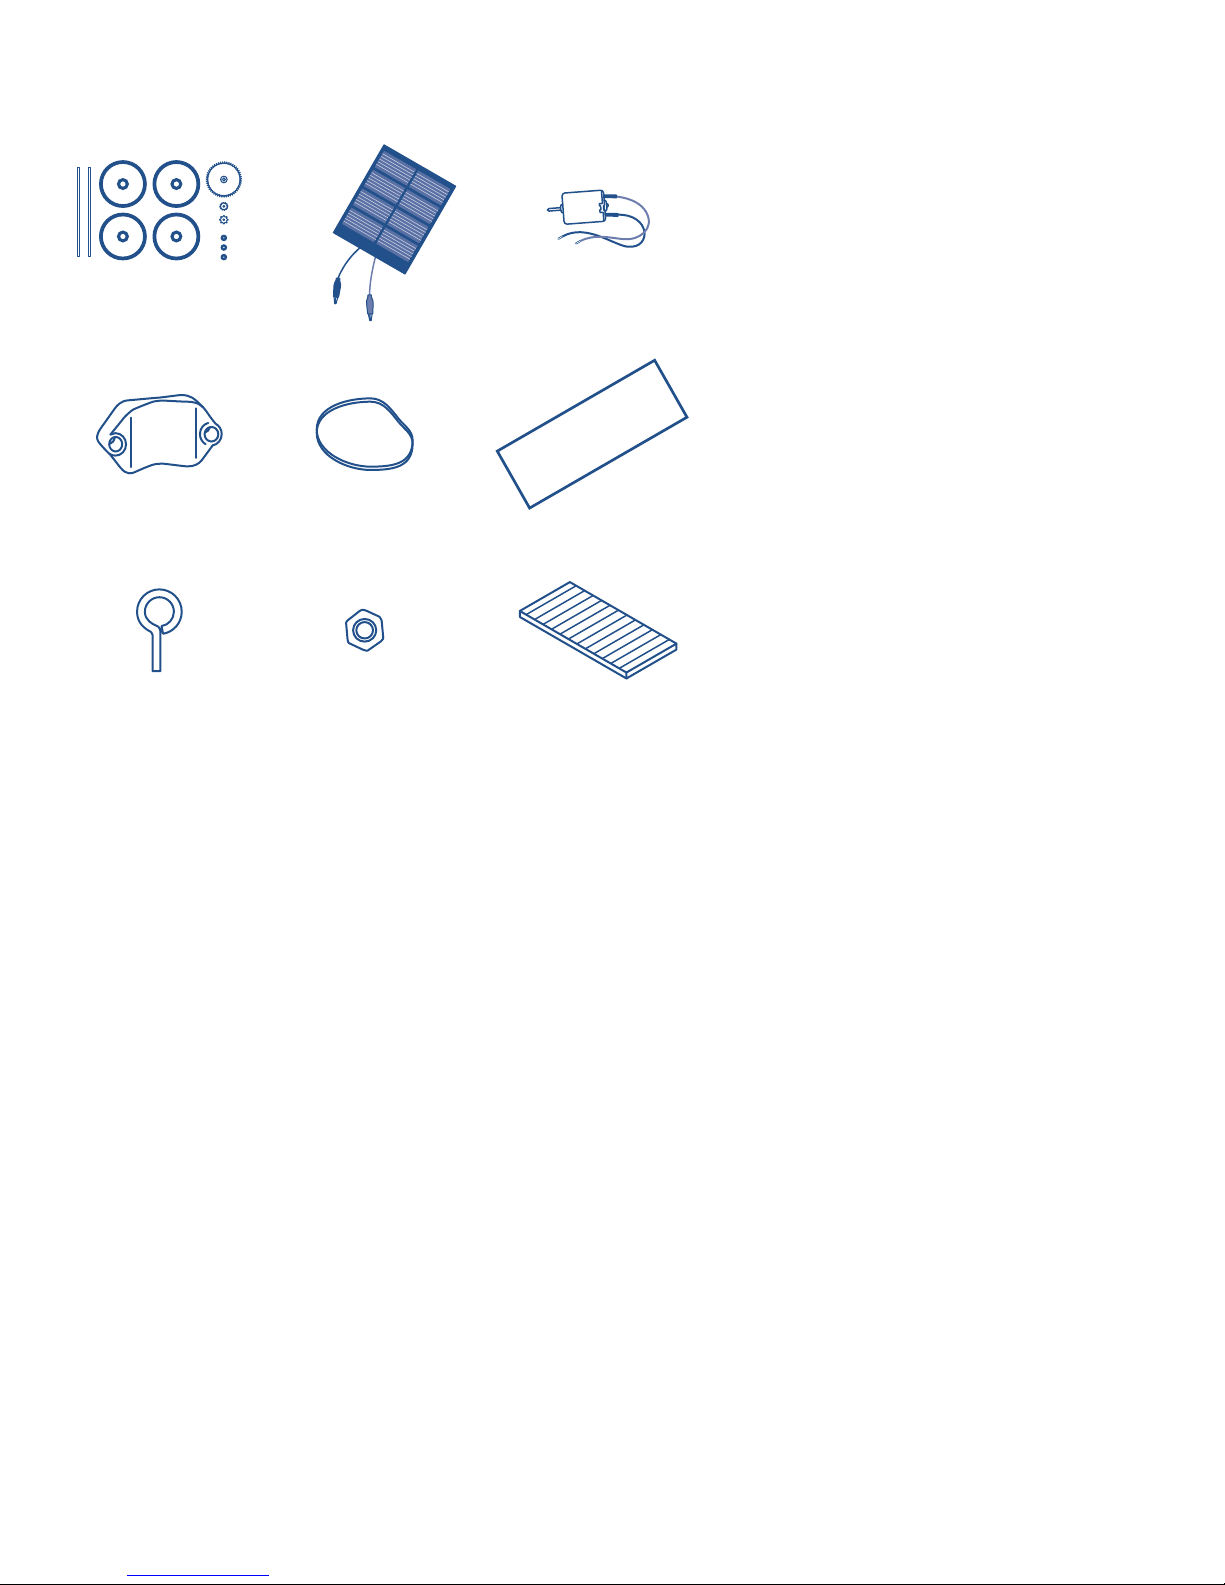
Parts
1
1
Solar Car
Parts List
1 Drivetrain assembly pack
1 Solar panel 2.0V/200mA
1 Motor
1
2
1
1 ALTurbine motor mount
2 Rubber bands
1 Cardstock car topper
2 Eyelet bolt
2 Nut
1
1 Corrugated plastic chassis
2
2
1
3
1
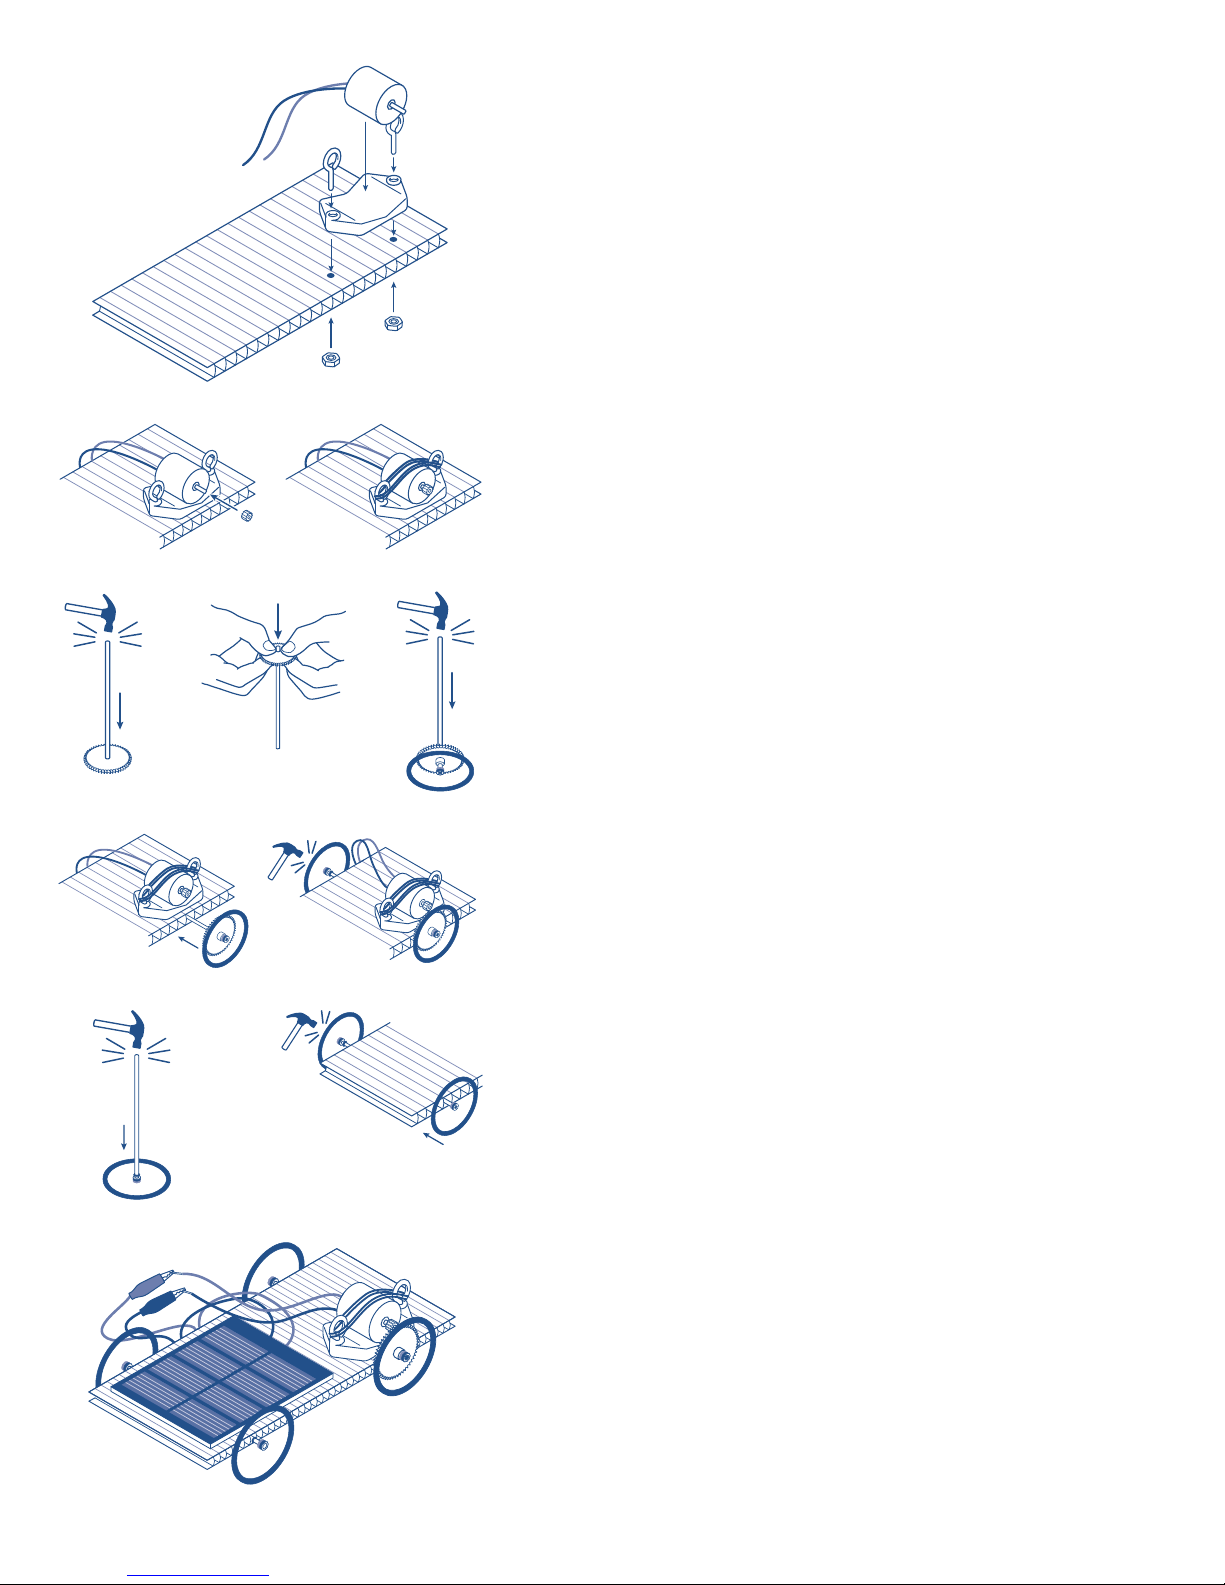
How to Build the Solar Car
Building the Car Chassis
1. Place the blue plastic motor mount over the two pre-drilled holes. Insert
two eyelet bolts through the holes in the motor mount and chassis and
secure with nuts. Use your hand to tighten. Over tightening can damage the chassis and make the car inoperable.
2. Push one of the small pinion gears onto the shaft of the motor.
3. To secure the motor to the mount, hook two rubber bands around the
eyelets.
2
4a 4b
6
8a 8b
3
4a. Now let's put the rear wheels together. Rest the large gear with the
flat side up on a hard, flat work surface. Line the axle up with the
hole in the gear and, using a rubber mallet or hammer, tap the axle
into the gear.
4b. Once the end of the axle is protruding slightly from the gear, you can
5
push the gear further onto the axle with your thumbs. Position your
thumbs close to the center of the gear. Be sure NOT to grab the gear
from the outside and push, as this can snap the gear. Stop pushing
when the axle protrudes from the gear about 1 cm.
5. Tap the axle and gear into one of the wheels using a rubber mallet or
a hammer.
6. Slide the axle through the corrugation of the chassis so the big gear on
7
the axle aligns with the small gear on the motor. This may take some
trial and error.
7. To complete rear wheel assembly, slide one of the black rubber Orings onto the other end of the axle. The O-rings will keep your wheel
assembly centered. Tap the wheel on using a rubber mallet or hammer.
9
4
8a. To assemble the front wheels, slide an O-ring onto one end of the
other axle. Place a wheel on your work surface and tap the axle into
it.
8b. Slide the axle through one of the corrugations near the front of the
car. Press on the remaining O-ring, followed by the remaining wheel.
Tap into place.
9. Connect the solar panel wires to the motor. Place the car in full sun and
point the solar panel at the sun. Set the car on a flat, smooth surface,
place the panel on the chassis and make sure it runs. If the gears bind
up and the car will not move, move the rear axle to provide the proper
gear mesh distance, or place thin shims under the motor.
 Loading...