

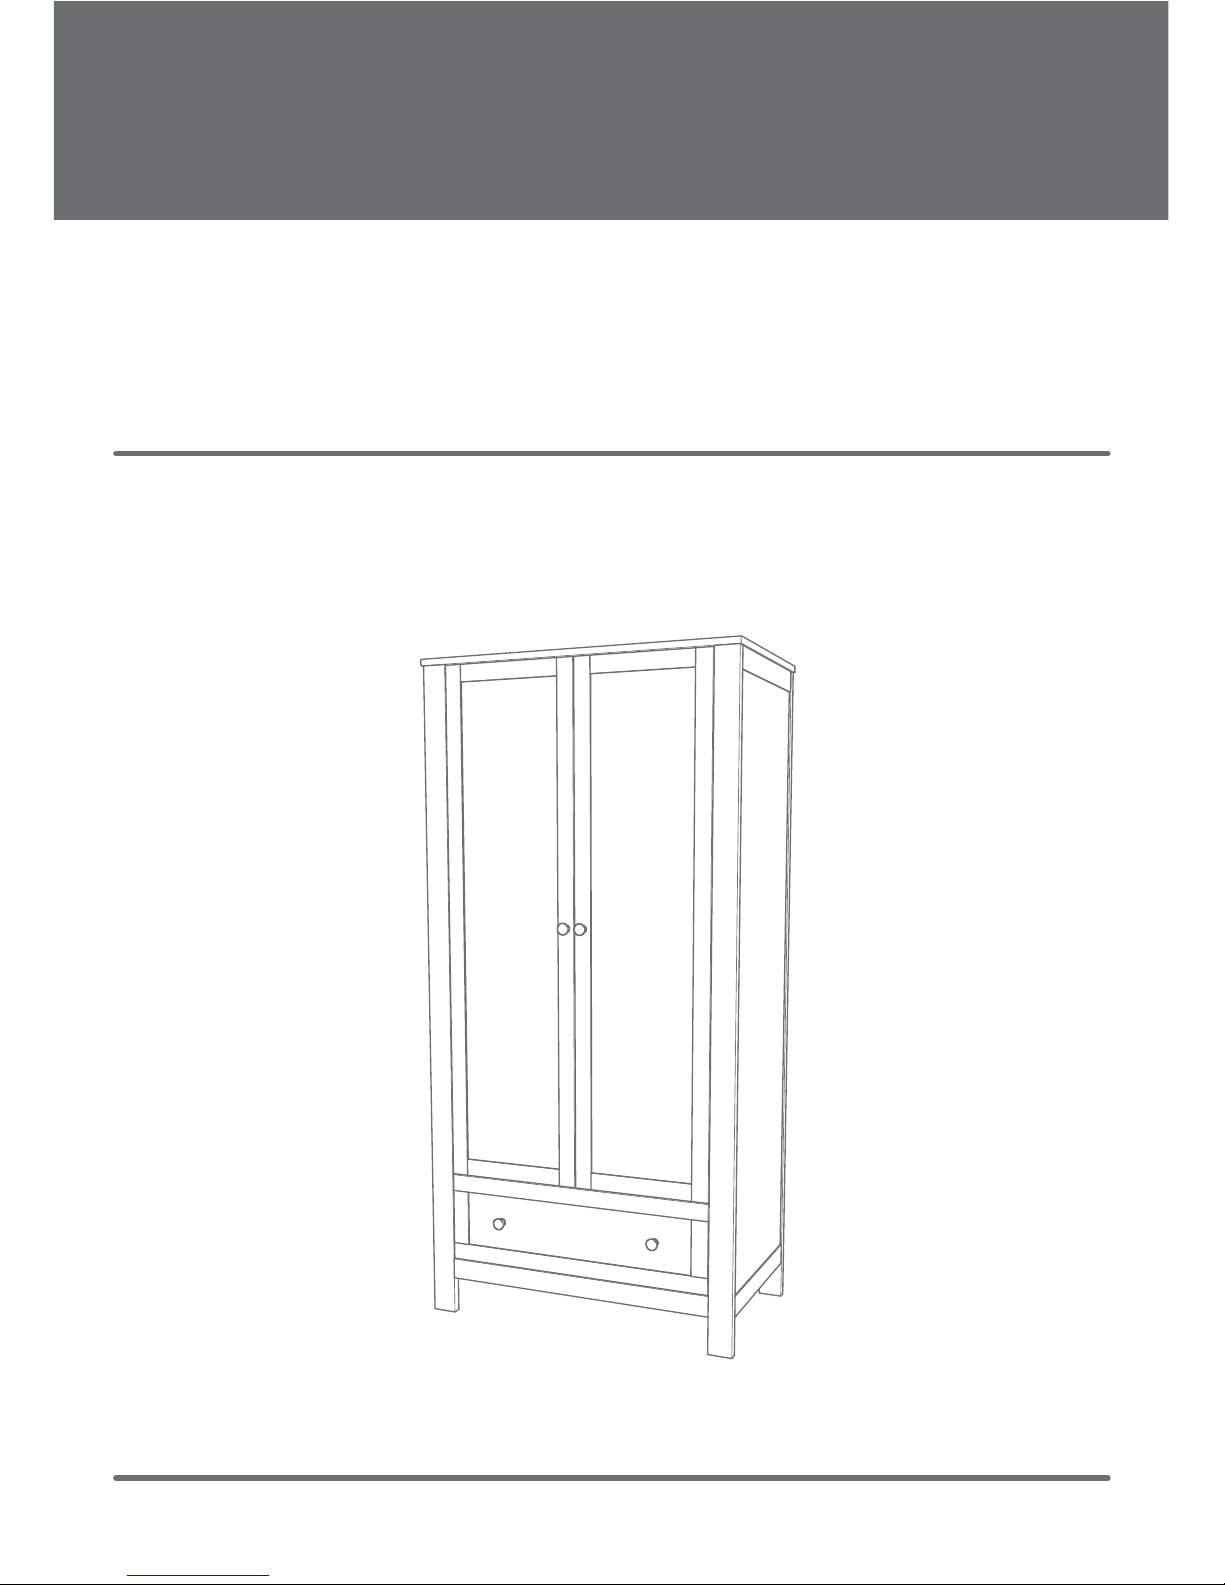
kiddicare
olivia
wardrobe
Important: Keep for future reference. Read carefully
Instruction Manual

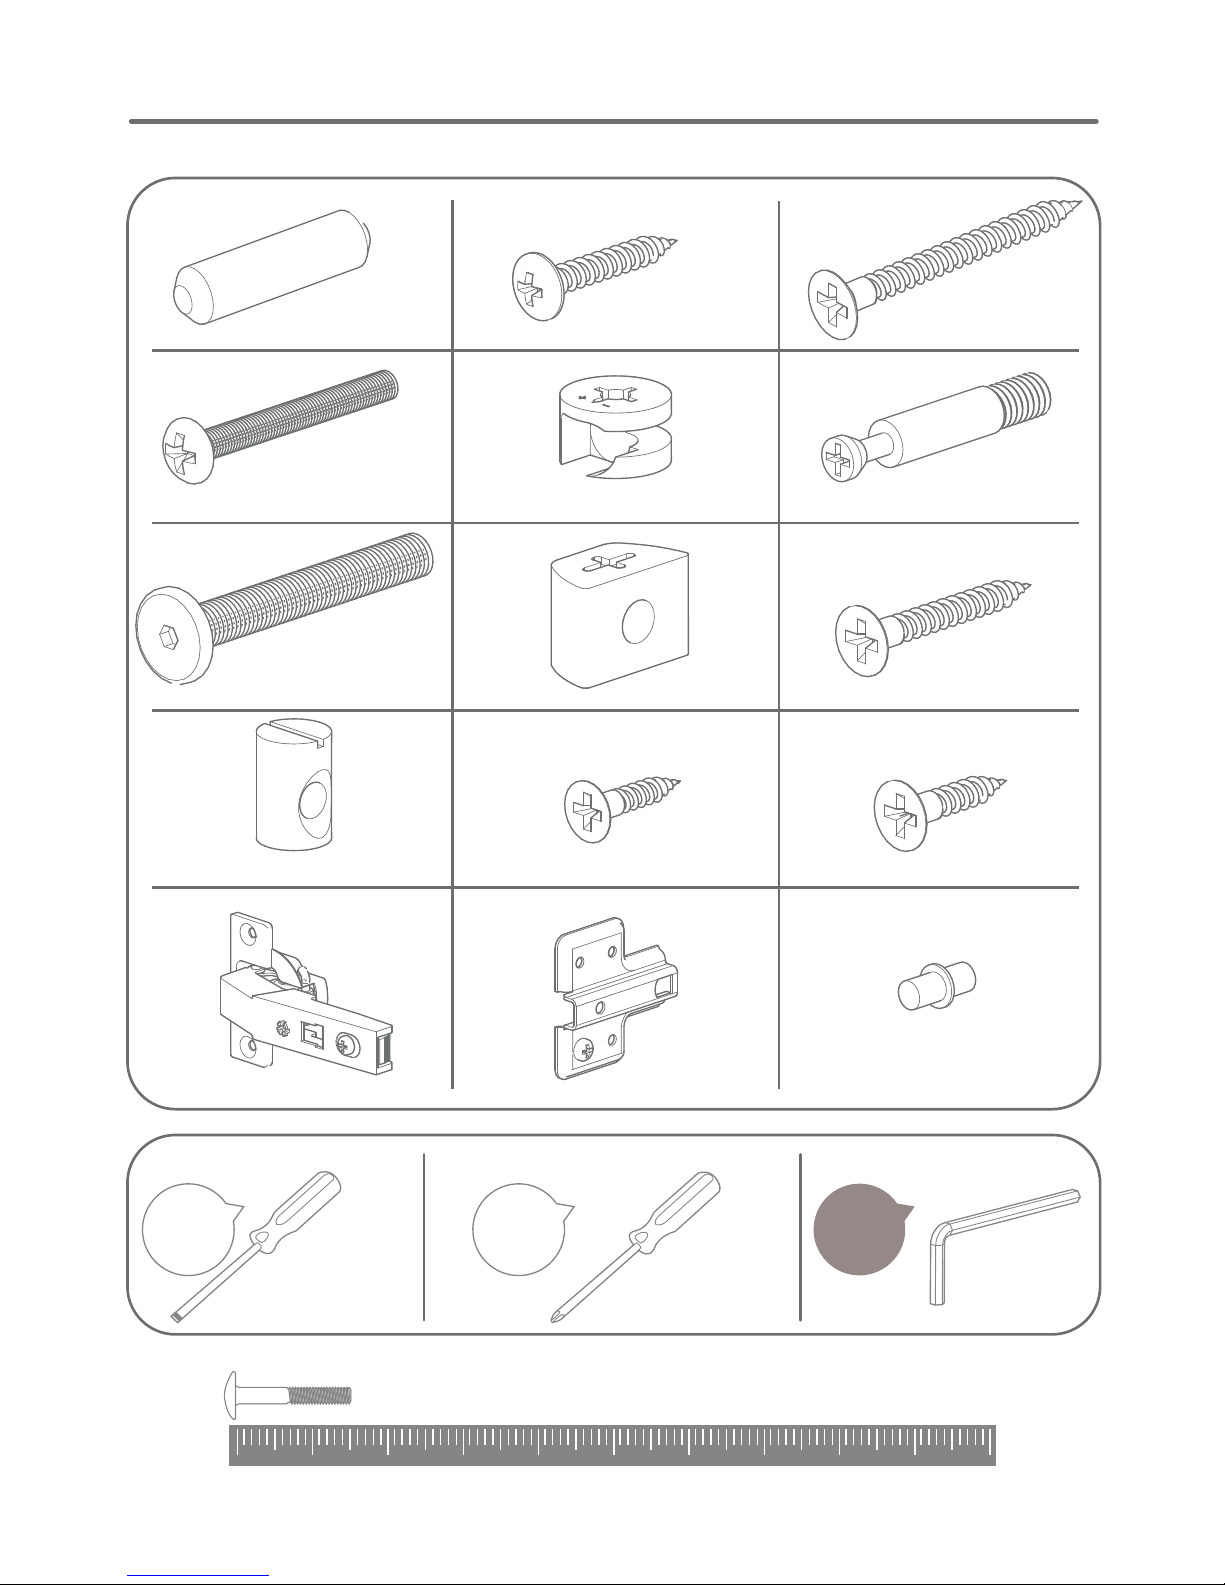
parts
ABC
DEFGH
I
JKL
M
N
2
x 2 (L & R)
x 2
x 2
x 1
x 1
x 1
x 1
x 2
x 1
x 4
x 1
P
x 1
x 1
x 1
Q
x 2 (1 each L & R)
x 1
x 1
O
25mm x 4
hardware
Tools required
flat-bladed
screwdriver
cross-point
screwdriver
hexagon key
123
456711
12
included
included
included
not
included
included
not
x 16
15mm x 26
38mm x 4
x 10
x 6
45mm x 6
26mm x 4
x 10
10 20 30 40 50 60 70 80 90 1000
(millimeters)
Measure
3
10
x 4
13141589
20mm x 2
17mm x 16
x 4
x 4
x 4
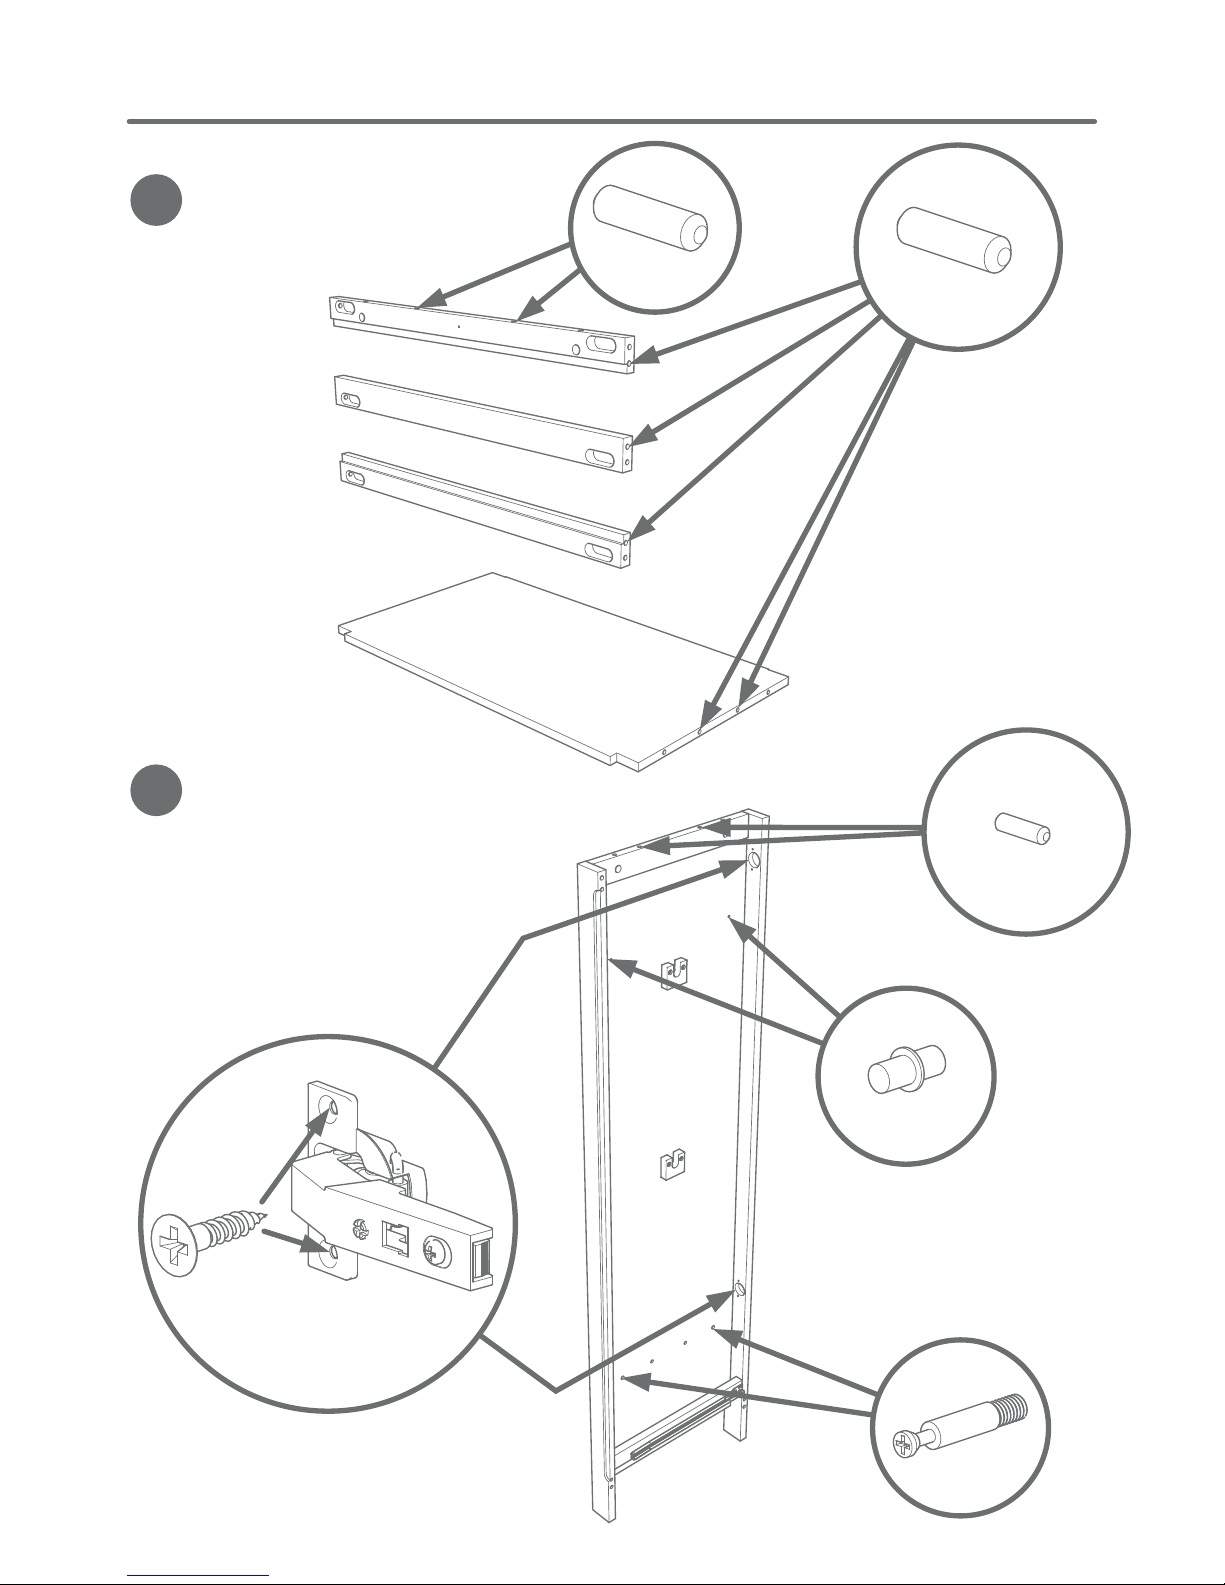
assembly
1
2
H
F
4
I
G
x 5
each end
1
x 2
each side
15
x 2
each side
6
x 2
each side
1
x 2
1
A (L & R)
13
11
x 2
each side
x 4
each side

assembly
3
4
5
FA5
x 2
Insert fittings 5 with
arrowed slot pointing
toward part A.
Once assembled, use a
large screwdriver to give
1/2 turn clockwise to lock.
x 3
I
x 3
87G
H
A

assembly
5
7
6
x 3
x 3
8
7
5
x 2
5
x 6
6
6
x 6
12
x 2
E
Q
E
A

9
assembly
8
7
x 13
(each part B)
2
repeat for second door
BBPC14114
x 2
x 4
x 1
O

assembly
8
10
11
4
x 2
MLK
K
wheel at rear
10
x 4
O
OML
3
x 2
(each side)
N
9
x 2
(each side)
insert with slot
pointing toward
the edge as
shown

assembly
13
9
12
D
x 2
J
Repeat for second door.
Once the wardrobe is in position,
use the screws on the hinges to
adjust the fit of the doors.

The wardrobe is supplied with a fixing kit which will secure it and help to guard against accidental
tipping.
WARNING : Installation only to be carried out by a competent person.
Check the suitability of the wall before fitting.
1
2
3
3
The type of wall fixing you will require depends on the construction of the wall. See below for details.
If in doubt, seek professional advice.
Wood: If fixing to wood make
sure that it isn’t chipboard as
screws can easily pull away the
core structure.
Brick or masonry: Use the
wall plug, provided you are
sure that your wall is sound.
Cavity wall: Special toggle
wall plugs needed.
Seek expert advice.
Washer x 2
Fabric strap
Plastic wall plug
(For brick or masonry wall use only)
Screw (25mm)Screw (15mm)
1. Place wardrobe against the wall where it is to be fitted. Mark the wall 25mm (1”) down from the top
surface.
2. Using the 25mm screw, washer and the appropriate wall fixing attach the fabric strap to the
marked position.
3. Attach the fabric strap to the wardrobe top using the 15mm screw and the washer (4).
Before use, ensure that the strap is securely fixed to both the wall and the wardrobe.
assembly
10

11
safety
! Ensure that the wall strap is used to securely attach the wardrobe to the wall to prevent
tipping.
! Only use the wardrobe on a stable and level surface.
! All assembly fixings should always be tightened properly. Care should be taken that no
screws are loose because a child could trap parts of their body, or clothing (e.g. strings,
necklaces, ribbons, dummies, etc.) which could pose a risk of strangulation.
! Be aware of the risks of open fires and other such sources of strong heat, such as
electric bar fires, gas fires, etc. in the near vicinity of the wardrobe.
! Do not use if any of the parts are broken, torn or missing.
maintenance
Take care when handling or moving the furniture. Careless handling may cause damage.
Regularly check that all fixings are tightened and that there are no broken or damaged
parts.
Any additional or replacement parts can only be obtained from the manufacturer or the
distributor.
Your wardrobe can be cleaned by wiping with a damp cloth and drying with a soft clean
cloth. Do not use abrasives, bleach, alcohol or ammonia based household polishes.
cleaning

Kiddicare
Club Way
Cygnet Park
Hampton
Peterborough
Cambridgeshire PE7 8JA
Customer Care: hello@kiddicare.com
kiddicare
kiddicare
kiddicare
kiddicare
kiddicare
kiddicare
kiddicare
kiddicare
kiddicare
kiddicare
kiddicare
kiddicare
kiddicare
kiddicare
kiddicare
kiddicare
kiddicare
kiddicare
kiddicare
kiddicare
kiddicare
kiddicare
kiddicare
kiddicare
kiddicare
kiddicare
kiddicare
kiddicare
kiddicare
kiddicare
kiddicare
kiddicare
kiddicare
kiddicare
11/14
 Loading...