

Kicker Audio KA-10-WOOFER Installation Instructions Manual
Mustang Subwoofer Upgrade (DOES NOT FIT CONVERTIBLE)
Installation Instructions
KA-10-WOOFER
2-15-2010 Page 1 of 5
Contents:
1EA Subwoofer Enclosure Assembly
1EA Overlay Harness – RHSHELBYSUB
1EA Power Harness – RHSHELBYSUBP
1EA Input Adapter - RH09PIGTAIL6
1EA Instruction Sheet – RBI10SW
1EA M6 Nut
2EA T-Taps
6EA Wire Ties
1EA 30A Fuse
Tools required:
7mm Nut Driver
10mm Socket
13mm Socket
6 inch extension
Ratchet
Razor Knife
Panel Removal Tool
Flat Head Screwdriver
#2 Phillips Screwdriver
Fig. 1
Fig. 2
1. Disconnect negative battery cable.
2. Turn the steering wheel as far as possible to the left.
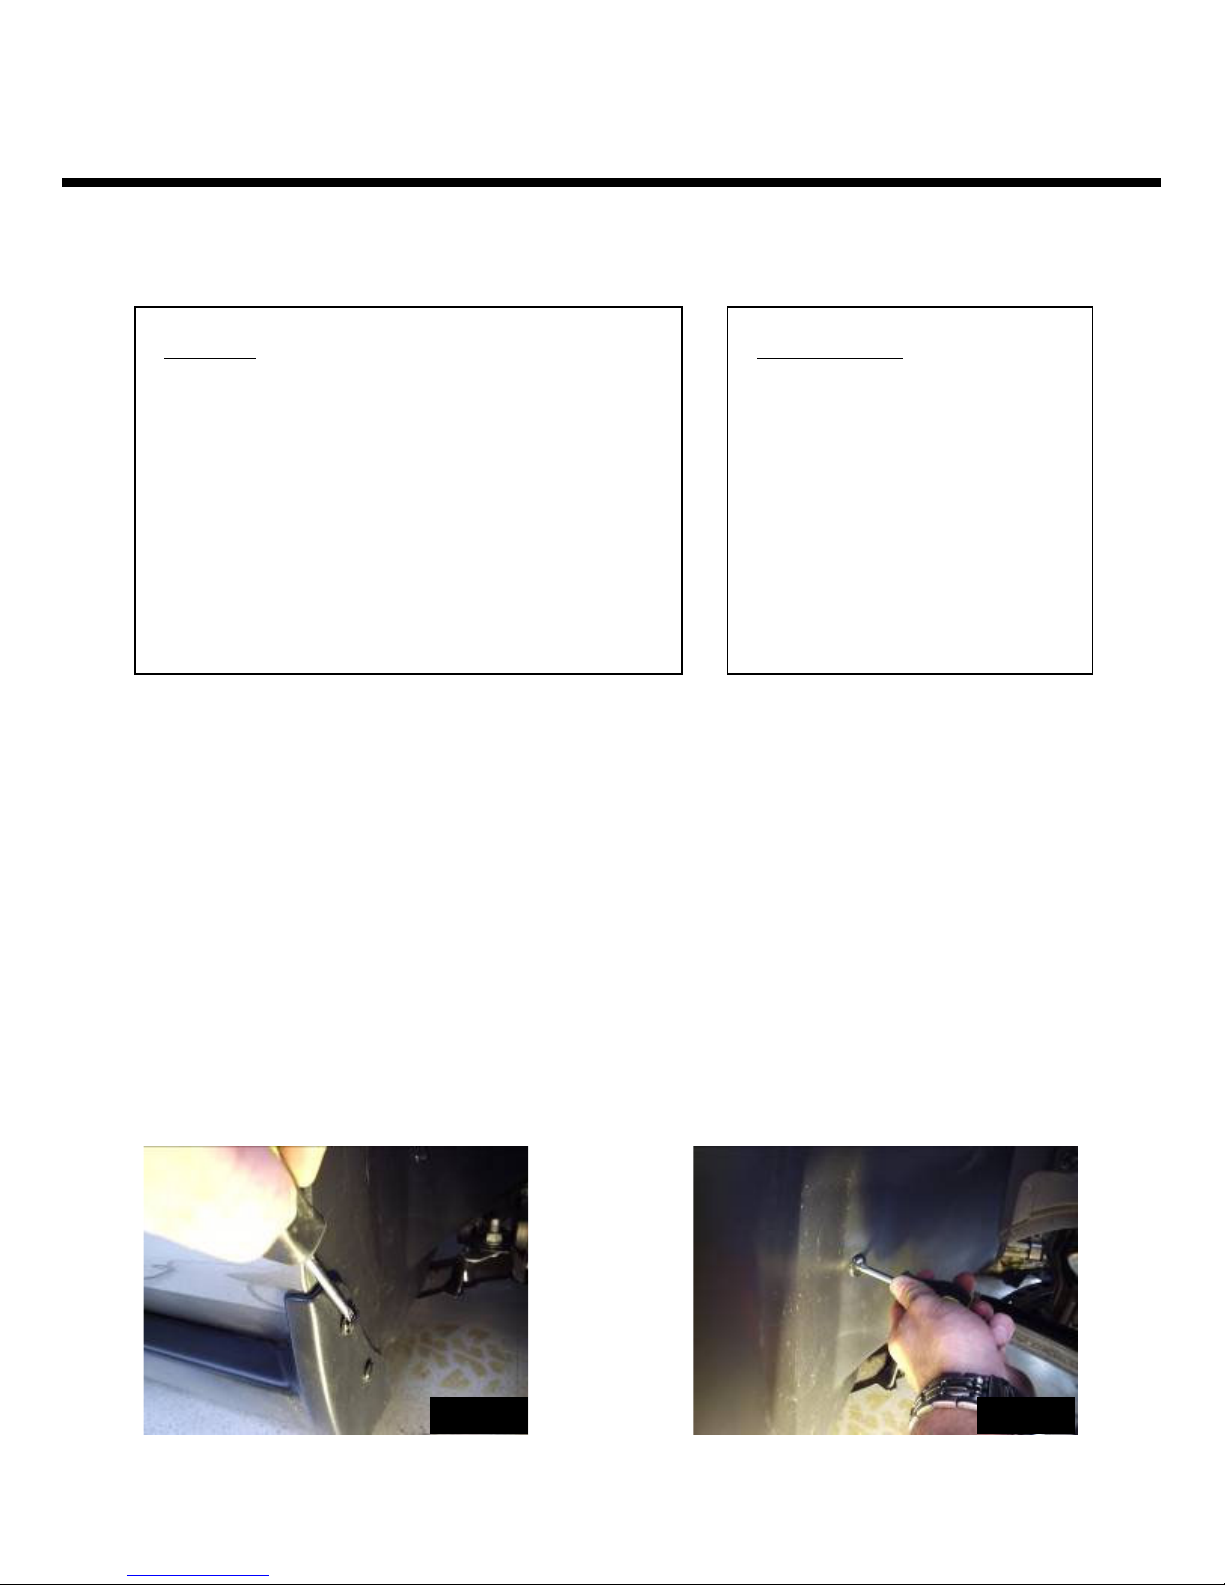
3. Using a straight screwdriver pry out the center portion of the two plastic retainers that secure the
rear portion of passenger’s side front fender well. Once the center portion is pried out remove
the outer portion. Fig. 1
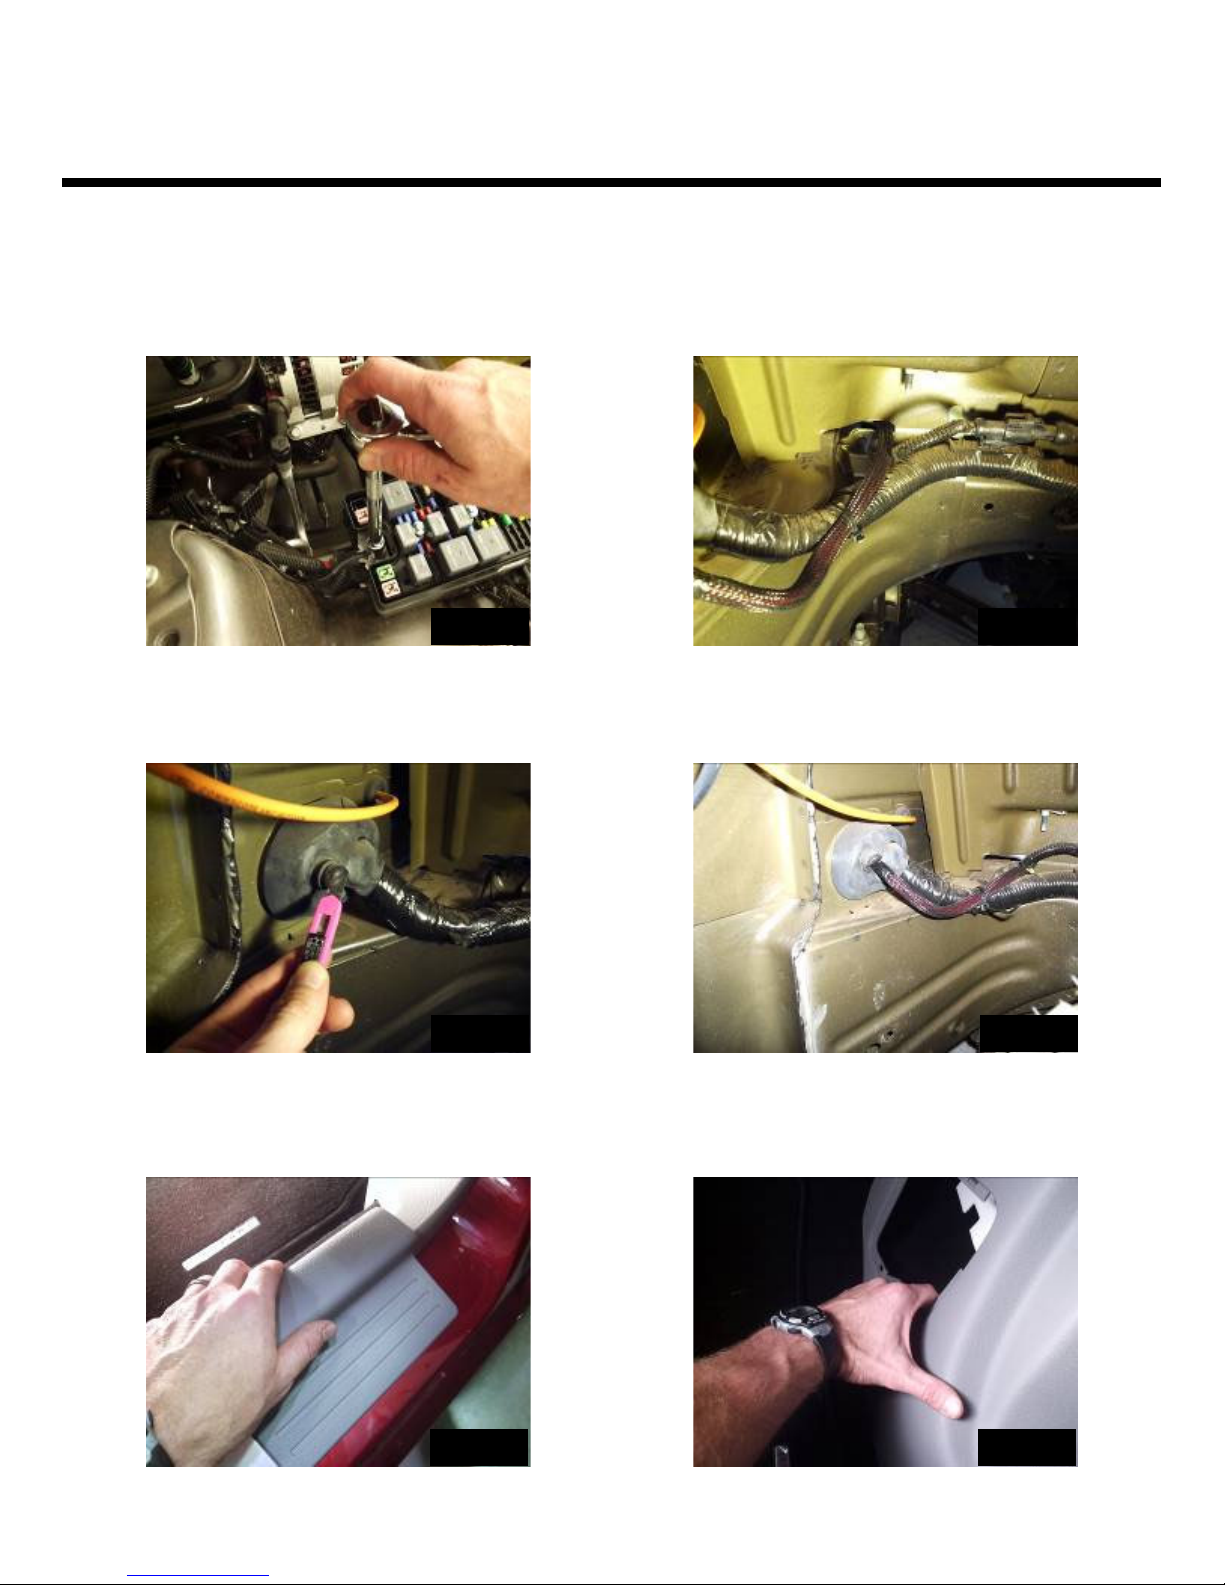
4. Using a Phillips screwdriver unscrew the centers of the other four plastic retainers securing the
rear half of the fender well and then pull out the outer portion. Remove the fender well. Fig. 2
Mustang Subwoofer Upgrade (DOES NOT FIT CONVERTIBLE)
Installation Instructions
KA-10-WOOFER
2-15-2010 Page 2 of 5
Fig. 3
Fig. 4
Fig. 5
Fig. 6
Fig. 8
Fig. 7
5. Remove the fuse box cover under the hood and remove the 10mm nut from the main power lug.
6. Connect the power harness to the lug and retighten the 10mm nut. (Do not install supplied fuse yet)
Fig. 3
7. Route the power harness down to the small opening near the fire wall that leads into the fender well
area. Fig. 4
8. Using a razor knife make a small incision in the rubber grommet. Fig. 5
9. Pass the power harness into the cabin and secure with the provided wire ties. Fig. 6
10. From inside the car. Install the provided two pin connecter on the end of the power harness.
11. Remove the sill plate along the bottom of the passenger’s side door opening. Fig. 7
12. Remove the passenger’s side kick panel by pulling toward the center of the car and then straight back
to release the fasteners. Fig. 8
 Loading...